There is a certain charm and vibe of elegance that you can only get from candles. It cannot be matched by any electricity-powered light, no matter how many of them you used. That is why candles are a staple when it comes to decoration. And they are a bit pricey too, so learning how to make your candles would definitely save you money and bring you an absolute fun hobby.
Candle making is the use of flammable wax and wick, added with fragrances, to produce candles. Waxes used in candle making include paraffin, soy wax, beeswax, and coconut wax. These candle-making waxes are used to create different types of candles like votives, pillars, and tealights.
In this article, I will walk you through all the things you need to know to start your candle-making hobby. From the ingredients and tools you need to prepare to the basic steps in candle making, you’ll learn it all here. I also included the dos and don’ts you need to take note of and some easy tips for beginners in producing their very first homemade candle.
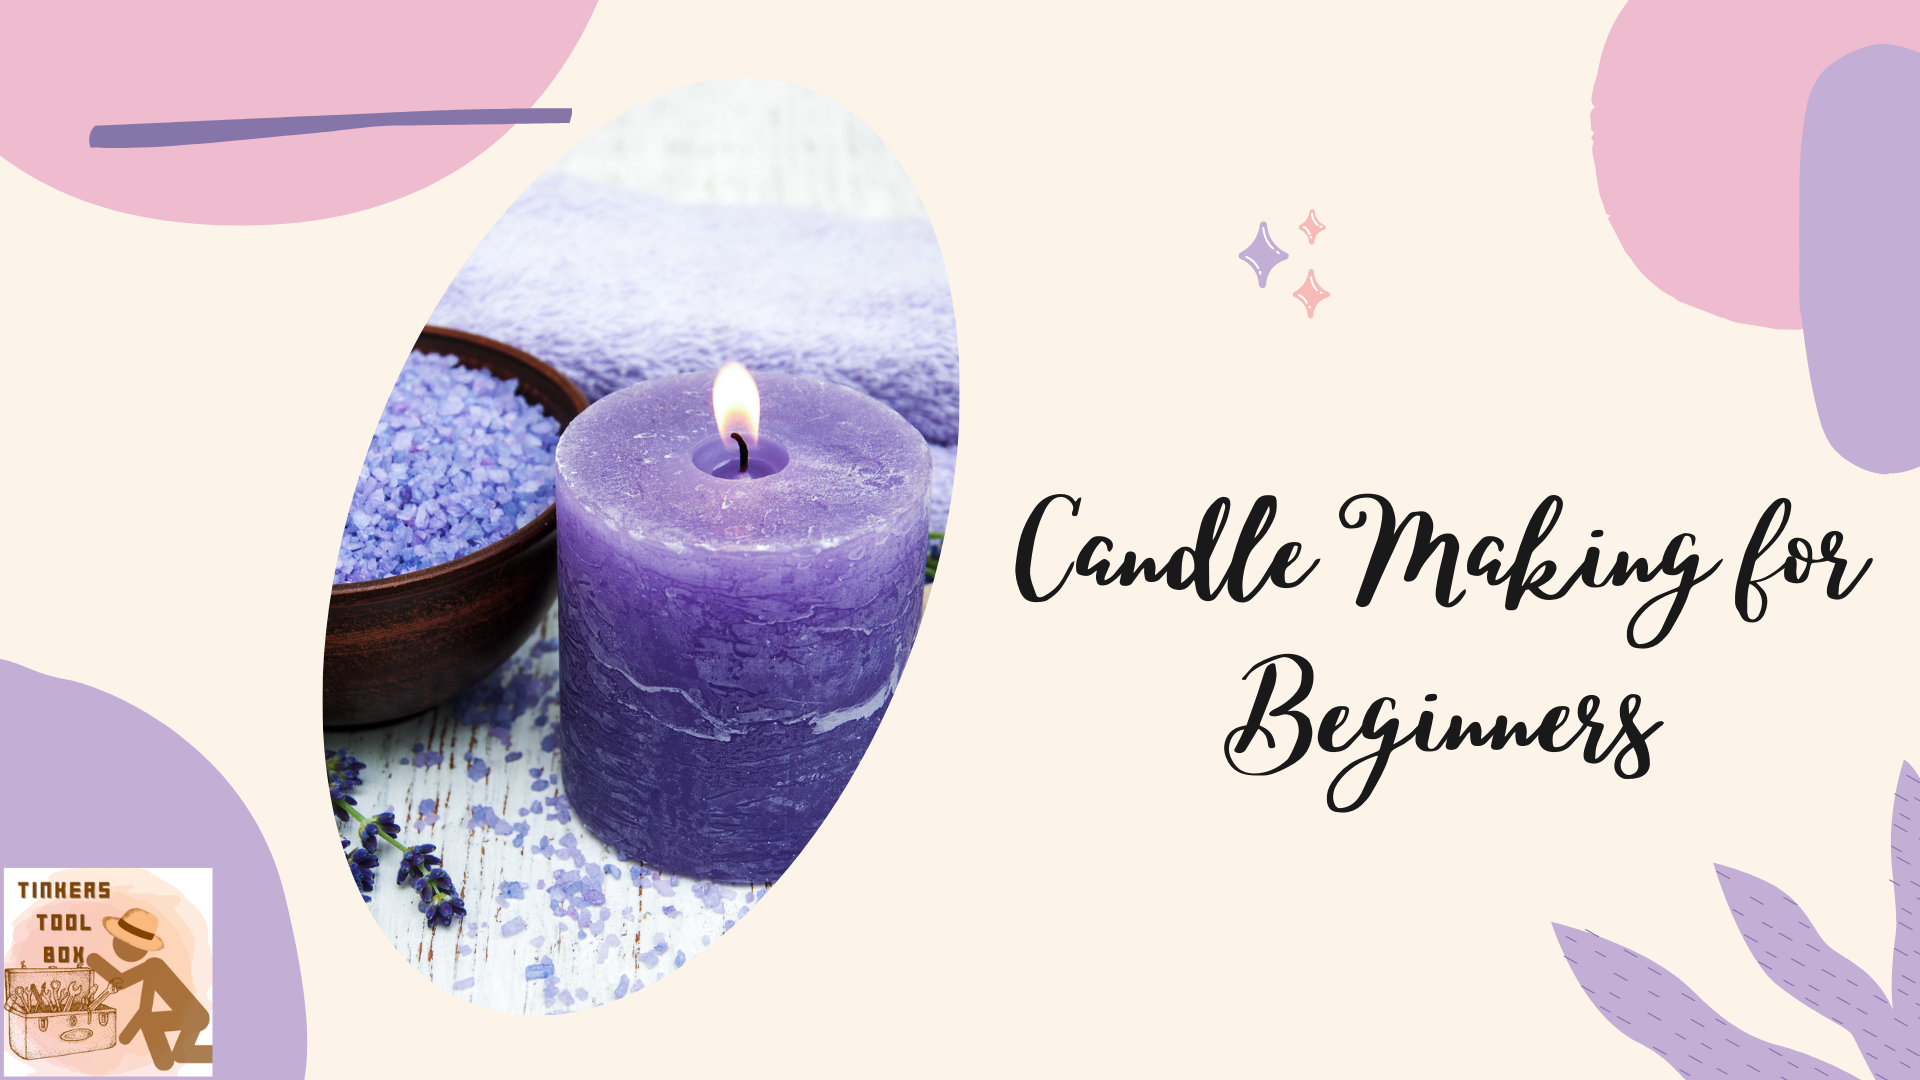
Candle Making: Creating Candles from Scratch
The use of candles has been around since the early time, even before the advent of electricity. Today, candles are still patronized by people because of their elegance and are commonly used as decorations at home and even at businesses like restaurants and hotel lobbies.
Why Choose Candle Making as a Hobby

Candle making is the process of making a light source from a flammable wick and wax. A candle is an old and traditional source of light that brought a glow to houses before electricity was discovered. The use of the right ingredients combined with art and science produces reliable candles. In recent years, candle-making has raised an increased interest due to its artistic value.
Why make candles when you can buy one? Well, candle-making is an excellent hobby to practice and costs less than buying ready-made candles. Furthermore, homemade candles are highly customizable. You can choose your scent and the amount of it you’ll put on your candle. It is also a fun and easy-to-make craft where you can show your creativity with customized jars and vessel containers. Plus, the concentration required to make the candles can be a kind of relaxation for the candle maker.
Your output candles can be a thoughtful gift that highlights your creativity and effort for a homemade present. Fragrances, dyes, and other items can be added to make it more special. The best part here is you can practice a hobby while earning extra income. Candlemakers sell their products at artisanal fairs, expos, and online marketplaces.
Types of Candles You May Want to Create

There are several types of candles with varied sizes and shapes that both a beginner and an expert candle maker can do.
Tea light candles are small and short candles placed in a little plastic or aluminum container. It is less than an inch high and 1.5 inches wide (diameter), with paraffin and soy wax being the best type of wax for this candle. Tea light candles can also create dimension and style when collectively placed inside a larger container.
This type of candle can last for about two hours. It is often used as decoration in houses for accent lighting and warming teapots and food warmers, hence the name tea light candles. Tea lights are also seen in restaurants and churches. They are usually colored white but may have other colors and are made of palm or soy wax.
Votives are another small-sized candle, measuring more than twice the height of a tealight candle. They are cylindrical candles that can stand alone or be put in glass containers to hold the melted wax while the candle’s fire is still on. Votives are mostly used in churches as an offering to the Lord and come in various colors. They may be made of either paraffin, soy, or beeswax.
Pillars are thick cylindrical candles with a variety of heights, shapes, and colors. It stands at a diameter of more or less two inches, can be free-standing or placed in a container, and can last for about 3-4 hours. Since they are thick candles, longer burning hours would make the wax pour over its side (if not placed in a container), so be sure to note the time they are lit. They are smokeless candles made of palm wax.
Tapers are slender, tall candles tapered towards the top end, which doesn’t have enough thickness to stand on its own. They are often placed in candle holders or candlesticks and add elegance to dinner tables. Tapers measure about six or more inches taller with a base diameter varying from 7/8th or 9/16th inches and width fit for traditional candle holders. The long candles can last up to 10 hours and come in many colors.
Container candles are common types of candles to make for beginners. They are created by pouring the wax directly into a glass mason jar or any non-flammable container capable of handling hot wax. Container candles have a wide variety of sizes, shapes, and colors depending on the type of container used. Depending on their thickness, they are often made of soy wax or paraffin and burn for about 4-5 hours. Container candles are other decorative candles you can use at home or in restaurants.
Floating candles are light candles that float in water. They are best used for decoration, placed around your dinner table, and adds a beautiful and refreshing effect to the home. They are also seen as decoration in reception areas of office spaces and restaurants. Floating candles have tapered or round bases to be able to float and balance on the water. They measure 3 inches in diameter and one and ⅜ inches tall.
Specialty or novelty candles have unique shapes like circles, pyramids, or carved candles.
They are not the same as the traditional candles having one fixed shape. These candles are highly customizable and are often seen in hobby candle makers.
Candle Making Ingredients and Tools to Get Started
Two of the primary ingredients in candle making are wax and wick. For starters, you’ll learn that candle-making undergoes a lot of trial and error to get the best results. But isn’t it what makes this hobby a fun and exciting one? So, let us get ourselves familiarized with the ingredients and tools you’ll be using for your first candle creation.
Ingredients

Here are the basic ingredients you need to prepare for starters.
Candle Wax
Candle wax is a flammable and carbon-containing solid that becomes liquid when heated. Wax is the candle’s fuel in a solid state at room temperature and melts and becomes liquid when applied with heat. Candle wax is also water repellent with low toxic levels, reactivity, and odor. There are several types of candle wax that you can use in candle making, depending on your preference.
Paraffin Wax
Paraffin wax, also known as mineral wax, is an affordable and common wax in candle making. It is often used even before the advent of soy and coconut wax. High street candle brands used paraffin for its excellent color and scent hold.
A by-product of the oil industry, paraffin is easily available in the market. It comes with varied melting points and produces no frosting on the candle.
Soy Wax
Soy wax, invented in 1996, is an environmentally friendly candle wax that does not have much fragrance and comes at a softer scent. Soybeans are processed, cleaned, dehulled, cracked, and rolled into flakes to get the oil for candle making. The vegetable wax obtained from soybean oil has varied melting points and blends which burns slower and cleaner than other waxes.
Due to its lower melting point and high availability, soy wax comes at an affordable price. This natural, renewable and biodegradable source of wax is a hundred percent safe to use for beginners. It is also utilized to produce pastel-colored candles, which require more dye to create the desired color.
Beeswax
Beeswax is the oldest known candle wax type, a by-product of honey bees production. This wax has a genuine, sweet fragrance and is often used for scented candles. However, the natural honey aroma sometimes doesn’t mix well with other scents, so considerations are needed when applying fragrance oils to this wax.
Beeswax is also considered the healthiest candle-making wax, as it is smokeless, sootless, and helps purify the air. The natural wax has a higher melting point than other waxes; hence it burns cleanly, producing no soot. Be reminded that it takes a lot of practice to work with beeswax properly and is not recommended for beginners.
Coconut Wax
Coconut wax is the new wax option for candle making. It is another eco-friendly choice for wax, creamy-white colored, and comes from a sustainable source of crops. Coconut wax is more expensive than other options and has a wonderful scent throw and burn. It is also slow-burning and has a luxurious hot and cold scent throw.
Rapeseed wax
Rapeseed wax, also known as Canola wax, is the new wax on the block belonging to the scented candle row. It has incredible fragrance retention, scent throw, and burn time and is a locally sourced wax in place of soy wax. Big independent brands based in Europe make use of this wax as the prime ingredient in their candles.
What is rapeseed? It is a bright yellow flowering plant hailing from the mustard or cabbage family. Rapeseed is a sustainable, renewable, and organic alternative to mineral wax.
Candle Wick
A candle wick is a strip of material used to keep a flame. Candles would not burn and produce light without the wick. The wick provides additional fuel to retain the fire as it melts the wax, working through capillary action.
Wicks have different cores and characteristics that work well in certain types of candles. We have the flat wick, square wicks, cored wicks, and specialty wicks as the types used in candle making.
Flat wicks are the most common type of wick. These are small threads collectively braided or knitted with one another in a bundle. They are also self-trimming wicks, which means they
curl after being burned and works best with pillars, tapers, and any free-standing candle types.
Square wicks have squared tips and rounded corners which are excellent for beeswax and candle types like tapers and pillars. One characteristic of square wicks is that they bend as they burn.
Cored wicks have a core material inside this braided thread. The core may be made of zinc, cotton, or paper, which aids in making the wick stand straight. The unbending wick works best in containers, votives, and pillars.
Specialty wicks are often partnered with special or unique candles. They are often seen in oil lamps and insect-repelling candles.
Fragrance Oils and Essential Oils
Fragrances are added to improve the candle’s scent. A general rule is using 1 ounce of fragrance oils for a pound of wax. Depending on the type of wax used, it can also range from 0.5 to 2 ounces per pound, as some wax can easily absorb more fragrance than others.
Remember to stick closely to the recommended amount. Incorporating excessive amounts of fragrance causes sweat beads when curing the candles and may lead to inefficient burning. Also, add the fragrance oil at the right temperature, so it blends well with the candle mixture, and all parts of the candle would house the fragrance.
Essential oils are often mistaken for fragrance oils, but they are not the same. Fragrance oils are artificial oils usually seen in bath soaps and shampoos. Essential oils are from natural sources and usually come in concentrations. A small drop of essence would come a long way for your candle.
Tools and Equipment in Candle Making

Containers or molds are one of the essential tools in candle making. The type of container used depends on the candle you’ll be making. Containers are available in all shapes, designs, and sizes, some of which are glass jars and tealight cups.
The containers and molds used in candle making should be made from non-flammable materials that can withstand prolonged exposure to heat. They should be properly sealed
to prevent leakage of melted wax.
For free-standing candles, you can use a mold of your choice. You can buy ready-made molds or use items at your house like tin cans and shot glass. But if you are looking for specific shapes and designs of molds, you can buy one on Amazon. Examples of molds available online are heart-shaped molds, pillar molds, cylinder molds, spiral shape molds, and floral candles.
A thermometer monitors the wax temperature while it’s heating. It also measures whether the wax has cooled enough to add fragrance and when it’s the right temperature to transfer the wax to the mold or container. You can choose the digital thermometer or the old manual thermometer; just be sure it is working properly, measuring the exact temperature.
The double boiler is used to melt the candle wax. It can be purchased from a department store, or you can use an alternative boiler, a metal bowl (or smaller saucepan) over a large saucepan. Fill the large saucepan with boiling water and melt the wax in a smaller container. Be sure that no water mixes into the wax. You can add additional water if it starts to evaporate.
A high-quality scale is used to measure the exact weights of wax and fragrance or essential oils. Kitchen scales or digital scales will do. Accurate measurement of ingredients is important to ensure a good outcome as putting excessive ingredients will ruin your candle.
Use a wood or silicone spoon to stir the wax. Clothespins, straws, or chopsticks will also be needed to hold the wick in place. You will also need scissors for trimming wicks into sizes and a newspaper or parchment paper to protect your working area against heat and mess.
Basic Steps in Candle Making

Here are the basic steps beginners can follow in making your first homemade candle.
Measure the amount of wax needed. Prepare your container and fill it with how much wax you want to use. Most candle wax products have instructions on the proportions of ingredients needed for a candle, so you can simply follow those. Double the amount of measured wax; that’s the amount of wax you’ll melt.
Melt the wax using a double boiler. You can use an alternative if you don’t have a double boiler. A metal container placed over a larger pan with water would do. Pour the wax into the boiler and let it melt for 10 to 15 minutes while stirring to melt the wax evenly.
Add your chosen fragrance oils. Remove the melted wax from the boiler, then add the fragrance oils to the melted wax. Be sure to read the instructions on the wax packaging on how much fragrance oil is needed for every measurement. Add the recommended amount of fragrance, then stir the mixture for a few seconds until the mixture is blended evenly. Note that adding fragrance may be an optional step but is recommended to add a wonderful smell to your candle.
Fix the wick to the bottom of the container. Dip one end of the wick in the melted wax, then stick this end inside the bottom of the container. The melted wax will be used as an adhesive to fix the wick. Another option is to use superglue to attach the wick.
Measure the temperature of the melted wax. When it’s at 140 degrees, it’s the right time to pour the wax into the container. Slowly and carefully pour the wax into the container holding the wick upright while pouring. Avoid pulling on the wick as it may detach from the container.
Leave a little amount of wax for topping off the candle later.
Secure the wick in place while the melted wax cools and hardens. You can use chopsticks to do this. Lay them parallel on top of the container placing the wick in the middle. The chopsticks will help the wick stay centered and not dip on the drying wax.
Let the wax dry and harden for 4 hours at room temperature. When the wax on the container has hardened, you may opt to smoothen it out with the remaining wax if the candle looks inconsistent (with holes and cracks). Reheat the remaining wax and pour it over the hardened one.
Cut the wick leaving a half an inch long wick sticking out of the candle. Leaving a short wick on the candle avoids having a long wick that will produce a large flame that is dangerous and may create so much soot and smoke.
Do’s and Don’ts in Candle Making
Here are some of the common do’s and don’ts that beginners should consider when creating their first homemade candle.
Dos: The Things Recommended in Candle Making

Mix your fragrance oils with the wax at the correct temperature. The right temperature to add your fragrance for soy and paraffin wax should be around 180-185 Fahrenheit and 200-205 Fahrenheit for palm wax.
Adding the fragrance oils when the wax is at the correct temperature will help the mixture bind well. It also gives an increased scent throw (how well the scent circulates into the space). After adding the fragrance, stir continuously for 3-5 minutes. Stirring for a short time will make the oils settle to the bottom of the container making the wax and oil not bind properly.
Trim your wick the right size. It is recommended to trim wicks for paraffin candles of up to 1/4th of an inch, 1/8th for soy candles, and above 1/4th of an inch if you use wood wicks. Trimming wicks helps reduce smoke, soot, and large flame. Properly trimmed wicks make candles burn properly.
Preheat your container before pouring the wax. This method slows the wax’s cooling process and prevents wax from shrinking and deforming inside the container. When the wax pulls away from the inside of the container, it creates wet spots which are not appealing to the candle.
Use the correct type and size of wick. Some wicks are specifically best performing for a certain wax. Take note of that when making your candle. A wick too small cannot cover the full size and diameter of a candle. The wax will not burn in the candle’s full diameter and affect the candle’s scent throw.
Make one candle at a time as a form of practice. Do not mass produce candles when you are a beginner. It may result in waste if you do not test-burn a candle before reproducing many of it.
Don’ts: Things to Avoid in Candle Making

Use a microwave to melt your wax. When the wax is inside the microwave, you will not be able to monitor its temperature. It may overheat or may not melt evenly. Exceeding the proper temperature for each wax will scorch your wax, resulting in a disgusting smell in your candle.
Use perfume instead of fragrance oils. Fragrance oils are special substances that are non-flammable. A perfume cannot be burned and can clog your wick. Always use fragrance oils that are specifically made for candle making.
Let your candle burn with a long wick. Burn the candle for 3-4 hours before trimming its wick.
A long candle wick will result in lots of smoke and soot, which may mask the candle’s scent with a smoky smell. It is an absolute fire hazard if you let the flame become too big.
Put a candle in the refrigerator to speed the cooling process. Directly exposing a hot container to a refrigerator can cause the glass container to crack and burst. It can also make your wax shrink and decrease its scent throw. Let the candle cool down on its own.
Add excessive fragrance. More fragrance does not equate to a stronger scent throw. Always follow the specific fragrance amount recommended for each wax found in the description box of the wax packaging. Putting too much fragrance can cause the fragrance oils not to mix well with the wax, clog the wick, and weaken the candle’s scent throw.
Candle Making Tips and Hacks for Beginners

Keep a logbook with specific notes of every candle you tried to make. It is important to keep track of the difference you made in each process. Take note of the following every time you create a candle: wax type, fragrance type, wick size, room temperature, and the highest melting temperature of the wax.
Each wax has a different melting point. You can check the manufacturer’s note on the specific melting point. Be careful not to exceed what is written on the package. Another set of notes to take is the temperature when you added fragrance and poured the wax to the mold and the percent of fragrance used.
Experiment with different amounts of fragrance, pour temperatures, and cure time. The absorption of fragrance oils depends on the fragrance tolerance of each wax. Less is more when it comes to fragrance for some, which have a strong scent even with little amount. Others would need more fragrance oils for increased scent throw.
Cold throw and hot throw vary for each fragrance oil. A cold throw is the intensity of fragrance on a candle when not lit, while a hot throw is a scent when the wick is lit. Scents also vary when let out of the bottle, so experimenting and candle testing play a big role in achieving the right scent you want for your candle.
Build your candle-making skill set through constant practice. Candle-making takes a lot of trial and error. You can’t perfect skill with one go, so patience in learning is a big must. Plus,
testing, curing, and finding the best wax for you takes a lot of time and effort.
There is no one way to make the perfect candle. No specific set of instructions would produce the candle you want. Through the experience of making candles multiple times, you’ll learn that there are numerous ways to make candles successfully. Furthermore, experimenting with different waxes and fragrances would help you find the best one.
Conclusion
Learning a new hobby doesn’t have to be hard. You’ll learn to produce artistic pieces of candles that highlight your creativity and effort with candle making. Produce beautifully designed candles like a pro by just following the simple steps in candle making. Plus, it can be a great source of income once you master it (which won’t take long). So grab your candle-making ingredients and tools and create your first homemade candle.