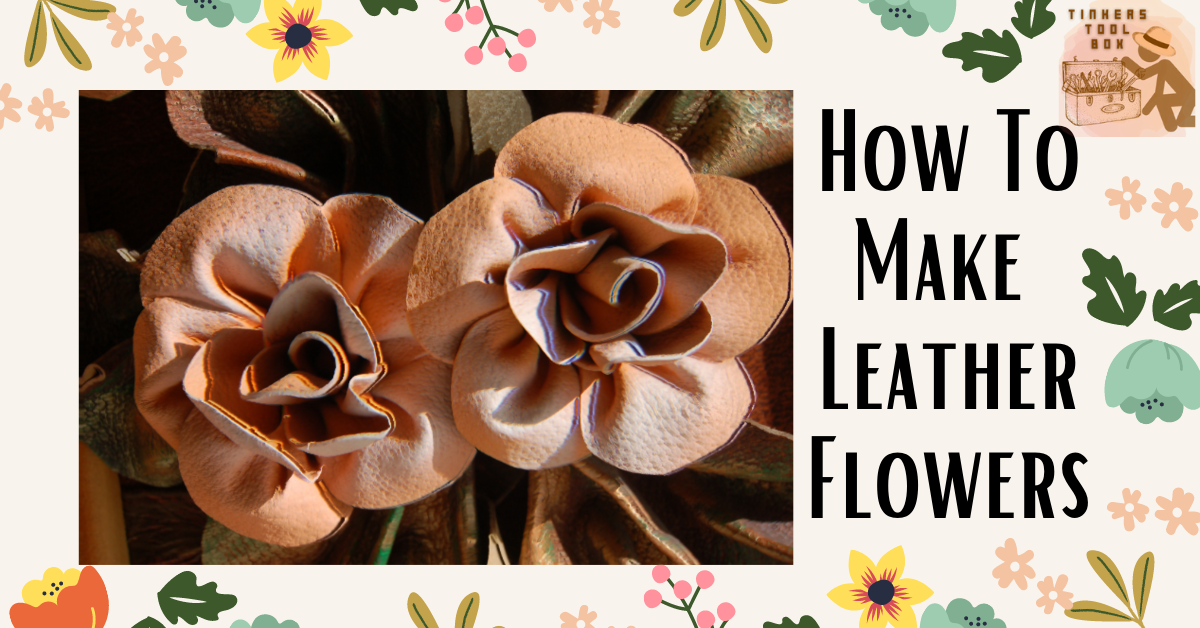
Start making these leather flowers if you love them but cannot stand the mess and hassle of potting soil. Leather flowers are mostly made from recycled, colorful leather scrap and are typically made by artisans worldwide. Aside from bringing aesthetics, leather flowers help create jobs, reduce waste, and improve work conditions for those in need. First, you will need the perfect scrap leathers, basic leatherworking tools like knives, scissors, glue, and paint to make leather flowers. These leather flowers will certainly add style and color to your space. Here are the steps in making one.
- Step 1: Choose The Perfect Leather For Crafting
- Step 2: Prepare The Tools That Are Needed For The Project
- Step 3: Draw A Teardrop Pattern That Will Serve As Flower Petals
- Step 4: Cut The Pattern That Was Made Earlier
- Step 5: Wrap The Petals In An Inward Direction
- Step 6: Glue The Petals Together To Form A Flower
- Optional Step: Add Leaves and Other Details On Your Leather Flowers
- Step 7: Do Not Forget To Paint For The Finishing Touch
- Step 8: Use and Incorporate The Leather Flowers To Your Design
- Step 9: Display the Leather Flowers Wherever You Like
- Step 10: Take Care of The Leather Flowers
- Step 11: Try Doing It Again To Make the Perfect Leather Flowers
- Step 12: Share and Teach How to Make This Craft To Others
- Conclusion
Step 1: Choose The Perfect Leather For Crafting

Generally speaking, there is no ideal leather in absolute terms; rather, there is the proper type of leather for the project you want to complete. The type of leather or hide you must choose is determined by the object and the final appearance that you want to accomplish.
When creating leather flowers, vegetable tan leather is preferred. Plant-based tanning, commonly known as the veg tan, is distinguished by using only natural substances as tanning agents in producing leather products.
Leather goods, footwear, and belts are made from this type of leather; it is important to consider the leather’s finish, size, and thickness when selecting it. They are frequently used in their unfinished state.
They are extremely adaptable leathers that may be customized in various ways, including fattening, engraving, and dyeing. Various varieties and thicknesses are available in the specialized category, which may be filtered using various characteristics to assist you in making your selection.
Even so, if the price of vegetable tan leather is too high for you, you may rely upon scraps if they are available in your area. Crafting provides endless possibilities as long as there are opportunities.
Step 2: Prepare The Tools That Are Needed For The Project

Like any other leather project, you have to prepare the tools that are needed before starting. This way you will be able to work smoothly and in the most enjoyable way. These materials readily available will save you from potential stress and interrupted work due to lack of requirements.
You will need basic tools, including a leather knife, scissors, pattern paper, glue, paintbrush, and paint. In this project, you can use scrap leather which will be ideal for saving them from the trash. If you prefer, you can use newly purchased leather, which will be easier to use than scrap ones. Ensure that you purchase the appropriate leather, as discussed in step one.
Step 3: Draw A Teardrop Pattern That Will Serve As Flower Petals
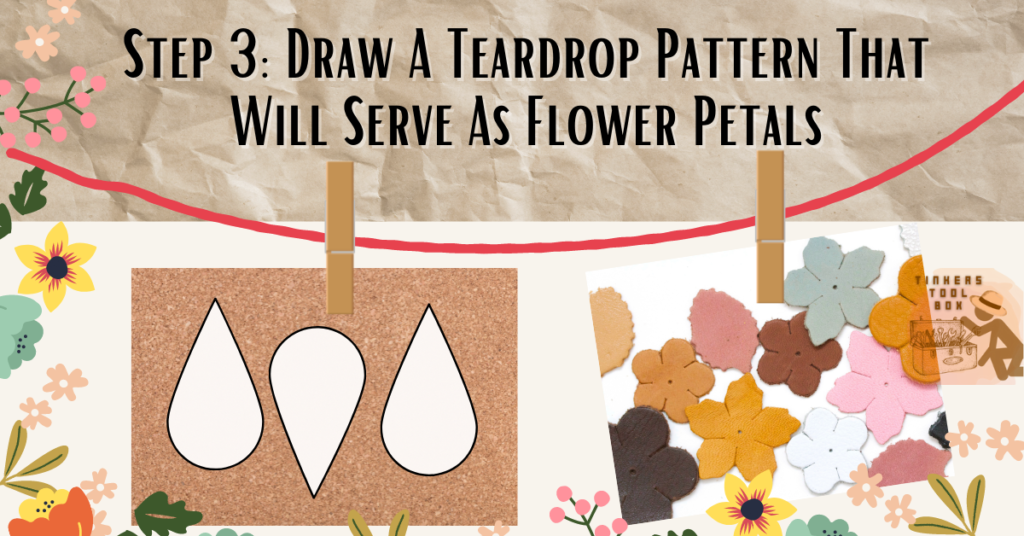
If you are all set with the materials, you can start drawing the pattern on a pattern paper or chipboard. To easily form a petal, draw a teardrop shape that will serve as the petals. You can adjust the teardrop’s size depending on your preference; ensure that the petals you will use on the same layer of the flowers are symmetrical for a cleaner output.
You can also get any ideas online and download readily available patterns for the teardrop shape if you are not confident in drawing it. Whatever you choose, it is okay as long as you produce the needed shape. You can use other patterns, but we will start with the simplest one for this DIY guide.
Step 4: Cut The Pattern That Was Made Earlier

Set and check the drawn pattern and cut it out. If you are satisfied, transfer it now on the leather using pencil or leather markers.
Trace out the teardrop petal shapes onto the scrap leather and cut it using a leather knife or scissors. At this point, you will have the freedom to choose what cutting tool you want to use as long as you carved out the shape from the leather.
Do not worry if your leather has different hues when using leather scraps; this can be remedied by applying paint on the end process. It will enhance the leather flowers and can cover up the irregularities on the leather.
Step 5: Wrap The Petals In An Inward Direction
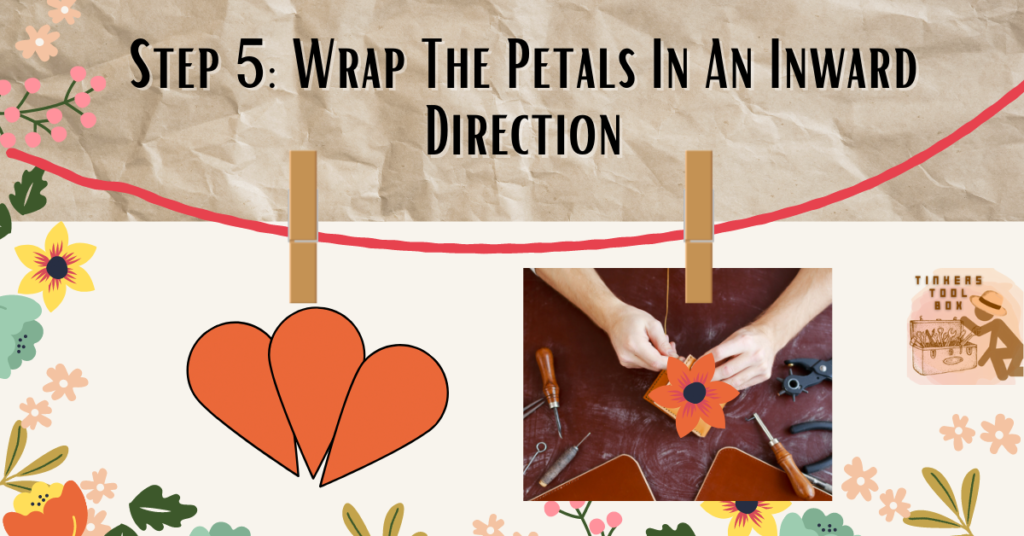
Once all the leather petals are cut out, you can begin wrapping them inwards. Place one by one and side to side to form an entire flower. Visualize the result that you like to accomplish. If you encounter trouble manually wrapping or directing the petals inwards, you can place the leather slightly near a fire like a candle.
This technique allows the leather to bend naturally, making it easier for you too. Suppose you are not comfortable working near a lit fire, then you can slightly wet the leather—just enough water to bend or wrap them easily.
You may have difficulty doing this in thicker leathers since it will be less flexible when folding them. I suggest selecting the right leather from your stock to avoid this, which is the first step. Wrap them neatly and symmetrically to provide a more aesthetic output. If making multiple layers, plan out how to position the petals before gluing them in the next step.
The common flowers that you can make are roses and poppies. If you decide to pick one of the two, adjust accordingly to how the ends should bend to match the flowers you are making.
Step 6: Glue The Petals Together To Form A Flower
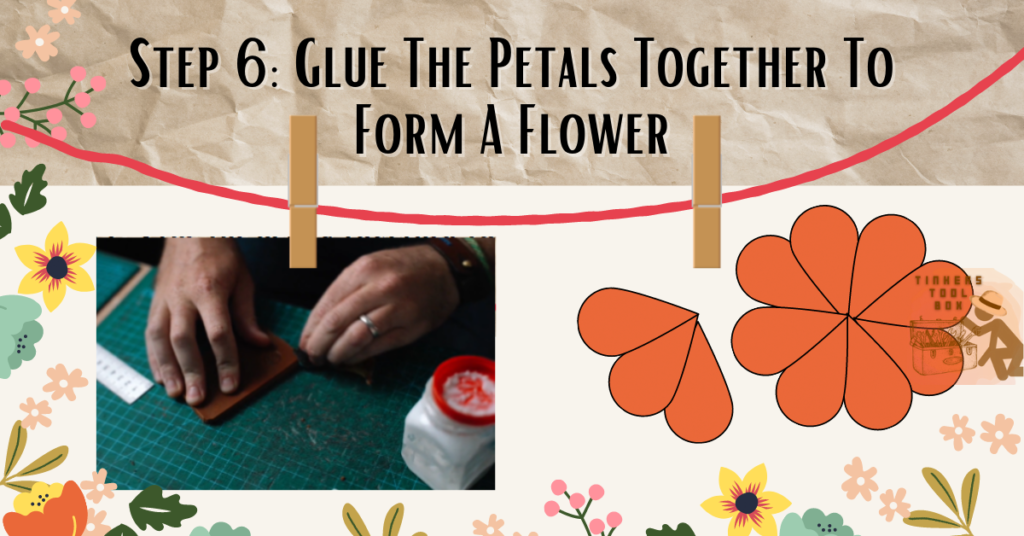
When the flowers are directed inwards, and the tips meet at the center end, you can glue them. Glue the petals neatly using leather glue. Apply enough glue to secure the petals together. You can add the glue by using a dauber or stick or other rubbing material.
Suppose, working on a multi-layered flower, glue the first or the innermost layer first. This petal layer of the flower should be smaller compared to the succeeding layers. It is important to have this so that the layering will be neatly achieved and all the layers visible.
Optional Step: Add Leaves and Other Details On Your Leather Flowers
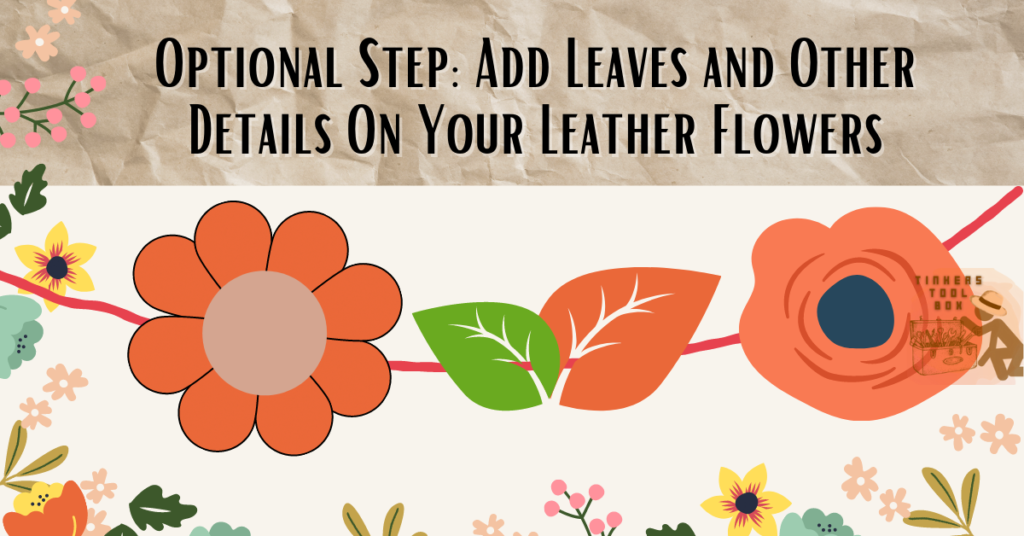
Aside from the petals of the flower, it also consists of leaves. You can add this to your flowers by shaping a simple leaf shape out in the leather. If you plan to make a bouquet of leather flowers, having these leaves will accent your final product.
You can also add other details like variegations and different textures in the petals that can be made by incorporating other types of fabric like canvas cloth. You can even add beads to the flower’s center to make it prettier. This step is just optional, so you can skip this if you like.
Step 7: Do Not Forget To Paint For The Finishing Touch
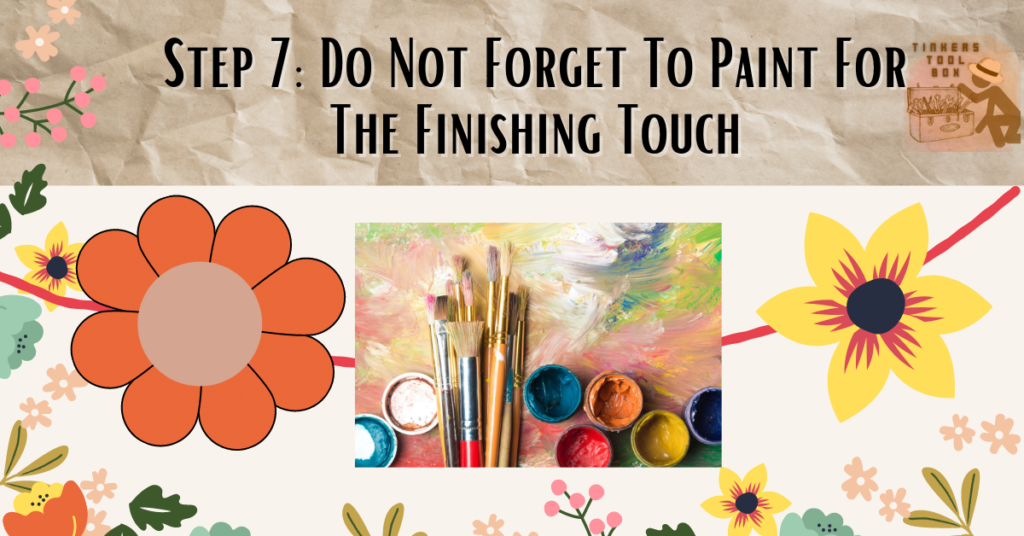
Paint is an important material if you add more color or perhaps color correction to your leather flowers. Assuming that you are using scrap leather, irregularities are natural, especially in its color. Here is when a painting comes in.
In painting the flowers, ensure that you are using the correct type of leather paint, particularly acrylic-based ones. Acrylic-based paints are readily available in stores, and you can use the regular ones used in paper and canvas on your leather since it is cheaper. However, it is not as long-lasting as acrylic leather paints.
If you plan to attach the leather flowers or decorate them in a constantly sun and dust exposed garment or area, it is best to invest in acrylic leather paints. It will make your leather durable and long-lasting.
What is ideal about using this type of leather paint is that it’s non-toxic and can be easily erased if you make a mistake while it’s wet. If you do not have a budget for buying acrylic paints, you can use a leather dye as another if you have one.
Although, usually, it has a different color than leather and is commonly utilized in furniture. Leather paints also have more color options that you can choose. It is also more vibrant than leather dyes. Once all the parts of the flower are painted, let it dry.
If you prefer to preserve the simple, natural, and rustic color of leather, you can opt not to paint your flowers. Even so, you can buff the leather to make it shiny.
Step 8: Use and Incorporate The Leather Flowers To Your Design
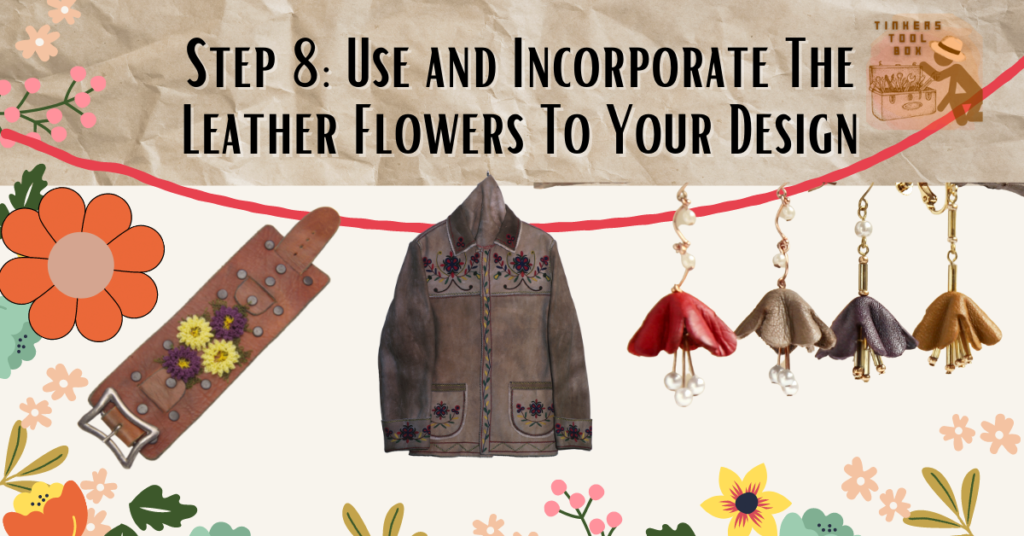
When you already have the leather flowers, you are now ready to use them. You can add it to your jackets, bags, and other garments.
Another option is to use this to decorate your desktop space, and it will surely add a new view to your workspace. You can add a DIY stalk or stem to the flowers so you can display them in a vase. You can also create accessories or leather pieces of jewelry with flowers that are cute and unique. You can make it to mix and match your style.
Step 9: Display the Leather Flowers Wherever You Like

Flaunt your leather flowers wherever you like. You can give them as a gift to your precious ones or keep them all to yourself. You put in your effort, and you deserve to show it off. Do not be afraid to display it, and continue to practice doing it. Who knows, someday, you can turn it into a business.
You may be conscious at first in displaying these flowers, especially if they are not yet perfectly done, but do not be; remember that this is part of progress. It is not expected to make professionally done leather flowers, especially if you are a beginner.
Displaying these leather flowers will be a good way to let others, like seasoned leatherworkers, criticize them that you can use to improve them positively.
Step 10: Take Care of The Leather Flowers
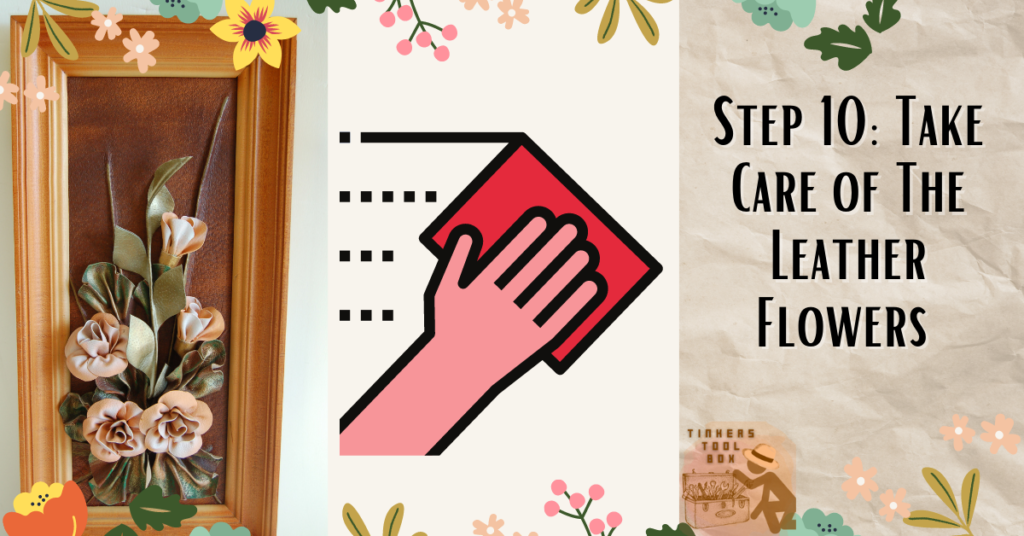
You may have intended the leather flowers you are making as an ornament or accessories for bigger leather projects like bags, wallets, and coats. You may also want this as a desktop decoration. Hence, the more reason to take care of the final flower output.
Whether it is for accessories or desktop ornaments, taking care of it is a must. You can do this by avoiding constant exposure to sunlight. Any leather products must be kept away from direct sunlight. Changing temperature can cause the leather to turn flaky, especially if it is painted.
It is also essential to clean it from time to time. You can do this by simply wiping away the dust and moisture. You can use leather wipes or leather cleaning solutions to keep them clean.
Step 11: Try Doing It Again To Make the Perfect Leather Flowers
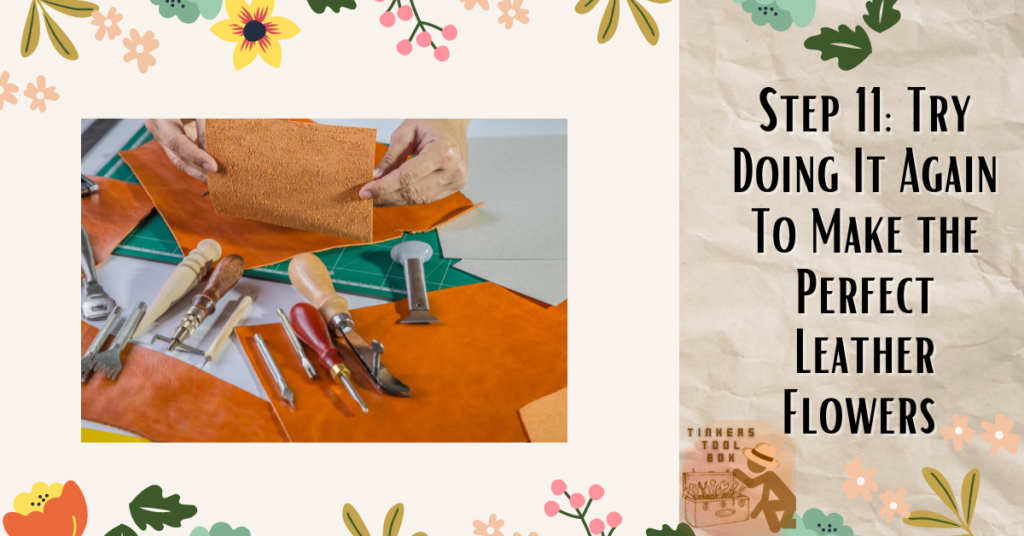
Creating your leather flower project will be truly satisfying once you finish them, but it should not be the end. If you have successfully made one, try practicing it over again when you have the time to master making these flowers.
You can do it when you want to utilize your spare time, or perhaps when you have another scrap leather from your bigger leather projects.
Making a leather flower will not be just a part of a project but can be your masterpiece. It is also definitely one great recycled leather art.
Step 12: Share and Teach How to Make This Craft To Others
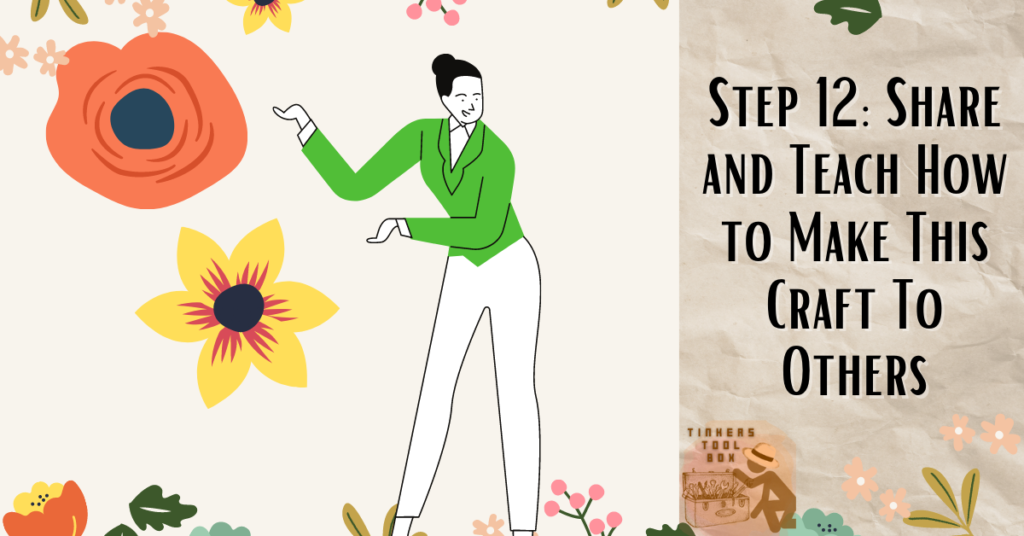
The next step that you can do to improve your learning in making these beautiful leather flowers is to teach them to your friends or anyone. One way to learn them by heart and master doing them is by teaching. Of course, this is up to you if you want to do this, but it will be a great part of the experience.
Passing the knowledge to somebody else will ensure that this raft or project will be made until the end of time. This may sound idealistic, but it is very important to preserve leatherworking skills no matter how simple it is. You can share a finished output with someone, and you can collaborate to come up with fresher and newer ideas to make it even better.
By sharing it, there are broader possibilities you can explore in the application of decorations or crafts like leather flowers. You will be amazed at how diverse you can use this in your leatherworking journey.
Conclusion
By doing these easy steps, you can now have a leather flower that suits your style. Like me who is fond of flowers but never had the green thumb, then these leather flowers are perfect since they will never wilt. When done, you can look at an aesthetically pleasing leather flower packed with vibrant colors. These leather flowers are also economical and are environmentally friendly and another potential upcycled product on your leather list.