I find leather knife sheaths cool and exciting, and it made me want to make one. That’s why I researched it and learned which tools I will use to create a knife sheath of my own. There are lots of tools used for leatherworking that may have confused you, so I made a list of tools you’ll need in making your very first knife sheath!
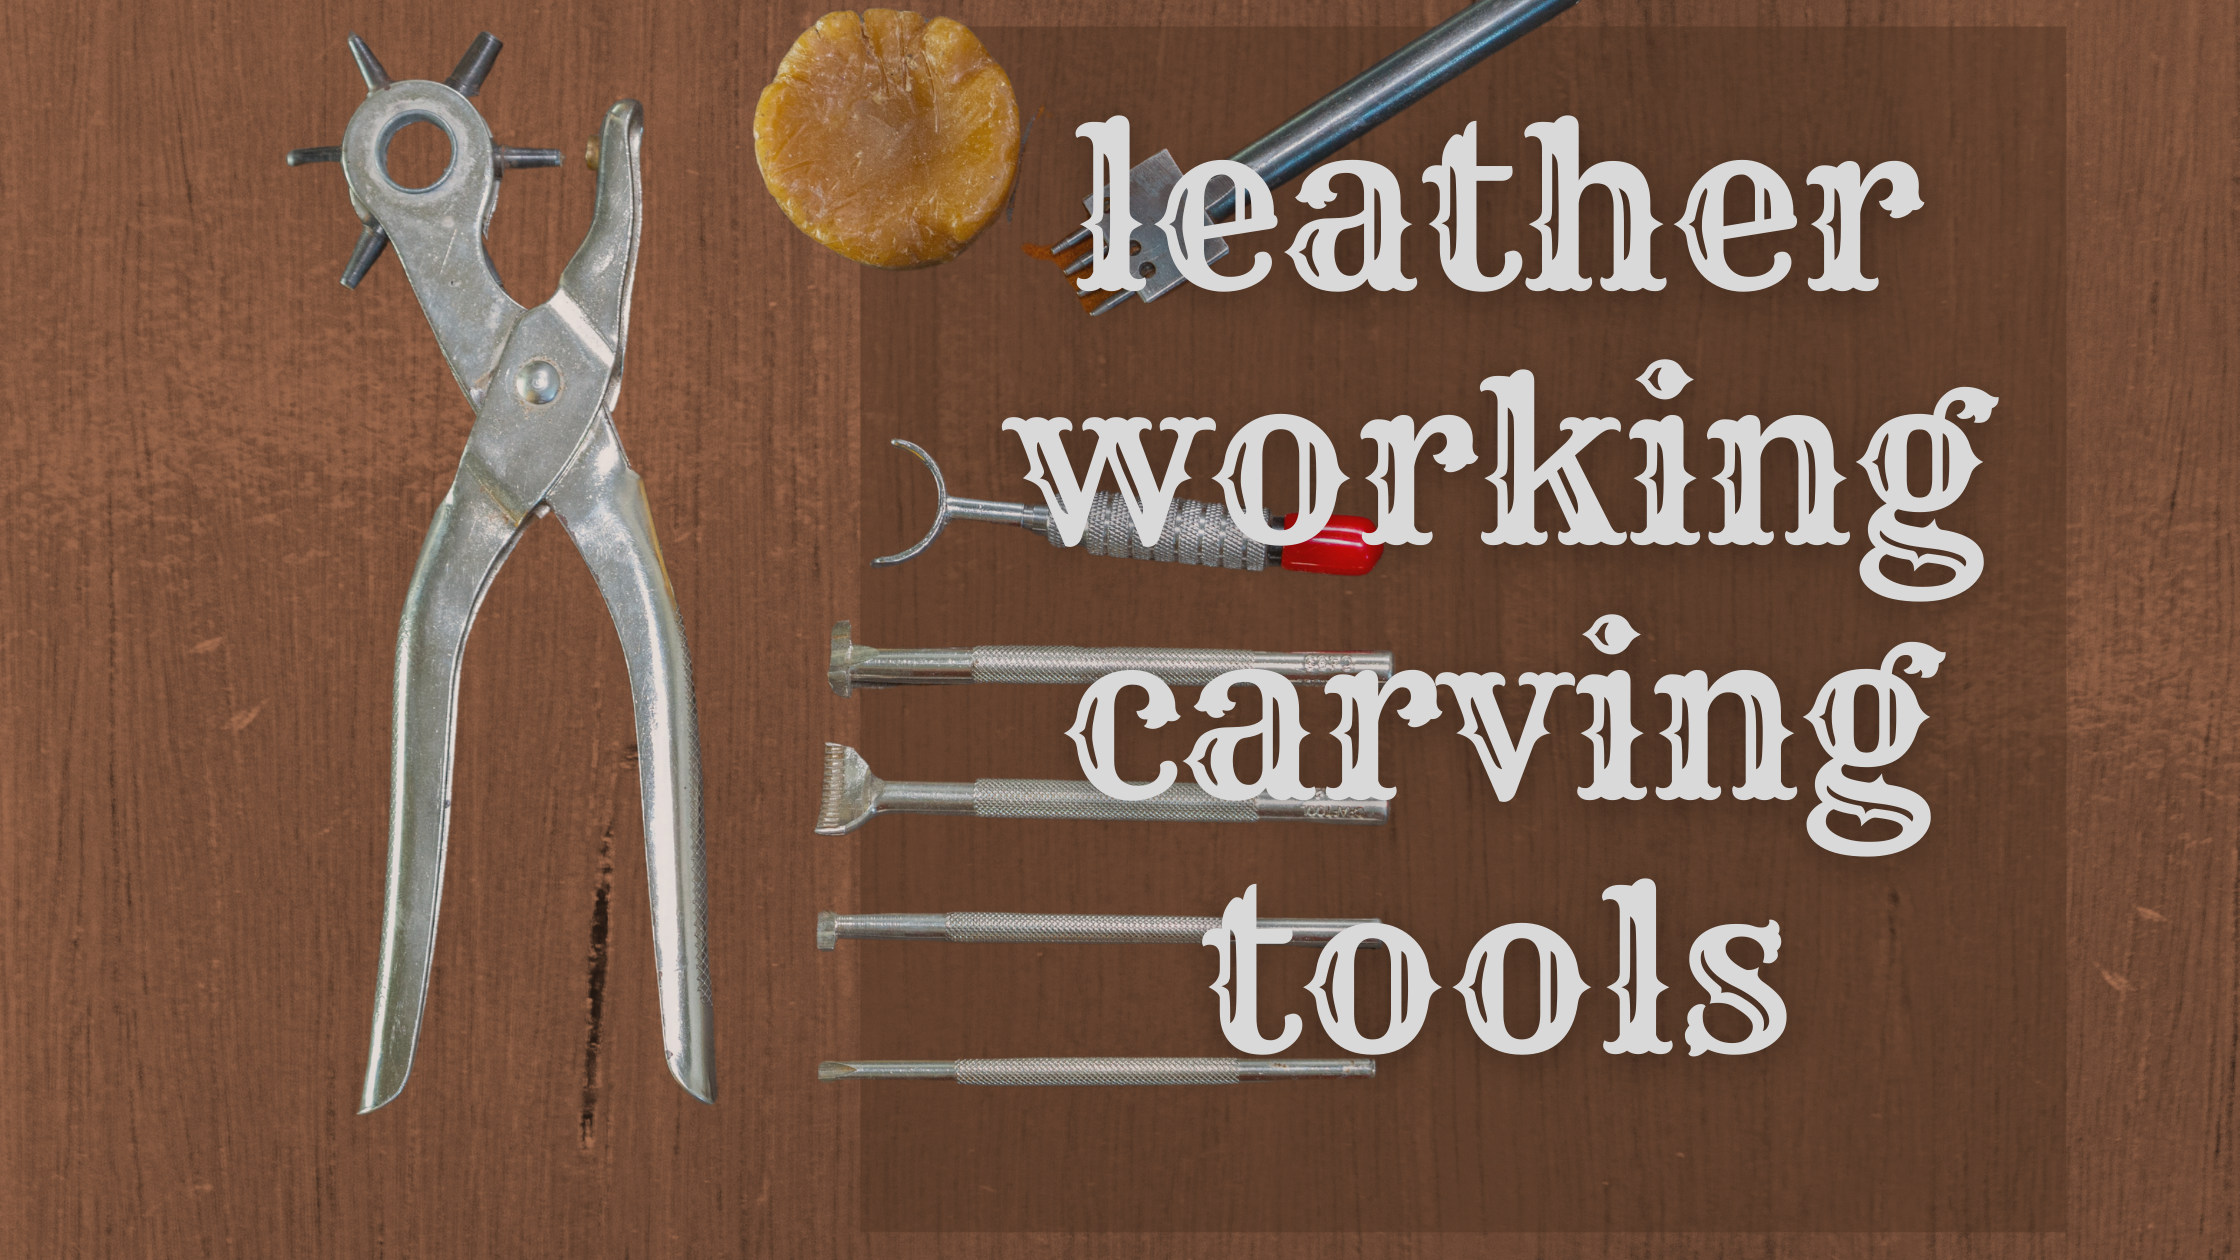
What are the leatherworking tools used in making a knife sheath? You’ll need tools for cutting and marking, such as awls and round knives for your custom sheath design, along with tools for binding like a needle, thread, and glue. You’ll need punches and stamps for designing. Then, supplies for polishing, dyeing, and coating for a protective finish.
A project like a leather knife sheath may require you to use different cutting tools for other parts of your work or different marking and punching tools for a specific use. This article will be your guide in choosing the tools as well as their importance in your project. I will also be including supplies that you’ll need along with the tools in creating your first leather knife sheath!
- Tools You Can Use in Making a Knife Sheath
- Brief Steps in Making Your Leather Knife Sheath
- Step 1 – Prepare Your Pattern
- Step 2 – Cutting the Knife Sheath Pattern
- Step 3 – Marking and Punching Stitches
- Step 4 – Dyeing your Leather
- Step 5 – Creating Folds for your Sheath
- Step 6 – Attaching the Belt Strap
- Step 7 – Attaching the Welt and Assembling the Knife Sheath
- Step 8 – Polishing the Edges and Applying a Protective Finish.
Tools You Can Use in Making a Knife Sheath
Cutting tools

Round or Head Knife
A knife sheath tends to have many curved cuts, and a round knife is a perfect tool. It has a rounded or semi-circle shaped blade that you can maneuver along the curved side of the pattern. Round knives also function to slim down a part of the leather by scraping the edges.
You may slide cut like a cutter or chop leather like a knife using a round knife. But first, you must gain control of your grip by holding onto the handle and sticking your forefinger forward like holding a table tennis paddle. Let your finger be your guide as you cut.
Skiver
You will be using a skiver when you have assembled and bound your sheath by trimming off excess leather on the side where you placed a welt for your sheath. Since this tool looks and works like a peeler, it would be easy for you to glide along the edges, removing the thin layers of leather off the sheath’s edge. Though knives can do the work, skivers make it easier to achieve a clean and equal edge finish.
Other Cutting Tools You May Use:
X-Acto knife is a good precision knife that lets you cut details your round knife can’t reach. This tool will allow you to cut small corners if you are making a sheath for a smaller knife. Another tool that may be helpful is box cutters that you can use along with the ruler to chop off straight edges of the leather portion. Since there will be much cutting, I would recommend a cutting board to avoid scratches on the table.
Marking tools

Wing Divider
You will need to make clean stitching lines and borderlines along your shear’s edge, and the wing divider is a great pick! It has a similar function to a groover tool but has a broader reach in comparison. You will be using this tool to create stitching lines of equal distance along the sides of the sheath, and you can also adjust the distance to create a second line that will serve as your border.
V-gouge
As you know, making a knife sheath involves some folding; and folding a thick piece of leather without creating creases can cause stress and unpleasant folds to the leather. A V-gouge is a gouging tool used for drawing the folds by creating neat creases. You will need to mark where you will be folding; in this project, it will be the sheath centerfold.
You will apply some pressure to the V-gouge and bevel through the line to create creases. It’s like using an edge beveler but not on the edges! A trick on using V-gouge, do not go all the way to the edges; instead, stop at least a centimeter from the edge, rotate the leather, bevel from the edge, and meet where you stopped gouging.
Other Marking Tools that You May Find Necessary
You might find stitching awls useful if in marking stitching points and as a stitching tool as well. Since there are instances where the sheath becomes too thick for the pricking iron, awls come in handy. If you want to create deeper marks, a stylus or modeling tool can help to bevel lines to emphasize your design.
Punching and Stamping tools

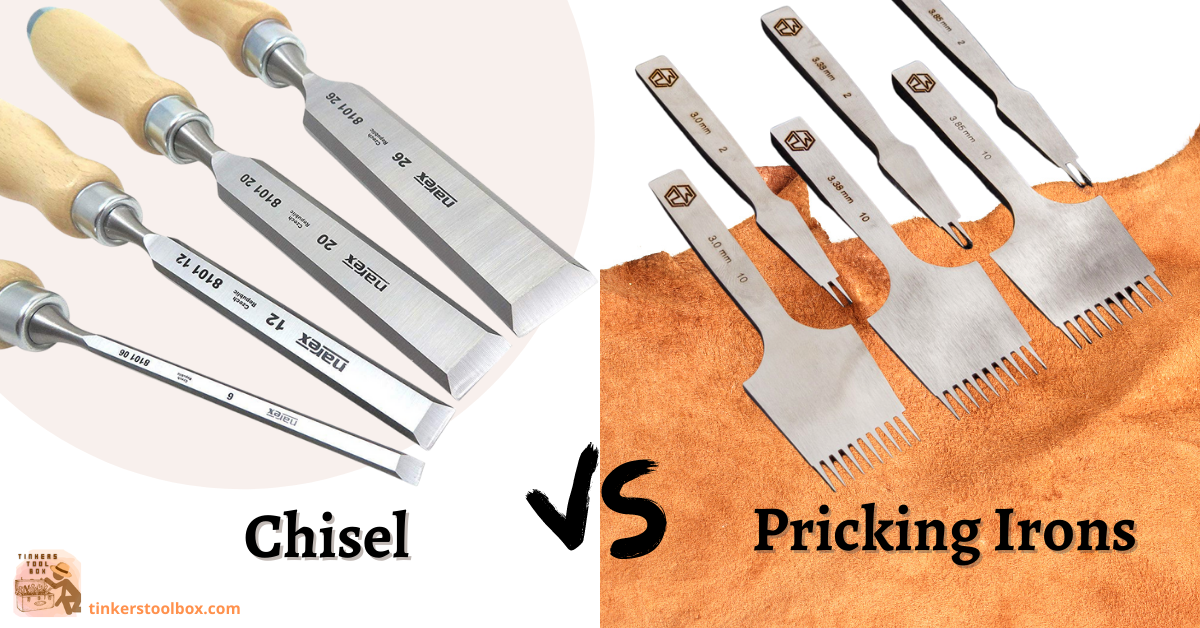
Pricking Iron or Diamond Chisels
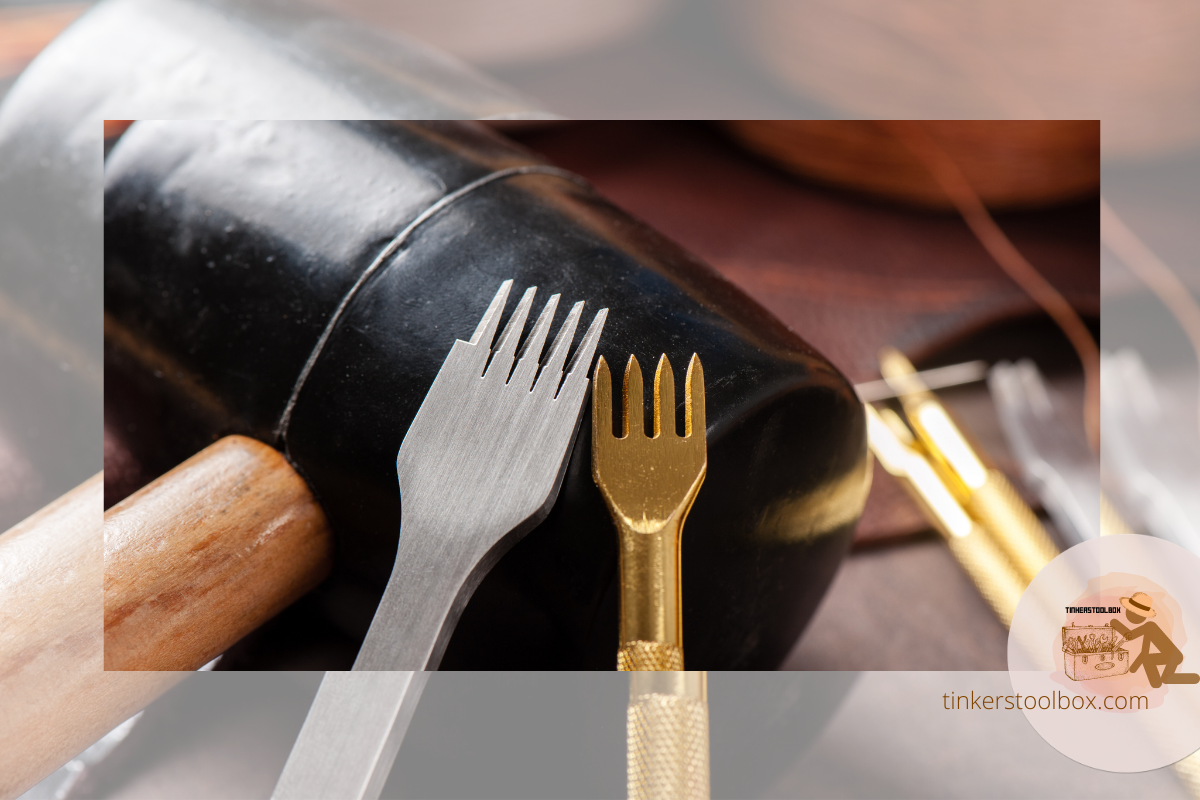
Since the sheath will be using thick leather, you will need to use strong punching tools like pricking irons to create multiple holes simultaneously. Pricking irons will create equal distance between stitches. I would recommend using a five-teeth chisel to punch along the straight edges and a two-teeth chisel for the curved edges of your knife sheath. A quick tip, you can achieve perfect stitch punches by holding your iron 90 degrees vertical against your leather and hitting it with a mallet straight from the same angle.
Mallet
Using pricking irons alone can’t punch holes in your knife sheath; you will need a mallet. A Mallet is what you will use to hit the pricking irons in punching stitch marks tracing the line you made. You can also use this tool to hit the leather edges after sewing, leaving the edges with an even finish. Mallet will be the same tool that will hit the stamp punches you’ll use for designs.
Stamp Punches
Although you can make a classic style leather knife sheath without design patterns, stamping designs is not a bad idea. Stamp punches came with various designs to choose from, so choose one that you’ll use for the sheath’s border patterns. You may also use your logo stamp along with a stamp presser if you have one.
Polishing tools
Belt Sander
After skiving the edges of your sheath, sanding them makes it smoother and ready for further polishing. A belt sander is a machine used for quick and equal sanding of the leather edge, so machines come with a grinder too! Since a knife sheath seems thick, sanding using a belt sander or a grinder makes sanding faster than using sandpapers, although you can still push for manual sanding. Just a tip, sandpapers will come in handy for manual sanding the sides while wet for extra polishing.
Wooden Burnisher

Of course, you will need to eliminate those frayed edges. This wooden slicker will help finish off the sheath’s edges after sanding and waxing the edges. Burnishing the edges will keep the leather from fraying, thus making your knife sheath last long. Just make sure you have applied enough pressure in slicking the sheath’s edges.
Binding Tools
Clamps
In making your knife sheath, we will be skipping those large leather clamps. The kind of clamps we’ll be using are clip type leather clamps. These leather clips will function to keep the leather nicely folded while waiting for the glue to dry up. We will also use these clamps to hold the leather sheath in place while we do the stitching because you don’t want to ruin the form of the sheath with those large clamps.
Contact Cement
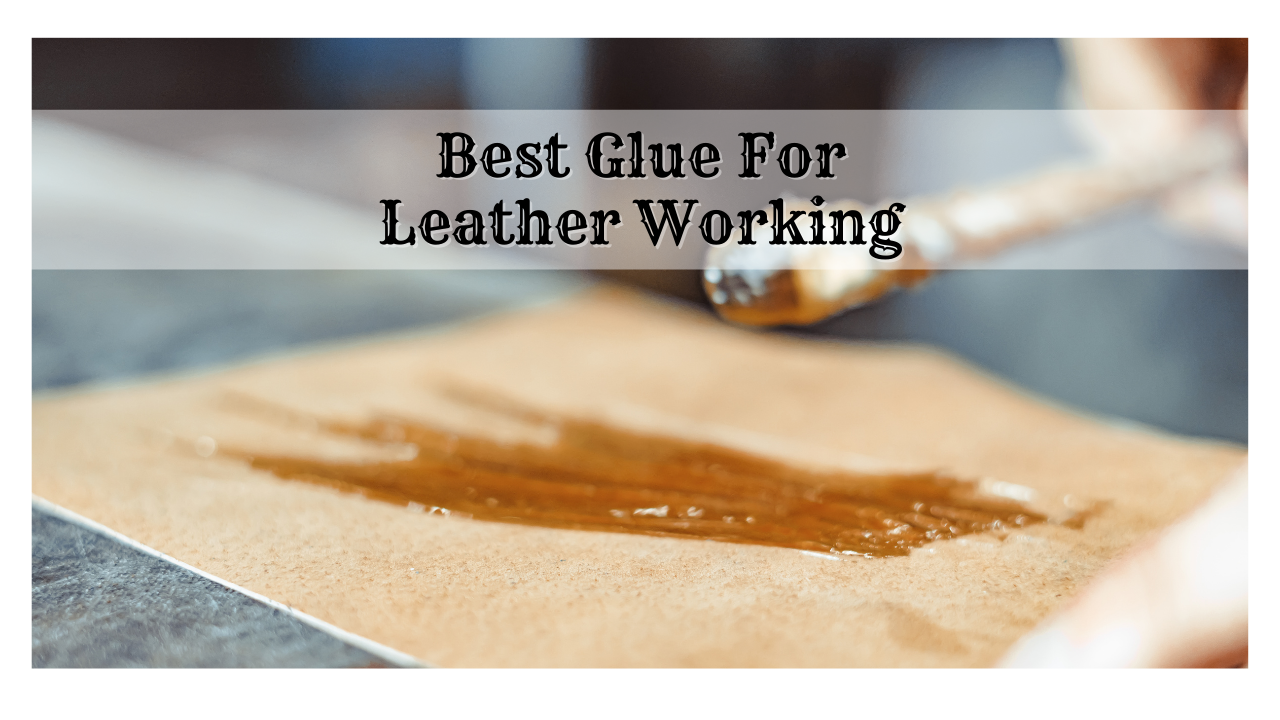
The most flexible type of glue in leatherworking is contact cement. You will glue the sides before stitching to provide a strong bond for the sides of your sheath. All-purpose contact cement is the recommended glue to use in this project since we will be sewing. You must also leave it for 5-15 mins to dry after applying before attaching the pieces using contact cement. This process will make gluing more effective.
Thread and Needle

Glue alone is not an adequate bond for the leather knife; hence, you will always need to stitch. Just make it a point to sew the parts together clean using waxed nylon and two needles. You will need to sew in, attaching the belt strap, and securing the sheath’s sides.
Supplies that You Will Need for Your Knife Sheath
Dye

There are three types of dyes for leatherwork: alcohol or solvent-based, oil-based, and water-based. But in doing your knife sheath, we will be using an alcohol-based dye, which is not that expensive, can be removed easily from surfaces with alcohol, and can be absorbed more evenly than water-based.
Your sheath will need dyeing to color and to add protection as well. Before creating any fold, apply thin layers of dye one layer after one on the sheath’s whole front until the color is evenly soaked in. You may use the dye on the top half of the reverse side.
Beeswax
Beeswax is useful in refining the edges of the leather before burnishing. Beeswax protects and strengthens the edges of the leather of your sheath. You will also use beeswax for the thread; it makes it stiff, prevents the thread from fraying, and keeps the thread from slipping out of your needle.
Protective Coating
If you want additional protection aside from the dyes and wax, the protective coating helps keep the knife sheath for a long time. It makes the leather easy to clean and makes it dirt and water-resistant for easy cleaning.
Protective coatings can be oil, wax, or water-based types. But here, we will use water-based acrylic finishes like Resolene to achieve a shiny finish to your sheath. The protective coating will be the last coating applied after assembling your sheath and shall be done in thin layers.
Brief Steps in Making Your Leather Knife Sheath

Now that you’ve learned about the tools you will use to create a knife sheath, let’s try to make it. Here I will teach you how to make an actual leather knife sheath!
Step 1 – Prepare Your Pattern
Choose the knife you are making a sheath for, and base your pattern on the knife’s size. Trace the knife on an A-4 size sheet of paper and make allowances for folding and make it symmetrical. Create a welt with the same shape as your sheath side and a rectangular piece for the belt strap. In laying the pattern on your leather, you may use translucent tape to hold it in place.
Step 2 – Cutting the Knife Sheath Pattern
Using your round knife, slide-cut around the pattern: start with the straight edge, then slowly cut the curves. The trick in using a round knife is to hold it like a tennis paddle. Do the same with the welt (but make allowances) and the belt strap.
Step 3 – Marking and Punching Stitches
Get your wing divider and use it to create a stitching line from the edge at least 1cm, by gliding around the edges. Widen the wing divider by another 5mm and slide along the edge to create the border. You may use the design stamps along the border and punch them using the mallet.
On one side of the sheath, hold the 5-teeth pricking iron 90 degrees vertical against the leather punch holes. Then hit it with the mallet down at the same angle across the straight edges. Do the same trick in using the 2-teeth chisel to punch holes along the curved areas.
Step 4 – Dyeing your Leather
To start this process, damp the leather from the back and allow the water to seep in to make it flexible and, at the same time, gives the reverse side some texture. Before the leather fully dries up, soak the applicator into the dye and spread the stain in the leather’s front with thin layers until the color looks even. Do this step at the top half of the reverse side. When the dye dries up, buff the surface with a cloth or canvas to remove the excess stain that may come off.
Step 5 – Creating Folds for your Sheath
Flip the leather to face the reverse side. While keeping the fold allowance of 5mm on each side from the center, mark a straight line with an awl and ruler. Using your V-gouge, bevel straight creases to make the folding easier. Fold the sheath gently to avoid stressing the leather. You don’t have to fold too much; we’re just molding the sheath’s shape with this process.
Step 6 – Attaching the Belt Strap
The belt strap is a separate piece. You will start to punch stitch holes on the two short sides of the belt strap. Position the belt strap vertically, parallel to the sheath, and using the pricking iron, mark where you will sew. Remove the belt strap, then punch on the marks you created. Place it back and sew the belt strap into the sheath with saddle stitches.
Step 7 – Attaching the Welt and Assembling the Knife Sheath
Get the piece you will use as welt. Apply contact cement on the welt and one side of the sheath. Wait for at least 10 minutes, then stick them together. Using the holes you made earlier as a guide, punch holes to the welt.
Fold the sheath and mark stitch holes on the other half of the sheath. Then punch the holes with your pricking irons. Apply the glue on the other side, wait for another 10 minutes, fold the sheath, and then clamp it together with the leather clips. When the glue has dried, and the sheath’s form looks great, make a saddle stitch along the edges with your waxed thread.
Step 8 – Polishing the Edges and Applying a Protective Finish.
Start by trimming off the excess leather from the side with the skiver. Sand the edges with a belt sander. You can manually sand, but it will take a lot of effort to do so. Apply beeswax on the perfectly sanded edges and burnish with a wooden burnisher. Keep smoothing until there are no frayed edges.
You can now apply layers of thin and even water-based acrylic protective coating. Fit your knife into the sheath and apply gentle pressure to the side where the blade is so that the sheath can take its shape. Another useful tip, you can cover the knife with cling wrap, then flush water into the sheath before fitting the knife. This way, the sheath will loosen a bit and perfectly mold to the shape of your knife!
Conclusion
Knife sheaths are fantastic, and they take a lot of work too. But leatherworking is fun! You just need to find the right tools and enough supplies to complete a project. Being familiar with when and how to use tools will ease the work. It is essential to know which tools work best for you to be comfortable using them. Now that you have created your first knife sheath go and make as many leather crafts you can think of!

