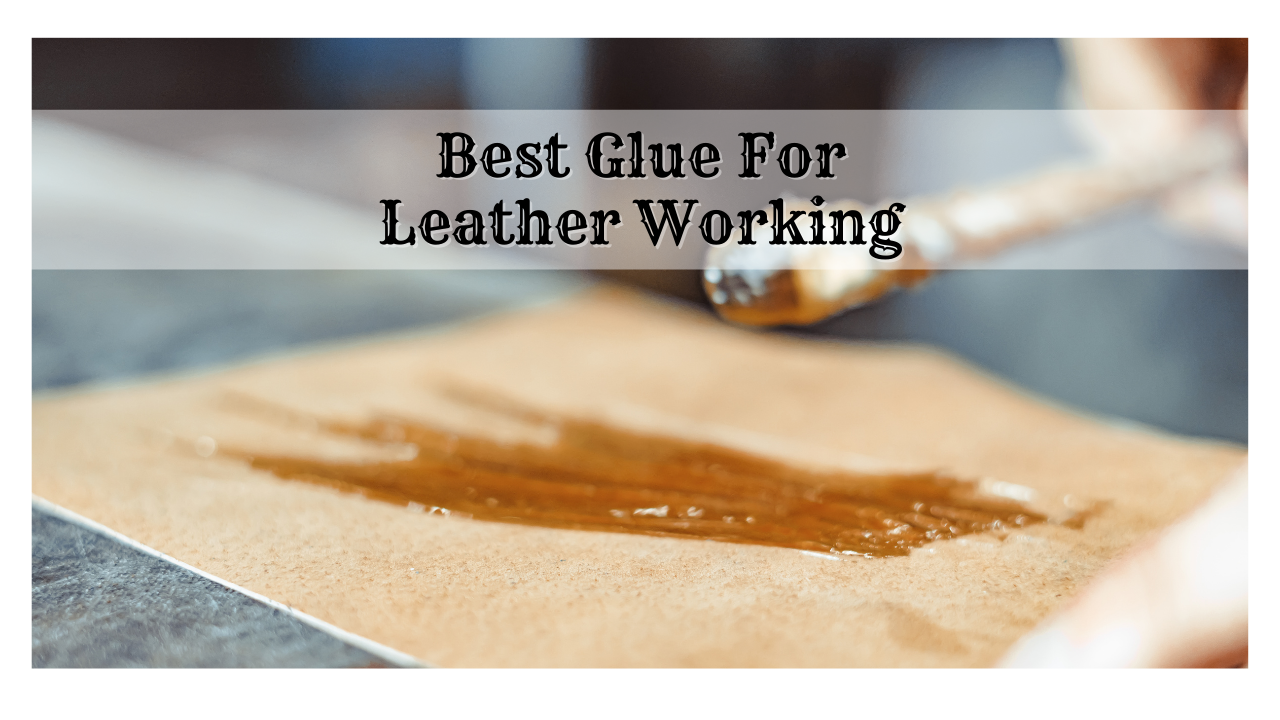
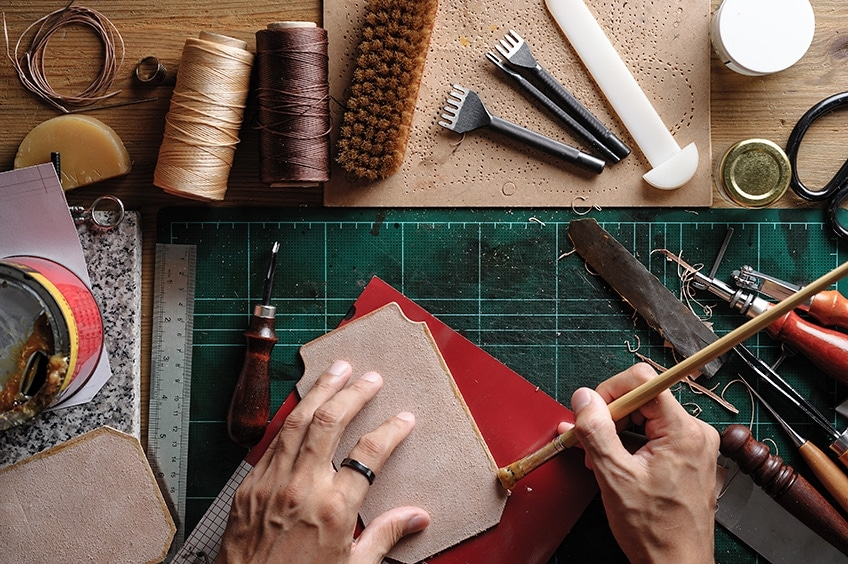
In leather crafting, choosing the most suitable adhesive for your project is just as crucial as learning proper stitching techniques, using tools, or selecting the correct finish for your leather. You’d have to work around your budget without sacrificing quality bonds. I’ll be guiding you towards perfect glue.
What is the best glue for leatherworking? Tanners Bond contact cement and Barge All Purpose Cement are the best glues for leatherworking. Once applied using the correct technique, they provide long-term robust waterproof adhesion to your leather projects without the need for further stitching and nailing.
In this guide, I’ll provide you with the ultimate buyer’s guide on the top contact cement brands for gluing your leather. I’ll be telling you why you should get them and what makes them perfect for any leather job. Most importantly, handling the perfect glue must come with the ideal technique and you’ll be learning that here too!
Reasons Why You Need The Right Glue
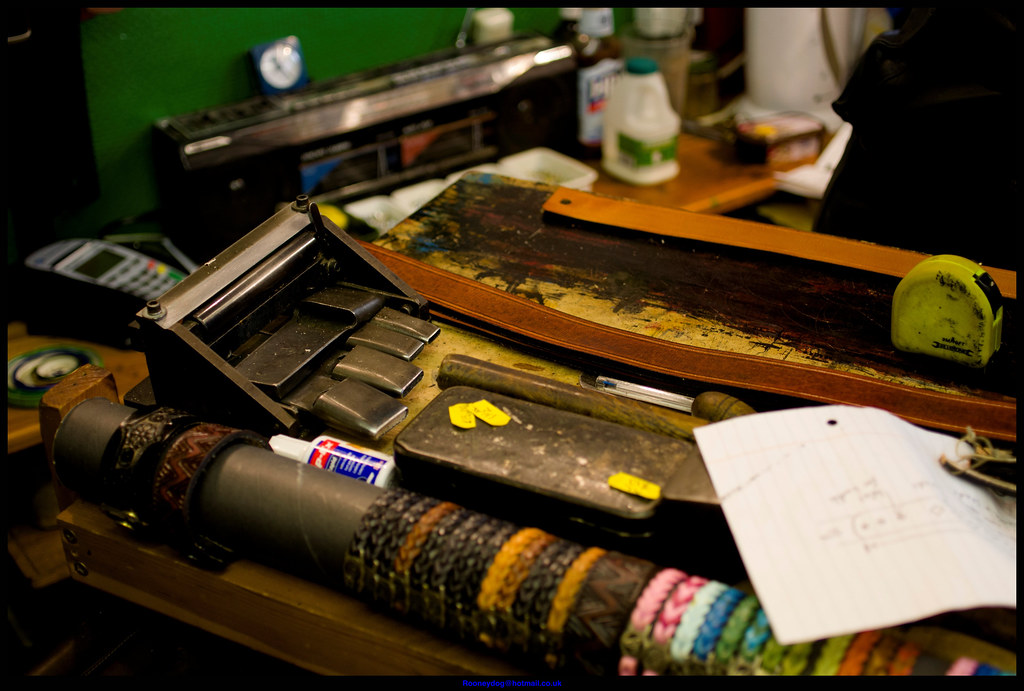
Image Source: “Made to measure” by Rooney Dog is licensed under CC BY-ND 2.0
Having the quality glue gives you quality adhesion and therefore results in more professional leatherwork. In leather projects like belts and wallets, you begin working on smaller layers that you would eventually combine to make up your finished product. With the perfect glue and the right technique, you’d be making sure that these layers are securely intact.
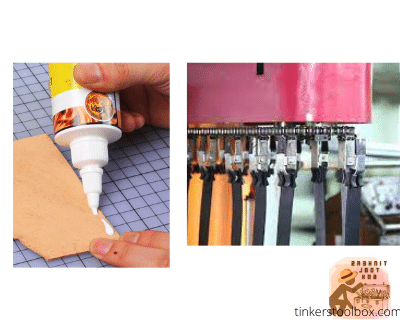
Various adhesive types each require a different application process. For example, common white leather glue and leathercraft cement have a simple in and out process. You’d only need to apply them on one surface rather than both surfaces that you’re trying to stick together and you’re pretty much finished. White leather glue involves a much simpler application process like basic art glues that we all had gotten accustomed to in primary school.
Contact cement, on the other hand, requires a much more detailed process. Unlike using superglue or white glue, where you could control how much adhesive comes out by squeezing the tube, contact cement brands usually are sold in bigger sealed cans. You’d need a brush or a roller to dip into the can and to efficiently spread the adhesive across both surfaces of what you’re trying to stick together. I’ll be discussing the proper contact cement techniques later on.
What To Consider When Choosing Your Glue
Here are the different factors you’d have to look out for when choosing the perfect glue.
Flexing And Tension
When gluing lightweight materials like thin sheets of leather to another leather or fabric, leathercraft white glue like Fiebing’s Leathercrafter’s Cement or an adhesive spray from 3M would suffice for the job.
On the other hand, more advanced projects like belts or leather tool roll-up cases commonly come under a lot of stress during usage and require a more permanent and robust bond from contact cement.
Drying Time
Take note that while most of us have had enough time to get started on our leatherworking hobby, not everyone has the same luxury of time to wait for adhesive to fully cure and work at a hundred percent. Although a faster drying time would be better, it is best to consider that durability must be more of a priority.
Adhesive Durability And Water Resistance
The most important of all is to consider the glue that would stick for as long as how you intend it to. You wouldn’t want to be looking for superglue at the office just because you soaked your leather shoes in rainwater on your way to work. Better be safe than sorry by choosing a glue that is resistant to both flexing and water submersion.
Contact Cement – The Perfect Bond With Zero Mistakes
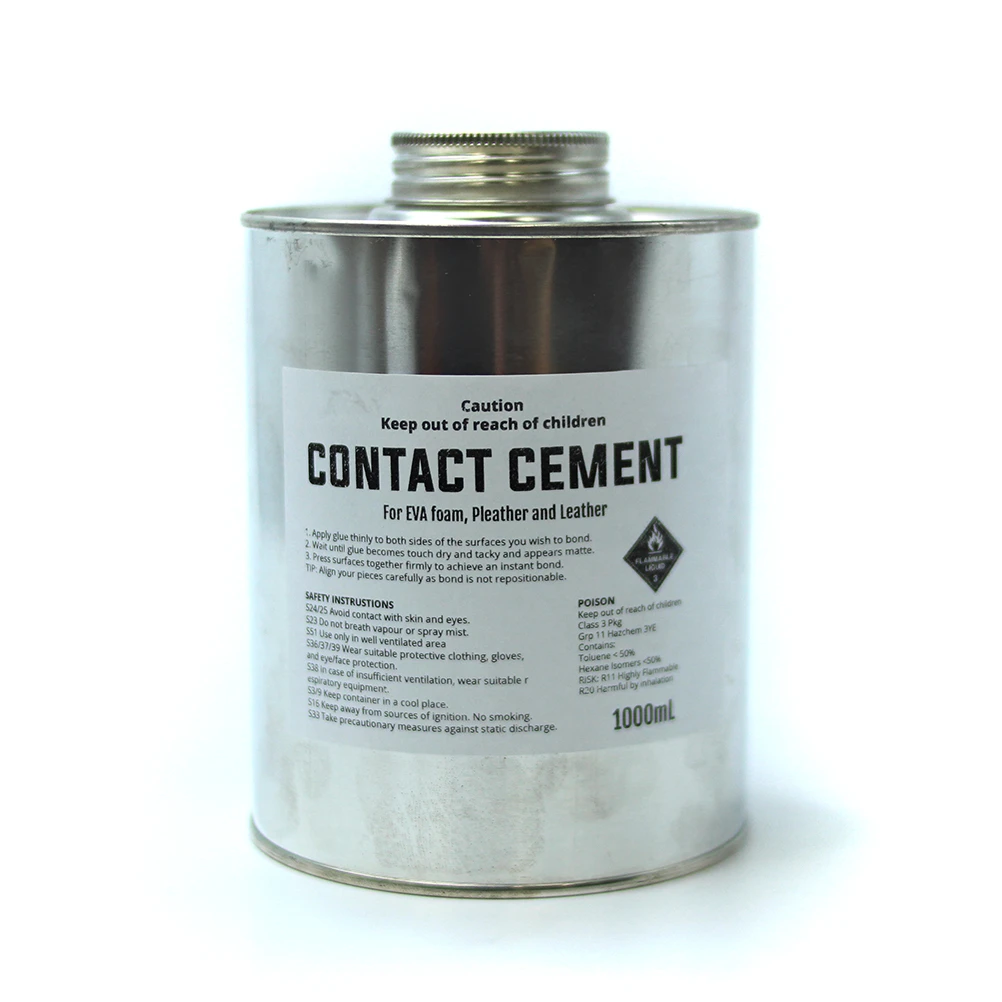
Considering all the factors as mentioned earlier above, the glue that would perfectly fit any of your leatherwork is contact cement. With contact cement, you wouldn’t have to worry about drying time, durability and water resistance.
Although it produces a strong permanent bond, contact cement does not have a brittle behavior and is resistant to both flexing and water contact. Unlike generic superglue or an art glue, contact cement could be subjected to all kinds of flexing and water submersion once it is fully cured on your leather.
The best thing about contact cement is practicality. Contact cement is usually sold in large quantities contained in airtight resealable canisters. At room temperature, most contact cement has a shelf life that would last from 1-2 years with perfect consistency. If you have other endeavors besides leather crafting, contact cement would also work on wood, rubber, plastic and even concrete.
Barge All Purpose Cement
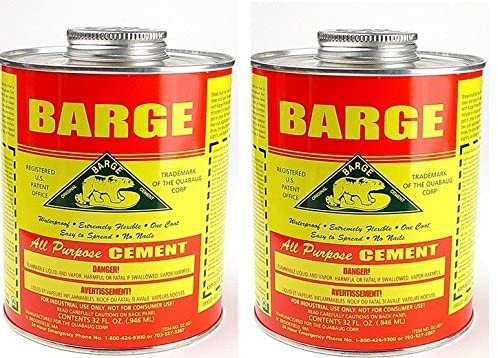
Reasonably Priced At A Quart (32. Oz)
Being sold at a quart, you surely wouldn’t need to break the bank if you’re going to be working long term on multiple leather projects. For just one leather project, you’re going to have to be doing something wrong to waste a whole quart. At $24.25 a quart, not only are you getting less for a secure permanent bond but you’re also saving up for other leather tools and materials. It is also important to note that the Barge All Purpose Cement is lower than its fellow competitors.
Resealable Packaging
Like most contact cement brands, Barge All purpose cement is sold via resealable canisters. It is suitable for keeping air out of your contact cement and great if you would like to take breaks while finishing your project. You need not to worry about finishing the canister of contact cement in one go as long as you seal it tight after every use.
Superior Flexibility, Strength And Versatile
Barge All Purpose Cement, once fully cured, is waterproof and flexible. Give your cement the most optimal drying and curing time to get the most of Barge contact cement. On top of all these, Barge All Purpose Cement saves you the trouble of buying threads, needles or nails because its bond alone is already enough to hold your leather together without the need for sewing and nailing.
Tanners Bond Contact Cement
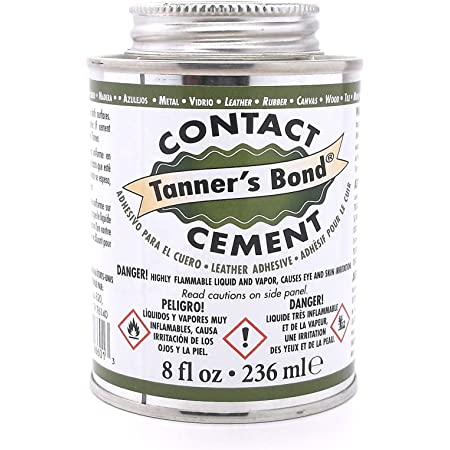
Flexible Waterproof Adhesion
Like Barge, Tanners Bond Contact Cement also offers flexibility and waterproof adhesion once cured on your leather. As you read further into this guide, we’ll get you accustomed to the proper steps of the ideal drying and curing time for contact cement.
Complete Package Of Stickiness
The Tanners Bond Contact cement being sold at $34.99 is relatively higher than Barge at a quart. Although there is a ten-dollar difference, Tanners Bond Contact Cement already comes with a brush attached to the lid for cement application. There is also a smaller 8 oz. option available priced at $14.99 if you’re quite juggling material costs.
Tips And Tricks On Applying Contact Cement
Now that you have a clue on the perfect glue, learning the proper gluing techniques is the next step in jump starting your leather crafting hobby. Take note that contact cement gives a pretty much permanent bond and therefore provides very little room for error once you have decided to stick things together. If you try to undo any error after bonding, you could end up tearing off the surface of your leather.
Apply Contact Cement On Both Surfaces To Adhere
Unlike art glue, super glue or epoxy, contact cement requires application to both surfaces for it to work. Contact cement does not necessarily directly stick to anything but to other surfaces that also have contact cement. Keep in mind that you’re applying even amounts of contact cement to both surfaces.
Be Patient Before Sticking
Do not jump into sticking your surfaces together once you have applied contact cement. Contact cement will not stick while it is still fresh and wet. Wait for around 5-15 minutes before piecing your leather together. The correct timing for you to proceed with sticking is when you can observe that the contact cement has lost its glossiness and turned matte.
Flatten Out Contact Cement Across Surfaces
For conservation and drying purposes, make sure to apply a thin layer of contact cement on your leather while still covering all the areas you’re planning to stick. You could do this by dipping just half of your brush into the canister before applying contact cement. Keep brushing on your leather until it is flat but glossy enough to know that there is just enough contact cement. By doing this, you’re making sure that you’re consuming just the right amount of contact cement while speeding up the curing process. Once you have sticked your surfaces together, you can use a towel to wipe off excess contact cement dripping at the sides.
Keeping Your Contact Cement In Top Consistency
Both Barge and Tanners have available thinners to pair with their contact cement. As air is able to slip into your contact cement container over time, your contact cement will thicken and therefore make it harder to apply on your leather. With a thinner, you can revive your contact cement back to its original consistency.
Not Just Any Superglue On The Market
Although superglue is marketed as a robust all-purpose adhesive, they are not ideal for leatherworking. Once superglue has dried, it becomes brittle and provides no reasonable flexibility to adapt to your leather. Once applied and dried on your leather, it would break down as soon as flexing and tension started. More importantly, most leather surfaces are oil dyed and therefore prevent superglue from sticking.
Conclusion
Using the perfect adhesives and techniques from our guide would surely jump start your leather crafting journey. With Barge All Purpose cement and Tanners Bond contact cement, you wouldn’t need to worry about your leather goods falling apart as long as you stick to the proper tips and tricks. While any glue could do a good enough leather job, a mean looking professional leather project comes from going for the perfect leather glue.