The belt is worn to secure the pants or skirts or for adding style to your everyday get-up. Mostly, belts are made of leather from a cow and cattle. This is because cow-hide provides durability in producing leather belts. Other belts, especially the cheaper ones, consist of various layers made from foam, plastic, cardboard; hence it is not sturdy enough and will not last long. Fortunately, leather belts can be done by anybody at home. Making your belt with the right materials will ensure a real leather belt that will last for years.
How to create a leather belt? Prep the tools and type of leather you want to choose. Measure the length and cut the strap using a knife or strap cutter. Make the tip of the leather, punch holes on the leather, and skive or thin sides. Secure the buckle and dye if you desire.
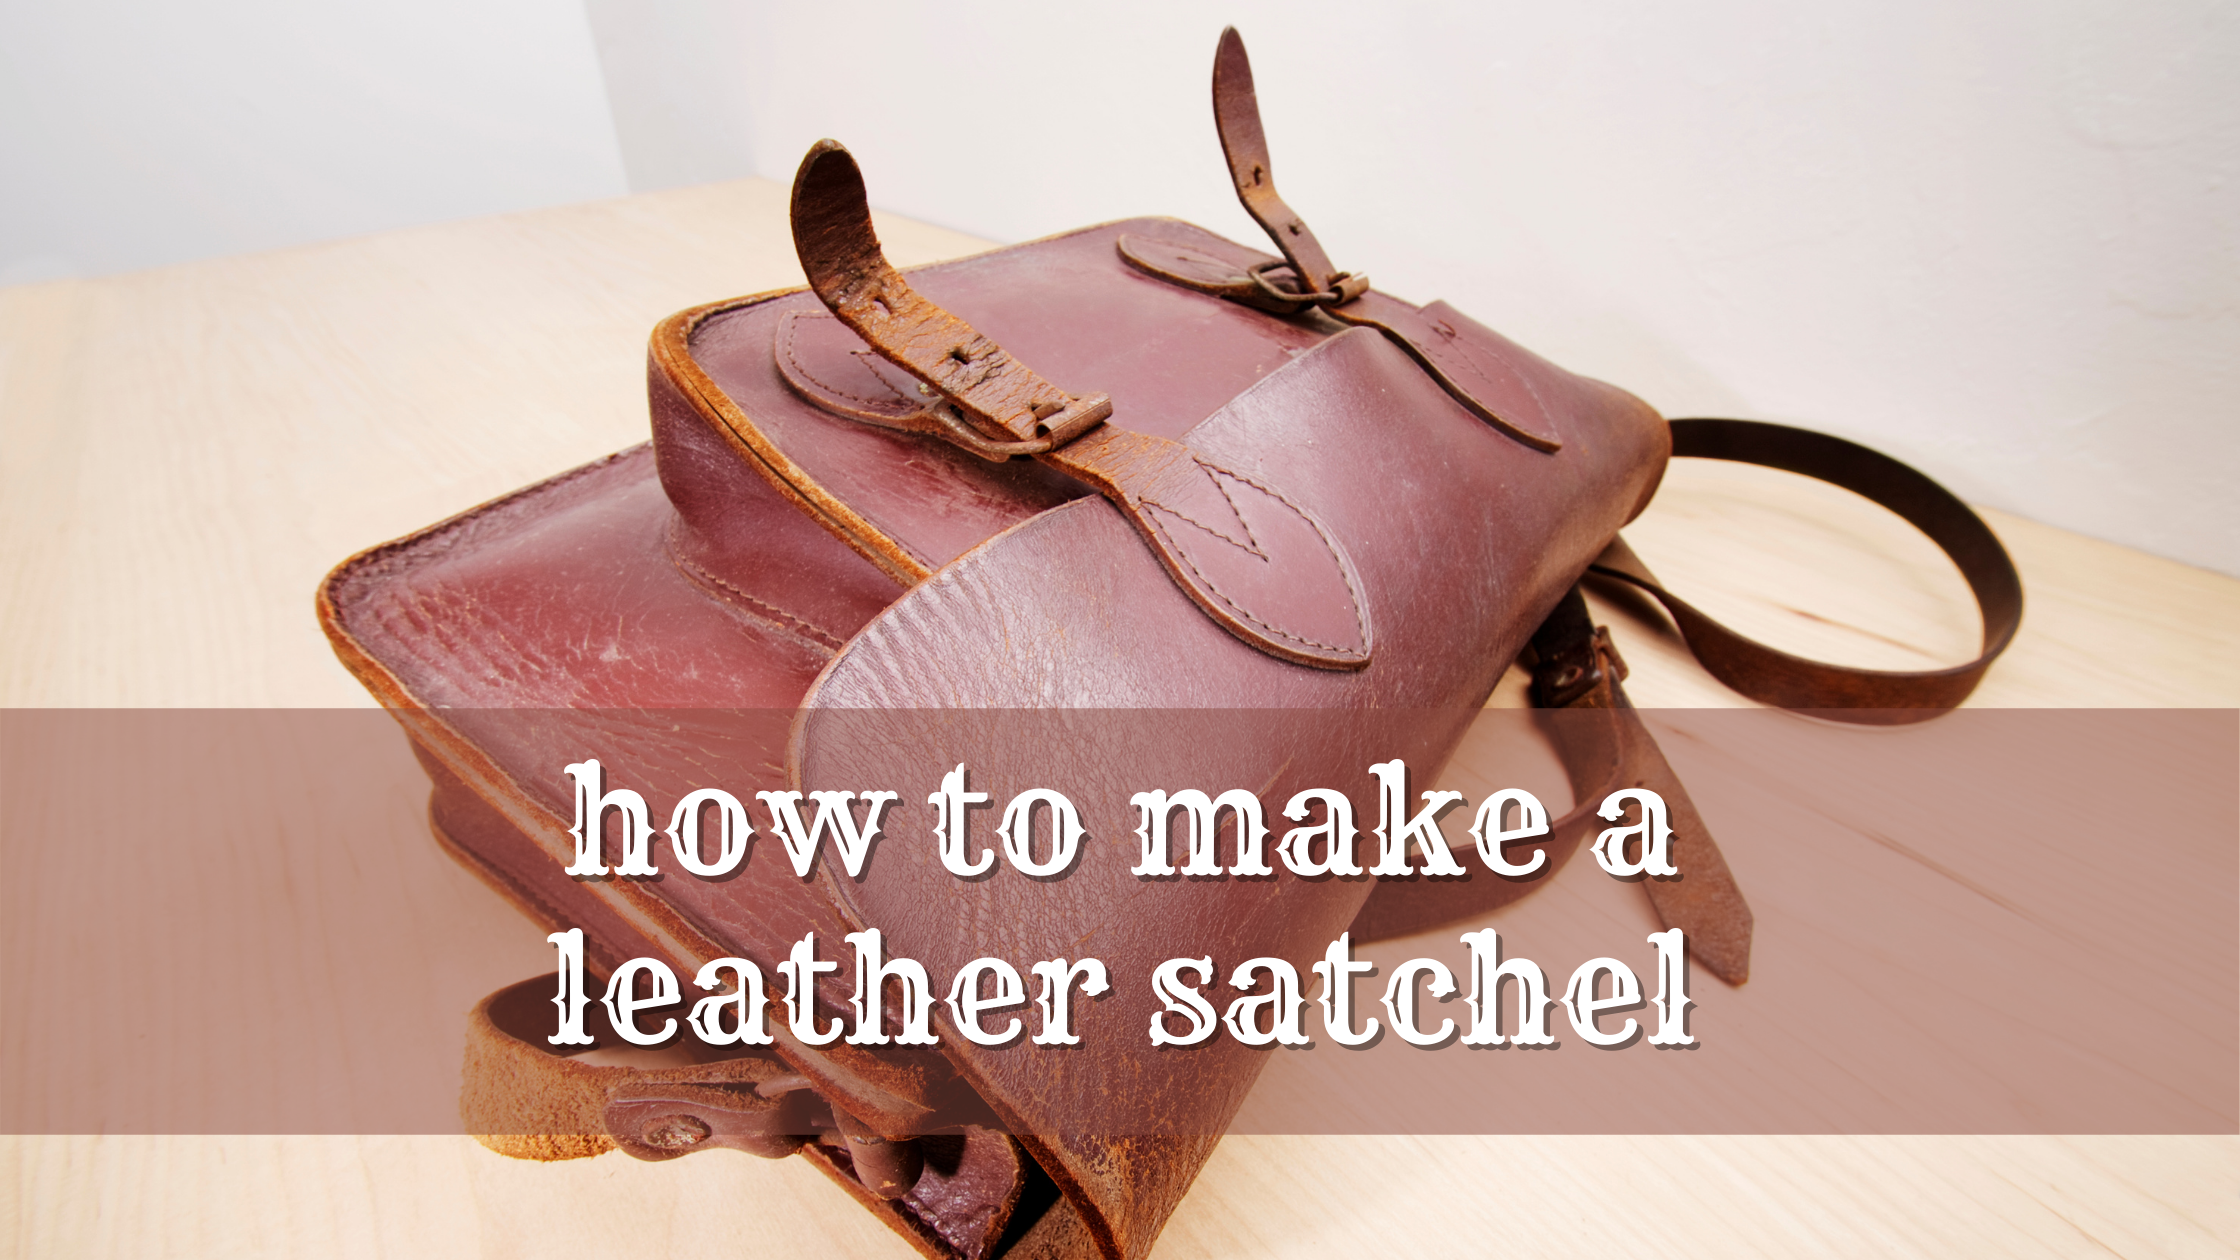
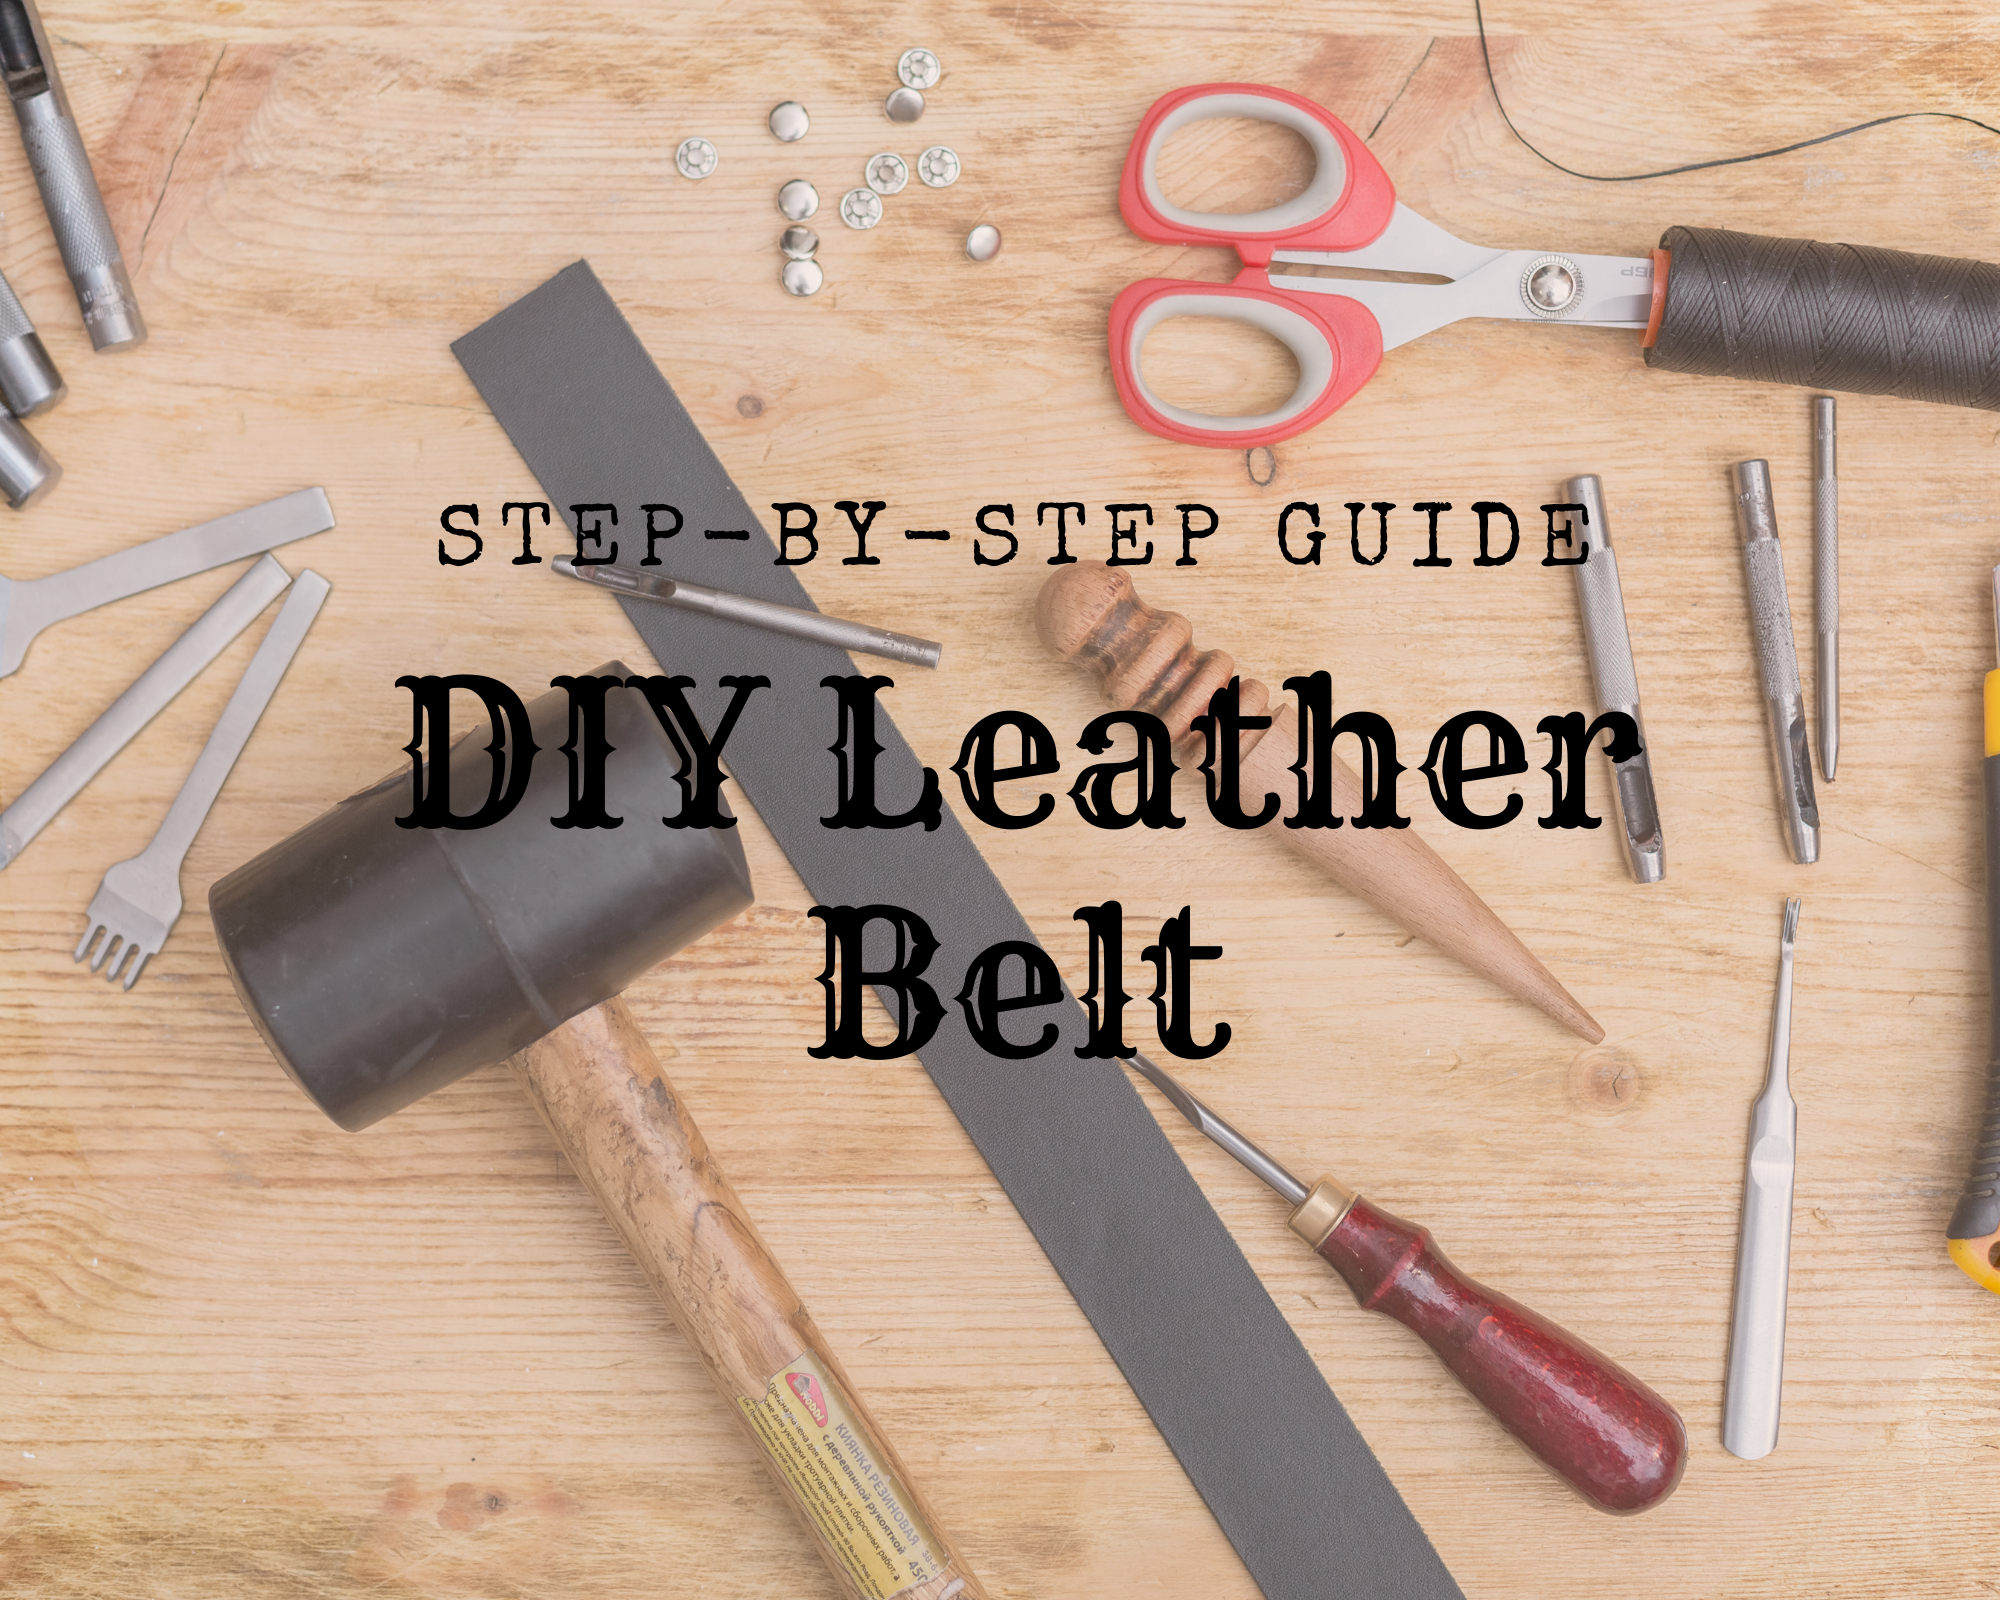
If you are fond of using belts for your everyday get-up or collection, you should indeed learn to make your DIY belt that guarantees one made of real leather. Apart from its durability offered in a handmade leather belt, the making process is learnable. This process is helpful, especially in this pandemic time that you cannot go out of your homes to buy any belt. Instead, you can opt to make the perfect one for yourself. In this article, I will share the step by steps procedure in making a leather belt. Also, share the tools and some tips you can use to enhance your workflow.
A Part of The Whole: Getting Ready with the Materials And Tools

The materials and tools in creating leather belts are mainly sharpening the knife or cutting tools to produce leather straps. Preparing these tools includes the knowledge of using them. These leather tools in making belt include the following;
Materials You Will Need

Start with choosing the leather you would like to use. Full-grain leather is the most durable type of leather intended for heavy-duty crafting, which includes belt making. Next, prepare the full-grain leather or vegetable-tanned leather, and belt buckles.
A leather buckle is used to complete your belt project. It is mounted in the leather’s skived part, mainly connecting the belt strap when used. Rivets are also needed, which are used to attach or join two or more pieces of leather.
Your Tools Are Your Best Buddy

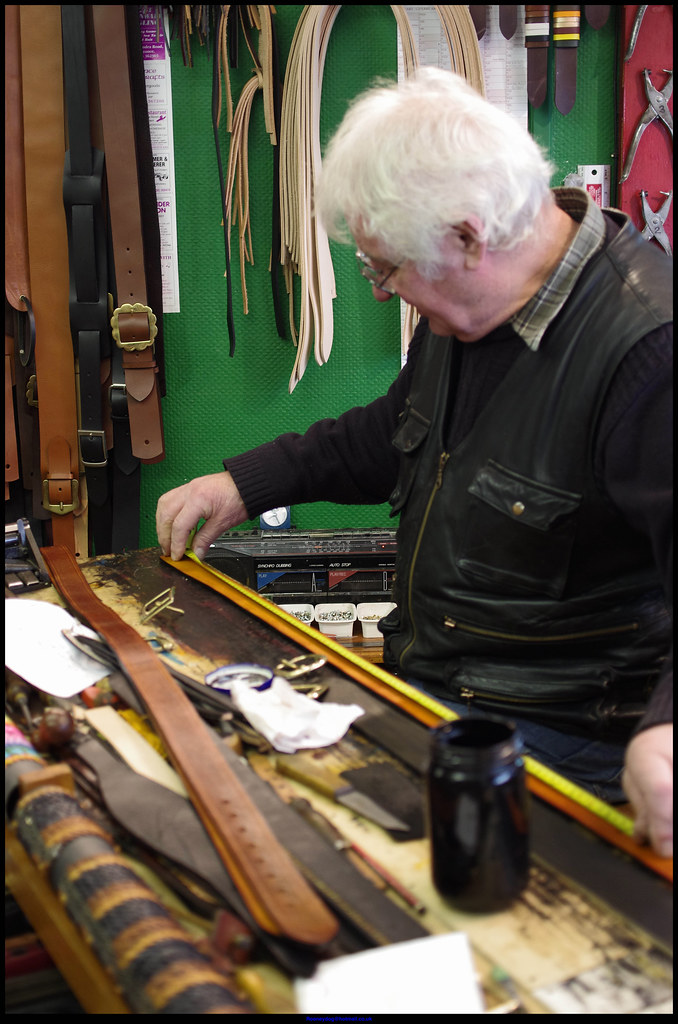
An artist should always maintain the state of the tools to get the best output applicable to leather crafting. Prepare the measuring tape and measuring ruler. A measuring tape is required in making a leather belt, for it measures the waist or any of your existing belts so that needed length is acquired. A measuring ruler is used in making a straight edge before cutting.
Cutting tools like a utility knife, razor, or any other sharp tools. A cutting tool like a utility knife is used in trimming the tip of the leather belt. Make ready with the rotary punch, strap hole punch, and a hammer. A rotary punch is a leather tool used in making or punching holes for the belt. An option is a strap hole punch used together with the hammer to make long holes so that the belt buckle can come out.
Also, do not forget to prepare the strap cutter. A strap cutter is used in cutting the leather straps for the belt. It is best used to achieve a long strap of leather quickly for your belt. Prepare also the rivets setter to secure the rivets in place.
You will also need to prepare a pen or any marking materials. The marking materials like pen or pencil are used in making guides before punching leather holes. Lastly, olive oil, leather dye, and a sealant are needed. These can be applied for finishing and dying the leather belt.
As Sharp and Straight, You Can Get: Measurement and Cutting

The measurement and cutting are the first procedure in making a leather belt. These two are the prerequisites in starting the actual belt process and mastering this activity help create the leather belt making smoothly.
Measurement: How To Do It
Measure the length of a belt through measuring tape, you can measure your waist, or any old belt will do. Add two more inches after getting the total length of the measured existing belt. This two inches additional is used in folding a leather for securing its buckle. Then, add eight inches after getting the total length of the measured waist. The eight inches comprised the two inches for the belt buckle’s allowance and the six-inch allowance for the belt tip.
Cutting Smoothly The Leather Strap and Leather Tip

Image Source: noblesole.com
Lay the leather on a flat cutting surface. Use the measuring ruler or a steel ruler in making a long straight line on the edge of the leather. The long straight line is about 45 inches for the 32 inches measured waist. As the waist increases (more than 32 inches), add an inch for each waist size.
Now cut the measured straight line of the leather by using a razor or a utility knife. Then cut both ends of the straight cut line perpendicularly in preparation for the strap cutting. Adjust the thickness knob of the strap cutter so that leather would fit in it.
Insert the strap cutter to the perpendicularly cut edge of the straight line leather. Now push down slowly the strap cutter towards you. Pull the leather that comes out from the strap cutter while you continue cutting with the other hand.
Make sure to produce a parallel cut by pushing the side of the leather against the strap cutter. You now have the strap for your leather belt. Decide which side will be the buckle part or the tip part of the leather. Then create the tip of your leather belt by making a diagonal cut for the pointed edge. You can use a beverage can or any round materials as a guide for having a rounded-tip.
Fashion In the Hole: Marking and Creating Belt Holes
Belt making includes marking and creating holes in the leather. These two processes are needed to finish off your leather belt. Making or punching holes to the leather is done after the marking procedure to distribute belt holes evenly.
Hole Markings: How To Do It
You can use your existing belt as a template in marking belt holes or make a new one with a ruler. With the use of a ruler, measure six inches from the leather tip. Then keep the center of the leather with your first hole using a pencil, pen, etc. Then measure one inch from the first hole, then mark your second hole.
Follow the same spacing pattern until it reaches the buckle side of the leather belt. When you have reached the buckle side, measure 2.5 to 3.5 inches and create a longer mark for the buckle placement. You can use an old belt as a template.
Punching Holes: How to Do It

You can use a nail, or an awl, or any pointed materials in making belt holes. A better option is a rotary punch which is a convenient tool in making leather belt holes. Before the punching procedures, find a suitable table or workplace first to lay the leather in place.
Position the rotary holes to the center of the marked leather, then start squeezing its handle until reaching the last hole. Afterward, insert a pocket knife, a scratch awl, or a nail to the belt holes. This is because punctured holes may tear; hence second piercing is recommended to have around strengthened leather belt holes.
Slowly push the pocket knife to the belt holes and twist it in a circular motion to create round holes. Now punch the more elongated hole for the belt buckle by using a strap hole punch and a hammer. The leather’s buckle side has a total of five holes. Four of the five spots are used in placing rivets once leather is folded, and the last hole is where the belt buckle comes out.
Polish The Look: Skiving and Mounting Belt Buckle

Skiving simply means thinning a leather-like buckle side of a leather belt material. The buckle side needs to be thinned for it to fold and hold the buckle in place. This will be the final step on your belt.
Skiving: How To Do It
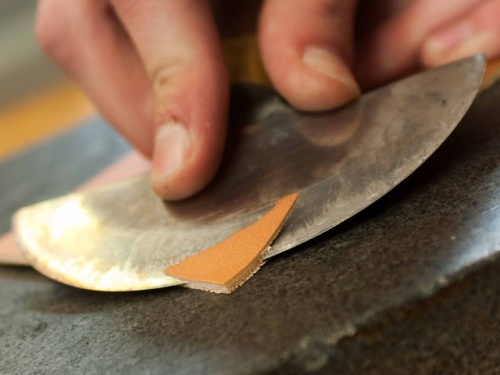
Skiving the buckle side helps prevent loops and offers an even thickness of the leather strap. This process may be complicated because you can not add leather once you have sliced thick leather that exceeds the belt’s desired width; hence, skiving must be done slowly.
Use a manual leather skiver to shave off the buckle side of the belt. Start skiving on top of the five holes of the buckle side of the leather. Slowly skive the top of it and remember to make shallow cuts to have an even surface.
Mounting the Belt Buckle

Image Source: “File:Standard Civil War Infantry Waist Belt with Oval US Buckle 22.jpg” by W. N. Manning is licensed under CC BY 3.0
Fold the thinned part of the leather and make sure to align the holes. Now soak it in water and let it absorb more, making it shapeable and moldable. Insert the buckle to the longer holes and test by sliding the belt tongue. Make sure that the belt buckle is right side up and press to flatness the folded leather.
Prepare the small anvil or any hard surface and place the leather on top of it. Position the buckle side of the leather to the small anvil. Secure the buckle in place by inserting rivets into the leather holes.
Additional Durability: Leather Belt Dyeing and Finishing
Suppose you like giving color to your leather belt to achieve the desired look. You can dye or paint them. Heads up, though, there are different types of leather dye. It is best to test them first before applying them to the leather belt. There are also things you need to do and prepare before and after dyeing.
Materials and Tools: What You Will Need

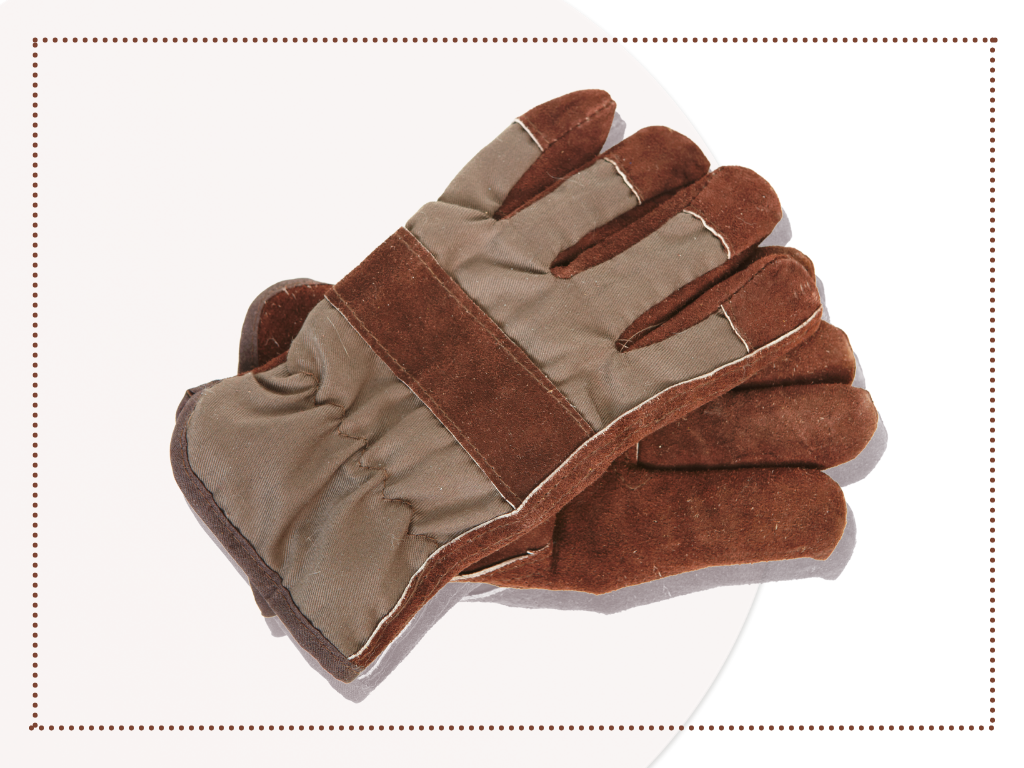
Prepare the tools needed in dyeing. This includes plastic gloves, leather deglazer, leather dye, wool dauber, scrap cloth, leather conditioner, and leather finish. A plastic glove is worn by the crafter during dyeing, especially when handling chemicals like deglaze, dyes, and finishes. A leather deglazer is used to clean the leather before dyeing.
Prepare the leather dye because it is the pigment used in dyeing the leather belt. A scrap cloth is used to wipe and clean up dye spills. A leather conditioner must be prepared before dying, for it serves as a moisturizer after applying the leather dye and to seal the dyed leather.
Prerequisite to Leather Dyeing Work Area

Leather dyes have various reactions to the different leather types; hence running a trial test is necessary. Not running a trial and error test of the dye may ruin your desired look. Apart from running a test of the dye, there are several things you need to prepare before the dyeing process.
Make sure that your working area is well-ventilated. This is because chemicals in the leather dye are toxic when breathed in, while some substances can be harmful when exposed for an extended period. Protect your working surface from dye spills. A plastic trash can will do.
Just cut it and lay it on top of the table surface. This method will protect your table and help you clean quickly after the leather dyeing process. Check the room temperature for this affects leather dyeing. If it is too hot, the chemicals will dry quickly before showing their purposeful functions. However, if it is too cold, the chemicals will take so much time before drying, or worse, it can become thick, making it not perform its function.
Trial Test For Leather Dyeing

Thinning the leather dye is needed because some pigments are highly concentrated, making it produce dark colors. Thinning involves adding water to the leather dye if it is a water-based type of dye. Add alcohol which serves as a thinner, to the alcohol-based type of leather. This process helps lighten the dye when applied to the leather. However, this does not mean that the dye will not color the leather when it is not thinned.
The thinning process is considered the trial and error test of the dye. You can dilute the dye and then apply it to scrap t-shirts or anything to check the dye’s lightness and darkness. If you want a dark color, add a small amount of thinner (water/alcohol) to the dye, then apply it to the scrap cotton to check. If you want a light dye, dilute your leather dye again.
Make sure to remove any excess substances (from the tanning process) like oil in the leather by applying a deglazer so that dye will penetrate the fibers. Remember to wear gloves in handling this chemical. You can use denatured alcohol or a mixture of ethyl alcohol and ethyl acetate as an alternative for removing excessive substances before dyeing.
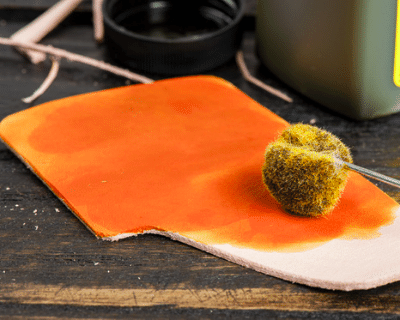
Leather Dyeing: The Actual Process
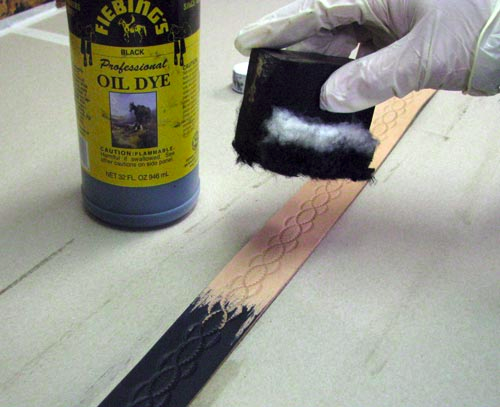
Image Source: leathersmithdesigns.com
Place the leather belt on top of the covered table. Soak the wool dauber into the deglazer, then apply it to the leather surface where you want to dye it. Make sure to stroke it evenly. Wait for about 15 minutes until the deglazer is dried up.
Dip another wool dabber to the dye that will meet your desired color. Gently apply the wool dabber to the leather belt strap and leather buckle strap. Make sure to use it evenly. Let it dry before proceeding to the next steps. Let it dry for a few hours or overnight before applying another layer.
This method is ideally done because the dye and deglazer chemicals can dry out the leather’s natural fibers and apply the leather conditioner or oil to last for years. Finish your leather belt by sealing it with carnauba wax or any kind of leather sealant. Locking the leather belt protects the leather underneath and protects from any spilled dye substance from clothes, liquid, etc. Let it dry, and your leather belt is now ready to use.
Conclusion
In the past, people used belts to secure their pants, but today, these also serve as a part of one’s fashion statement. Indeed, many stores and brands offer leather belts, but it is also satisfying to make one on your own customized for you and your design. As a budding leathercraft artist, starting with a leather belt to test your skills and creativity is a good idea. You will not just hone your skills but have the perfect belt for yourself. You can even make this into a business if you like.