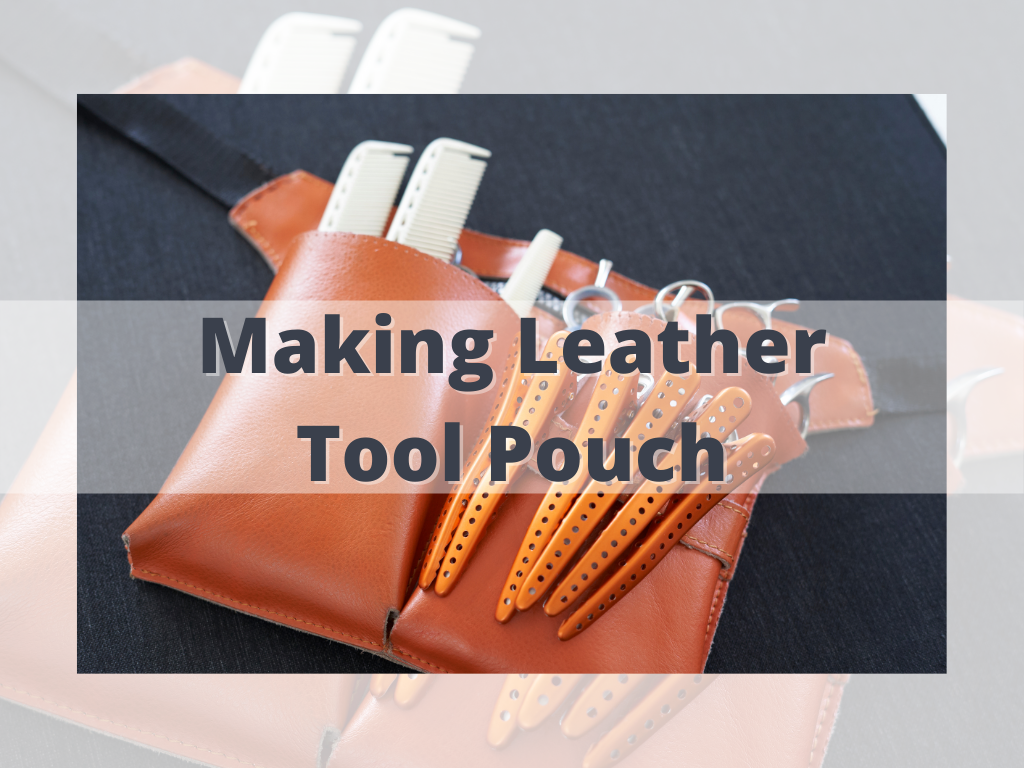
Leather is one of the ideal materials used to create pouches and bags because of its durability and classic look. If you’re a leather-worker, it’s impossible not to try making one for your tools. While it may seem like making a leather tool pouch can be a challenge, as long as you know how to use the tools, as well as leather cutting and sewing, then making one should be a breeze.
How can you make a leather tool pouch? Start by creating a design of how you’ll want your pouch to look. Create a template using tool sizes as size guides for the pockets and include the sewing guide holes in the templates. Cut and sew the pockets together, and finish off by cleaning your brand new leather tool pouch.
In this article, you’ll have a simple yet straightforward step-by-step guide on how you can make your leather tool pouch, as well as the different tools you can use to finish this project. In case you don’t have some of the main tools needed for each task, I’ve mentioned alternative tools you can use instead so that you can finish your project in no time. Let’s begin!
Kick It Off with a Plan
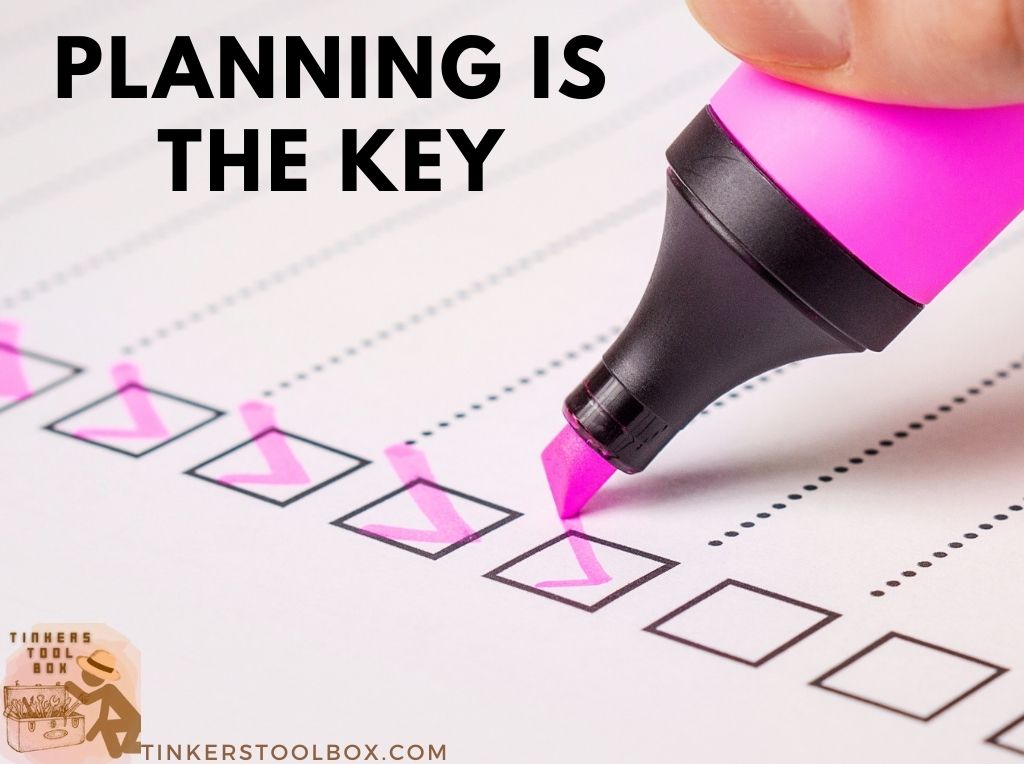
With any craft, planning is an essential step. Starting your project with a laid-out plan or design will help you visualize the end-product you want to create. List down how you’ll want to proceed with your project, types of leather you’ll use, and customization designs if you wish. You wouldn’t want to waste good leather, your time, and effort in creating a tool pouch, so it’s best to start this project by adequately designing and planning your craft.
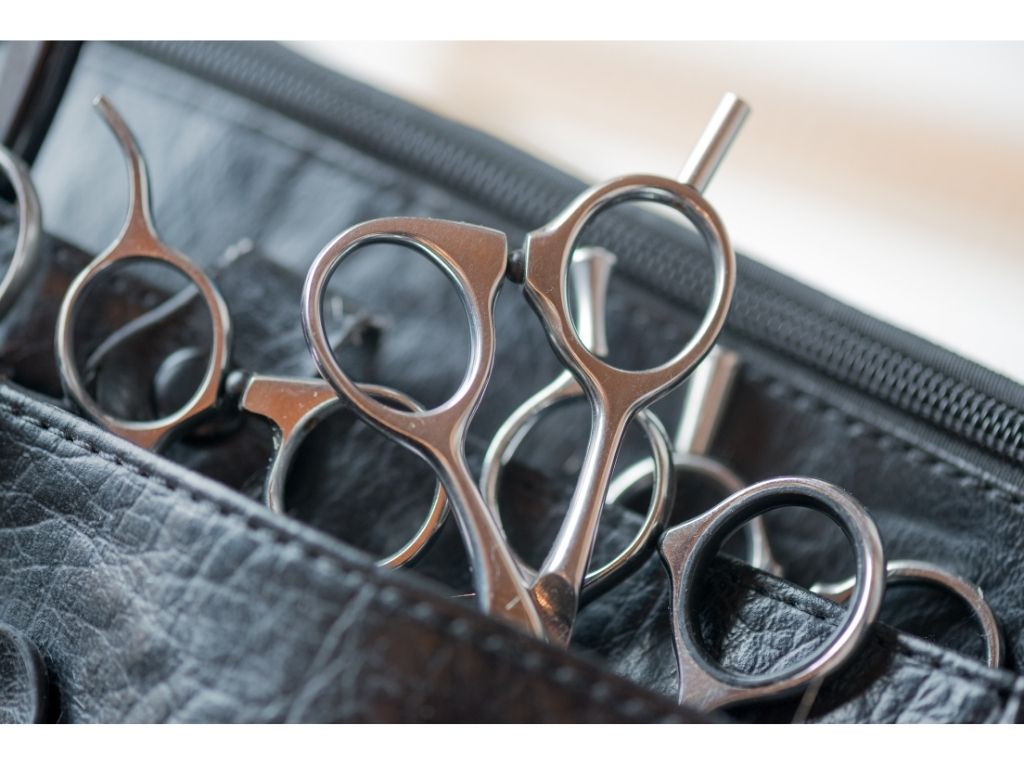
You’ll also be taking out your tools from the start, so to refrain from creating a mess on your work table, organize your tools by segregating them according to the tasks you’ll need them for while working on this project. You can just return them to your storage area after checking their sizes as for the other tools.
Create a Draft of Leather Tool Pouch in Your Dream Journal
One of the best ways to create a craft is to start with a good design. If you have a dream journal, go and make the design you want for your tool pouch. There are two types of leather recommended for a tool pouch worn around the waist. There’s oil tan leather and vegetable tan cowhide leather, both of which have stiffer texture and will securely hold the more massive tools in place. Go for an oil tan leather if you’re on a budget. Otherwise, pick vegetable-tanned leather which is known well for its durability.
While creating your design, figure out the tools you’ll want to put in your pouch. This will be worn around the waist, so make sure that you pick the reasonable number of tools and total weight of the tools for your pouch. If you plan to add customized designs or stamping on your pouch, don’t forget to include that in your journal.
Make the Templates
Using cardboard, create templates for the pouch and pockets following the design you created. To get the actual pocket sizes, use the tools you picked, and follow the tools’ size and bulk to get a nice pattern. Don’t forget to mark off each template to avoid confusion. Make sure that you also include sewing guides in your templates. Cut off the cardboards outside the sewing guides.
Check the Mockup
Now that your templates are complete check them against your design. Try to build a mockup following the template pieces. See also if the tools fit well with the mockup. While you’re at it, make sure that each template’s sewing guides are aligned when joined together. Make adjustments to your templates and patterns, especially on sewing guides if necessary.
Prepare and Organize the Tools
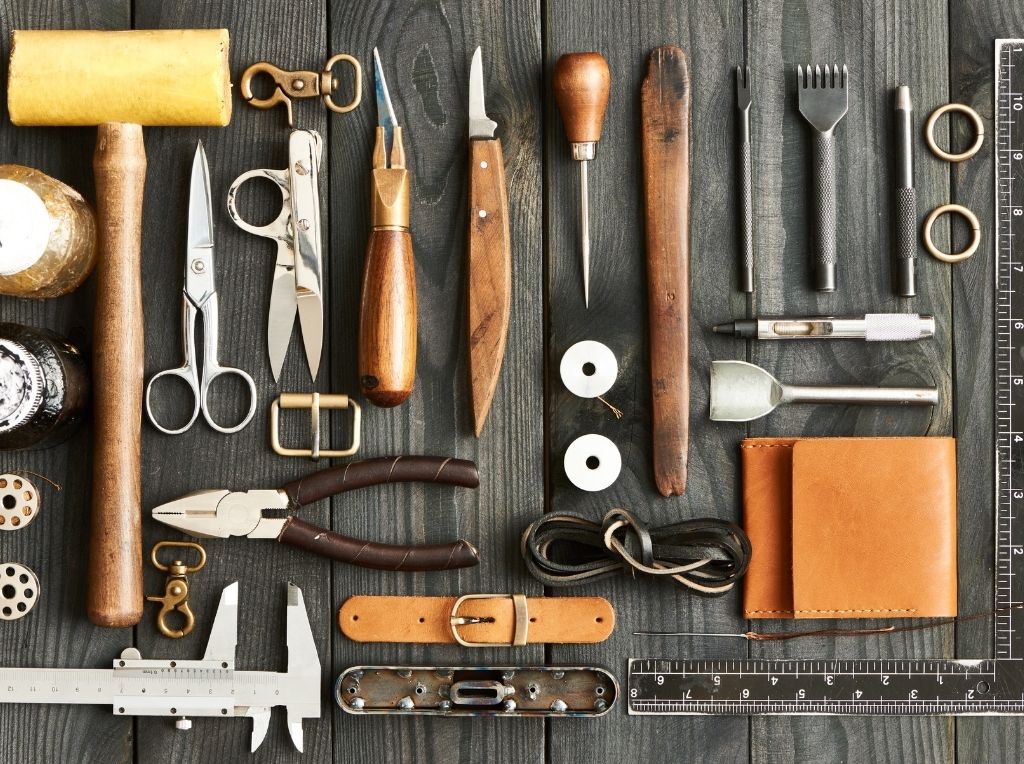
You probably have all your tools out now after checking your template. Let’s organize them, for now, to create a less-cluttered work table while working on your pouch. First, take your leather, a marker, an awl, a mallet, and a pair of scissors and set them aside. You’ll use these tools for the first task, which is transferring the templates to the leather.
Next, ready your materials for creating holes for sewing guides. Depending on what you have, take out your awl and mallet, or a hand sewing punch, or a groover and an over-stitch wheel. For sewing, prepare your stitching pony, needles, and threads. Of course, leather conditioner or cloth, soap, and water when you are done with your project.
Getting into Leather Action

Now that your templates are all set, it’s time to start working on the actual tool pouch. To make the process easier, I suggest you divide your work table into separate tasks, similar to how you organized your tools earlier. Since you’ll be using templates and cutting pieces of leather, you might get confused with these pieces once they’re all cut. In dividing your work table per task, you will have a more organized workspace, and you’ll know exactly what to do next.
Transfer Template Layout to Leather
Lay your leather flat on your table. Strategically place the templates on top to lessen wastage. However, you don’t want the templates to be too cramped in one area. Allot at least a couple of millimeters in between each pattern for allowance. Label each leather piece according to parts.
After doing so, grab your awl and slightly pierce through the leather following the template’s sewing guides, just enough to make a guide to create proper holes later. In case you own a stitching groover and an over-stitch wheel and have a good grasp when it comes to creating an aligned sewing guide, you can use these two instead.
Cut Leather Pieces and Create Sewing Holes
Grab your scissors and cut all the pieces. Arrange the leather pieces in order or gather them together to avoid mix up. To check each piece’s size, stack them according to their parts. Take note of the pieces that need adjustments, if any. If you want your pouch to have smoother edges, go ahead and grab your edge slicker or burnisher. Make sure that you don’t overdo it.
After checking each piece, you may now proceed in creating sewing holes on your leather. Take out your awl or chisel, a mallet, and a chopping block, and start punching through the hole guides correctly. Make sure that you create sewing holes that will perfectly fit the thread you’ll use to sew your tool pouch, don’t make it too small or too big. If you pierce too lightly, you might have a hard time sewing later. If you pierce too much, your holes might end up too close to each other.
If you have a hand sewing punch, go ahead and use it. Just to be sure, test out the hole sizes on a scrap of leather to check if the hole will not be too big for your hole guide. In case you want to be more precise with your stitching, use a groover to create a straight line on the edges and an over-stitch wheel to create evenly spaced sewing guides. Stack them neatly once you’re done.
Gathering and Sewing
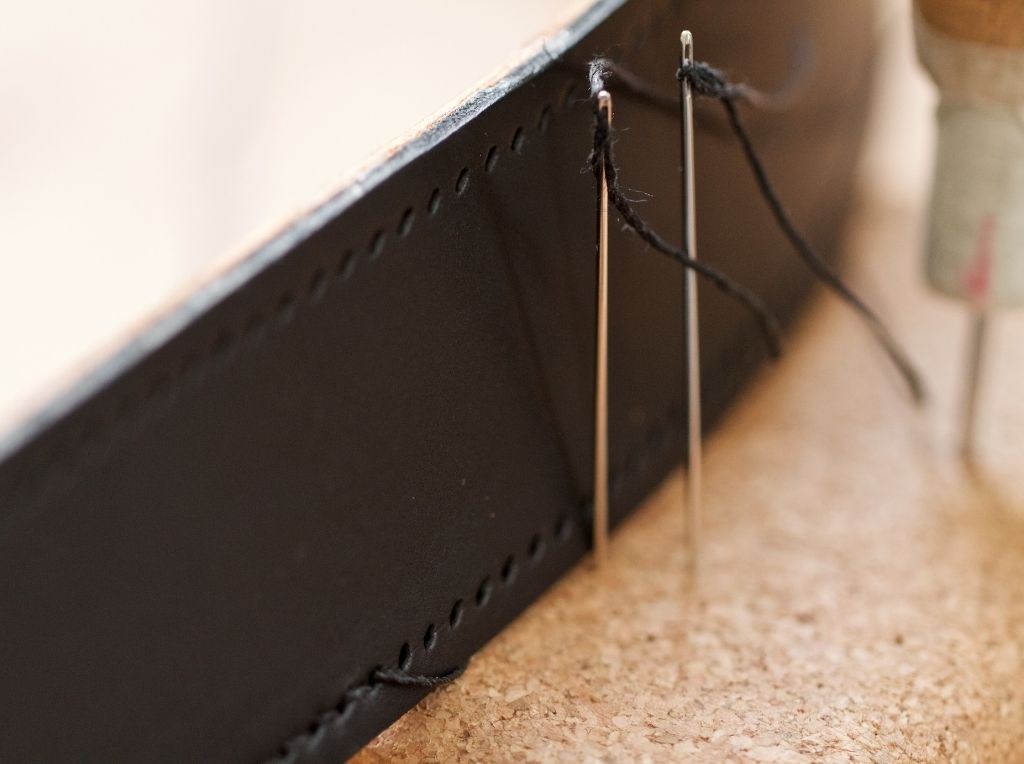
I’m sure you’re getting pretty pumped up now by the time you reach this part. I can’t blame you, though. You can almost see the end-product of your tool pouch! Don’t rush though. It’s better if you go through the final step while focusing intently on your project. Now that you’re ready to sew, you can start by clearing up your work table with the tools you won’t need anymore, so everything within your reach will be the tools you’ll need for sewing.
Before we proceed with sewing, inspect the leather pockets to see if they all aligned when stacked together. You can use a small clip or pin to join pieces together to check their edges and the alignment of the sewing holes. In case you need to repeat a pocket, you can already do so before you sew the pieces together. It’ll be a lot easier to fix this while the pieces are separated rather than undoing the sewing later one. Don’t get discouraged!
Sewing the Smaller Pieces
Now, you’re ready to sew. Start first with leather pieces that are folded over to create pockets. To keep them stable, use a small clip instead of placing them on a stitching pony to create a crease on the curved side. Once you’re done, you can now sew the layers, starting with the innermost layers. Put them in the stitching pony, and sew them together. Make sure that you check each sewn part before proceeding to the next layer.
Using Your Tool Pouch
Your leather tool pouch is now ready for use! Test out your pouch by properly placing all the tools in the pockets. See if the tools fit nicely and if the pockets and edges are sewn well. Wear it and check out how it feels on you. If you’re satisfied with your tool pouch, then go ahead and use it after cleaning.
If you want to make another one, perhaps a bigger pouch for more tools, then list them all down in your journal. You can also write down your notes for adjustments, areas to improve on, other materials you want to use, or customization designs you wish to include in your next pouch. As for the pouch you have now, make sure you make the most out of it by continually cleaning and conditioning your tool pouch.
Conclusion
A leather tool pouch is a great project you can work on, regardless of your skill. Beginners and advanced leather-workers alike are encouraged to make something like this pouch to practice their leather-crafting skills. Besides, the product itself is an excellent addition to your leather works. It’s extremely useful, and you can also modify your design for other tools, such as a carpenter’s or a painter’s tools. Who knows, you might even end up with a marketable tool pouch collection.