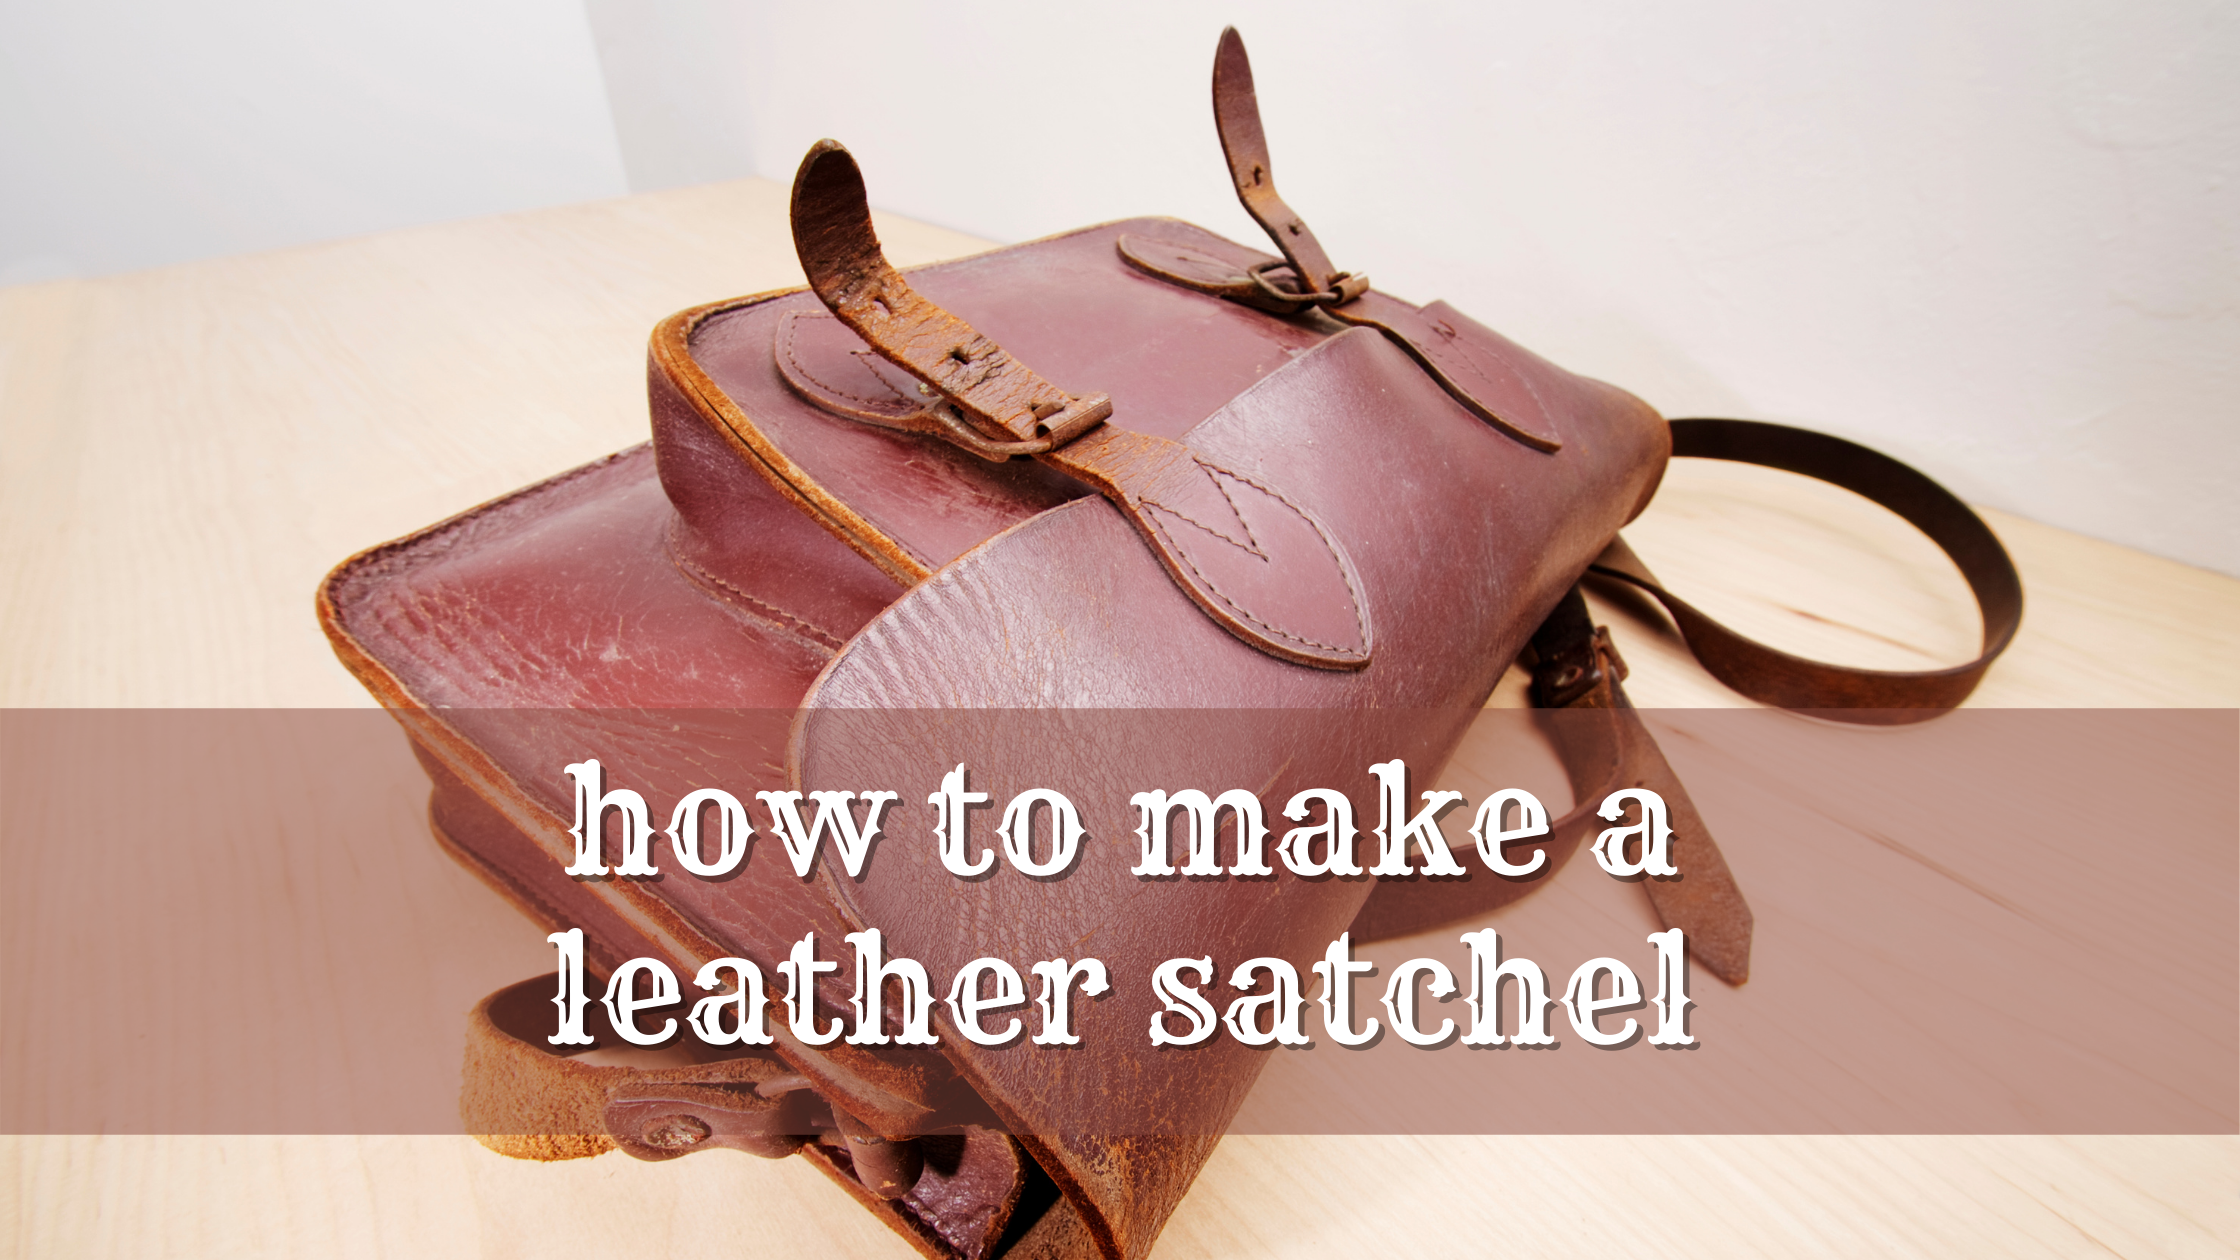
Everyday we use bags for different purposes. It could be for carrying books, laptops, personal accessories, or for fashion styles. These bags are worn by students and working adults to carry many things. Several companies had arisen to produce bags such as tote bags and satchel bags. One main material of bags are leather however some of these bags are not originally made from leather, making them less durable and not long-lasting. Traditionally, satchel bags that are carried by the shoulder through its long strap were made from leathers. Yet, as time goes on, manufacturers crafted bags made from plastic. Nevertheless, anyone can create their satchel bag made from leather so that it would be more durable, fashionable, timeless, and indeed long-lasting.
How To Make A Leather Satchel? Prepare the materials, the pattern and the tools. Start by pattern making and marking the leather. Create the bag partition, shoulder strap, laces, handles slots and grooves and assemble. Finally, secure the strap firmly.
The luxury bags made from Louis Vuitton, Coach, Marc Jacobs, Michael Kors, Gucci, Channel, will surely ring a bell and are fully handmade by expert craftsmens and women. These stunning designer bags including the satchels are made from leather. These bags are undeniably durable but are also expensive. Yet, here is the good news, everyone regardless of your profession is capable of making your own leather satchel bag. In this article, I will discuss the process of making a leather satchel including the tools and leather to use. Follow these steps and you can have your own timeless leather satchel in no time perfect for your time spent at home at this COVID-19 pandemic. Of course, in your everyday get-up when things go back to normal.
- The Basics: What You Need To Start The Process
- The Perfect Leather For Your Bag: What You Need To Know
- Creating Patterns, Markings and Cuttings: How To Do It
- Slots and Grooves: How To Add Them
- Inside Partitions: How To Make It
- Lacing: Assembling the Leather Satchel
- Making a Handle: How To Place It
- Final Lacing: How To Make It More Durable
- The Shoulder Strap: Adding The Final Piece
The Basics: What You Need To Start The Process
Just like any leather project, making a leather satchel aso needs materials and tools. Here are some you should have and prepare to start with the process.
Materials To Gather
- Prepare your leather of choice
- Waxed thread
- Copper rivets
- Cap rivets
- Buckle
- Strap reducer
- Swivel clip
- Contact cement
Tools To Prepare
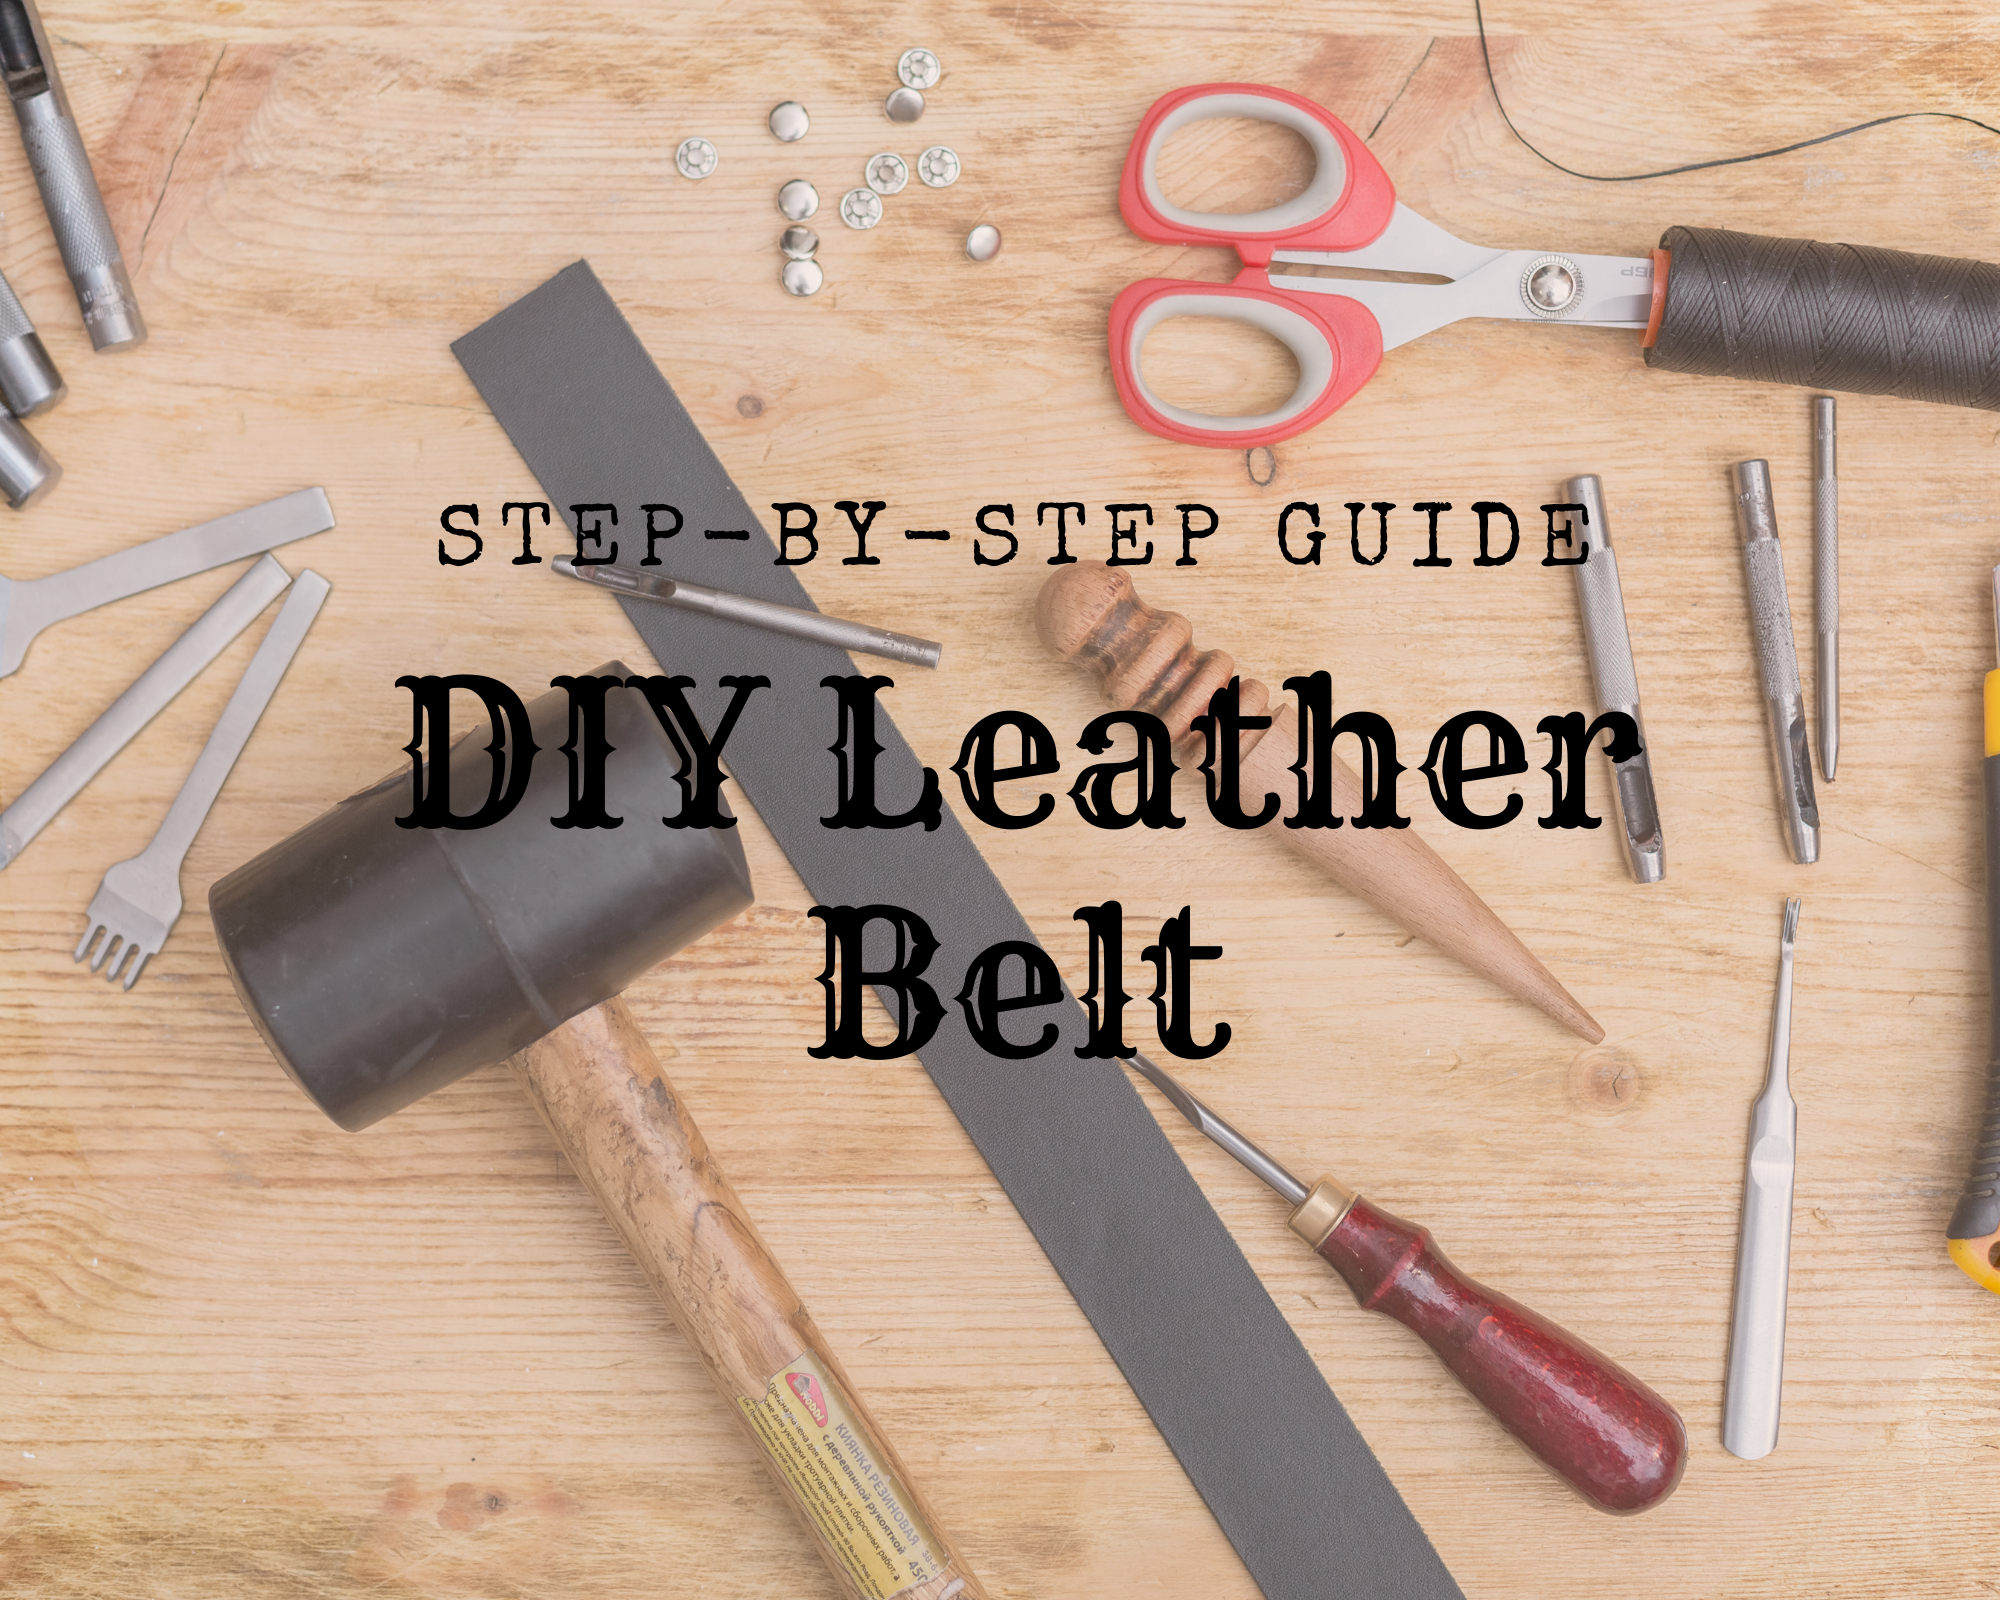
- Utility knife or razor knife for cutting purposes
- Awl, marking tool, pen/ pencil for making leather
- Prepare the stitching needles
- Stitching chisels
- Stitching groover
- Lighter
- Mallet (hard plastic and rubber)
- Adjustable “V” gouge
- Copper rivets and burr setter
- Cap rivet setter and anvil
- dikes/ side cutters
- Do not forget the cutting board
- Oval punch
- Round punch
- Prepare your skiver tools
- Ruler or any straight edge
- Washer
- Circle templates
The basics in creating the timeless leather satchel include the preparation of the tools and materials. These tools and materials are the keys to unlock the various steps in making satchels such as cutting leather, creating patterns, marking the leather, designing, decorating, and many more.
The tools in making satchels are the common instrument used in leather crafting. You can also use these tools for other leatherworks aside from a bag.
The Perfect Leather For Your Bag: What You Need To Know
Leather bags are expensive and most people assume it is because of the leather materials. They often conclude that all leather bags are made from the same quality of leather yet, there are many types of leather used in making these bags. Here are the basic things to know.
Types of Leather You Can Use
Full grain leather is a very high quality type of leather because of its natural softness both to sense of sight and touch. This leather has a resistant material. Moet leather products made from full grain leather are durable and of real high quality.
Next is Saffiano leather that came from the skin of a calf that consists of a complex weave created by Prada. This type of leather is waterproof resistant.
Third, Robust leather is the typical brown color material used by the professionals in making bags due to its elegant and resistant type. This leather can be worked by vegetable or synthetic tanning.
Another is Ruga leather is also derived from the skin of a calf. Its best features include bright and smooth types of leather. Python leather is another elegant type of leather and it is known for “unmistakable imagination of the surface,” for it consists of scales in animals.
Cowhide leather that derived from the cow skin is a very soft leather used in different leather items. You can also use a Lambskin leather which is the attractive type of leather having its soft texture as its best feature. However, this material is easily torn making it less durable.
Lastly, patch leather is a leather derived from either lambskin or cowhide that is produced by having several small pieces of leather. This is why patch leather is less expensive compared to the other types.
The Best Leather For The Win
Many types of leather is usable in making bags but the best leather helps you create bags that are high in quality and long lasting. Cowhide leather is the best leather in making bags like satchels for it is considered as the “highest quality material available.”
This type of leather is used not only in making bags but also in other leather items that include car seats, furniture, etc because of its great durability offer. Yet, it does not stop here, cowhide leather is “aesthetically appealing” which makes it highly suitable in creating luxury items like leather satchels. Furthermore, this leather is hypoallergenic and even dirt, dust, and liquids will be held off due to the natural oil present in it.
Full grain leather is another best material in making satchels and is “regarded as the highest quality leather.” This leather came from the part of animals (below the hair) that has not been sanded, buffed or snuffed which makes it more close to the natural state of leather. Ths extremely strong leather is used by the famous designers’ bags due to its quality offered that is timeless.
Creating Patterns, Markings and Cuttings: How To Do It
Pattern making is one of the crucial parts of creating leather satchels. This is because of its template purposes while cutting accurately a piece of leather. Pattern making may be difficult especially for beginners but keep in mind that any leather item like bags is made from a simple template or patterns. Just bear in mind the size of your leather satchel in making the pattern.
Making and Laying The Pattern The Ideal Way
Prepare these tools; pattern paper, pencil, eraser, colored pencils, clear ruler, cloth tape measure, paper scissors, overstitch wheel, french curve, and adhesive tapes. Familiarize the anatomy of a pattern such as the rivet holes, pattern label, sewing lines, cut lines, fold lines, and seam lines.
In making your pattern, add an extra room to the exact dimensions of an object. If you are using thick leather, add more allowance but if it is a thin leather, add less allowance. By doing this, you can create a leather item that is accurate to your perspective project and will function effectively when used. An example is the inside compartments of the satchels for phones to fit perfectly.
Now determine the size of the bag you are going to create. By using a pencil or any marker and ruler, start laying out your pattern on the pattern paper. Create the main satchel body pattern guided by the accurate measurements. This includes the front and back satchel.
From the side of the main satchel body, mark some slots for the lace and shoulder strap of your satchels. Mark the edges (top edge of front piece and top edge of divider), front flap and cut the lines.
Marking and Cutting The Leather Smoothly
Place your pattern on the leather which serves as a template in cutting and marking. Now place some weight to the satchel body template so that it would be secured in making cut lines and punching holes for slots. Cut the leather by using sharp cutting tools like utility knives, etc.
Mark holes for slots by using an awl and make a long leather strap with the use of the same pattern in particular to the side flaps where lacing happens in the latter.
Slots and Grooves: How To Add Them
Slots are made for the shoulder strap of the leather satchels. These slots are marked with any marking tools before the leather cutting. The grooves refer to the lines used in folding leather for the bottom, side, and top flaps in assembling the leather satchel. In making the slots and grooves in your leather, the following are the proper way.
Creating the Slots Seamlessly
Keep in mind that these slots are found in the gussets and creating slots depends upon your preferences. If you plan to make leather satchels with lacing straps in the slots. These are the things you have to do. By the use of an oval punch, create holes on each end of the slots. Make sure to set the edge of your punch holes and test it to some scrap leather before using it to your leather satchel.
Once you have punched the end holes of your slot, make two cut lines between the holes with the use of a straight edge. Do not forget to test first the cutting tool to ensure a straight clean cut.
Making The Grooves As Easy As Pie
Use an adjustable “V” gouge in cutting the grooves for leather folding. The “V” gouge will remove about ⅓ thickness of the leather so that folding of the bottom and side flap becomes easier. Assist your groove with the use of straight edge to achieve a straight grooves for the final step later on.
Inside Partitions: How To Make It
The inside pockets, divisions or partitions and compartments made the leather satchel stand out from other leather bags. Through these unique features, leather satchels can have various spaces for storage used in schools and in your everyday jobs. In one satchel bag, it is able to carry phones, pockets, pens, laptop, and notebook. Let us take a look how these partitions are made.
Creating The Divider and Pockets For More Space
Prepare and cut the inside divider so that it can be laced into the sides and bottom of the satchel and leave it first. This inside divider refers to the portion of the template found at the center of the pattern where it is surrounded by several slots to lace the shoulder strap of the leather satchel.
Then make a pocket that depends upon its purposes like phone holders, business card holders, etc. The size and measurement of your pockets varies upon its function. Take an accurate and uniform distance in marking holes for rivets.
Punch holes with the use of oval punch so that rivets and burr would be assembled. Then cut the two bottom corners at about half inch (varies upon the types of pockets you want to make). If you want a round corner pocket, use a washer as a guide in cutting round corners and ensure that the knife is razor-sharp. Then mount the cutted pockets to the inside divider. See to it that it is not mounted in a flat manner so that it can perform its function effectively.
Setting the Rivets For Security
In mounting the pocket to the inside divider, make use of the gauge copper rivets plus burr with the hammer. Fill all the pocket holes with gauge copper rivets and flip the inside divider so that burrs can be inserted at the back of the rivets. Now hammer down all the copper rivets. Finish the rivet mounting process by rounding the top with the rivet setting tool.
Lacing: Assembling the Leather Satchel
The lacing process is all about the putting and assembling the pieces together to see halfway of the leather satchel. The pieces of leather include the main cutted satchel body which consist the top flap, bottom flap and side flap.
Strap Lacing The Leather Parts
A piece of cutted leather which will become the front side of the satchel consists of the bottom flap and side flap. In this process, you can add simple designs based upon your preferences while this section will present lacing with decorating the satchel’s leather by stitching.
Prepare the long leather strap you have made during the cutting procedure. Fold the grooved edges of the bottom flap, side flap and top flap. Now hammer each folded flap until it reaches 90 degrees corners of the sides and bottoms portion of the satchel.
Now lace the pieces of leather together by passing the leather strap into the slots and going out from it. In lacing, you can start at the bottom flap or side flap depending upon your preferences. Continue the lacing process until you reach the last slot of the side flap.
Stitching for Decorations
If you want a round corner of the satchel top flap, use the washer. Place the washer at the corner of the top flop. Hold the washer with your hand and use a razor-sharp knife in cutting the leather around the corner
You can add decorations by stitching your leather top flap. Saddle stitch the edge and corner of the front top flap
Making a Handle: How To Place It
Most leather bags have handles for it to add more aesthetics to the item. A handle in leather satchels is optional since it already has a long strap to carry in the shoulder. The strap completes the leather satchel.
Cutting and Processing The Right Way
Measure a wide strip leather at about 1.5 inches and 11.5 inches long. Place a circle template into the corner and edge of the leather strip.
The circle template serves as a template as you cut the corner until reaching the center strip of the leather. Now move the circle template to the other corner and follow the same pattern.
By doing these, the leather strip will have a semi- pointed corner and round edge. Using a ruler, measure at about 2.75 inches on each side of the pointed corner. The portion between the two inches side of the leather strip is now used in making a tube-like for the handle of the leather satchel.
Both sides of the middle area will be marked with stitching lines by using a stitching groover and a ruler to ensure a straight marking. Put cement to the edge where the stitching line is found. Now carefully fold the glued leather strip
Stitching and Attaching For The Final Look
With the use of a chisel, punch the stitching holes. Remember to make a pre-punched holes in both ends of the satchel handle. Make a saddle stitch to the marked holes by passing the stitching holes.
Never forget to pull the thread tightly every after stitches. At the center of the leather satchel, attach the strip leather by gluing both sides in it.
When the handle is successfully attached to the leather satchel, create holes for mounting one to two rivets. From the outside, insert the rivets to holes and push down the burr. Likewise, the head of the rivets outside need a burr to secure the handle in place. Do this to the other side of the satchel handle
Final Lacing: How To Make It More Durable
The final lacing refers to the mounting of the strap reducer to the side flap of the satchel leather. This strap reducer in satchels is important for it helps the user adjust the length of its shoulder strap. In this procedure, the crafter will work on cutting, punching and rivets setting as presented.
Unlacing The Strap
Trace the leather strap at the side flap of the satchel leather. Unlace two to three slots so that strap reducers will be mounted.
Make a semi-pointed end by having a washer as template in cutting the leather with a razor-sharp knife. Repeat these steps to the other side flap of the satchel leather
Lacing Again For Firm Attachment
At about two or three inches, fold the leather strap and make two or three holes with the use of oval punch. Hold in place the strap reducer by inserting the semi-pointed leather strap in it.
Now assemble the rivets plus the burrs to the created holes of the leather strap. Lace again the leather strap with its reducer by passing in and out to the slots. Repeat these steps to the other side flap of the satchel leather
The Shoulder Strap: Adding The Final Piece
This is the last procedure in making leather satchels which only require a long shoulder strap. The shoulder strap is one of the renowned features when it comes to leather satchels. Through this long strap, the user can carry it on the shoulder in two ways. First, is wearing it over one shoulder and second is wearing it across the body. This is why the last section will present the step by step process in making a shoulder strap to complete your leatherworking of satchel bags.
Using A Long Strap
Lay the leather on the cutting surface.Make a long straight cut by using an extremely sharp knife. Measure the straight cut and obtain a long length at about 45 inches (you can modify upon your own dimensions) then cut it. This is because the shoulder strap is made of two lengths (long and short strap).
Create a semi pointed tip on each end of the strap by using a circle template and sharp cutting tool. Now secure a swivel clip on one end of the strap by inserting its semi-pointed end in it
Fold and hold the swivel clip in place and at about two inches, punch two to three holes so that the rivets can be inserted to secure the clip on the leather strap.
Measure three inches from the semi-pointed end and create holes with the same spacing arrangement of 1 inch until reaching to the folded part of the leather strap. (assumed that you are making a leather belt in creating center holes).Your long shoulder strap is now ready to attach to the strap reducer of the side flaps of the satchel.
Moving On The Short Strap
Take the short strap (remaining strap after cutting the long shoulder strap) and create a semi-pointed tip at both ends with the use of a circle template and razor-sharp side cutters or any cutting tools. At about 2-3 inches from the semi-pointed end, create a long and wide slot where the buckle tongue comes out.
Now secure the buckle to the semi-pointed end and ensure that its tongue is positioned away from the strap loop. Test the movement of the tongue so that it can function effectively. If it is still sticky, take off the buckle and make a little longer and wider. Then secure two copper rivets to hold the buckle in place. Make sure to provide extra inches for the mounting of the loop keeper.
Now make a loop keeper from a strip leather. With the use of skiver, skip the end of the loop. Apply glue to the thinned loop and join it carefully.
Secure the two rivets with the use of anvil and rivet setter. Insert the loop keeper to the other semi-pointed end of the leather strap until reaching the buckle area. Secure firmly the loop keeper in place with two or more rivets.
To the other end of the leather strap, secure a swivel clip following the same procedures to the long shoulder strap. Do not forget to secure the clip with two or more rivets. Attach the short strap to the side flap of the leather and to the long strap. Now the leather satchel is ready to carry you personal things
Conclusion
Behind the leather satchel is the several processes of making this timeless bag. With these various steps in leather working, you can successfully create a luxurious leather satchel according to your style. You can follow these steps and innovate your own method to come up with the best that will work for you, and surely you can never go wrong with a leather satchel.
