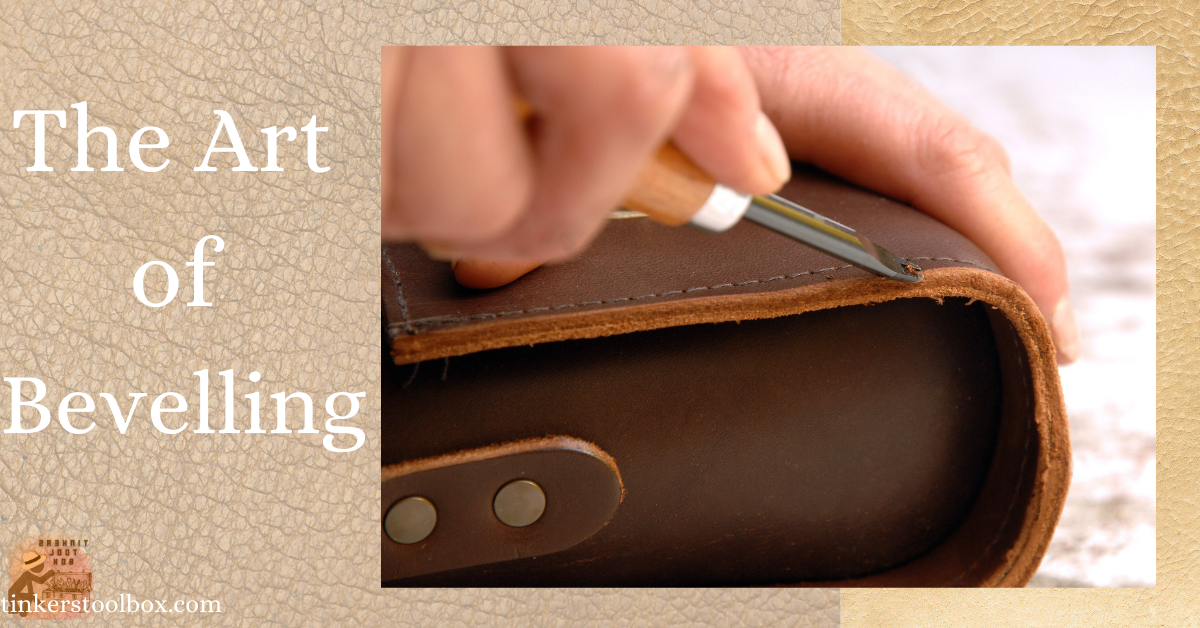
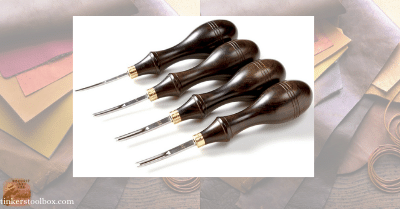
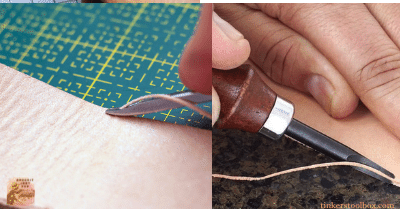
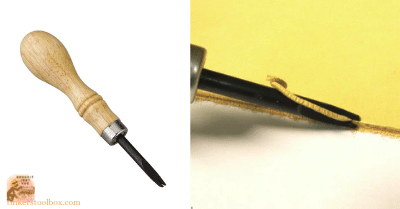
Leatherworking involves a lot of skills and tools set. A beveler or an edger is one tool that makes a leather product look great. It is a handy tool with a sharp blade and a forked center that produces curved or semi-round edges. It can be used manually or by machine. Beveling is a skill you should know in perfecting well-crafted leatherworking before proceeding to burnish.
How to use a leather edge beveler? Ensure the leather edges are even and uniform, choose a bevel size you want to use. Place the leather in the groove at the center of the beveler, apply constant pressure and go along the side. Bevel all sides to get the same edging results.
If you like to get a professional edge in your leathercraft, you should know the basics of achieving this. Beveling is one of the common finishing techniques. It is done not only for aesthetic purposes but for a more comfortable product finish for wearable items. When I first did beveling, I was baffled by the sizes of edgers to choose from and, most of all, how to do it. IThis article will help you get to know in detail the process of beveling, the appropriate size of edge bevellers, and maintaining its good working condition.
Getting To Know The Star Tool
Before you do burnishing, you should always bevel the edges first. If you have many beveler sizes, here is a quick guide on when you can use each and a few things to consider. Of course, using an edge beveler still depends on your choice.
Smaller Sizes Best for Detailed Performance
Smaller sized edgers are best used for fine leatherworking. Size No. 0 is usually the smallest but depends on the brand. Finer edgers have prongs that are positioned near each other. It gets a thin sliver of leather that preserves the edges you like. It removes just the right thickness of leather edges for smaller leather crafts. If you use big bevelers here, a large portion of your leather will be removed, eventually deviating from the design you planned to get.
It enhances small details, which matter a lot when dealing with intricate patterns. It is not ideal for bigger projects because it will not make a lot of difference compared to the leather’s width.
Bigger Ones for A Striking Look
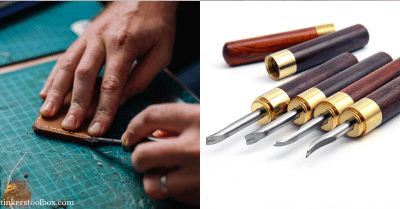
For bigger projects, bigger bevelers should be used. If you use a fine leather beveler, it might appear that you did not do any beveling. Bigger edgers have prongs or fork more distant than smaller sizes producing round edges by getting a more significant chunk of leather edges. You can also choose between flat and rounded bottom edgers to reach the bottom finish you want.
Increasing the edgers’ size will show the flatness on the leather if you choose flat bottom ones. This is one thing to consider when selecting the bottom shape of your edgers.
Right Size for the Right Thickness

The thickness of the leather usually determines the size of the edger to use. If you use a larger size than the leather’s thickness, it will just cut off and not round the edges.
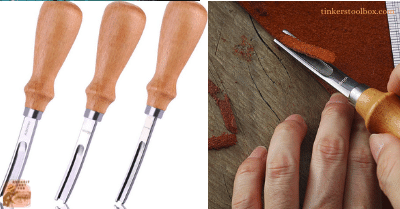
If you use a smaller edger for thick leather, it will appear that you did not bevel the leather. Always get the appropriate tool for you with the most comfortable grip for easy manipulation.
A Simple Tool With A Great Role
A basic tool like a beveler or edger in leatherworking always comes in handy. It is an excellent tool for achieving round edges when appropriately used. Here are the basics in using an edge beveler ready for burnishing later on.
Start It Right
Before beveling, always keep your leader edges flat and uniform. You can use sandpaper and apply pressure while rubbing down on the leather border. Sand the leather edge down before beveling. You can use water, spray it on edge and rub it with sandpaper to flatten the leather fibers. Follow up by rubbing on a dry sandpaper. Always make sure to bevel the face and fleshy side of the leather to achieve equal rounded edges on both sides.
If you do not have sandpaper, you can use a sharp knife in trimming the leather. You can also use a machine trimmer for a faster and convenient way.
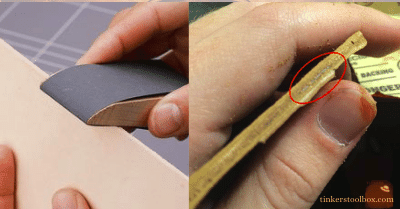
Keep It Sharp And Shiny
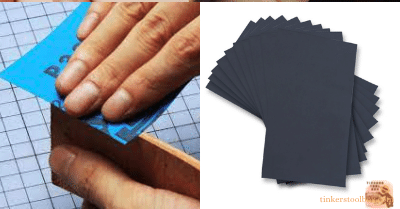
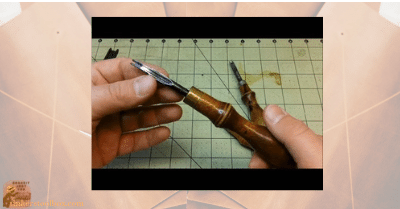
The first thing is to keep your bevel or edger clean and sharp. Just rub it back and forth on a piece of leather scrap with a polishing compound. You can also use 600-grit wet-dry sandpaper. Do this too in between the process to keep your work clean. If the edger is not sharpened, it’ll catch the leather leaving a fuzzy, puckering edge.
In sharpening the beveler, hold the edger with one finger to support when sliding it back and forth. Give it a little dip in the sandpaper, just enough to run it across. If you are always maintaining your beveler, just pass it a few times in the sandpaper, and it is good.
You can also make a stropping tool to sharpen all your leather tools when necessary. This will ensure that the tools you invested in will last a significant time. It might feel at first that you are wasting your time in sharpening your tools, but it definitely is worth doing.
Take note that even brand new edge bevelers need sharpening when you get them out of the box, so it is essential to learn this. This is also to make sure that you can get the best of it without damaging your leathercraft.
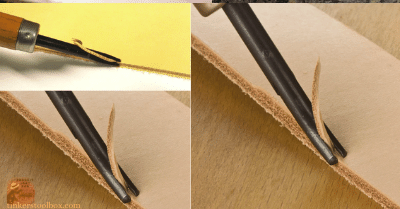
Do The Beveling
An unbeveled or raw leather edge is flat and square. Your goal is to turn it into semi-round or curved edges. Hold the beveler at a 30 to 45 degree angle to the edge. Apply constant pressure and push it down the edge—bevel on both sides of the leather. Remove the square and flat corners of the leather. Do this well because leather without any edge work will appear unfinished.
The edges will now look rounder and beveled. If aiming for a curved edge, always remember to turn the work so that you can keep on going for a uniform edge. For manual edgers, make sure to be steady when using them to have a consistent edging result. The pressure difference applied if you bevel (when your start to tire) can be seen in the leather.
You can also use machine edgers that are more expensive than a manual tool. It is ideal for bigger projects and faster bevelling. These power-operated tools will need constant maintenance too.
Getting The Best Out of An Edge Beveler
There are a few tricks to get the best out of an edge beveler. Knowing this will definitely give you confidence in using this tool and ultimately resulting in a fantastic leather product.
Tips For Good Beveling
The position of the tool is important. Always make sure to put it at an angle easy to maneuver. For a beginner, choose beveler size No. 2. It works for both small and big projects, which gives you a multi-purpose edger. This will also save you quite a lot in terms of budget.
You can use a marker and place it on the edger’s blade to designate where you should focus on rubbing during sharpening. If you see a black line during sharpening, that indicates that you are doing it right. You can say that an edger is sharpened well if both sides of the leather edges look the same leaving it nice and round.
Remember the thickness of leather when beveling. A beveler that works wells for thick, sturdy leathers might not be ideal for soft, supple leather types.
Leather edge bevelers also touch the working surface when you work on the thin leather. This is one thing that can blunt your blade, so it is best to use it in a cutting mat.
Keep it nice and polished, and always bevel on a position directed away from you.
Work in a well-lit and comfortable workspace and put in all you’ve got!
Conclusion
Getting the round and curved edges with beveling are always fulfilling. Doing this is essential before burnishing for an impressive leather product finish. You do not have to collect all sizes of edgers, especially for beginners. Just the right dimensions for your leather projects is enough. By beveling the right way, you can defeat your craft’s rough edges, making it more aesthetically appealing and comfortable to wear.