You probably started tooling or stamping your leather for added design but stopped midway because the leather does not accept impressions well. If that is the case, you likely have skipped the important task of preparing your leather before the tooling or stamping. Let me guide you step by step on how to properly case your leather for the best results.
Leather casing is the process of softening the leather by dampening it with water. The water helps the leather fibers soften, which allows for deeper incisions with swivel knives and a better definition of stamping and tooling.
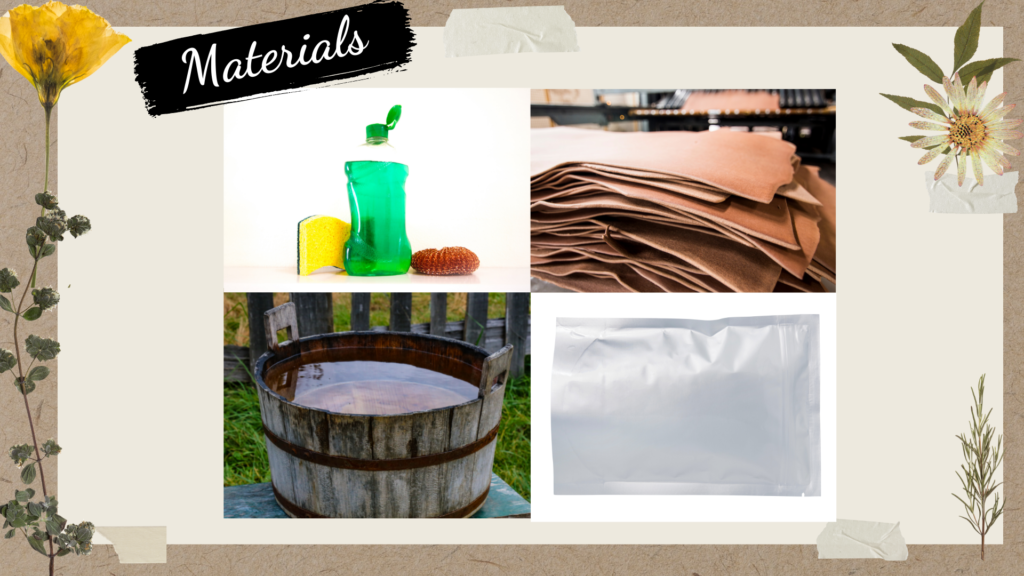
The materials needed in the process of traditional leather casing are a container of water, large enough to soak the whole piece of leather, dish soap or mouthwash (optional), and a ziplock bag or a plastic bag. The leather can be of any type, like chrome-tanned or veg-tanned leather.
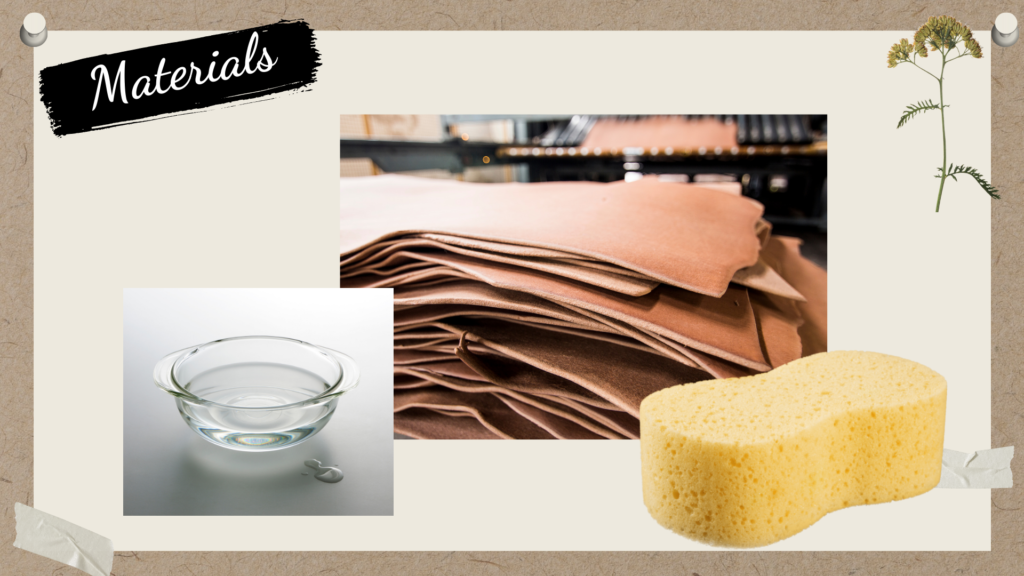
In the process of a quick case, you’ll need a container of clean water and a sponge to apply water on the leather. Avoid using kitchen sponges as they often have soap added to them upon manufacturing. Any leather of your choice will do, but a veg-tanned leather would be a great choice as it absorbs water quickly and softens easily.
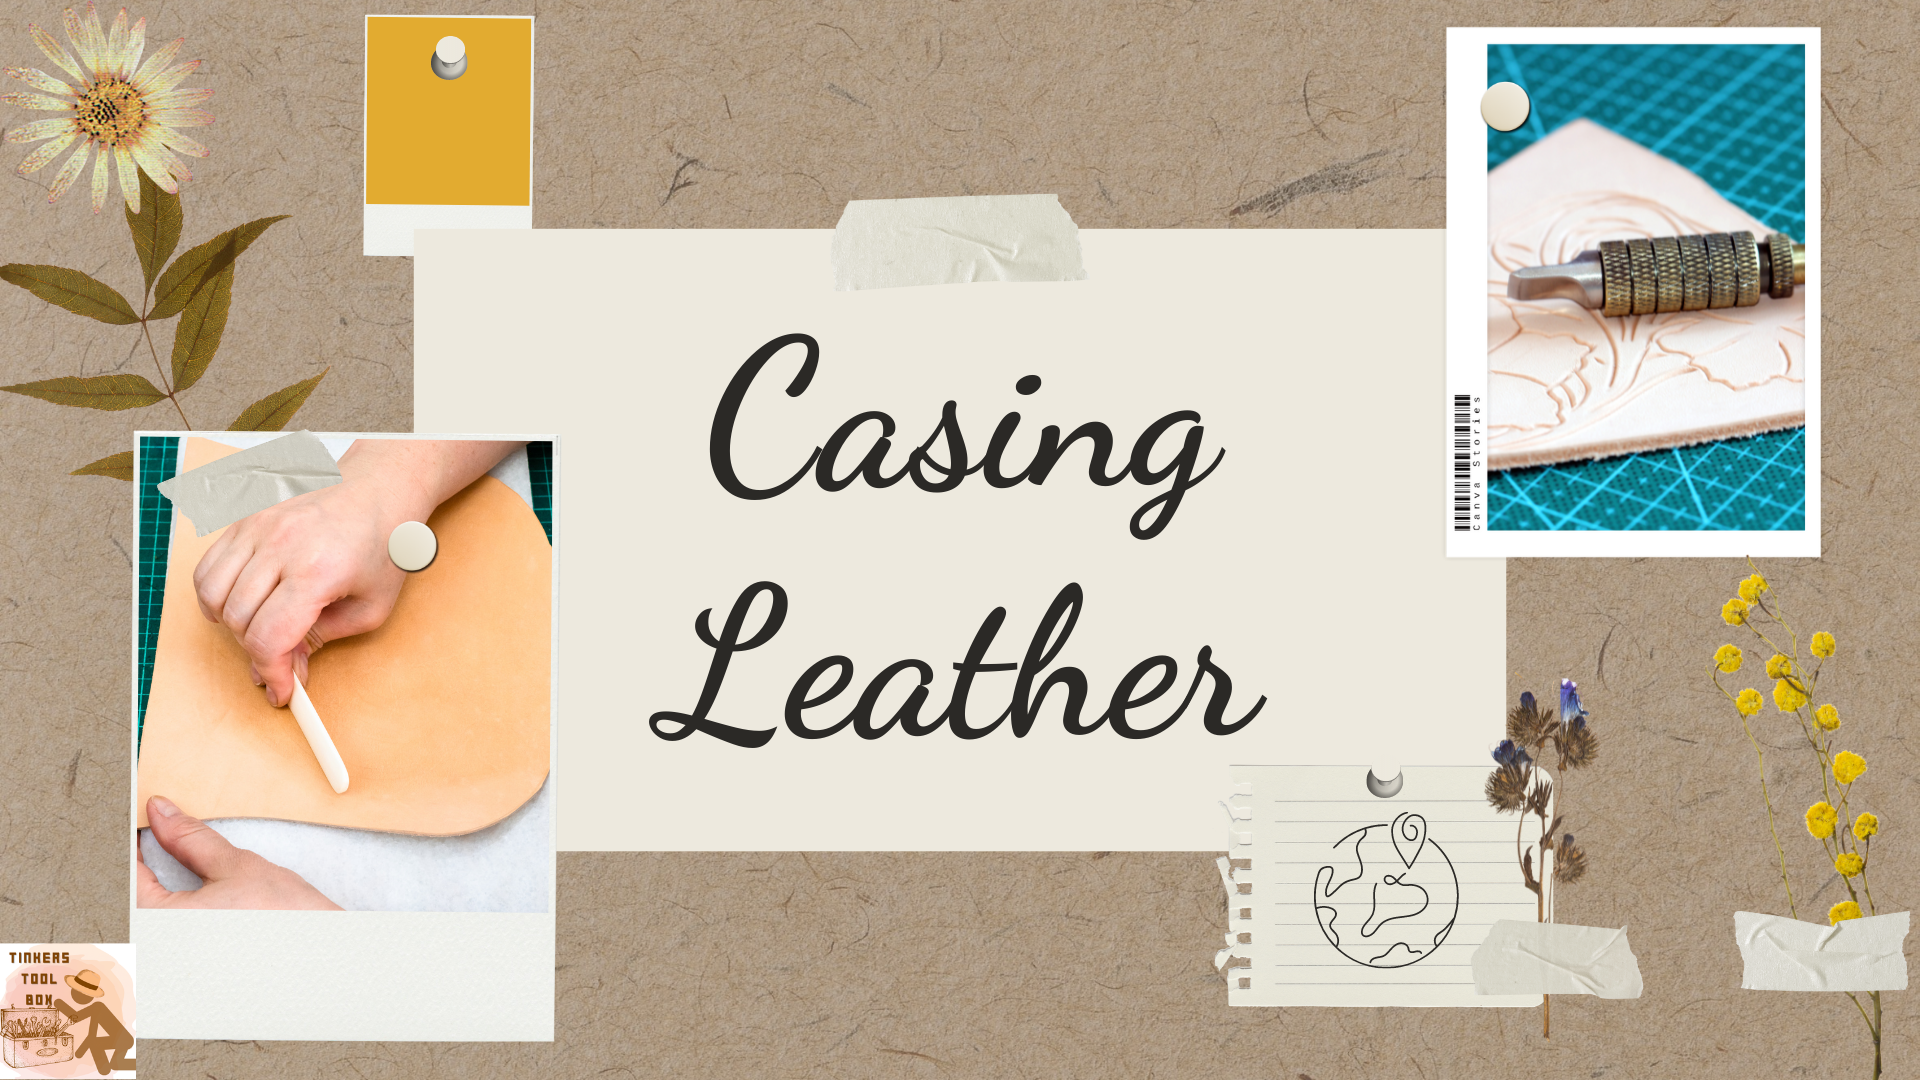
- Casing Leather: Why You Need To Do It
- Traditional Casing of Leather
- Drop a Dab of Dish Soap or Mouthwash onto the Water (Optional)
- Submerge the Piece of Leather Until the Bubbles Subside
- Pull Out the Leather from the Water
- Case the Leather in a Closed Container
- Let the Leather Sweat or Case Overnight
- Store the Bagged Leather in the Refrigerator (Optional)
- Allow the Leather to Air Dry
- Quick Casing Leather
- Conclusion
Casing Leather: Why You Need To Do It
Casing leather is the process of adding water to leather. The moisture from the water helps soften the leather fibers to prepare them for several tasks. Carving leather using a swivel knife is the initial stage in tooling leather. The leather needs to be cased first before outlining and cutting the designs into it. Another method that needs casing is stamping leather, using metal stamps to create 3D impressions onto the leather. These metal stamps include letters, numbers, and various designs and patterns, creating excellent designs on properly cased leather. The casing is also useful in forming or skiving leather to thin down thick leather for some projects specific to thin leather.
Vegetable-tanned leather is a good material that accepts stamping and tooling perfectly when cased properly. It easily absorbs water because of its raw state and being tanned naturally. Compared to chrome-tanned leather, veg-tanned leather can retain a good amount of moisture and often comes in thick volumes.
There are two types of leather casing used by leatherworkers, the traditional casing and the quick case, which we will discuss in detail in the following section.
Traditional Casing of Leather
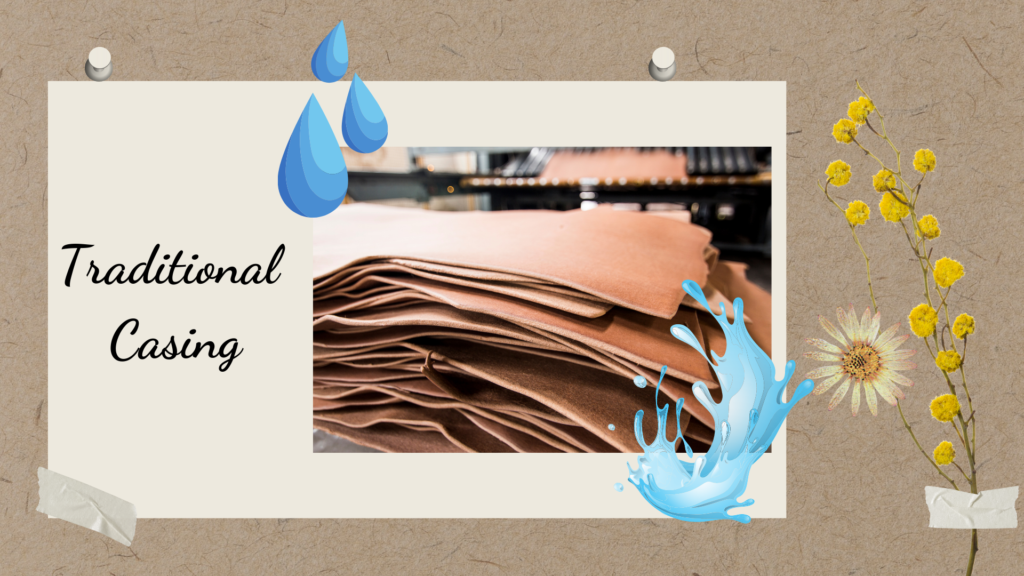
The traditional casing is characterized by its long hours of casing and drying before tooling or stamping the cased leather. This method is an effective way to prep your leather before receiving an impression on tooling or stamping. Here are the steps to follow in casing leather, the traditional way.
Drop a Dab of Dish Soap or Mouthwash onto the Water (Optional)
Dropping a dab of dish soap or mouthwash onto the water is an optional step in a traditional casing. If you are tooling or stamping your leather for days, you may opt to do this to prevent mold buildup on the leather because of being wet for so long. If the tooling process requires a shorter time, there is no need to add dish soap or mouthwash.
Submerge the Piece of Leather Until the Bubbles Subside
Prepare your container with water and submerge the leather completely into the water without leaving any part of it uncovered. Make sure that all parts of the leather are wet. Don’t leave the leather in the water for too long. Observe until no more bubbles are seen coming from the leather. This means that the water has completely penetrated the leather fibers, and the piece is completely saturated.
Pull Out the Leather from the Water
After wetting the leather, let the water drip from it, then put it on a smooth working table. Avoid putting the wet leather on a rough surface. It may leave marks as wet leather easily accepts impressions. Then, let some of the excess water evaporate by leaving it in the working area and letting it air dry. Wait until the leather becomes almost the same as its color before being submerged into the water. You can give it around 90 minutes or more to air dry.
Case the Leather in a Closed Container
The proper casing of the leather is an important step in the traditional casing. Place the leather in a closed container without letting air in it to let the water be evenly distributed throughout the entire piece of leather. You can place it inside a ziplock bag or a plastic trash bag, or anywhere that prevents moisture from escaping the “case.” Another option is putting the leather under a glass cutting board. The weight of the cutting board helps the water be distributed properly on the fibers of the leather. Avoid using a wood cutting board here as it may absorb the water from the leather.
The ziplock bag or container serves as the “case” for the leather to completely absorb the water in its fiber. The water will soften the fibers of the leather. Softened leather will be easy to work with when tooling, stamping, or molding.
You’ll need to case the leather after soaking it in water to prevent it from drying completely. When wet leather dries and the water evaporates, it starts drawing out the leather’s natural oils, making it stiff and brittle. The leather will also lose its natural suppleness when it dries completely. Stiffened leather will not be a good material to accept impressions.
Casing leather takes time compared to just dampening it with water. When results of impressions are compared, properly cased leather produces burnished impressions. On the other hand, dampened leather takes a shorter time, but the impressions made in leather are much flat and look less appealing than the ones made in cased leather.
Let the Leather Sweat or Case Overnight
Make sure that the bag is completely closed, removing as much air as possible before sealing the leather in it. Allow the leather to sweat in the bag overnight. This is to ensure that the leather is completely saturated with water and will not dry up easily.
Store the Bagged Leather in the Refrigerator (Optional)
Store the bagged leather in the refrigerator if it is not used or processed (tooled or stamped) immediately to prevent mold build-up while the leather is wet inside the bag. You can store the bagged leather for more than a week in the refrigerator, then take them out if you are ready to tool them.
Allow the Leather to Air Dry
When the leather is ready to use, remove it from the plastic casing and air dry on a flat surface. The drying time is not fixed for each leather, and the leatherworker is the one to decide if the leather still has enough moisture to accept tooling. This step is important to successfully apply the processes you are doing the casing for, such as tooling, stamping, or forming the leather.
The perfect time to start tooling or stamping is when the leather is almost completely back to its original color before submerging into water. Leather tends to darken in color when wet with water and go back to its original lighter color once it starts to dry out. Take note that you need the leather wet to absorb tooling or stamping perfectly. So properly determining the correct amount of moisture in the leather is important.
One way to determine when is the time to start tooling your cased leather is the thumbnail method. Simply press the tip of your thumbnail to the grain side of the leather. Choose a spot where you will not stamp or tool, so if your thumbnail leaves a mark, you can easily repair it by applying moisture to it.
Look out for the following upon pressing your thumb on the leather. First, observe how the leather took the thumb impression. Also, take note of the feel of the leather under your touch. If the leather feels spongy, it is still too wet to accept and support some firm impressions. But if the leather feels a bit crusty under your touch, this means that the leather fibers will support your impressions like stamping and tooling. Your impressions will stand firm on the leather and will last a long time.
Notice also the color of the thumb impression. The color of the thumb impressions tells a lot about the final appearance of your leather. Look for the deepest part of your thumb impression and notice if it turns darker than the rest of the leather. This is the burnish that adds contrast to the tooled design. Good quality cased leather turns darker than its original color when stamped or tooled. If the impression does not turn dark, the leather is probably too wet to start tooling, and the burnish around the tooled design won’t show on the final product.
High-quality vegetable-tanned leathers have a good burnishing trait which is why they are used for these processes. On the other hand, lower grade veg-tanned leather won’t show great results as the original veg-tanned leathers. Once you are sure that the leather is ready to accept impressions, you can start the stamping and tooling process.
Quick Casing Leather
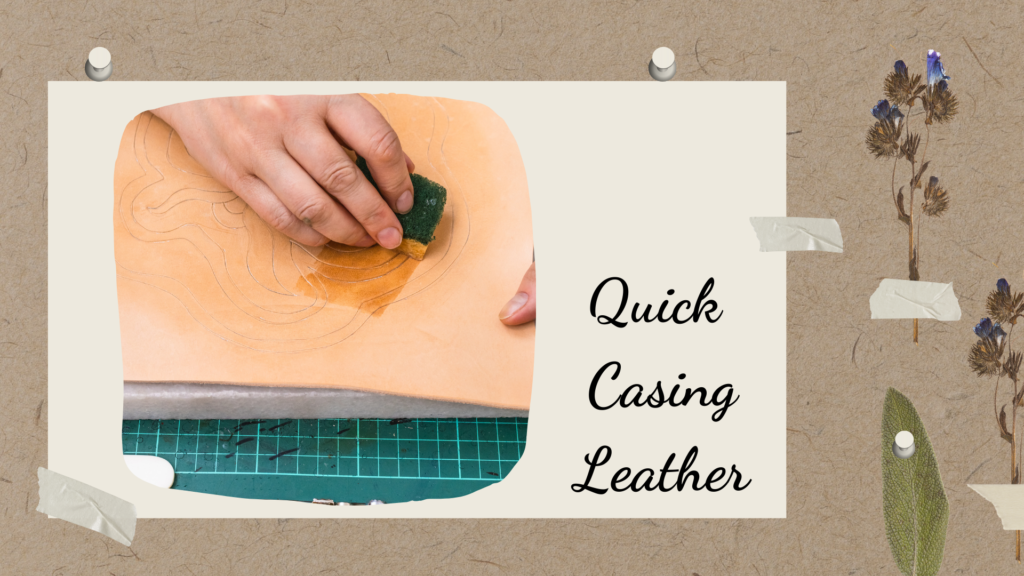
The shorter way of casing leather is done through a quick case. The quick case is often used by craftsmen because of its speed and efficiency. You can start and finish a project in the shortest time through a quick case but still produce a high-quality product. Unlike traditional casing, where you need to have the leather prepared a day or two ahead of the actual tooling, a quick case only requires minutes of drying before you can start with any impression processes. Here are the easy steps to follow in a quick casing leather.
Dampen the Leather Using Your Sponge and Water
The first step in a quick case is to dampen the leather. Dip the sponge onto the water and glide it over the leather. Make sure that all parts are covered. Also, do not push the sponge too hard on the leather as it may leave marks when the leather is completely damp.
Make Sure that the Leather is Not Too Wet and Too Dry
As a quick case only requires the leather to be damp and not wet, make sure that you get just the right amount of water onto the leather. You will eventually start tooling the leather once it’s near dry, and putting too much water will lengthen your waiting.
Leather that is too wet will accept impressions properly, but cuts on the leather will want to close up. Furthermore, impressions will not be crisp because the leather will be too soft for the impressions to stand firm.
Too dry of leather will be difficult to cut, and the cuts will not open and sit nicely on the leather. If you are tooling leather that lacks moisture, you’ll feel like you’re dragging your swivel knife across the leather rather than gliding it smoothly on the surface. Your impressions will also take a lot of effort to produce depth.
Wait for the Leather to Almost Return to Its Original Color
To know when to tool or stamp leather upon your first application of water, you’ll just need to wait until the leather looks almost completely back to its original color. Take note of the word almost. Do not wait for it to completely dry. The leather must still be a little damp before tooling. Once the leather is all set, you can now start creating impressions on it.
Re-wet the Leather Once it Feels Dry
Upon the tooling or stamping process, some parts of the leather will start to dry easily. You may want to add additional moisture to the dried surfaces to ensure the leather accepts all the impressions perfectly.
The number of times you’ll apply moisture depends on the length of time you’ll work on the leather and the moisture needed for each part. The quick case method allows you to apply water in a controlled manner and is only applied on the grain side of the leather.
Conclusion
Traditional casing and quick casing leather are two different methods to prepare your leather for various processes. Experienced leather workers and some who have been in the leather industry for many years believed that traditional casing would always be worth the wait to achieve great results. However, we cannot deny the efficiency of a quick case as it also produces great results. Years of experience and practice would play a big part in determining which one works best for you.