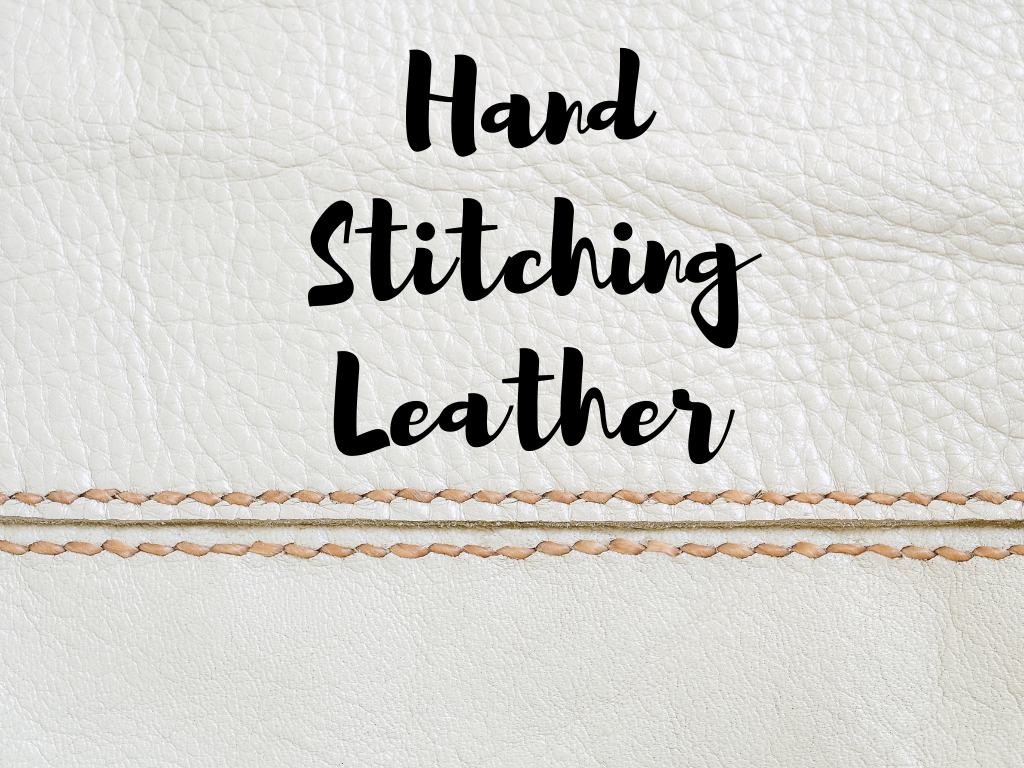
Durable leatherwork comes from the right set of materials and techniques. If you’ve encountered leather products in the past with terrible quality, then stitching might be a contributing factor to these problems. Crafting leather does not stop at sticking leather together with adhesives but also sewing them beautifully together. I’ll be teaching you how to create fine leatherwork with the proper hand stitching techniques.
How to hand stitch leather? With needles at both ends of your thread, alternately go with your left then right hand through every hole until you have covered all the holes for stitching. Backstitch all the way to your first hole while using the same stitching procedure for a more secure stitch.
If you have been stitching with a machine for your leather projects in the past and want to learn how to do it by hand, this guide would be perfect for you. In this guide, I’ll teach you the proper way to do the saddle stitching technique and what materials you could use to make your stitching easier. You’d also be learning why hand stitching leather is better than machine stitching and the best selection of threads that you could use for hand stitching.
An In-Depth Step-By-Step Of Hand Stitching Leather
Here is a detailed step-by-step guide on how you could perfectly execute a saddle stitch on any leather project and the materials you will need to accomplish this. Once you follow this guide closely, you’ll be able to come up with the finest hand-stitched leathercraft.
Materials You Will Need For Hand Stitching
- Pricking iron
- Stitching groover
- Overstitch wheel
- Stitching Awl
- Needle
- Polyester thread
- R-point needle(s)
- Mallet
Set A Groove Into Your Leather
Source: AliExpress
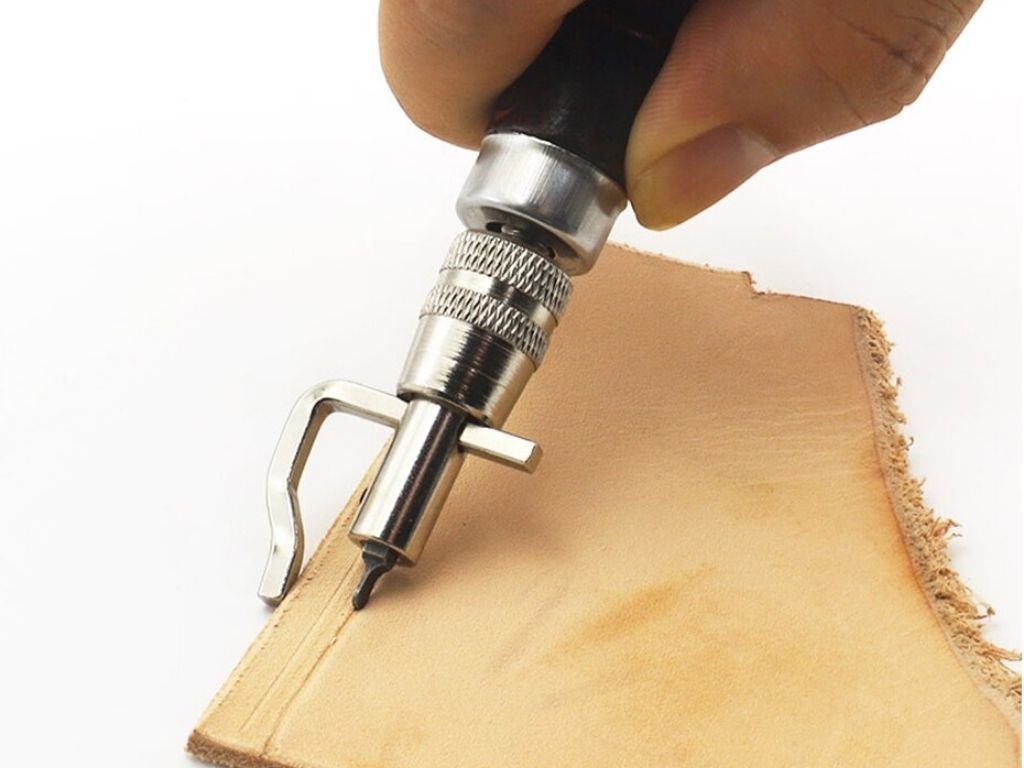
With your stitching groover, create the stitching channel that will also serve as your reference point for the holes you will later punch along it. By doing this, you’re also removing a small outermost layer of leather which in turn will help you easily punch holes later on whether it may be with your pricking iron or a stitching awl. This would help you protect your vulnerable needles and threads from easily breaking while trying to go through the thicker layers of leather.
Mark Your Holes With The Proper Spacing
Source: Instructables
With your overstitch wheel, mark your desired spacing between your stitching holes. An overstitch wheel does not create the final holes themselves but like the stitching groover, it creates shallow holes that would serve as visual guides for your actual holes with the proper spacing in between them.
Take note that overstitch wheels come in different sizes. A “number-six wheel” means that there will be 6 holes in an inch once you mark it on any leather surface. You can change your overstitch wheel for your leather project based purely on your taste.
Punching Your Holes In
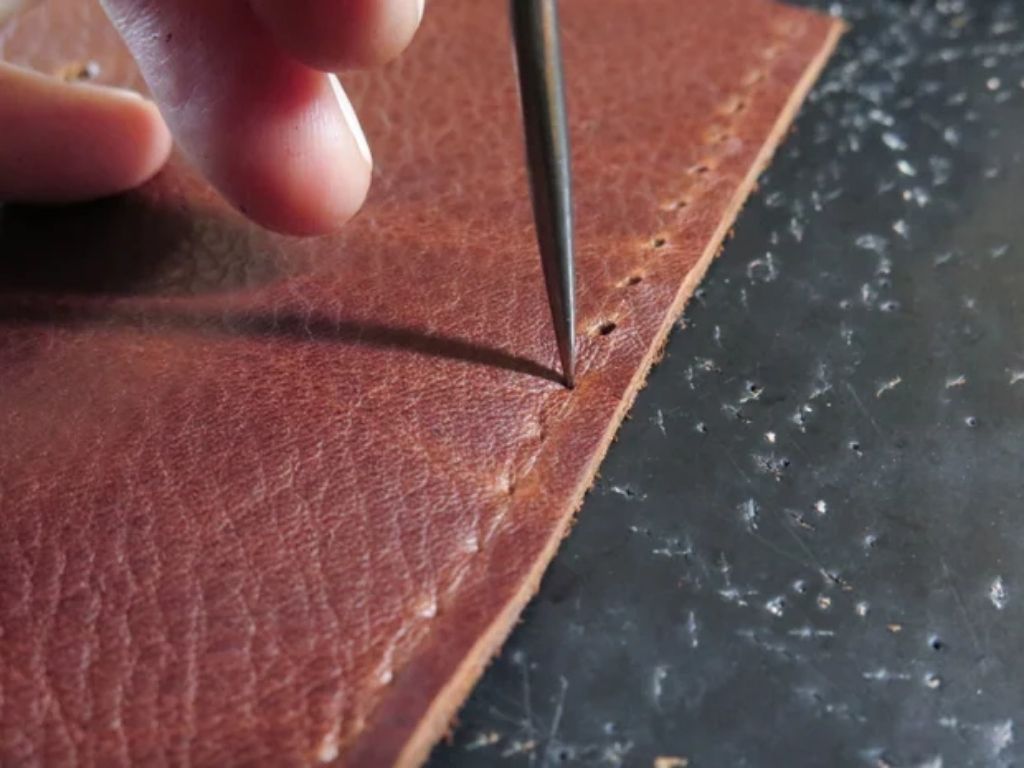
For this step, you can use a stitching awl or a pricking iron and mallet. Either of these two options would be good for piercing your holes onto your leather. If you opt for a pricking iron and mallet, be sure to be looking at your pricking iron downwards and not horizontally. This way, you could easily observe if your holes are properly aligned.
On the other hand, a stitching awl would be much more convenient if you marked your designated holes with an overstitch wheel. Simply pierce holes along your pre-emptively marked spots.
Threading Your Needle
Before you thread your needle, make sure that you have the right amount of thread for your designated stitching channel. A good way to compute for the right length of thread is multiplying the length of your stitching line to 3.5. The measurement that you obtained in inches would be the perfect length of thread. However, if your stitching channel is less than a foot in length, multiply it to 4-4.5.
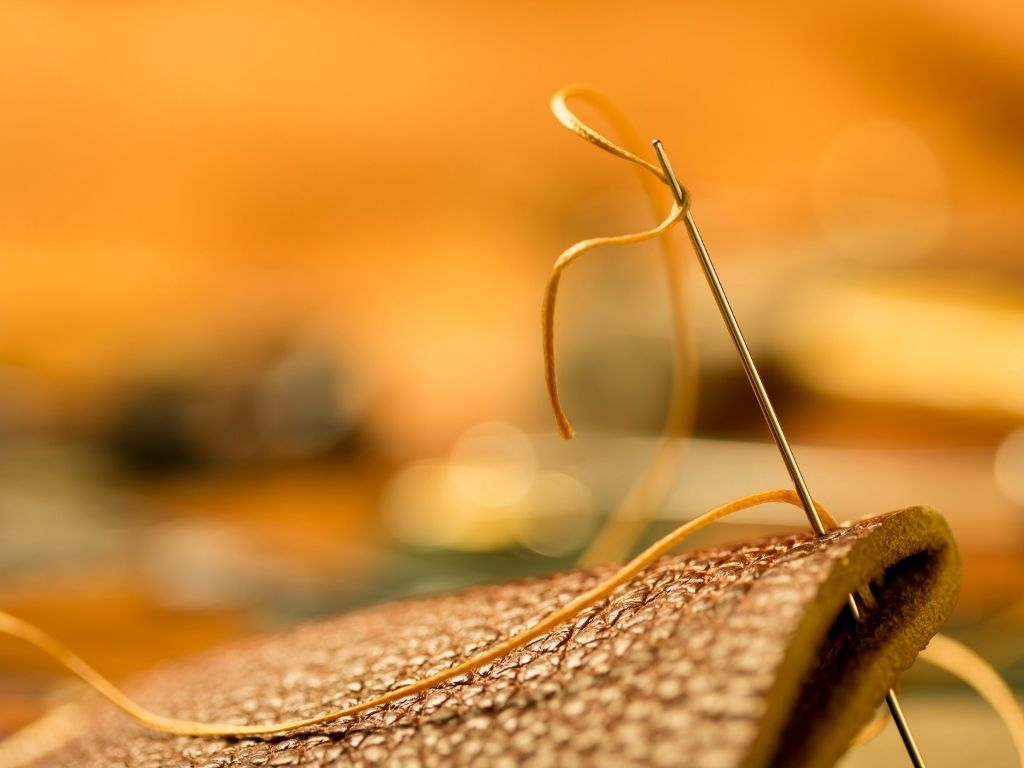
Begin by pulling your thread through the eye of the needle. You can cut the edge of your thread for a sharper tip to make it easier to shoot through the eye of the needle. Applying beeswax on your thread would also be a good option to sharpen, strengthen, and protect your thread. This is ideal for larger leather projects that require the tight pulling of your thread.
Securing And Finalizing Your Stitching Thread
Once you have inserted your thread through the eye of the needle, allot double the length of the needle for the thread on one side such that one whole length of the needle is overlapping. Pierce the middle point of this overlapping side. The middle point of the thread is located at the point where the thread begins to overlap your needle.
After piercing your overlapping thread, push this part of your thread back beyond the eye of the needle to create a knot. Pull from both sides of your thread to secure your knot. Repeat this process for the other end of your thread to prepare for double-needle saddle stitching.
Going Through The Holes
Insert one end of your thread inside the first hole of your stitching channel. Once you have done this, make sure that your thread is centered and the length is even at both sides. For a more organized saddle stitching technique, the needle in your left hand must always go first through the next hole followed by the one in your right hand.
Make sure that the right needle always goes behind the left thread in every stitching hole for a more harmonious and consistent pattern. Placing the second needle in a stitching hole would result in bumpy and irregular stitches. Repeat this process until you reach the last hole.
Backstitching For Tight And Secure Stitches
Backstitching is done to secure previously made stitches. To begin with, it is called backstitching because the needle goes behind your previous stitches and you go all the way back to where you first started.
For backstitching, repeat the same process that you began with while saddle stitching. However, this time you are stitching towards your main starting point. The more challenging part with backstitching is trying to punch your needle through your already-stitched holes. A set of pliers or a stitching pony (which will be discussed later) can help you get a better grip while backstitching.
Make sure to pull both ends of your thread tightly in order to match the size of your previous stitches. With a sharp knife, cut the excess thread once you have finished backstitching up to your last hole while avoiding damage to your stitches.
Hand Stitching Versus Machine Stitching Your Leather

Hand Stitching leather has its advantages and disadvantages in comparison with machine stitching leather. As previously mentioned, hand stitching leather is a longer and more delicate process than sewing your leather with a machine. Here are a few facts about hand and machine stitching and why hand stitching is a much better way to stitch your leather.
Hand Stitching Edges Out Machine Stitching
The Fine Lines Of Stitching
There are a few aspects that can be distinguished between hand stitching leather and machine stitching it. Some of these are the number of threads, design, and durability. I’ll discuss how these two different methods of stitching vary in these aspects.
Hand Stitching
As previously illustrated, one stitch in a saddle stitch pattern is an individual stitch. This means that in the event that a stitch unravels, the rest of the stitches along your channel will stay intact. This also means that as the years go by, you wouldn’t need to worry about your leather project coming off completely. You’ll be able to notice when your hand-stitched leather work is starting to deteriorate once it comes of age.
Another set of great features of hand stitching are its practicality and portability. When hand stitching, you could execute this technique anywhere as long as you have the right materials whether you are in your living room or outside your porch. Should you opt to aid your hand stitching with them, the biggest possible requirement for hand stitching are stitching ponies and clams which help you keep your leather steady while stitching.
Most importantly, no hand-stitched pattern looks like the other. Though this may sound like inconsistency, the human hands can never perfectly follow the same range of motion at all times. This makes hand-stitched leatherwork more special as they never look exactly the same as the other. The only downside of hand-stitching compared to machine stitching would be the fact that it is more time-consuming.
Machine Stitching
Unlike hand-stitched patterns, machine-stitched patterns unravel once a single stitch breaks down. This is due to the technique that sewing machines incorporate, which is the lock stitch using only strand of thread. A single lock stitch is two small interlocked threads that are exerting forces against each other, therefore making machine-stitched leather goods vulnerable to high amounts of load.
Even worse is that stitching machines are both expensive and bulky. While there may be lightweight sewing machines, it is quite taxing to carry around your machine should you find yourself wanting to transfer to another location while sewing. After all, most of us prefer to do leatherwork as a form of recreation and to relax.
While stitching with a machine is generally much faster than hand stitching, most stitching machines require electricity while older versions require additional work from foot pedals in order to operate them.
Hand Stitching: Finesse In Good Ol’ Manual Labor
9 times out of 10, hand-stitched leatherwork would last longer than machine-stitched ones. No sewing thus far is capable of doing a saddle stitch. The less time it takes to finish stitching with a machine does not outweigh the durability of hand-stitched leatherwork.
As with most of the elite leather goods on the market, hand-stitched leatherwork is more consistent with hand-made products. Do note that these products are much more expensive for the most important reason: durability. You can observe that the stitches on the expensive oxfords that you purchased would look a little bit different from someone else who had gotten the same shoe.
Hand Stitching Your Leather Made Easier
Here are a few options for equipment that you could use to keep your leather product steady while sewing through them. After all, not everyone is blessed with steady hands.
Leatherworker’s Stitching Clam
Source: Pinterest
As the name suggests, a stitching clam is shaped like a clam. Its main function is to keep your leather steady by clamping onto it while you do your hand-stitching techniques
Use a stitching clam by placing a part of your clam under your knees and stepping at its base with your feet for a firmer hold. Put your leatherwork at the top to be clamped. The strength of the hold can be adjusted through a butterfly nut found in the middle of your stitching clam.
Leather Stitching Pony
Source: Amazon
A leather stitching pony works the same way as a stitching clam. However, they are smaller in size and much lighter. They are more portable and only need to be held under your legs for stability. You could also adjust its clamping strength with a butterfly nut, also found in the middle part of the equipment.
Getting Creative With Your Scrap – Plywoods
If you find it difficult to look for clams and ponies on the market or you simply do not want to spend extra dollars on any equipment, then you can rummage through your garage for two pieces of equally-sized scrap plywoods.
Make sure that the plywoods you’d be using are more or less a meter in length. Once you have them, squeeze the two plywoods with your legs while putting your leather in between the top part of your plywoods. This way, you can control how tightly clamped your leather work is while you’re stitching through it.
Hand Stitching Leather Tips And Tricks

When working with leather, you would be encountering common issues. Luckily, here are some tips on how you could remedy these leather hand stitching dilemmas.
If you find your needles and threads not going through your holes, you could redo them by using an awl or your pricking iron. Try gripping your needles with pliers if you seem to not get a grasp when pushing them through your holes and your leather with your other hand if you do not have a stitching pony.
Dry leather could also cause bad thread pulling. If you force your thread through the holes, this could result in flaking and wrinkling your leather. Lubricate your leather with jojoba oil or any leather lube.
Lastly, for aesthetic purposes, consider the color of the thread you would use for hand stitching. This could affect the final overall look of your leather project. While there may be no definite or best color for your thread, go for a thread color that harmonizes with the color of the leather.
Best Threads And Needle For Hand Stitching Leather
Here are some of the best threads and needles that you should consider if you want to start hand stitching leather.
Polyester Thread
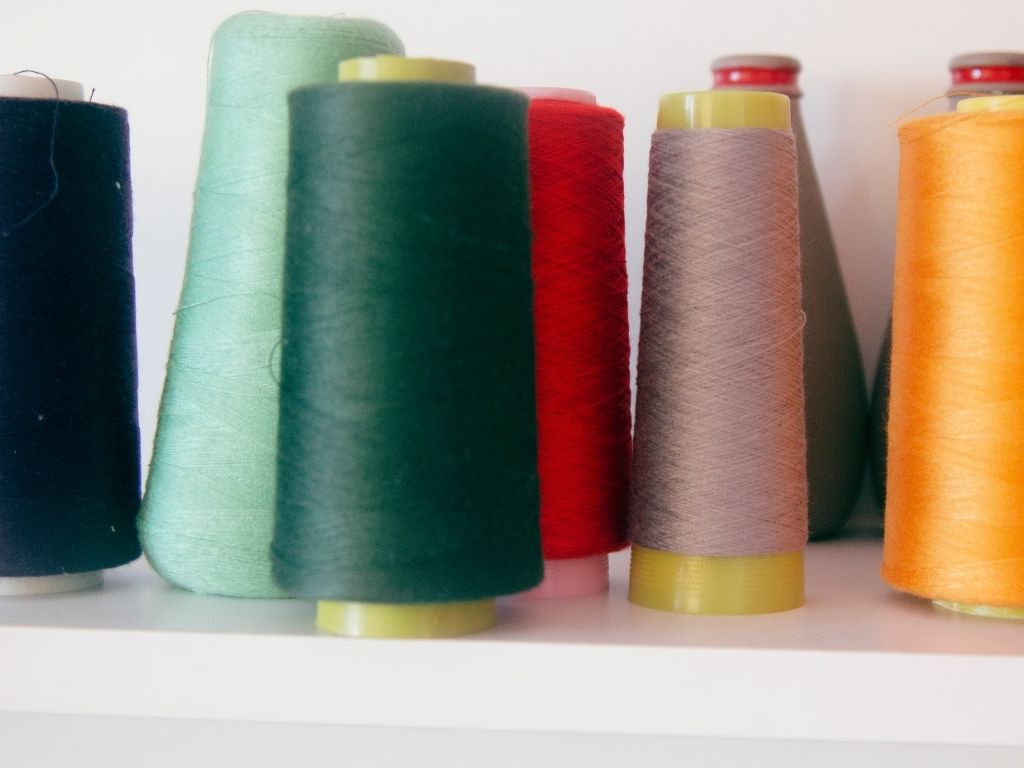
A polyester thread is one of the best threads for use in hand stitching leather. You’d be surprised at how stretchable and robust this material is because of its synthetic composition. This also means that polyester thread does not deteriorate over time, unlike its natural fiber competitors.
Aside from the aforementioned qualities, the polyester thread also has no problems withstanding high temperatures with its high melting point of 260 degrees celsius and high heat resistance. This is perfect for your leather project which would get exposed a lot to direct sunlight. The polyester thread also does good in preventing moisture absorption than other thread types.
However, you should also consider the strength of synthetic threads like this one. In some cases, pulling them too tightly while stitching can cause cuts on your leather surface. Exercise precaution when using threads of this strength as they can also cause harm to your leather.
Linen Thread
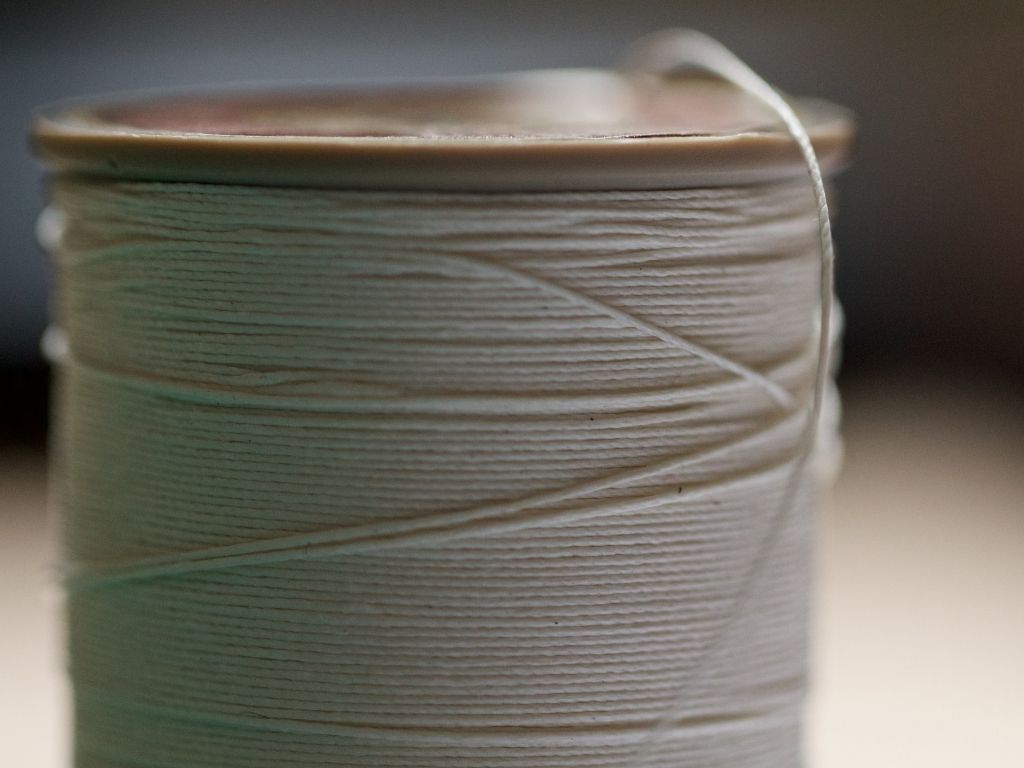
Linen thread is one of the most commonly used threads, not just for leatherworking. They are perfect for smaller leather projects like wallets, watch straps, or anything that requires thinner intricate stitches.
Linen thread, unlike polyester, is a natural fiber. It can deteriorate over time and is not as capable in high-heat environments. It also does not boast strength as much as polyester and requires waxing to protect it from breakage while you hand stitch your leather.
Nylon Thread

Among all the threads, the Nylon thread is the most suited for heavy-duty hand stitching, especially for thick and heavy leather goods. Considered the strongest thread for stitching while also being the cheapest, this thread is more commonly used for upholstery like the ones found in automotive interiors and home furniture. Its smooth glossy finish also adds a different style for your leather, should you opt to use this kind of thread.
Like a polyester thread, nylon thread also would not deteriorate over time because of its synthetic composition. However, this highly-artificial composition means that it does not bode well in high heat environments unlike with the polyester thread. Be sure to use nylon thread exclusively for indoor purposes.
When choosing the right type of thread between these options, always consider the thread durability, the weight of your leather project, and thread composition. Different leather projects require different thread types. Be sure to switch between options when hand stitching your leather goods.
Conclusion
Hand stitching leather is an amazing component of a bigger craft that is leatherworking. To master leathercrafting, you must hone your skills in basic hand stitching to come up with finer and longer-lasting works of leather. Once you gain the confidence in hand stitching leather, you’d be happy at how much longer you’d stop to just stare at your great piece of leather crafting.