Building a honeycomb candle is one of the most straightforward projects a candlemaker can make. This candle does not need fancy fragrances and additives to stand out and burn well, with beeswax as its main component. You only need to have beeswax sheets, braided cotton wicks, a razor knife, and a ruler, and you’re all set. Read on to know the basics about making honeycomb candles and additional tips and tricks on creating different variations and styles that will surely broaden your creativity and candle making techniques.

Step 1: Acquire suitable beeswax sheets and wicks for your honeycomb candle.
Beeswax is sold in the market in beads, pounds, or sheets. This type of wax is naturally sticky, so it is not ideal for making molded candles. However, beeswax is suitable for making container candles, tapers, and rolled honeycomb candles.
As the name implies, beeswax is a natural byproduct secreted by bees when they make honey. Beeswax sheets, in particular, come from the dregs of pressed honeycombs that are purified and molded into sheets or blocks.
Many candlemakers hold beeswax in high regard because of its inherent characteristics and organic origins. The natural scent of beeswax may vary depending on the bees’ diet or place of birth. However, beeswax generally gives off a sweet honey-like aroma that can be either left as is or enhanced by fragrance oils.
Aside from its sugary scent, beeswax also burns at 146°F, which is significantly higher than other types of wax. The higher temperature causes candles made of beeswax to burn longer and produce longer-lasting scents.
In the old days, affluent homes and churches preferred beeswax candles because these candles had less smoke and burnt brighter than other candles. Today, beeswax remains one of the most sustainable and the least toxic types of wax available in the market. But, unfortunately, these same reasons make beeswax more expensive than other types of wax used for candle making.
Beeswax sheets, in particular, cost around $15.48 to $59.99, depending on the dimensions and number of sheets per purchase. For a more affordable alternative, you can go for sheets that combine beeswax and paraffin instead of using pure beeswax. However, do note that blending beeswax with other types of wax may affect its quality.
Beeswax is naturally golden yellow or coppery in color, but you can also use colored beeswax sheets to add more variety to your honeycomb candles. Likewise, while beeswax sheets often have their signature honeycomb texture, smooth flat sheets are also available, albeit rarer.
Because beeswax burns at a higher temperature, it is imperative to use a wick to match its burn rate. Without unwanted tunnels or elongated flames, the proper wick will help your candle burn better. To avoid choosing the wrong wick, determine the size of the candle you will make, then refer to your wick and wax chart. A beeswax candle typically needs a wick two sizes bigger than what is prescribed to paraffin candles.
Candlemakers typically use square-braided cotton wicks and flat-braided cotton wicks to make honeycomb candles. Experiment with both and see which works better for your homemade honeycomb candle.
Do not forget to refer to the instructions provided by your beeswax sheet and wick suppliers. Doing so would give you a workable starting point, which you can use to refine your measurements and techniques as you go. Remember: always take note of your variables, process, and results so you can learn what to repeat and what to modify in the future.
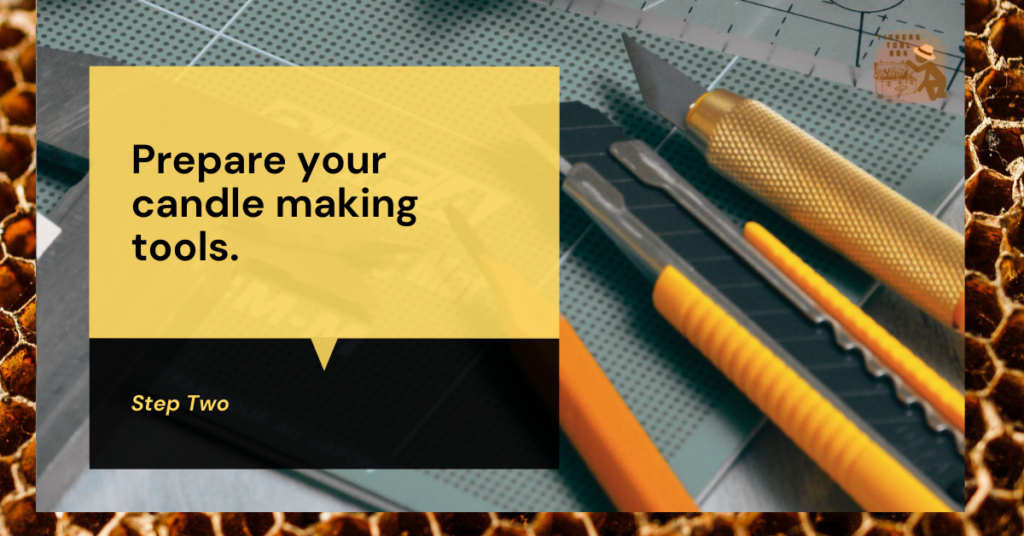
Step 2: Prepare your candle making tools.
Once you have acquired beeswax sheets and cotton wicks for your honeycomb candles, it is time to prepare your work area and essential candle making tools.
One of the great things about making homemade honeycomb candles is that aside from the beeswax sheets and wicks, all the other tools you need are most likely already available at home.
Unlike container candles, honeycomb candles are manually rolled by hand, which means that you will not need pouring pots, molds, and thermometers because there is no need to melt any wax.
However, it might be helpful to have a blow dryer on hand so that you can warm your beeswax sheets before rolling. It is not always necessary to warm beeswax sheets before use. Only do so when your sheets seem brittle. Warming the sheets will make them more flexible and resistant to cracks. Be sure to watch the blow dryer’s settings to avoid overheating the sheets.
Another necessary tool for this project is a sharp razor knife or cutter, which you will use for slicing your beeswax sheets into your desired dimensions. Use a metal ruler to measure your sheets accordingly and to guide your hand while cutting the sheets.
A cutting mat will also be helpful to protect your work area from accidental cuts. Finally, as much as possible, choose a spacious and flat surface for this project. It will not only make things easier by having everything you need on hand, but it will also make your process efficient and safe.
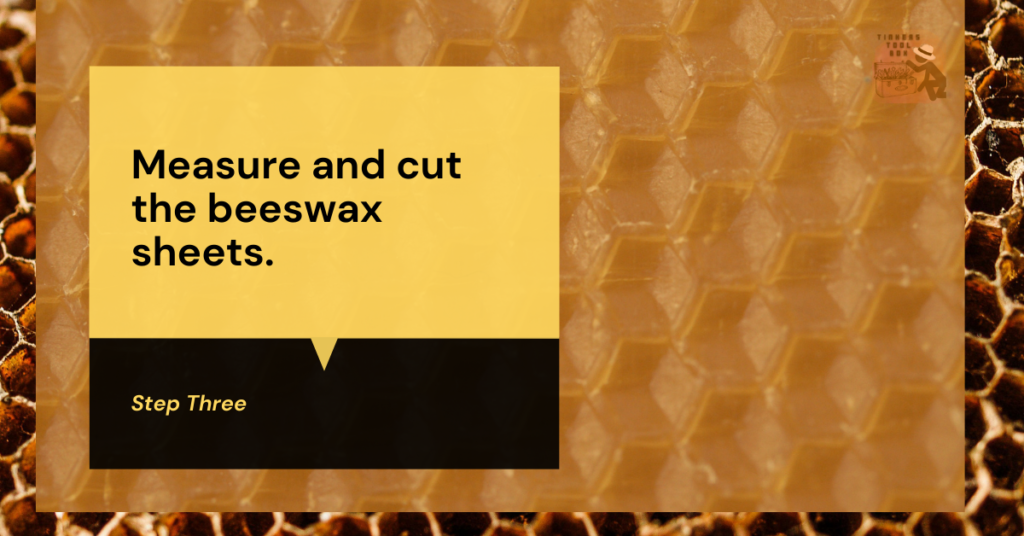
Step 3: Measure and cut the beeswax sheets.
After you have prepared all your tools and materials, the next thing you need to choose is the type of honeycomb candle you want to build. This decision is crucial because it will determine the measurements and cuts you need to make.
The most basic type of honeycomb candle is the taper. Tapers are the typical slender candles people use to decorate their dining tables and birthday cakes. You can either roll a flat-tipped taper candle or a triangular or raised-tipped taper candle.
Flat-tipped taper candles do not have a standard length, so you can slice your beeswax sheet lengthwise in whatever measurement you want. I prefer my honeycomb tapers to be at least six to eight inches tall.
The diameter of your honeycomb taper also depends on your personal preference. Cut your beeswax sheet’s top and bottom edges to at least four to five inches to achieve a thin diameter. However, if you are still experimenting, you can keep rolling the sheet until the candle reaches your desired thickness. Please take note of the measurement so you can replicate the same results in the future.
You can apply similar measurements for triangle-tipped or raised-tipped honeycomb tapers. However, to make the tip thinner than the base, you have to cut the top edge of your beeswax sheet in a smaller size. For example, if the bottom edge of your sheet is five inches long, the top edge should be shorter.
Mark your measurements using a razor knife or cutter, then slice the length of the sheet diagonally. The final sheet should resemble a trapezoid, with its top edge having a shorter length than its base.
Another type of honeycomb candle you can do at home is the pillar candle. Pillar candles are typically six inches tall, with diameters that span three to four inches.
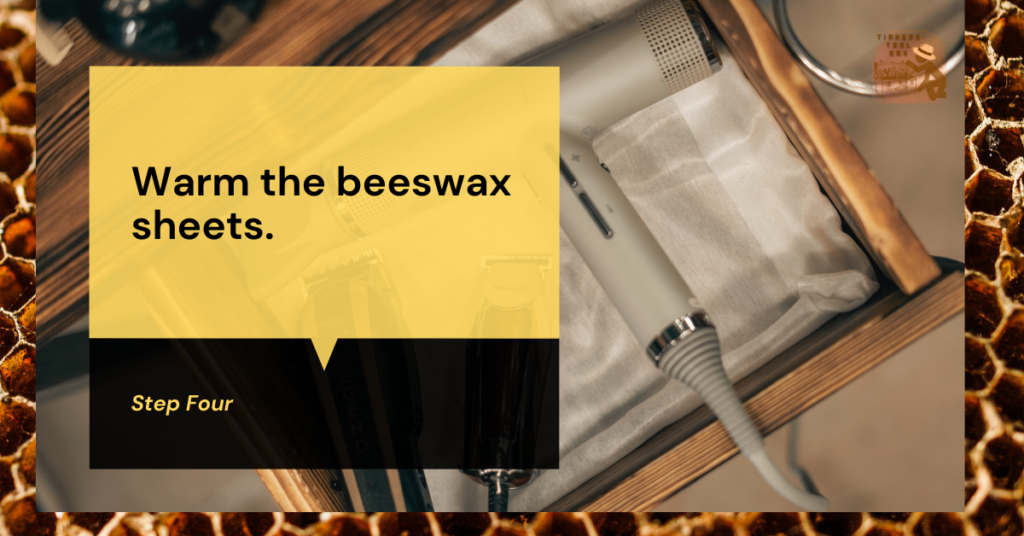
Step 4: Warm the beeswax sheets.
There are times when beeswax sheets become stiff and brittle because of the way they are stored. Warming your beeswax sheets before rolling them makes the sheets more pliant and less brittle. It is not always necessary to do this step, but knowing it helps with rigid beeswax sheets.
You can warm your beeswax sheets using a blow dryer. Or you can momentarily dip it into warm water. The goal is to apply heat on the sheets to be easier to roll.
Just be careful not to subject your sheets to extreme heat because this can make them sticky. Worse, they can even melt prematurely.
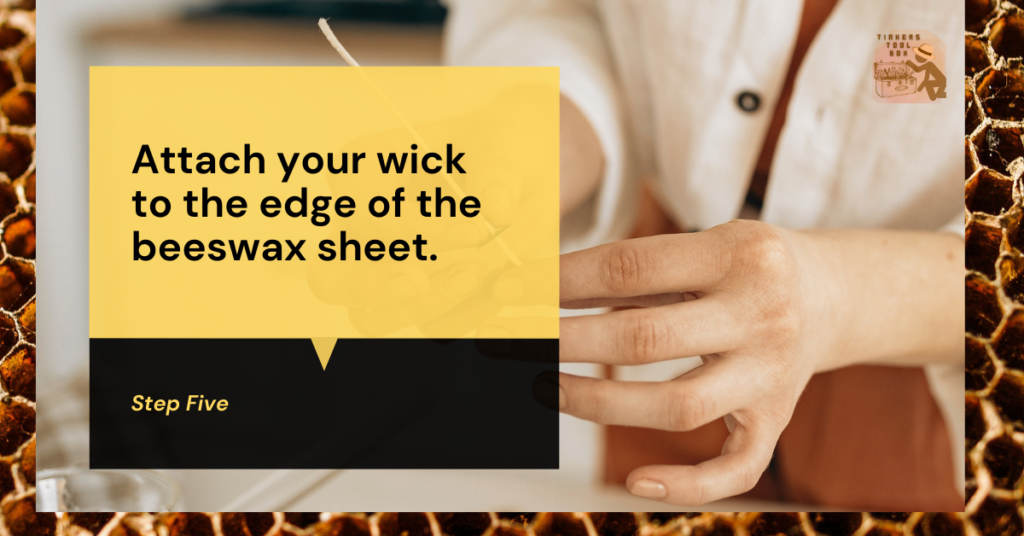
Step 5: Attach your wick to the edge of the beeswax sheet.
After cutting your sheets and ensuring that they are soft and pliable, you are now ready to attach the wick to your DIY honeycomb candle.
Trim your cotton wick according to the height of your beeswax sheet. It should be at least one inch longer than your candle. I prefer leaving excess wicks on both ends of the beeswax sheet to make it easier to trim the wick afterward.
Before attaching the wick, check if your sheet has any cracks, dirt, or uneven edges. Then, stick your wick on the damaged side to ensure that the damage is not visible. Finally, press firmly to ensure that the wick is securely attached to the sheet’s edge.
Step 6: Roll the beeswax sheet.
You’ve come to one of the most exciting parts of this DIY project: rolling the beeswax sheet into a honeycomb candle. First, start from the side where you attached your wick. Then, roll the sheet slowly and carefully to keep the wick secure and the layers of the candle tight.
Instead of placing my fingers on the center, I roll with both hands on each side of the sheet. Doing this ensures that both edges remain flat throughout the process. This technique applies when you are making flat-tipped honeycomb tapers or honeycomb pillars.
Lastly, don’t forget to check if your wick is still in place. Likewise, check if you have achieved your desired candle diameter. If it’s too slender, you can add another sheet of the same length by attaching it near the edge of your rolled sheet. Keep at it as necessary, then cut the excess sheet with your knife and metal ruler.

Step 7: Trim the wick of your honeycomb candle.
Trim your wick according to the length and diameter of your honeycomb candle. A wick that is too long will shorten your candle’s burn time. On the other hand, a short wick will cause the wax to pool at the center of your candle.
You can trim the wick of your honeycomb candles to at least an inch, then observe if the length is enough or too much while burning. Always trim the wick before burning to maintain the ideal melt pool and burn time.

Step 8: Get creative with honeycomb candle variations.
Aside from rolled honeycomb tapers and pillars, there are other creative ways to make candles from beeswax sheets. These versions are elementary to make. It’s the perfect project for beginner candlemakers and children who want to learn a new craft.
One option is to try an alternative shape. For example, instead of rolling a rectangular sheet of beeswax, you can slice the sheet diagonally at the center so that you can have a right-angle triangle.
Roll the sheet as you would a regular honeycomb candle, starting from the triangle’s base. The result should look like a cone. You can use green or red beeswax sheets to create miniature Christmas tree candles for this project.
Another option is to make cookie-cutter honeycomb candles. The idea is to use cookie cutters to cut various shapes from your beeswax sheets. Take one cookie cutter to make multiple cutouts of the same shape, then layer the sheets on top of each other until you achieve the desired thickness for the candle.
To attach the wick, divide the layers into two and stick it to the middle. For example, if you are working with six layers, you can connect the wick on the back of the third layer and top of the fourth layer.
With this method, you can create as many different honeycomb candles as there are many cookie-cutter variations. To avoid hazards, have separate cookie cutters for candle making and baking.

Step 9: Burn your honeycomb candles.
Some claim that the longer honeycomb candles are allowed to sit, the better they burn. If you are saving your honeycomb candles for special occasions, be sure to store them at room temperature, away from excess heat or cold.
Storing honeycomb candles in excessively cool temperatures will eventually make them hard and susceptible to cracking. On the other hand, excess heat will cause the candles to melt.
One way of prolonging the burn time of honeycomb candles is to put them in the freezer right before burning them. However, do this sparingly and only when you’re about to burn the candles to avoid developing unwanted cracks on the candles.
Whether you’re celebrating a special occasion or simply relaxing on your couch, homemade honeycomb candles will surely lighten your mood with their sweet fragrance and brightly burning flames. Sit back and enjoy!