Succulent plants and artisan candles continue to be staples in homes, offices, and interior spaces because of their charm and versatility. Aside from adding character to otherwise dull rooms and office corners, succulent plants and candles can also improve our mood and wellbeing.
Enter succulent candles. This candlemaking idea combines the calming aesthetics of succulents and the primary uses of a scented candle into a single artistic project.
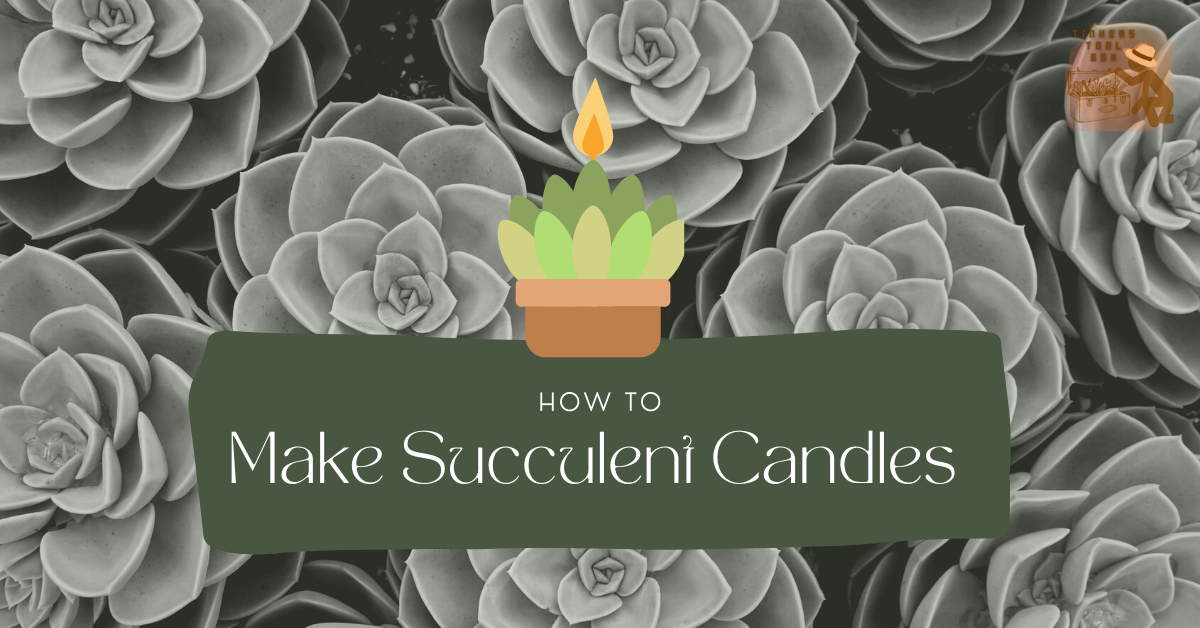
Making succulent candles is a fun activity to express your creativity and improve your candlemaking skills. This succulent candle tutorial will give you all the basic stuff you need to make succulent candles, plus additional tips and tricks to enhance your candlemaking experience further. Follow this guide and enjoy.
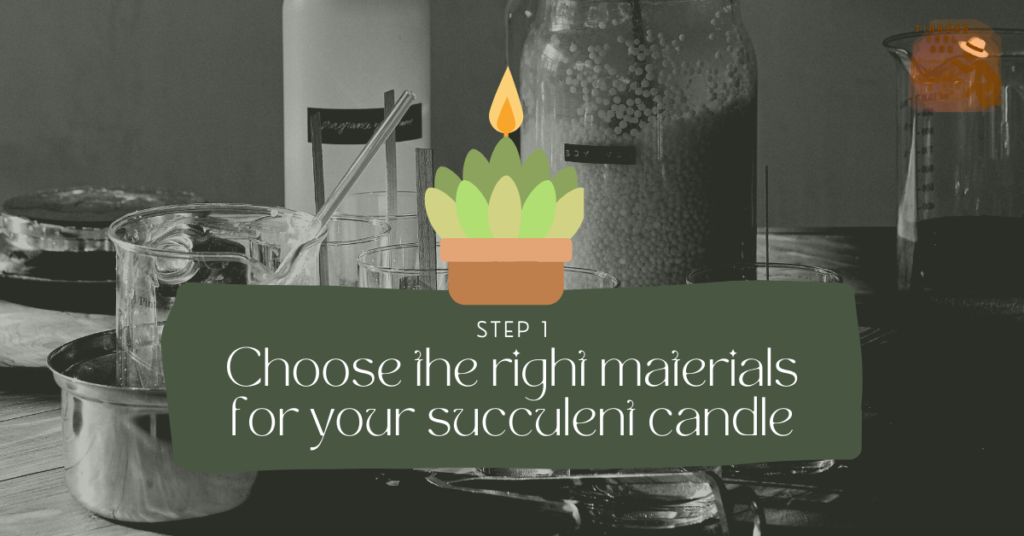
Step 1: Choose the Right Materials for Your Succulent Candle
The materials you use for candlemaking can make or break your finished product. The same goes for choosing the suitable materials for your succulent candle.
Start by preparing the essential tools to make a succulent candle.
Firstly, look for succulent molds that match your vision, preference, and budget. Many varieties are already available in candle supply shops and craft stores, but if you want to go the extra mile, you can experiment by making your own.
Succulent molds come in silicone, acrylic, metal, or plastic variations, as with any candle molds. They also come in many different shapes and sizes. Consider what will fit your project best. I recommend choosing a silicone mold tray that works well with wax and can sustain heat.
Secondly, prepare your wax. Use the type of wax that you are already familiar and comfortable with to manage results better. Soy, bayberry, and even paraffin wax are good alternatives for this project. You can even combine different types to achieve the candle performance that you want.
If you’re a beginner who’s only starting to dip your toes into candlemaking, you may opt to use ready-made and preferably unscented candles. However, it is still advisable to use wax from scratch to fully understand basic candlemaking techniques.
Dye is also a critical component of this project. It can transform plain white candles into a colorful collection of diverse pieces. First, decide how you want your succulent candle to look. You can go from natural-looking plants to funky pastel-colored alternatives.
I want my succulent candles to look like they are part of my real succulents, so I go for shades of green, red, yellow, and brown. If you’re more adventurous or considering giving this project as a gift, choose what works best for you.
Next, determine the most suitable fragrance for your succulent candle. Actual succulent plants do not have any discernible scents. But if you want your candle to give off the illusion of being a plant, choose earthy and floral fragrances.
Cypress and sandalwood fragrances give off fresh and woody scents. Meanwhile, rose, chamomile, and lavender smell sweet, floral, and classic.
Of course, you can branch out and go for other fragrances as well. A whiff of vanilla is always a good alternative for any kind of candle, succulent-shaped or not. Remember to experiment and combine different fragrance oils to make your candle’s throw stronger and more potent.
Let’s talk about containers. As half of a succulent candle is a container candle, it is vital to choose one that will work well with the project practically and aesthetically.
Glass jars are always safe bets for container candles. However, make sure to choose one with the same diameter from top to bottom to ensure your candle burns properly.
Again, do not limit yourself. While glass containers can show off your candle beautifully until its last burn, going for ceramic pots will further enhance the succulent aesthetic.
Now that you have determined your wax and container size, it’s time to think about your wick. A candle’s wick should always be proportionate to the candle’s diameter to provide the ideal melt pool and burn time.
Don’t forget to measure the height of both your succulent candle’s base and topper because your wick should be long enough to pierce through both.
I like to assemble my wick and container before anything else to ensure they’re on hand and secure once the wax formula is ready for pouring.
Aside from these essential supplies, be sure to prepare all your basic candlemaking equipment and tools. Have your pot, double boiler, pouring pot, ladle, measuring cups, potholder, wick pin, scale, thermometer, heat gun, lighter, and stovetop clean, accessible, and ready for use before you begin.
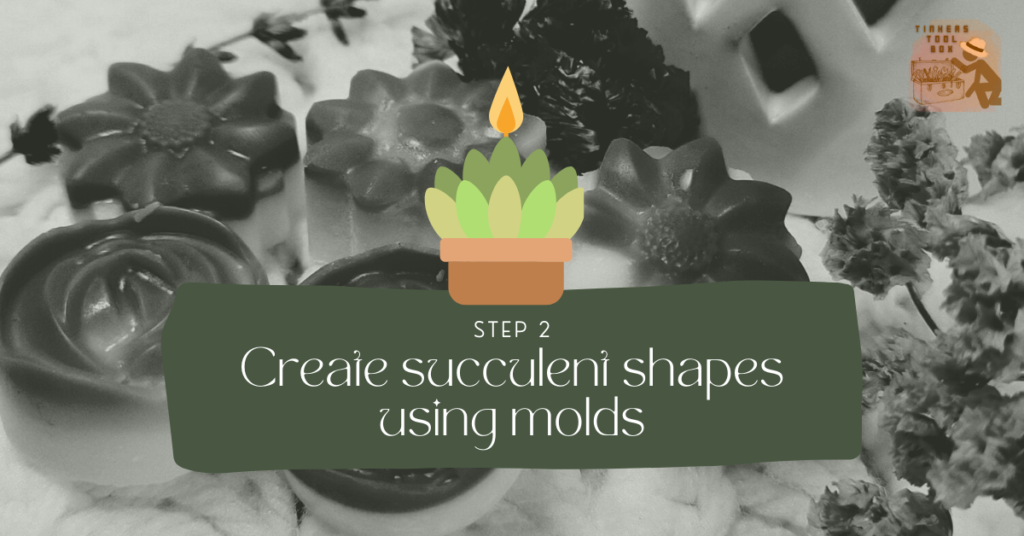
Step 2: Create Succulent Shapes Using Molds
A succulent candle is divided into two parts: the succulent topper and the base. The succulent topper differentiates this project from other artisan candles, so getting this part right is essential.
Once you have prepared your tools and weighed your wax, start the candlemaking process by melting the appropriate amount of wax in your double boiler or a makeshift double boiler using a pot, a smaller pouring pot, and an adequate amount of water.
It is always helpful to check the packaging to determine your wax’s melting point. Similarly, note the supplier’s recommended wax temperature before adding the fragrance oil and dye. Then, stir thoroughly to mix all the components well. Doing so will yield optimum results for your candle’s scent throw.
Allow your candle formula to cool down to the desired pouring temperature. The pouring temperature will depend on the wax you use, so always refer to your supplier’s instructions. Practicing and recording the variables and results of your past projects will also help you determine the best melt and pouring point for your wax.
Once the candle formula has reached its pouring temperature, it is time to pour it into the succulent mold. You can warm the mold beforehand using a heat gun to make it easier to remove the wax later.
Let the succulent embed cool down and sit for at least 30 minutes or until it is opaque. It has to be firm but still warm when the time comes for you to remove it from the mold.
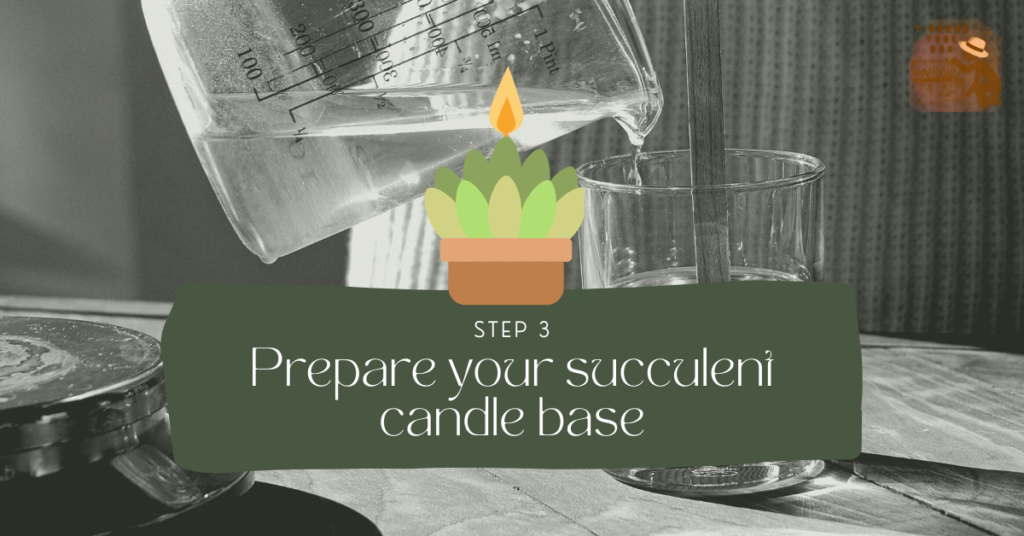
Step 3: Prepare Your Succulent Candle Base
The base makes up most of the succulent candle and follows the general steps to make a container candle.
First, weigh your wax and melt it in your double boiler. Always keep an eye on the wax’s temperature by having a thermometer on hand. You can also stir the wax as it boils to lessen clumps and make the process smoother.
Once the wax reaches your supplier’s recommended melting point, please remove it from the heat and add your fragrance and colorant. Adjust the amount of dye as necessary to come up with color variations. Spend at least two to three minutes stirring the candle formula to ensure that the fragrance oil incorporates well with the wax.
Please wait until the mixture reaches the recommended pouring temperature before transferring it to your containers. Don’t forget to keep your wick in place while pouring.
Most importantly, don’t pour too much or too little! Leave enough space for your succulent topper and wick.
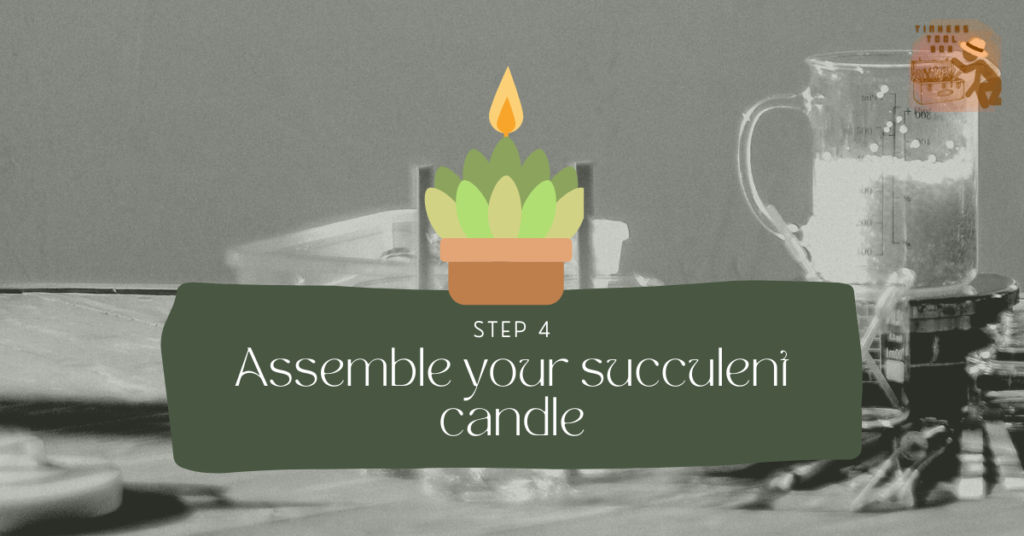
Step 4: Assemble Your Succulent Candle
Here comes the fun part: putting all the components of your succulent candle together.
Before anything else, wait until both your succulent topper and base have set in before putting them together. While it is advisable to let the bottom part sit for at least 24 hours, you can go ahead and unmold the succulent embeds 30 minutes to two hours after pouring the mixture into the mold.
Make sure the toppers are opaque and firm before unmolding to avoid accidental deformation. If you are having difficulties getting the wax out of the mold, put it in the fridge for at least 30 minutes to make the wax shrink slightly.
Once the succulent toppers are ready, grab a wick pin or a barbecue stick to punch a tiny hole right through the center of the embed. This hole should give you enough space to thread the wick through the topper.
Now that both the base and the topper are ready, it’s time to make sure they stick together. Make this possible by slightly warming the top of the base part. Again, the goal is for the base to have a shallow melt pool so that it will be easier to stick the succulent topper and the base together. Don’t heat it for too long as you don’t want the topper to sink into the base’s wax.
Use the candlewick to align both parts at the center.
After you’ve positioned the succulent on top of the base properly, trim the wick to the desired length. The length should be proportional to the diameter of the candle to maximize your candle’s performance. Don’t forget to check your supplier’s recommendation to be sure.
Voila! Your succulent candle is ready. But do not burn it just yet! Instead, let the candle cure for at least 24 hours before the test burn. Alternatively, for maximum scent throw, cure your candle for two weeks.
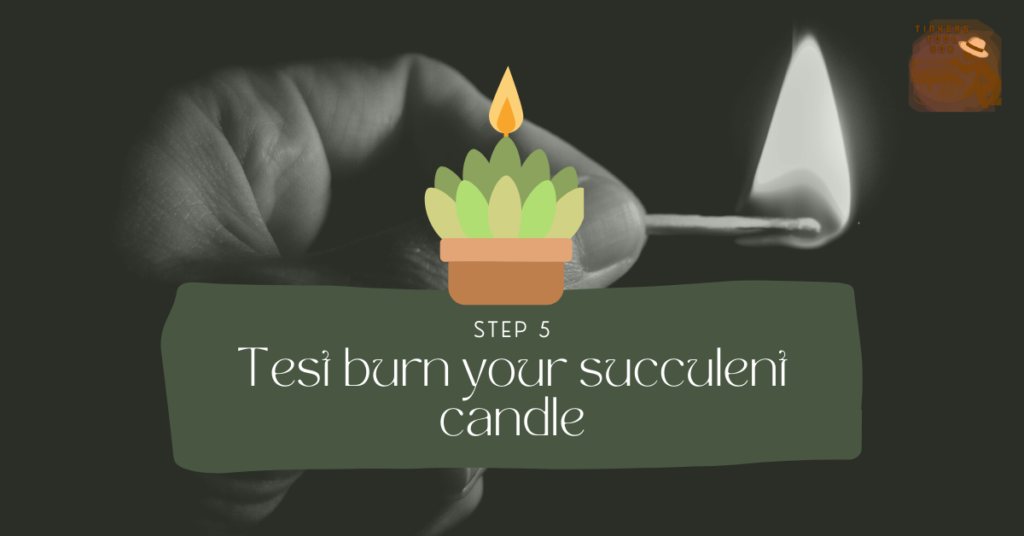
Step 5: Test Burn Your Succulent Candle
Making candles is a fun and creative pastime, but if you want to hone your craft, treat every candlemaking session as an opportunity to learn.
Allow your candle to sit for a minimum of 24 hours before burning it. Doing this gives the candle formula enough time to set and harden sufficiently while also allowing the wax, fragrance oil, and dye to incorporate with each other thoroughly. If you made multiple candles experiment with different cure times or even wick lengths to compare results.
Before burning the candle, observe if you got your desired outcomes like color saturation, cold throw, and the hardness of the wax.
During the actual test burn, check if the candle has a decent melt pool and hot throw and if the wick is long enough to sustain the flame.
Know what works and what does not by diligently keeping notes of your process and results. Record the measurements and temperatures you used, the products, the amount of time you put into each step, and the outcomes. By doing so, it will be easier for you to review, adjust, and replicate your approach.

Step 6: Find Uses for Your Succulent Candles
Succulent candles are novel yet adorable ornaments that appeal to our vision and overall mood. For candlemakers, they can be an outlet for creativity, expression, and profit.
Making succulent candles allows you to develop and practice techniques that define your candlemaking style and set you apart from others. It will not only familiarize you with the basics like watching the temperature or finding suitable wicks — but it will also hone your creativity in combining fragrance oils and coming up with quirky designs.
Succulent candles can also be excellent gifts for the people in your life. It is already unique, but the gift becomes even more special since you give them a handmade version. Customize the scents and colors of your candles based on the preferences and personalities of your family, friends, and colleagues. Then, there can easily be a version for everyone.
Lastly, succulent candles can provide you with extra income. Come up with your own designs and scents to stand out. Using different containers and combining succulent toppers in different shapes and sizes will add more variety to your catalog. You can either perfect your formula for ready-made candles or offer customized ones for preorders. You can even do both!
Trust your taste. Succulent candles are products of your hard work, personality, and style. Finding people who like the same thing will be much easier once you find a formula that personally works and appeals to you.
Conclusion
Learning how to make succulent candles is both fun and challenging — but that is what makes it such a good project for candlemakers. It does not matter if you’re a beginner or an expert candle artisan. Making succulent candles will surely increase your candlemaking knowledge and provide you with an enjoyable hobby or a profitable venture. So enjoy and learn from the process.