A candle wick is a simple candle element yet plays a major role in how the candle will burn. It is the structure that supplies the fuel to the fire, usually placed in the center, that can be made up of cotton, zinc, hemp, or wood. You can buy ready-made wicks or make your own to save money and customize it. If you love candle making, perhaps you can also include making a wick for an all-out package. You can start making a cotton wick that is the simplest, oldest, and most tested wick kind. Here are the instructions you should follow.
Step 1: Decide on What Wick Material You Want

Many wick types available today are made from different materials and can be an option for many projects. The most commonly used is the cotton wick which is found in homemade and commercialized pillar candles.
It burns constantly and is made with braided cotton or fiber. It is relatively cheaper since you can make many wicks in a bundle of cotton, depending on the length.
There are also wooden wicks that are gaining popularity today. They are known for the relaxing and satisfying sound of crackling wood when lit. It also has an aesthetic factor in candles that can pursue you to make wooden wicks.
If you want it to be more like a recycled project, other materials you can use for candle wicks are tightly-coiled toilet paper or fabric trims from old shirts. However, these will burn differently from specially-made wicks.
It is important to decide and appropriately choose the wick material you want because it will influence how your flame will look and how the scents will be efficiently used if using scented candles.
Step 2: Prepare The Materials for the Wick
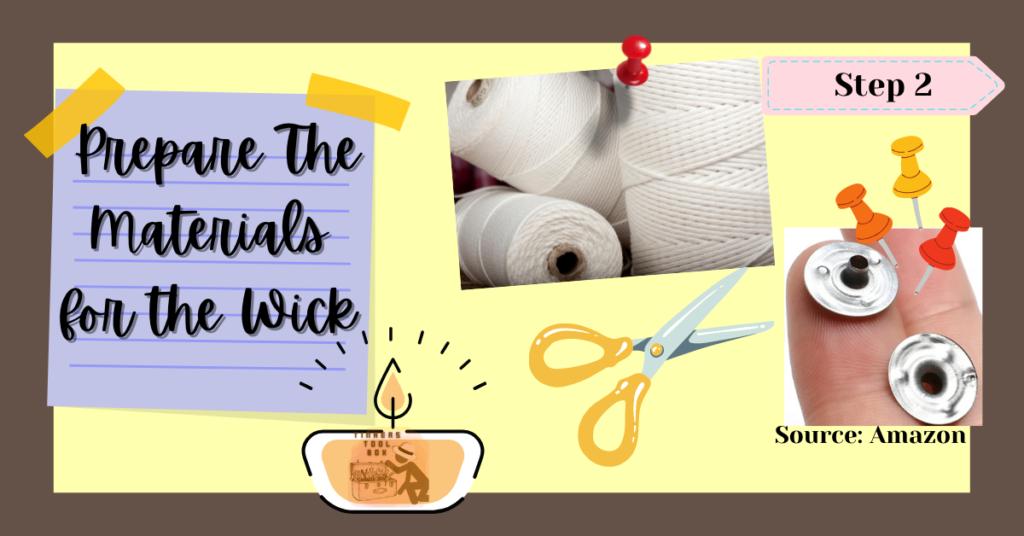
If this is your first time making a wick, I suggest you start making the most affordable and simple choice: braided cotton fibers. You can find many cotton materials you can use as an alternative if you plan not to buy new cotton fibers.
You need cotton fiber enough for the number of candles you are planning to make. Prepare a ruler or any length measuring device to help you get the right length of the wicks you want to make. One hundred percent cotton is an excellent material to be used as a wick since it requires less twisting, which is a characteristic of a good wick.
You can braid the wick yourself in this DIY project, but you can also buy braided candle-wicks to save time. The price starts from $7 to $13 for 12-feet braided cotton.
It would be best to have scissors to cut the wicks to their desired length and a clamp or forceps to get the wick when it is soaked in the wax later on.
Another essential in this project are wick sustainers, also called wick tabs. This is the metal bottom where the wick is threaded to sustain or hold the wick when melted wax is poured onto the container. Wick tabs are required for this project to make sure all will fall into their place when making the candle.
Wick tabs generally come in two sizes which are 0.6 inches and 0.8 inches, and it has a hole in the center and a neck that you can use to secure the wick. The tabs also prevent the flames from reaching the bottom of the container by extinguishing the flame when it reaches the tab’s neck.
In this case, it would be best to buy ready-made wick tabs like the 14mm wick sustainers from Amazon, which can fit braided wicks. Other wick tab sizes range from $6 for a 12.5 mm wick up to $12 for 20mm wick tabs sold per pack of not less than 100 pieces. This price is not bad since you can use this in other candles projects in the future, and you can save time trying to make one.
Step 3: Measure and Cut The Cotton Fibers
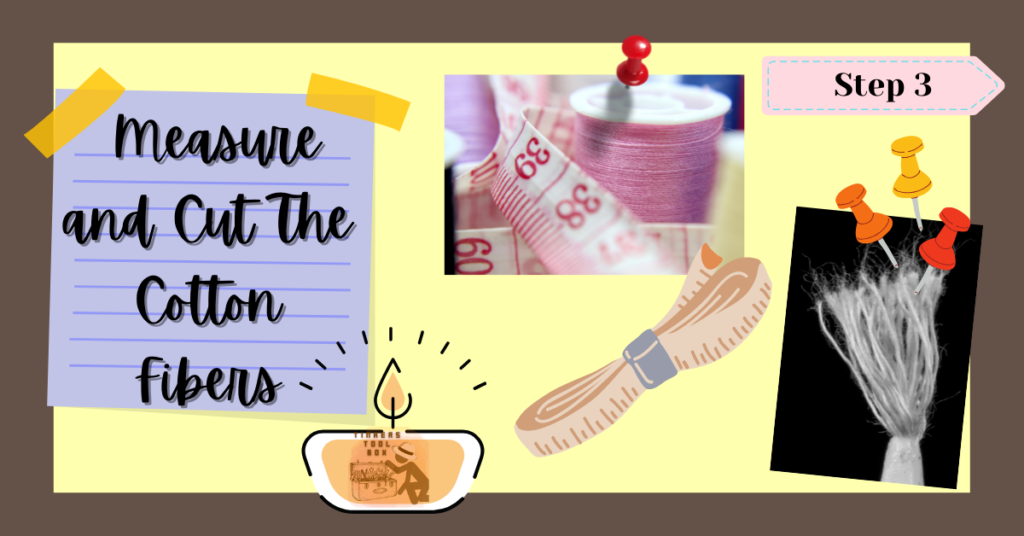
When all the materials are ready, start measuring the cotton fiber for the wick. The length can vary depending on the height of your candle, but it should ideally be four inches longer than candle height to ensure enough length for the wick.
Suppose you are making an 8oz candle placed in a glass container; you should make sure that the length of the wick on top of the candle when it dries is at least a quarter of an inch. This will give enough room for the wick to burn correctly.
If your wick is too short or small, the candlelight will die even before melting all the wax, creating a hole in the center. It will produce a large flickering flame and have a deeper wax melt pool if it is too large.
You should obtain or aim for the correct wick size so that light will be the right size without flickering and melt the wax around evenly.
Step 4: Braid the Wick Like A Pro

Get three to four equal-sized cotton fibers and braid them together. If you want to make a larger wick for a larger candle, add more cotton fibers for braiding. Insert one fiber over the other alternately until all are intertwined.
The braiding will determine the width of your wick, and the wick’s width will also be crucial since it will determine the area it will melt. As mentioned, make sure that the wick is the correct size so that the candles will not appear underwicked or overwicked.
Braiding techniques are also one factor in producing a well-made candlewick. Remember to do this properly and seriously since braiding the cotton is essential to curl back the wick into the flame as it burns. This position of the wick will ensure that your flame is sustained and is burning properly.
Step 5: Melt Wax For The Wick

Melt enough wax to cover the bottom of your boiling or pouring pot by the double-boiling method. You can use leftover wax in this step or the same wax type you plan to use for your project.
When all wax is melted, place the braided wick inside and make sure that the wick is soaked in the wax generously. This method is done to pre-wax the wick to improve its performance when your light the candles.
Let your wick stay for a couple of minutes and regularly check if it is drenched in the melted wax. Note that if you do not use your wick right away, it will dry up, and you must repeat the process.
Suppose you will be making a candle now; I recommend you pre-wax what you will use and soak the wick for at least one hour to let the melted wax seep into the cotton material.
Step 6: Remove and Let The Wick Dry
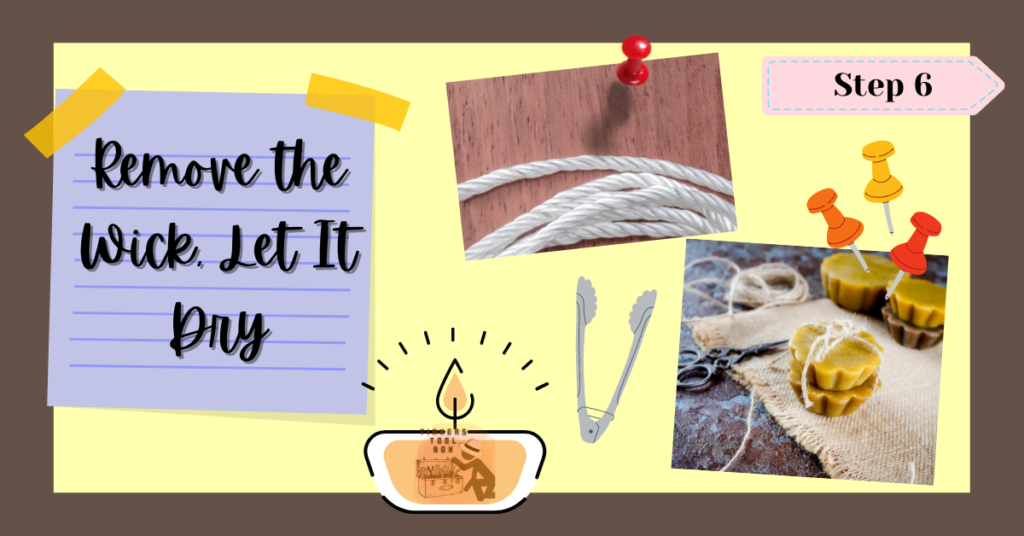
After the wick has been soaked in the melted wax, check if it has been generously pre-waxed. If yes, then it is time to remove it from the pan using a clamp or forceps. Be careful not to spill the wax since it might burn your skin.
Place it in an area where you can air dry the wick, enough for it to cool down until you can transfer it to your container for safekeeping.
Step 7: Add The Wick Sustainers To Stabilize The Wick Position

Get one wick and attach the wick tabs at the bottom. You can do this by threading in the hole the end of the wick and crimping with pliers the neck of the wick tabs to secure the wick in place.
Ensure to crimp it properly so that the wick will not loosen over time. This will be the proper way you can lock the wick in the tab.
Step 9: Repeat the Process and Make Other Wick Sizes
Making a wick is simple, so I trust you can easily do it as you follow the steps. This time, repeat the steps and make other candle wick sizes. You can also explore other materials you can use for wick-making, like wood, cloth, or bamboo.
You will develop your skill and familiarize yourself with candle and wick making like a pro by repeating the process. These different wick sizes can be stored, and you will have a lot of options when the time comes that you have to use them.
Keep on making wicks; who knows, you will be able to turn this into a business or perhaps teach others how to make one.
Step 10: Test Your Wick and Use It On A Candle
Now is the time to put the DIY wicks to the test. Bring out your candle-making materials and start testing them out by using them on your candle. You can say that it is well-made when it has the correct flame size, it melts the wax evenly, and the flame does not flicker as it burns. If you could not make the perfect wick on the first try, try again until you master this process.
It should complement the candle you are making and the purpose it has. Well, this is also your responsibility to assemble these candle elements properly to enjoy a well-made candle.
One way you can use your wick is to try making scented candles like citronella. If you are interested to know how to make one, you can read another tutorial I have written at this link.
Step 11: Take Care and Maintain Your Candle Wick
You should always make sure that candle wicks are in the best condition for both storage and usage. For new wicks, you can store them away from moisture. Make sure that it is stored in a well-ventilated area to keep them clean.
For new wicks, you can store them away from moisture. You can maintain the wick for used candles by trimming it to at least a quarter of an inch after use. Remember to extinguish the flame first before trimming the wick, or you can also trim it before relighting.
Again, it would help if you kept these candle wicks in a good state to enjoy the best out of your candles. If not maintained and trimmed properly, the wick will sink in the candle, and the wax will never be burned.
A well-trimmed candle wick will give you a nice flame and will last longer compared to unmaintained ones.
Final Step: Determine How Much You Saved
In making the candle wicks, you might wonder how much you can save and if your decision is true to DIY. Well, I must say that making your candle wicks may be one of the best decisions you have made.
The main reason people like you and me choose to DIY is that it is eco-friendly and economical. DIY projects involve a lot of recycling which reduces the waste and minimizes the carbon footprint or the impact of our activities on our surroundings.
It is also practical since you can save on buying and developing a new skill set to turn into an asset. The amount you will spend on this project is not expensive but perhaps pocket-friendly.
The estimated average price of making your cotton wick is around $12, including the wick tabs and a spool of braided cotton. You might find it higher than buying ready-to-use wicks but do not get discouraged because you can make more than what you pay if you also maximize what you have.
A 200-feet spool of braided cotton can make more than 200 pieces, but this depends on the size of the wicks. If we talk about cotton wicks, buying one and making one can cost more or less the same but think ahead, and you can see how much you have saved in buying supplies in bulk.
You can also try making wooden wicks that cost higher than cotton ones and determine how much you can save in this project.
Conclusion
Any project will not be completed when one element is missing. It is true for candles, too, because wicks should always be on the list. When you know how to make these candle wicks, you will never worry again next time if you run out because you can do it as easy as slicing a pie.