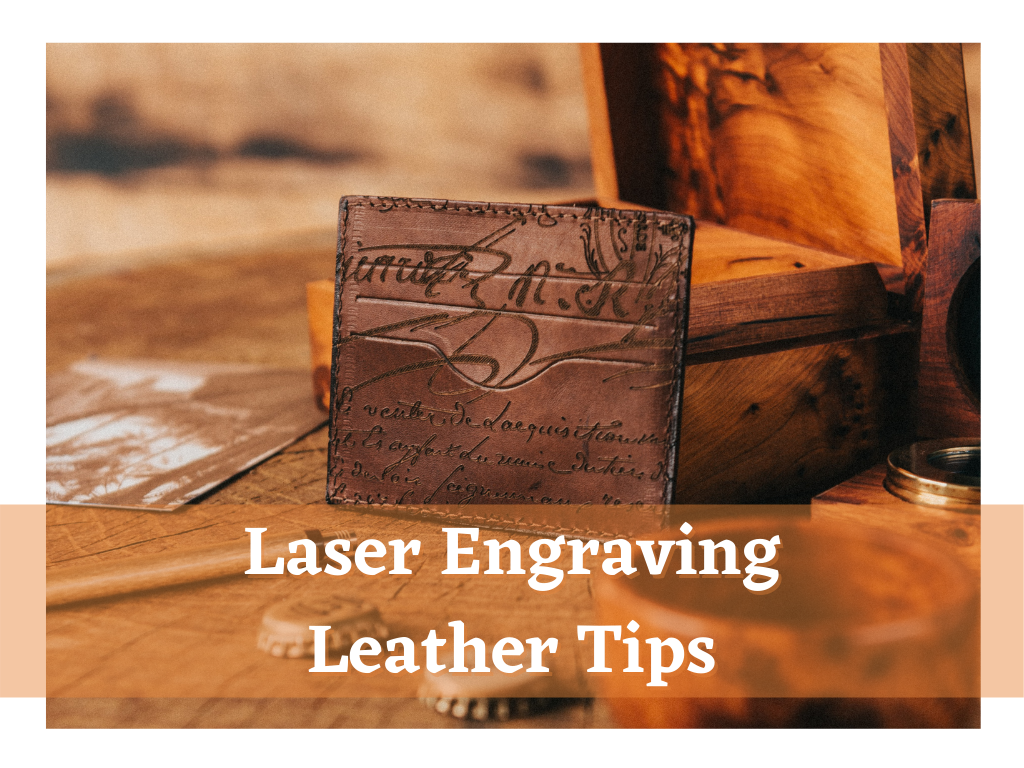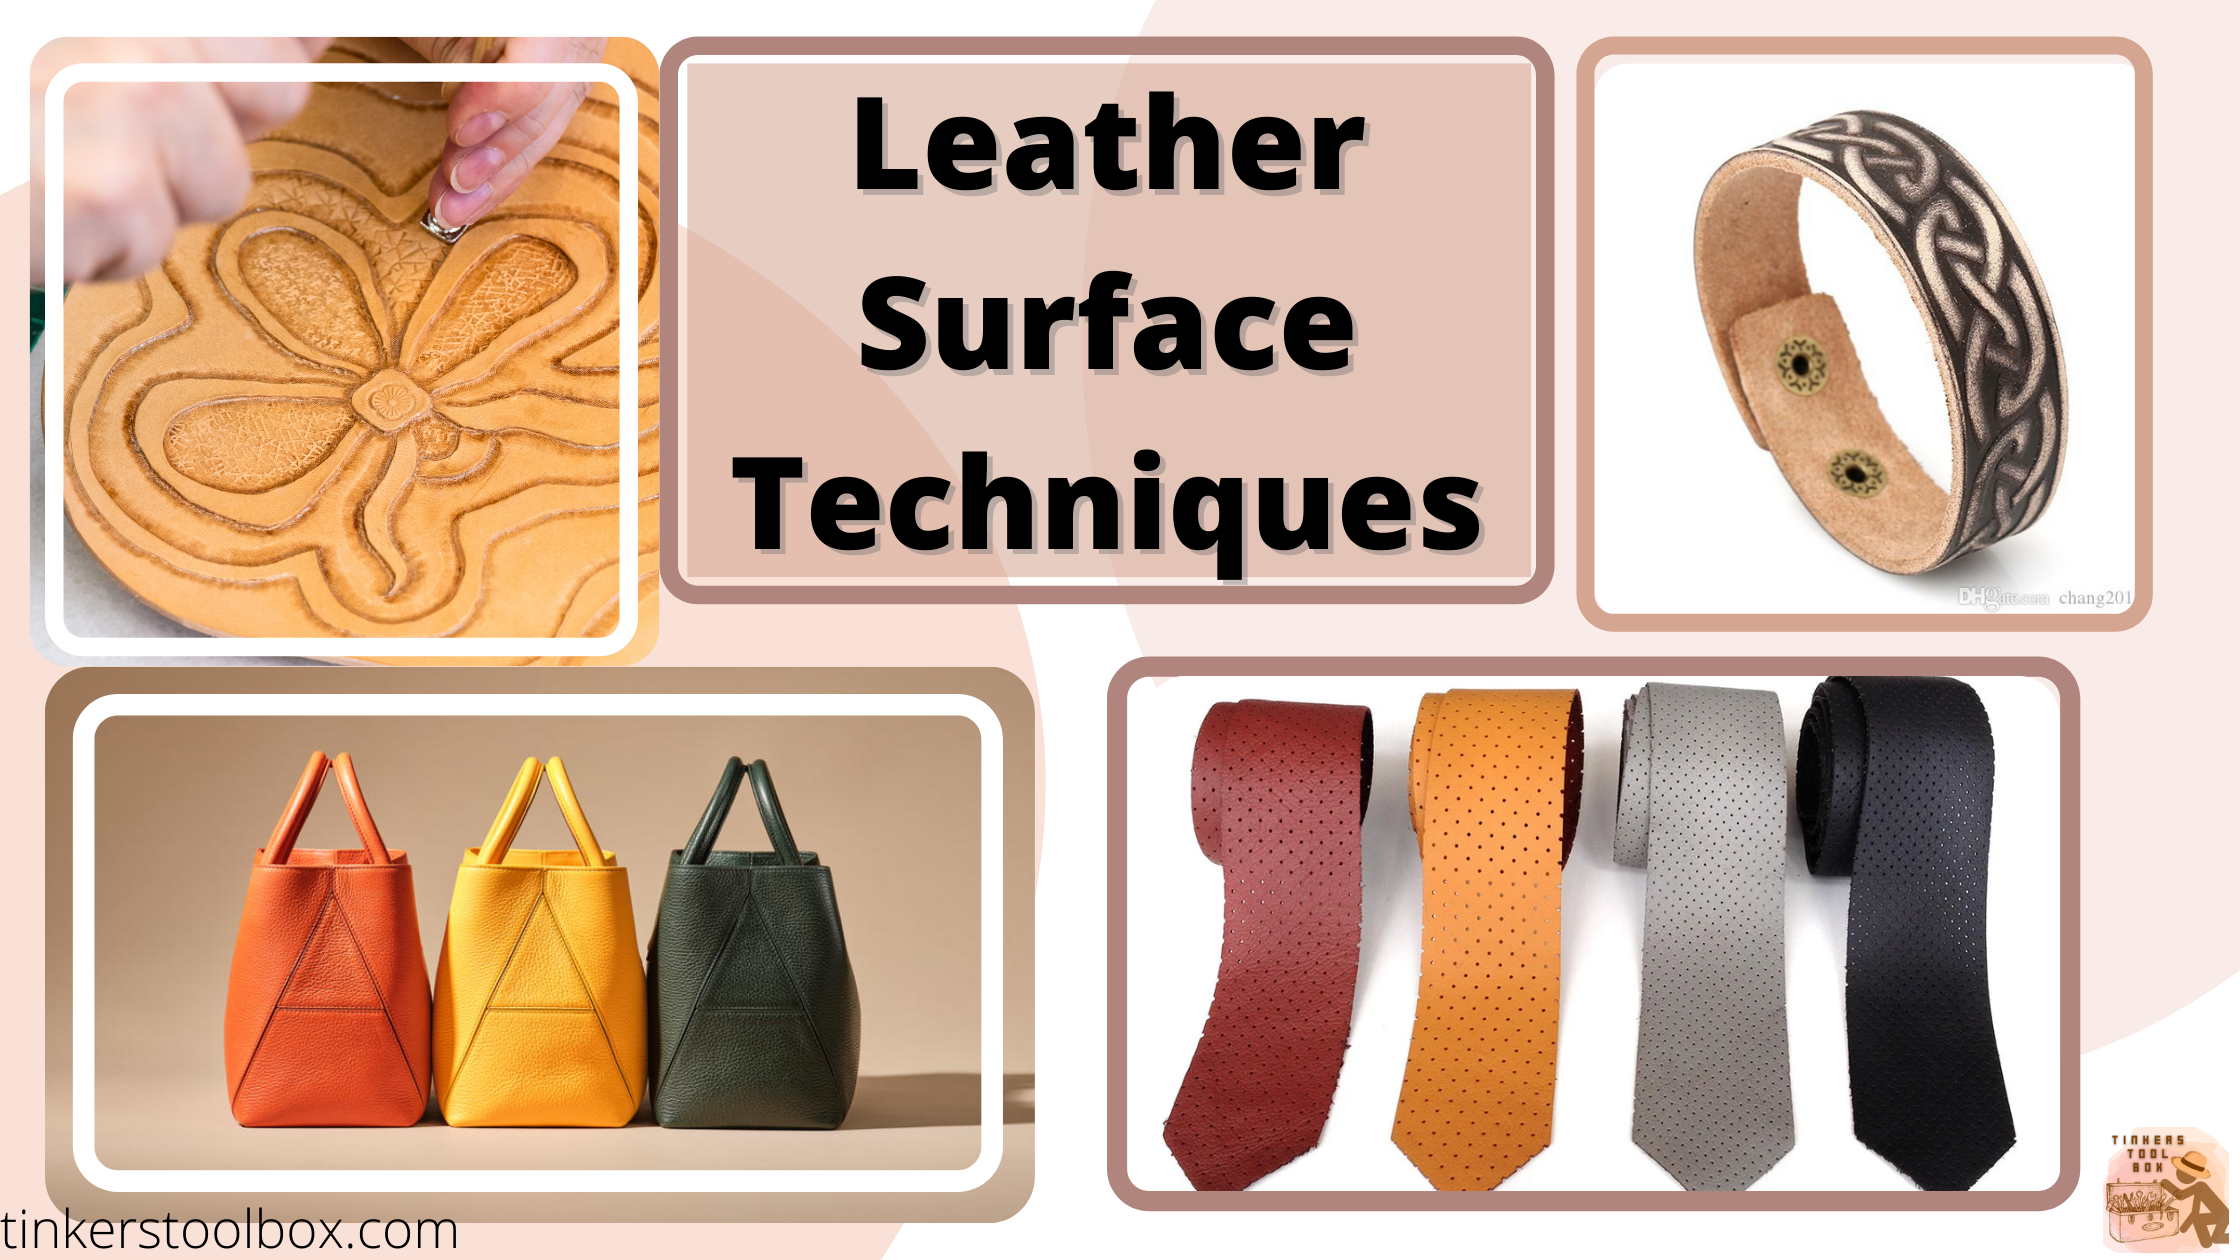
There are numerous ways to design and improve your leather’s appearance to make it more appealing based on your liking. Since leather is a very versatile material, simple to complex decorative processes can be done to it, which improves its look and increases its durability and marketability if you do leatherworking for a living.
What are the leather surface techniques? Surface techniques include coloring leather such as dyeing and painting, burning leather with pyrography, weaving, and engraving designs such as stamping, tooling, and modeling. Cutting leather shapes and holes by perforation, applique, and incision are also included.
In this article, we will talk about the decorative techniques used by leatherworkers in their projects. I will also discuss how each method is done and why it is important to apply it in our leather projects.
Dyeing Leather Produces Permanent Colors
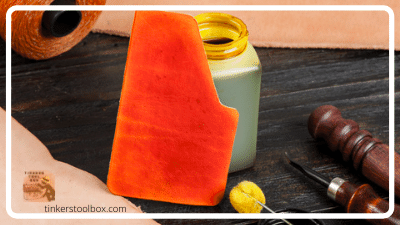
Dyeing can also be called staining. It is the application of pigments mixed with a solvent that adds color to the leather. Leather dyes penetrate deeply into material, producing different permanent colors ideal for any product.
Choosing the Proper Dye for your Leather
There are three types of dyes you can use for leather. The first one is the water-based dye which is known to be odorless. It penetrates slowly to leather maintaining its softness. Contrary to this is the alcohol-based dye which has a strong and pungent smell. It dries quickly on the leather but also tends to dry leather skin because of its strong composition. The last option is the oil-based dye, which offers various colors and absorbs perfectly in the leather. This is good for dip-dyeing.
Leather Dip Dyeing: Fast and Easy Dyeing Procedure
One method to dye leather is through dip-dyeing. It is soaking natural leather into dye, letting it absorb to the leather fibers. Dip dyeing application is easy. Just prepare a container big enough to hold the dye and leather, then soak the leather for a short period. Make sure to cover the whole material with one soak, then hang to dry. Drying time depends on the dye used.
Leather Brush or Sponge Dyeing for Controlled Dye Application
For a controlled amount of dye application, you may use the leather brush or sponge dyeing. It distributes leather dye by hand using a brush or sponge. The water-based dye is applied by rubbing the brush or sponge against the leather surface. This results in a uniformly applied color without wasting dye.
Painting Leather Surface for Added Color
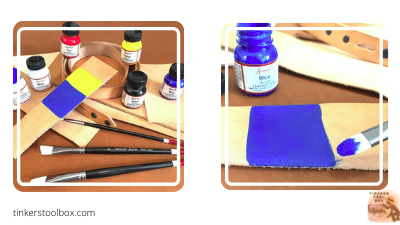
Painting is applying water-based pigments that absorb the pores of leather but do not penetrate its fibers. Paint remains on the leather surface only. This technique is perfect for customizing leather projects that add life to designs.
Leather Paint Application
Apply a thin layer of paint using a brush. Applying thick paint at once may cause cracking or peeling. Let the paint dry, then repeat the thin layer application 3-6 times. Make sure to cover the design you intended to paint. Let the paint dry for 24 hours or more before applying a finisher and waterproofing substances if desired.
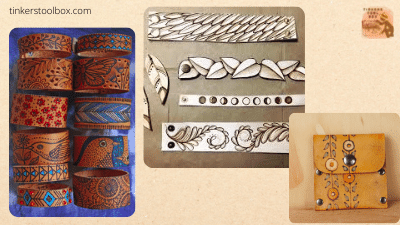
Engraving Design with Leather Stamping and Tooling

These are two interconnected techniques. Stamping and tooling use swivel knives and metal stamps that leave a 3-D impression on leather. Stamps may include letters, shapes, numbers, and numerous designs. It is also used for decorative leather borders.
Creating Designs on Leather
Vegetable-tanned leather is the only material that can be stamped because it is not packed with wax and oils and receives deep prints easily.
To start, trace the image that you want to stamp on a tracing paper. Then, prepare the leather by applying a little amount of water to it. This loosens leather fiber which makes it receive the impressions well. Next is to trace the design in the leather using a pencil.
Start tooling your design by hammering the swivel knife or stamps gently on the leather. You can apply more water on parts that are not yet tooled if it dries up. Lastly, bevel the design, so it goes deeper into the leather.
Modeling Leather for a Leveled Design

Modeling is a decorative technique resulting in a raised effect on a leather surface. It is done on natural leather, which pushes the design background so the modeled part is embossed. Modeling is a creative way to make designs stand out and be noticeable while maintaining leather’s durability.
Flat Modeling Presses Background to Raise the Design
Flat modeling is similar to stamping and tooling. It uses a modeling spoon in place of a swivel knife and metal stamp.
Trace the outline of your design into a tracing paper, then to the leather. Use a modeling spoon to press down the background surrounding the design. Work your way around the edges of the outline. Ensure that the background is pressed down properly and the design is raised.
Relief Modeling Pushes the Design from the Back of Leather
Relief modeling is a technique that raises the design by pushing it from the flesh side of the leather. The flesh side is then stuffed with cotton or cardboard to support the structure in a high relief effect.
Start by tracing the outline into a tracing paper then transferring it to the leather’s grain side. Cut along the edges of the design using a swivel knife. Then, bevel the outline cuts to make the design stand out. Next is to use modeling tools to push the design upward from the flesh side of the leather. Once the design is equally raised, stuff the flesh side with cotton to support the design’s body and help it stay in place.
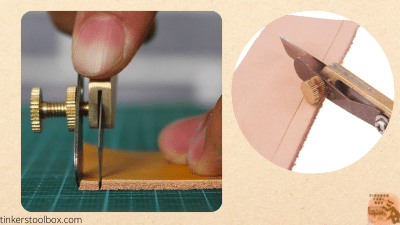
Leather Perforation: Helping your Leather Breathe
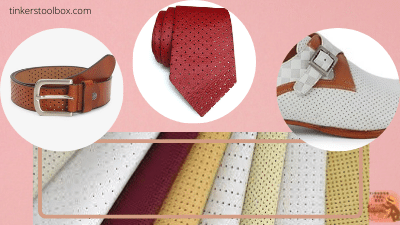
Leather perforation is a technique of cutting holes into leather surfaces with regular intervals. Leather holes are punched out from the surface to create patterned designs and increase breathability in the material.
The Perforation Procedure
Leather perforation is mainly used for car interiors. Leather car interiors are added with a protective coating that decreases its breathability. Holes add a place to provide air circulation to leather. Perforation can also be found in bags, shoes, and clothing as a decorative design.
Since this technique is applied to thick leathers, perforation machines are used. These machines have tools with pointed tips to drill small holes by running the leather under them. Cut-out pieces are collected in the container of the machine.
Leather Pyrography: The Art of Burning Leather
Pyrography uses scorching tools to create designs by burning parts of the leather’s grain side. Leathers are soft and smooth, so they can easily accept burned patterns on their surface. This technique highlights tones and shades and is also great for names and abstract drawings.
Burning Leather Parts to Create Art
Leather pyrography uses a burner tool with different interchangeable tips and sizes. This tool creates various lines and shades on leather.
To start, trace your design into a tracing or carbon paper before transferring it to the leather. Hold the burner tool like a pencil and begin burning your plan on the leather surface. Carefully follow through with the guidelines of the design you made. Place the burner tool just enough time that it burns the surface, and the design is visible. Do not hold it too long on the leather, for it may burn more leather than what you intended.
Use a plier to change from one tip to another. Remember that the burning tool is hot and may cause burns on your hands, so take extra precautions. After burning, apply some finishing coating to preserve the burn marks.
Weaving Leather Ensures Durability
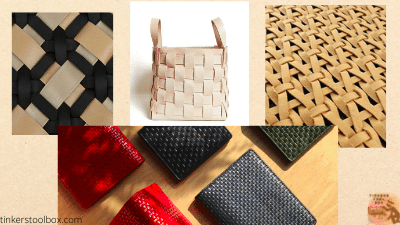
Weaving is a traditional leather technique for making leather sandals and garments which use leather strips and weave to form a flat patch. This technique is made by hand and secures the durability of leather projects as each strip goes through layers of leather. There are three basic types of leather weave; basket, satin, and twill weave.
How to Weave Leather
Cut thin leather strips of the same size. Lay half of your strips horizontally flat on the table. Then, start making your first weave. Position one leather strip vertically and make it go over and under the laid-out horizontal strips. Do the same for the remaining strips to form your weave. Remember that strips should be equally tightened to ensure project durability. Lastly, hem the borders of your weave using the remaining leather strips to stay in place and not be destroyed.
Incision: Cut Leather Parts and Reveal your Design
Incision or etching, is a decorative technique that cuts leather layers to display effects through the remaining leather fibers. It uses etching tools and is great for artistic designs on projects like bags, purses, and garments.
How to Do Leather Incision
Sketch your design in tracing paper, then transfer it to the leather using a marker. Cut layers of leather along the outline of your layout, then peel off the cut leather portions to reveal the remaining layers. You may opt to dye the incision part to add more color and life to the design. Lastly, put a finisher solution to preserve the surface.
Applique: Leather Scrap Turned into Decoration
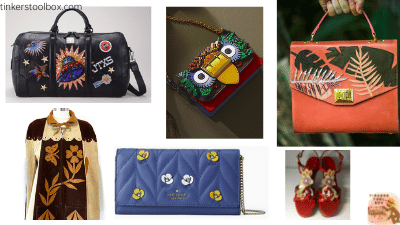
Leather applique is a technique that uses leather cutouts of different shapes, sizes, colors, and designs. These pieces are then glued or stitched to the leather project to create customized designs. Utilizing your scrap and leftover leather is the best way to develop an applique with low cost but of excellent quality.
In-lay Applique
This applique method cuts a shape or design into the leather project and uses another color or texture of leather to seal off the open space. The pieces are glued or stitched to the project from beneath the hollow space creating a debossed decorative effect.
On-lay Applique
On-lay applique follows the same procedure of cutting a leather part in your project as an in-lay applique. It seals the space made from the cut by another piece of leather, preferably with a different color. It creates a patchwork on your leather project by gluing or stitching at the top of the hollow space.
Cut Out Applique
This method is the simplest type of applique that cuts small leather holes using a revolving punch or drive punch. The holes are not sealed in this applique type. The design is made through these holes by following different patterns and hole sizes.
Conclusion
Working with leather will teach you countless ways to develop designs for your projects. From simple coloring to complex cutting and decorating leather, each technique is unique among others and does not only beautify your work but also improves its overall structure. Using these techniques will not sacrifice the leather’s quality over decoration. Now bring out your artistry and start building your creative leather projects.