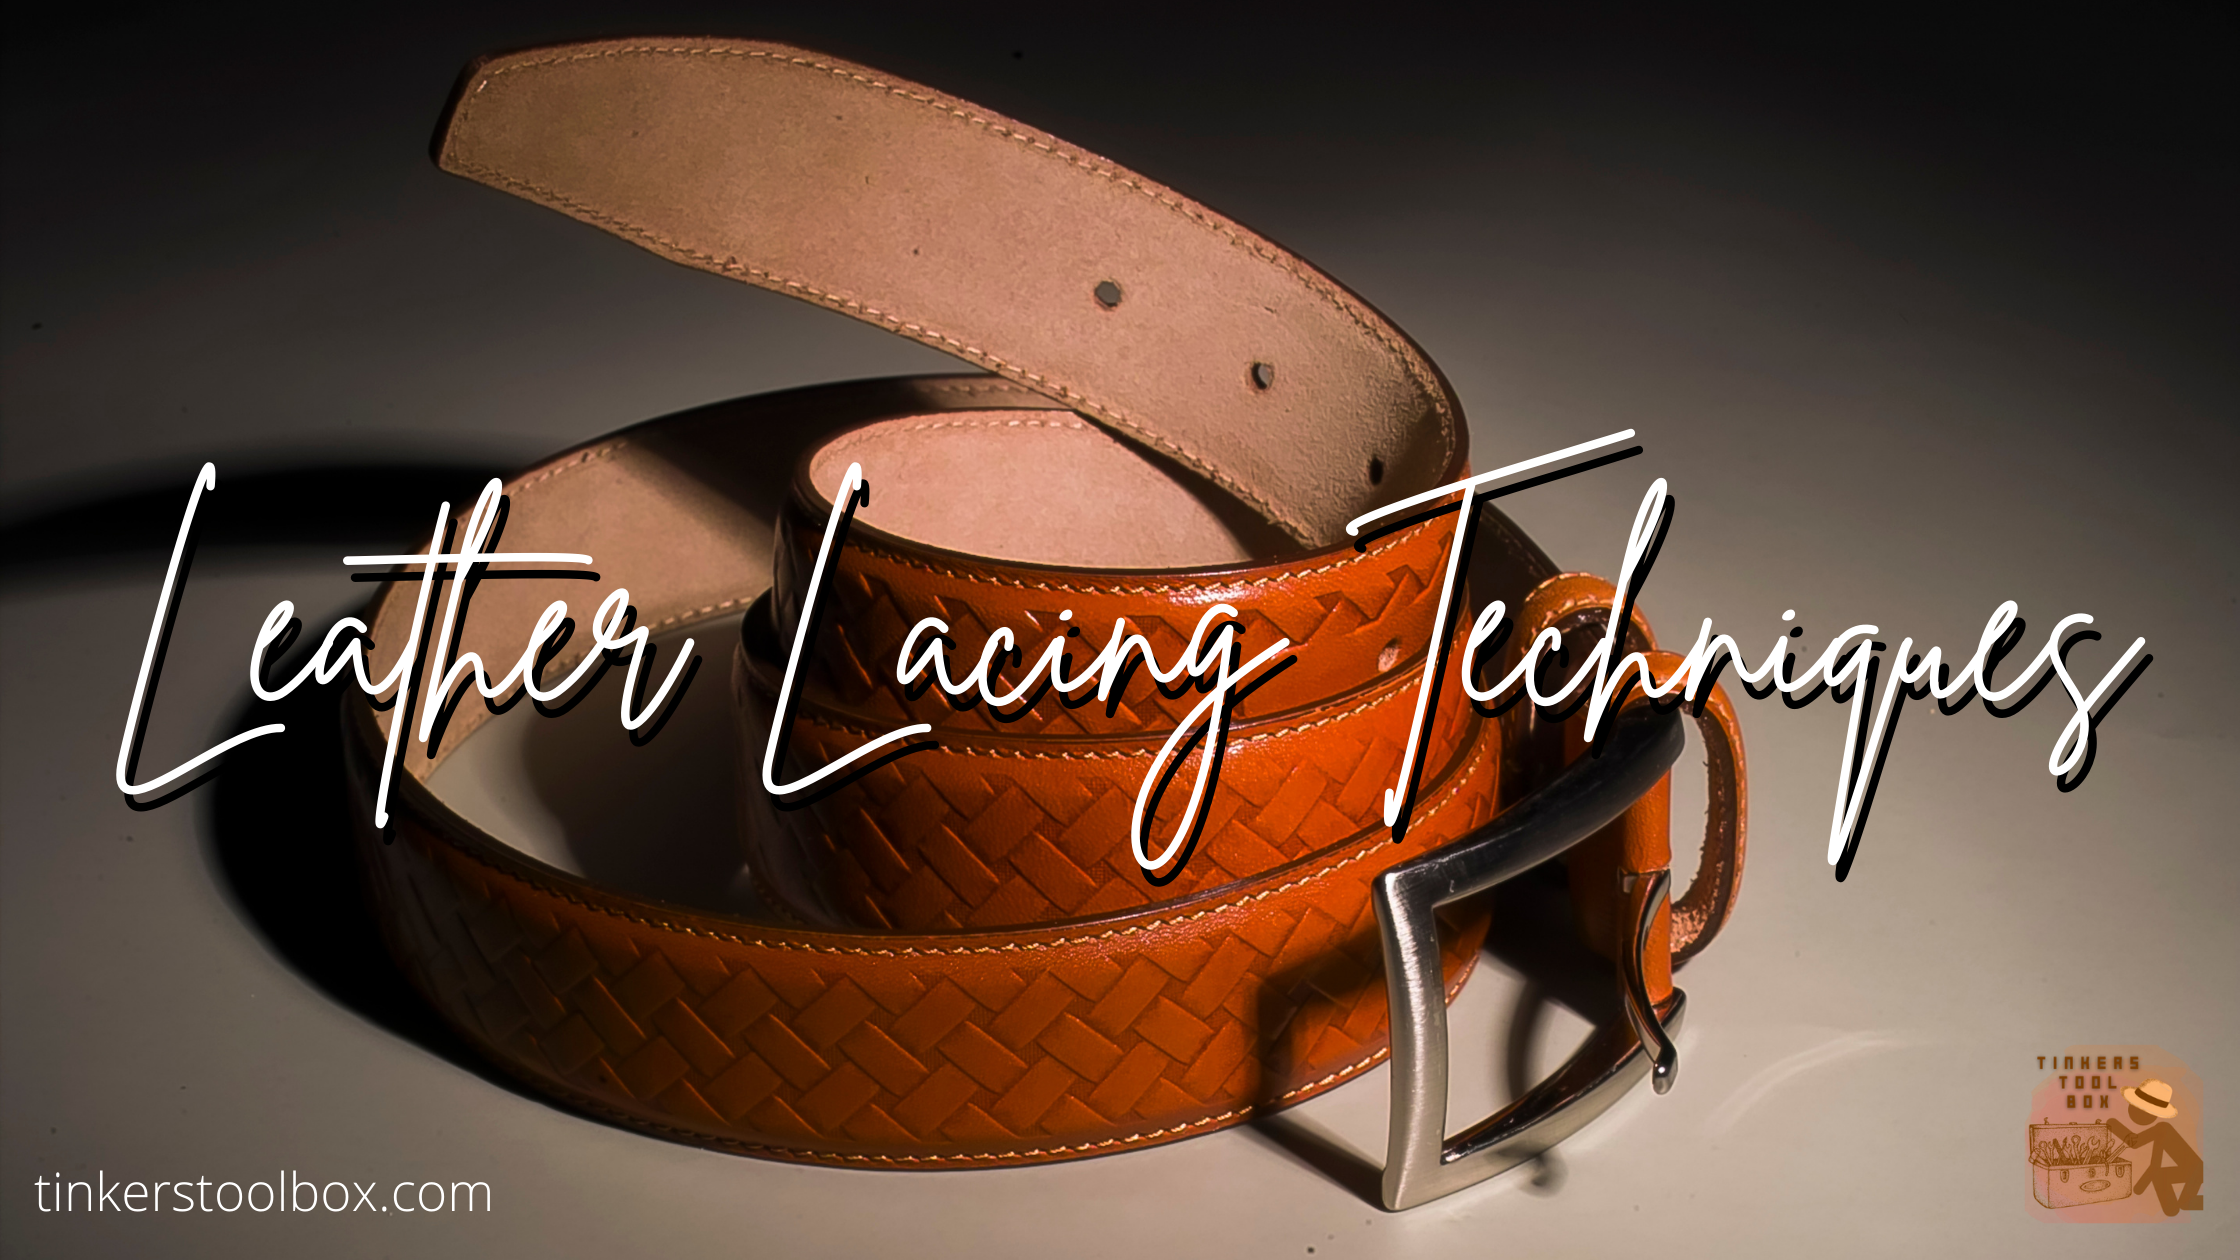
I recently bought a leather belt as I was amazed by its delicate design that looks just like braided strands of leather. Upon looking it up on the internet, I found out that these are called leather lacing. So I’m sharing what I found out about the different leather lacing techniques and who knows, maybe we can create something out of these techniques.
What are the different leather lacing techniques? Simple lacing techniques in leathercrafting are the running stitch, single loop lacing, and the buckstitch. We have the double loop stitch, whip stitch, and round braid or mexican basket weave, which requires more lace length for the complex ones.
Lacing joins two pieces of leather together to make it more durable and appealing to people. It is used in replacement of thread in stitching leather. This article will talk about the different lacing techniques used in leathercrafts and their importance. I will also talk about the small and big projects that fit best for each lacing technique and give you tips to make your lacing easier.
Preparations Before Lacing

Before starting your actual lacing, you need to punch holes on the leather and create an anchor slit which will be needed for all the lacing techniques listed below. Follow these steps before you proceed to any lacing project.
Tools Needed
- Thonging chisel
- Wing divider
- Leather
- Mallet
- Poly board
- Cutter
- Pliers
- Leather lace
- Lacing needle
Punching Leather Holes or Slits
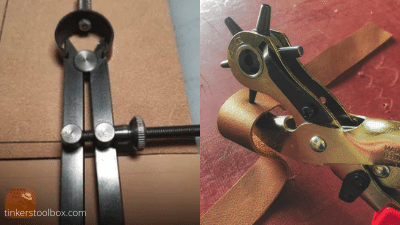
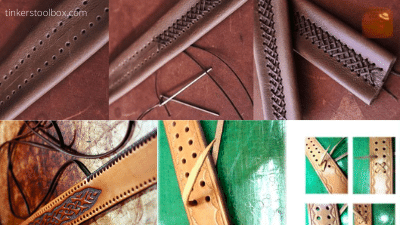
To start, create a guideline on the edges of the leather using a wing divider. Then, create holes or slits by hammering the thonging chisel to the leather following the guidelines. To make equally distanced holes, place the first of the four legs of the chisel on the last hole you created, until you reach the end of the guideline. The chisel should go through the leather and hit the board. Work your way through the edges of the leather to be laced.
Creating your Anchor Slit
An anchor slit locks the lace at the beginning of the stitch. It is hidden in between the leathers you are lacing that creates neat stitches without hanging laces.
To start, make a quarter of an inch slit near the lace’s end using a cutter. Run your needle through the slit to make sure it fits. You will insert the needle in this slit later when you start lacing.
At the other end of the lace, skive about a quarter of an inch of leather. Then, cut its two sides to make a pointed lace. This makes the lace thinner to fit into the needle.
Insert the lace into the needle. After placing the lace, use pliers to press the needle firmly into the lace.
Place the two pieces of leather on top of each other to ensure that holes are perfectly aligned in both leathers. You are now ready to start lacing.
Use Simple Lacing Techniques for Small Leather Projects

The lacing techniques below are commonly used for small leather projects that require a slight tightness on seams to prevent the ripping of thin leather materials.
Running Stitch: Easy Lacing Technique
The most straightforward lacing technique is the running stitch which alternatively inserts the needle through the holes and does not require many loops. It is used for belts, small bags, and purses. Lace’s length takes up to 1 ½ as much lace as the leather. For example, if your project length is 5 inches, you’ll need 7 ½ inches lace.
Start by placing the needle and lace in between the two leathers. Then, insert the needle on the first hole from the left of your front leather. Position the slit through the 2nd hole. Next is to continue to the next hole making the needle go through the slit. Continue stitching until you reach the second to the last hole.
On the second to the last hole, leave a little loose lace, then go into the last hole. Come back to the previous hole inserting in the front leather only, ending the stitch with the lace in between the two leathers. Pull the lace, then cut.
Single Loop Lacing for Lightweight Leathers

Single loop lacing is recommended for lightweight leathers and single thickness projects like wallets and purses. The technique uses 6 ½ more lace than the length of the leather. If your product length is 3 inches, you’ll need 19 ½ inches lace to cover the whole project.
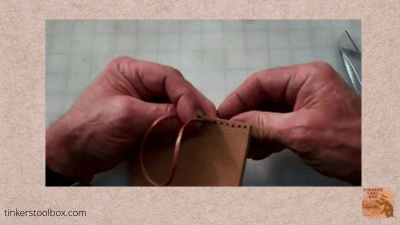
The first step is to insert the needle and thread on the first slit of the front leather, leaving about ½ inch of lace sticking out of the slit. Then make a loop around the end of the lace by folding the end of the lace up and looping the longer end around it. Hold the end of the lace with your finger until the first stitch is tightened.
Go through the second slit coming from the front leather. Then, from the back, insert the needle under the lace on the edge of the leather. Repeat this manner of lacing until the end of the leather slits.
Buckstitch for Decorative Edging

Buckstitch is used as a decorative edging for belts and journal covers. The lace length needed is two times the length of the leather. For example, if your product is 4 inches long, you’ll need 8 inches of lace.
Place the needle in between the leathers. Then, insert the needle and lace on the first slit of the front leather. Leave the anchor slit aligned to the second leather slit. Next, go through the next slit of both leathers passing the anchor slit to lock the stitch. Continue stitching to the last slits.
Buckstitch lacing technique is very similar to a running stitch. The main difference is that the running stitch goes through leather holes, and buckstitch goes through leather slits.
Decorative Lacing for Bigger Leather Projects
Bigger leather projects make use of lacing that is thicker in size to produce a more durable seam, for each hole so that the product is of excellent quality and strength.
Double Loop Stitch for Durable Lacing

Recommended to be used for medium-sized projects such as billfolds, purses, and clutches. The lace length is 8 ½ times longer than the length of the leather. If your product is 4 inches long, you’ll need 34 inches of lace for your leather.
Start by inserting the lace into the first hole coming from the back of the leather. Pull the lace and leave about an inch of lace sticking out before the hole.
Next is to create an ‘X’ sign of lace on the leather edge. Bring the end of the lace over the top of the leather, then insert the needle to the next hole passing it over the leather edge. Follow by going through the intersection of ‘X’ lace. Finally, pull up the lace snug.
Insert the needle to the next hole to create another X lace and repeat inserting the needle through the X intersection. Keep doing this around your leather. For corners, follow the same process but insert the needle twice on the same corner hole.
Whip Stitch for Wide Laced Projects

Whip stitch is a solid and attractive stitch that uses wider laces for decorative edges such as hats. The length of the lace needed is 2 ½ times as much as the seam, so if you have a 5 inches long project, you’ll need 12 ½ inches of lace.
Place the needle in between the leathers and go through the first hole of the back leather. You should leave the anchor slit aligned to the second hole like in other stitches. Then, continue to the next hole by bringing the lace over the front side of the leather. This time insert the lace in both leathers passing through the anchor slit. Repeat the steps through the remaining holes.
This technique is slightly similar to the double loop stitch as both make lace go over the leather edge. It is simpler than a double loop stitch as lace won’t have to go through an intersecting lace.
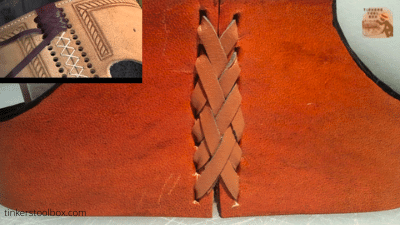
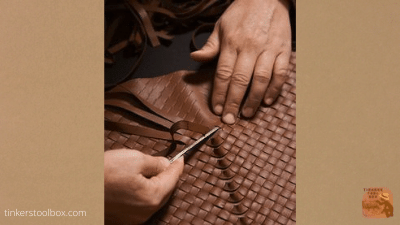
Round Braid or Mexican Basket Weave: For Braided Effect
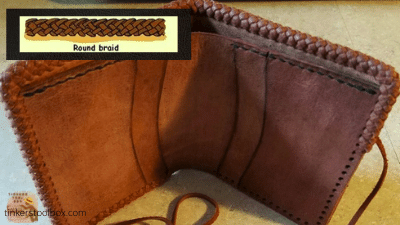
To create a round braided effect on leather edges, you can use a Mexican basket weave for bags and purses. This lacing technique uses lace nine times the length of the leather.
If your project’s length is 5 inches, you’ll need 45 inches of lace for your edges.
Insert your lace and needle on the first hole of the front leather. We call it hole number 1. Then leave an inch tail of lace stitching out from the hole. Fold it over to the back of the leather.
Proceed to hole number 4 by bringing the lace over to the front leather and inserting it in the fourth hole. Come back to the front leather and go through hole number 2. This step creates 2 “X” laces at the edge of the leather.
Turn the leather to the back, insert the needle under the first ‘X’ intersection, and then proceed to hole number 3. Pull the lace snug and repeat the process to the last holes.
Leather Lacing Must Remembers
Take note of the following tips to make your lacing easier and efficient. This helps avoid any mistakes in the lacing which will cause you to start over from the first leather hole and waste your time.
Lace with the tool side of the leather facing you. The tool side displays the design of the leather, so the lace should lie on this side—also, lace from a direction of left to right.
Never use a lace longer than a yard and a half. The long lace becomes stretched, fuzzy, and tangled making it harder to lace. For a project that requires more than a yard of lace, you can cut it into small parts.
Some leather holes may be too small for the lace, so using pliers may help pull the lace with control to avoid ripping the lace and leather.
Do not let go of the needle while you are lacing. It may twist the lace and screw your stitching process, which will cause you to start over.
Apply braiding soap to the lace to make it slip quickly through holes and slits.
Conclusion
Leather lacing, simple or decorative ones, are great additions to your products that ensure durability and appeal artistically to people. The simple steps I mentioned should guide you in your journey towards creating a well-designed leather project which you can use or sell. Now, be creative and start your first leather lacing project today.