If you are looking for a knife sheath that will last for a long time– a lifetime even, then use a leather knife sheath. Since the pandemic struck, it is harder to buy items because knives have to be the perfect fit. To have a sheath for your knife that can survive wear and tear will save you a lot of time and money. I urge you to make your own! In this day and age, it is essential to carry a knife for uncertain times. You never know when you will need it.
How to make a DIY leather head knife sheath? You can make your knife template, trace it onto your leather, cut it and place cement on the belt loop. Fold the edges together, mark holes for the stitches, sew them and burnish for the final finish.
Knowing the importance of knife sheaths, I will teach you how to make your own! This article will talk about the steps on how to make a leather knife sheath. Don’t worry, it’s easy to follow, and you can finish this in a jiffy! You might even want to make your leather sheath for your other knives as well. Leather knife sheaths are so beautiful and long-lasting. Enjoy learning this tutorial!
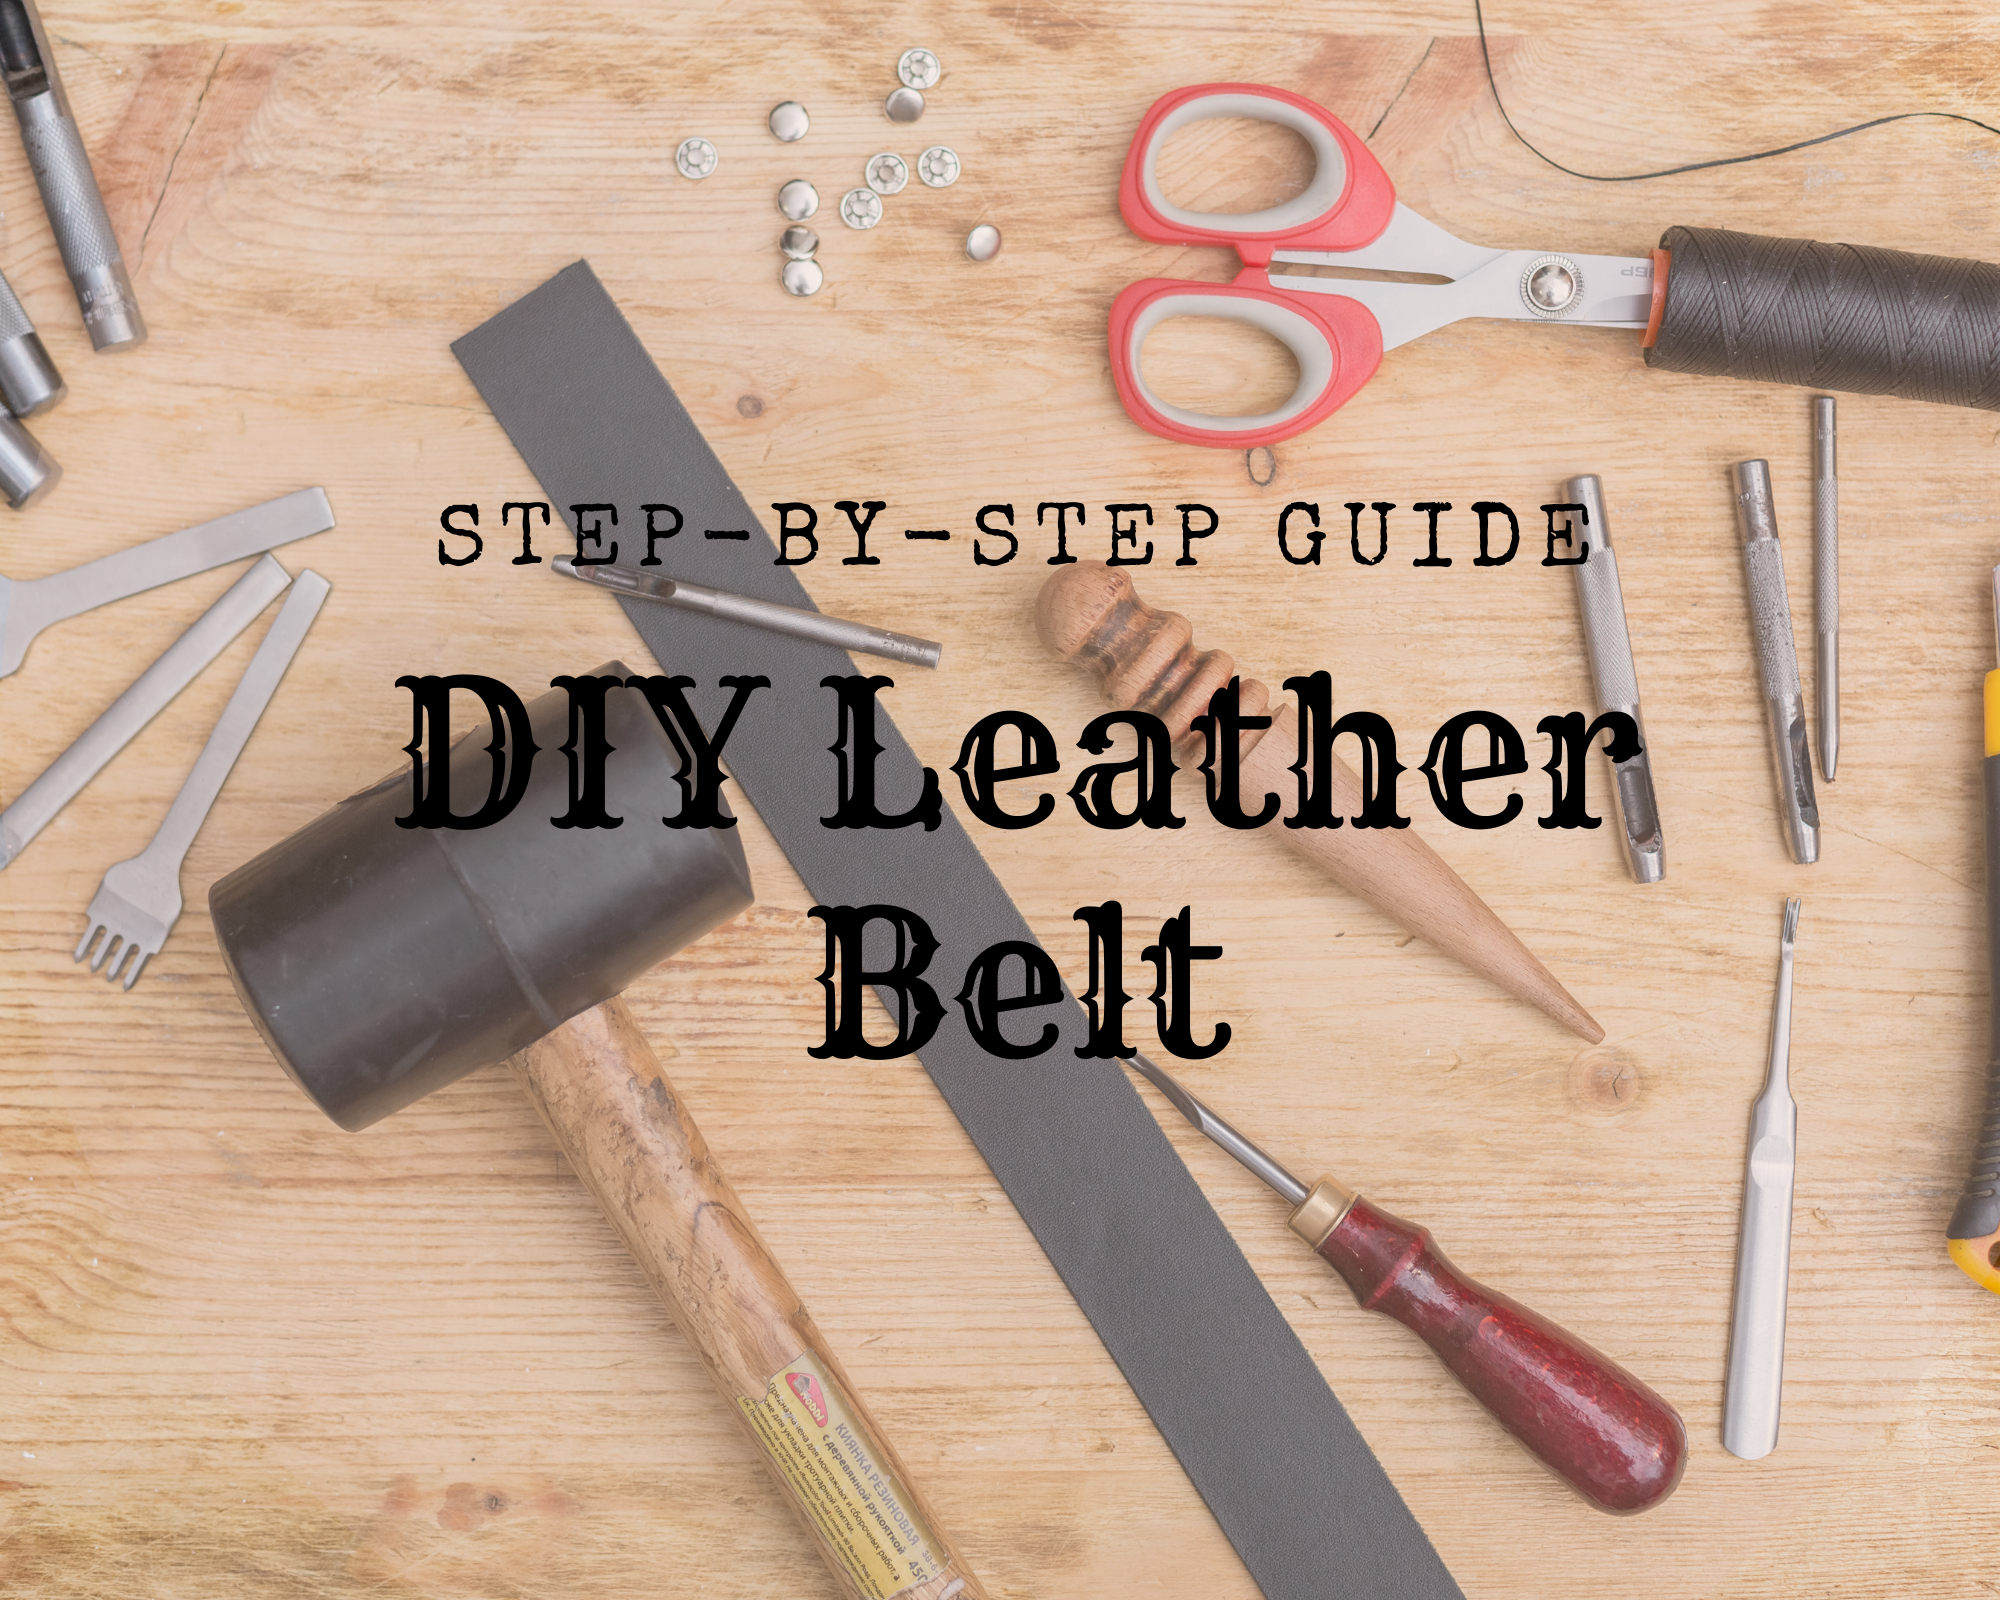
How to Make Your DIY Leather Head Knife Sheath
These are the step-by-step process to make an easy knife sheath out of leather. You can use a short blade or a long blade for this tutorial, whatever fits you! Please read this guide while you make your own, so let’s start!
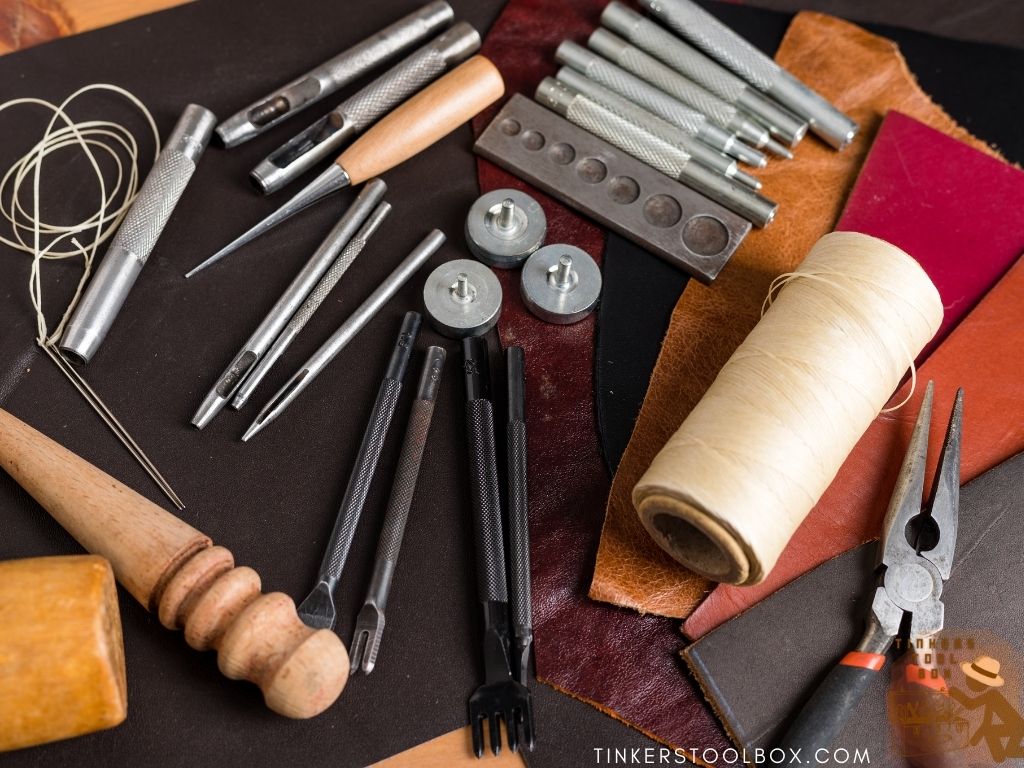
Materials
- Grover
- Pricking Wheel
- Stitching Awl
- Mallet
- Edge Beveler
- Sewing Palm
- Harness Needle
- Nylex Thread (Waxed)
- Leather Shears
- Sharp Knife
- Leather Glue (you can also use leather cement)
- Dye (optional)
- Clips
- Burnisher
Step 1 – Trace Your Knife Template
Now that you have all the tools you need let’s get to it! The best way to start with your head knife sheath is to make a great template. Make sure to use stiff paper for your pattern. You can use a folder for this if you have one around. The color where you will draw your design doesn’t matter as long as it holds its shape. Lay down your knife with the blade facing up, so make sure that your knife doesn’t move.
Roll it to the side and ensure that you take your time. Patience is essential in this process. It will take some time to get used to, but you will learn through practice. Trace on the templates may not be final as there are instances that it’s too big or too small for your knife. Try to fit your knife to it from time to time. Give an allowance of about ½ inches for the welt. Welt will serve as a protector for your blade so that it doesn’t cut through the sheath.
If you want to make your sheath more secure, you can trace a keeper trap onto your template. It will keep your knife in place whether you’re running or just a plain walk out of the barn. Cut the template and fold it to the other side. It will serve as a guide for the body of your sheath. Check if it fits just right for the knife.
Step 2 – Cut Out Your Template and Fit it to Your Knife
After getting a lovely template, grab your leather and trace your template from the inside out. Be careful where you outline your pattern, take note that you should be drawing on the rough side of the leather because that is the inside of the sheath. Marks should not show on the final output. With your steady hands, draw your template and make sure it doesn’t move. The slightest difference can affect your finished sheath.
Grab your shear and make sure it’s sharpened. You don’t want to use a dull blade because you’re more likely to hurt yourself from a dull blade than a sharp one. Then, cut your patterned leather. Easily trim the tight spots by punching holes onto the sharp corners of your pattern. If you want your leather to be more vibrant, you can dye it at this stage, but this is optional. After that, dampen the leather. The top side will serve as the outer part of your sheath. Now try to fit your knife in.
For the belt loop, adjust it to where you want it to be positioned. Please do this by folding the belt strap in half and moving it to your desired area. Make sure to give enough space so that this will fit with your belt just right. You have to carefully put your leather glue or cement to the back part of the belt loop and the opposite side where you will attach it. You can hold it together or use an office clip and let it dry for a while.
Now that it’s dry, you can mark where your stitches will be located. For the groover, use it to make small placements on the leather but marks that are not too deep. Our goal is to keep a flat surface when it’s time for stitching. When you’re satisfied, dampen your leather again to mark those holes with a pricking wheel. Punch those holes through with a stitching awl and a mallet. To start stitching, use a stitching needle and a waxed thread.
Choose your starting point, but I would recommend starting from a corner since our belt loop has a square base. Insert the needle through the first hole and pull it from the other side. Then push it through the second hole and pull it again. Insert your needle where it first went through.
Pull the threads simultaneously but remember not to pull too tight, as it might damage the leather sheath. Repeat this until you have stitched the targeted area.
Step 3 – Gluing and Folding Over Your Leather Sheath
Now that we’ve stitched our belt hoop, we can now work on the body of our sheath. Slightly dampen the cover part of the leather sheath and lay it on the table with the inside out. Grab the welt you cut from your pattern and glue or cement it down on the side where the blade will be facing.
Align it to the curve of the sheath. You can hold it down again by hand or use the clips you used before when we did our belt hoop. You can check again if the knife will fit just right now that the welt is drying in place. It should have enough space for the blade to pull in and push through when you use your sheath.
For the keeper strap to keep the knife in place, the male line 24 snap should be glued to the keeper strap before it is sewed in place. It is used to make sure that this button keeper will not move and be safely intact. You can now place the other snap in place, but it’s best to wait until the whole sheath is done to get the fit you want. It might be too tight or too loose, so be patient.
After the bottom of the welt has dried, fold the leather body in half and glue it again together. Remember to align the sides to have a nice curve. Use your clips and hold them in place. For you to know if you’ve done it right, the side where you placed the welt should be the thickest part of your sheath. It is because this part touches the sharp blade all the time.
Step 4 – Final Stitching
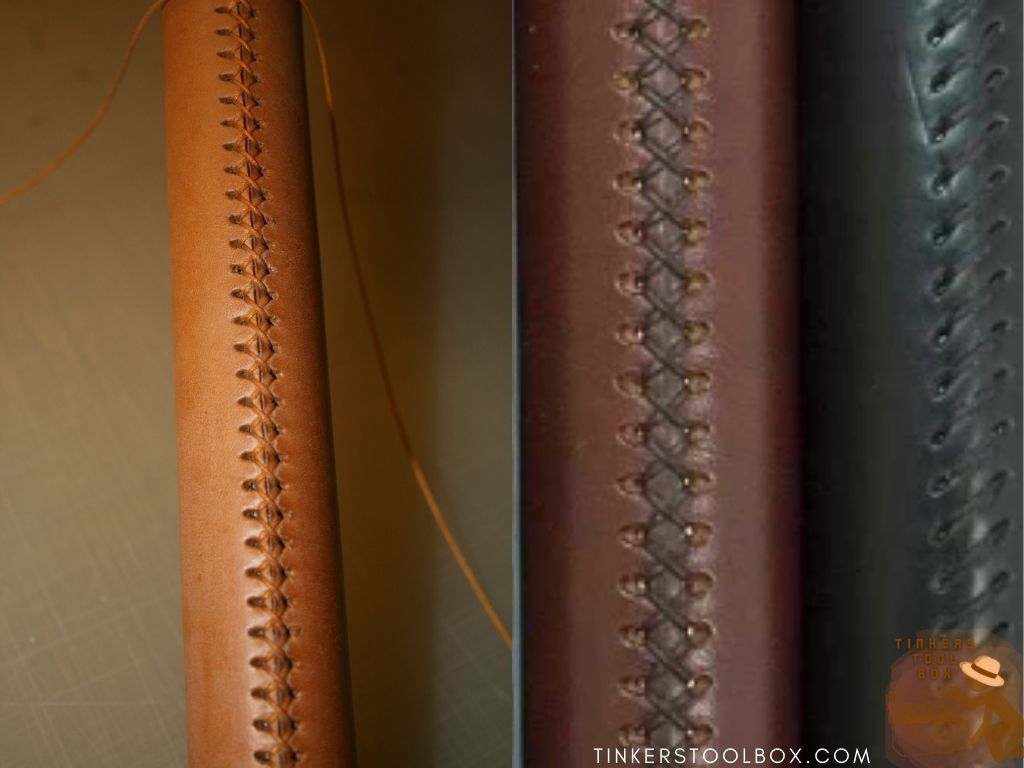
After gluing the side of the sheath’s body, you should use your groove again to put marks on where you will place your stitches. Again, it shouldn’t be too deep. Dampen the leather again and use your pricking wheel to mark holes and prepare for stitching. Use your stitching awl and mallet, carefully punch holes through the curve.
Remember that this part of the sheath’s body is the thickest so put enough force so your holes will punch through. Have enough allowance for your stitches so that it’s not too close to the edge. It will make your stitching more manageable and your sheath more durable. If it’s stitched too close to the edge, you might have some holes you’ll peek in. You don’t want that. The stitches should not be bulky because we want a smooth finish. Use the same stitching you did when you placed the belt hoop earlier.
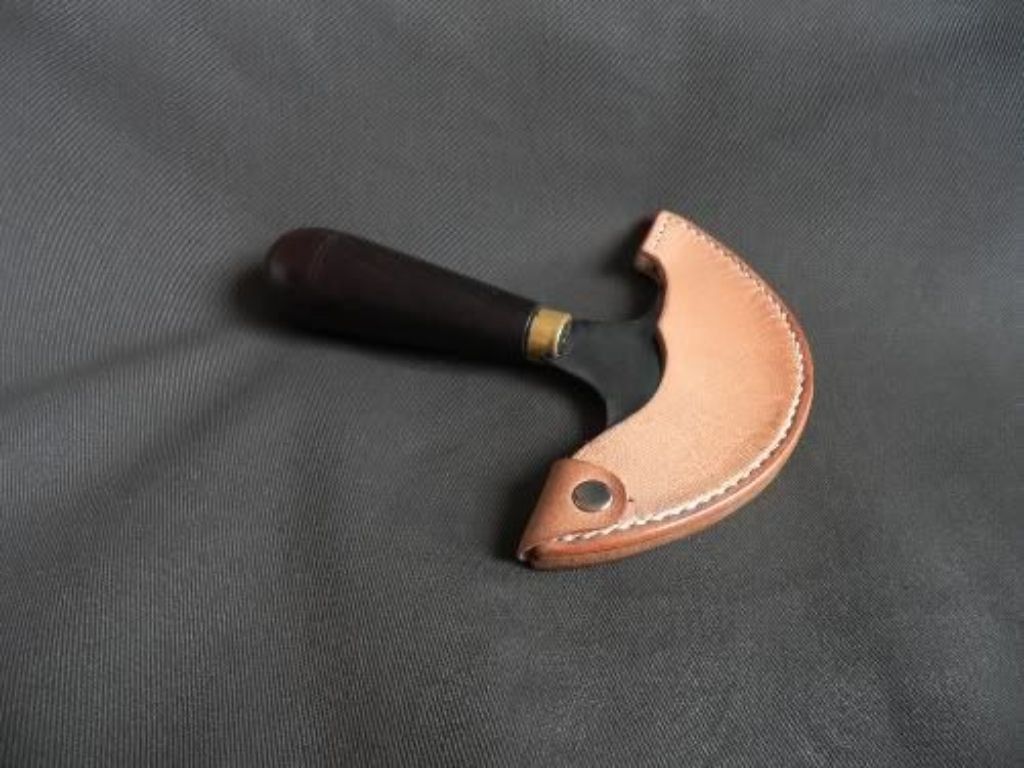
When you’re done successfully stitching the side, take a look at the curve if there are any misalignments. If it’s an uneven surface, you can cut the excess leather on the sides so that the three layers of leather are equal. Use an edge beveller for the curved side for that nice smooth look. Recondition the side by using dyes.
It will even out the tone of your leather sheath. Dampen the leather again and fit the knife through. The blade should be able to go in and go out of the sheath smoothly with no delay. If you’re satisfied, burnish the sides using an animal bone (antler tips are a good choice). Quickly rub the curved sides back and forth by using the antler tip. You can also put in a water-resistant finish as an added care so that your leather sheath is guaranteed to last a long time.
Congratulations! You have finished your leather head knife sheath! You can now wear that knife sheath proudly on your waist! Go ahead and tap yourself at the back for doing a great job!
The Importance of Knife Sheaths
Source: Pinterest
When you intend to carry a knife around, it is crucial to think about safety. Carrying it is a big responsibility. To use material as strong as leather for a knife sheath will do just that. If you want to keep your knife around longer, whether it’s a gift or something you bought out of a store, having a sheath keeps your knife in good condition.
The blade is protected from scratches or from being exposed to nature. A sheath for your blade will also make it easier to transport to different locations. Whether you’re walking or you’re driving, your knife is safely tucked in. You wouldn’t have to worry if it will cut you or, worse, cut someone else.
A knife holder serves as protection to you and other people around you. It also protects the knife from accidentally falling. An excellent quality knife sheath prevents this from happening. Unlike unfoldable knives, a fixed blade knife needs to have a knife sheath. Better choose a material that will stay with you for years. It is challenging to make your own at first, but a few hours of your time is worth it when you think about the long term.
With great sheath material, you can now bring your knife anywhere, and it might even protect you when you’re fighting for your life.
Conclusion
An excellent quality knife needs a perfect quality sheath. Leatherhead knife sheaths have been around for a long time, and there’s a reason for that. If you take good care of your leather sheath, you might even hand it down to your family and their family when they grow old. Many people trust this material for its reliable use, and it will take years before it tires out. Now that you’re equipped with this knowledge, it’s time for you to make sheaths for your other knives as well!