Leather bags are one of the most used work and fashion accessories. It serves both heavy and casual events customized for rustic, classy, or sophisticated looks. Leather is always the right choice because it’s a durable and versatile material perfect for everyday use. If you want to stand out or just keep a low profile, you can definitely DIY a leather flap bag. This bag will never go out of style.
How to make a leather flap bag? Prepare a pattern, lay it, and cut it on the leather using a sharp knife. The leather pieces should include the base, body, flap, and strap of the bag. Use a pricking iron to get a clean seam and sew it together using a needle and waxed thread.
Looking presentable every day, especially when going outside of our home, is a necessity. If you are like me, who wants to be fashionable and likes to use a leather bag for your needs, then this article is right for you. This article will talk about the needed materials and the step-by-step guide to make a DIY leather flap bag.
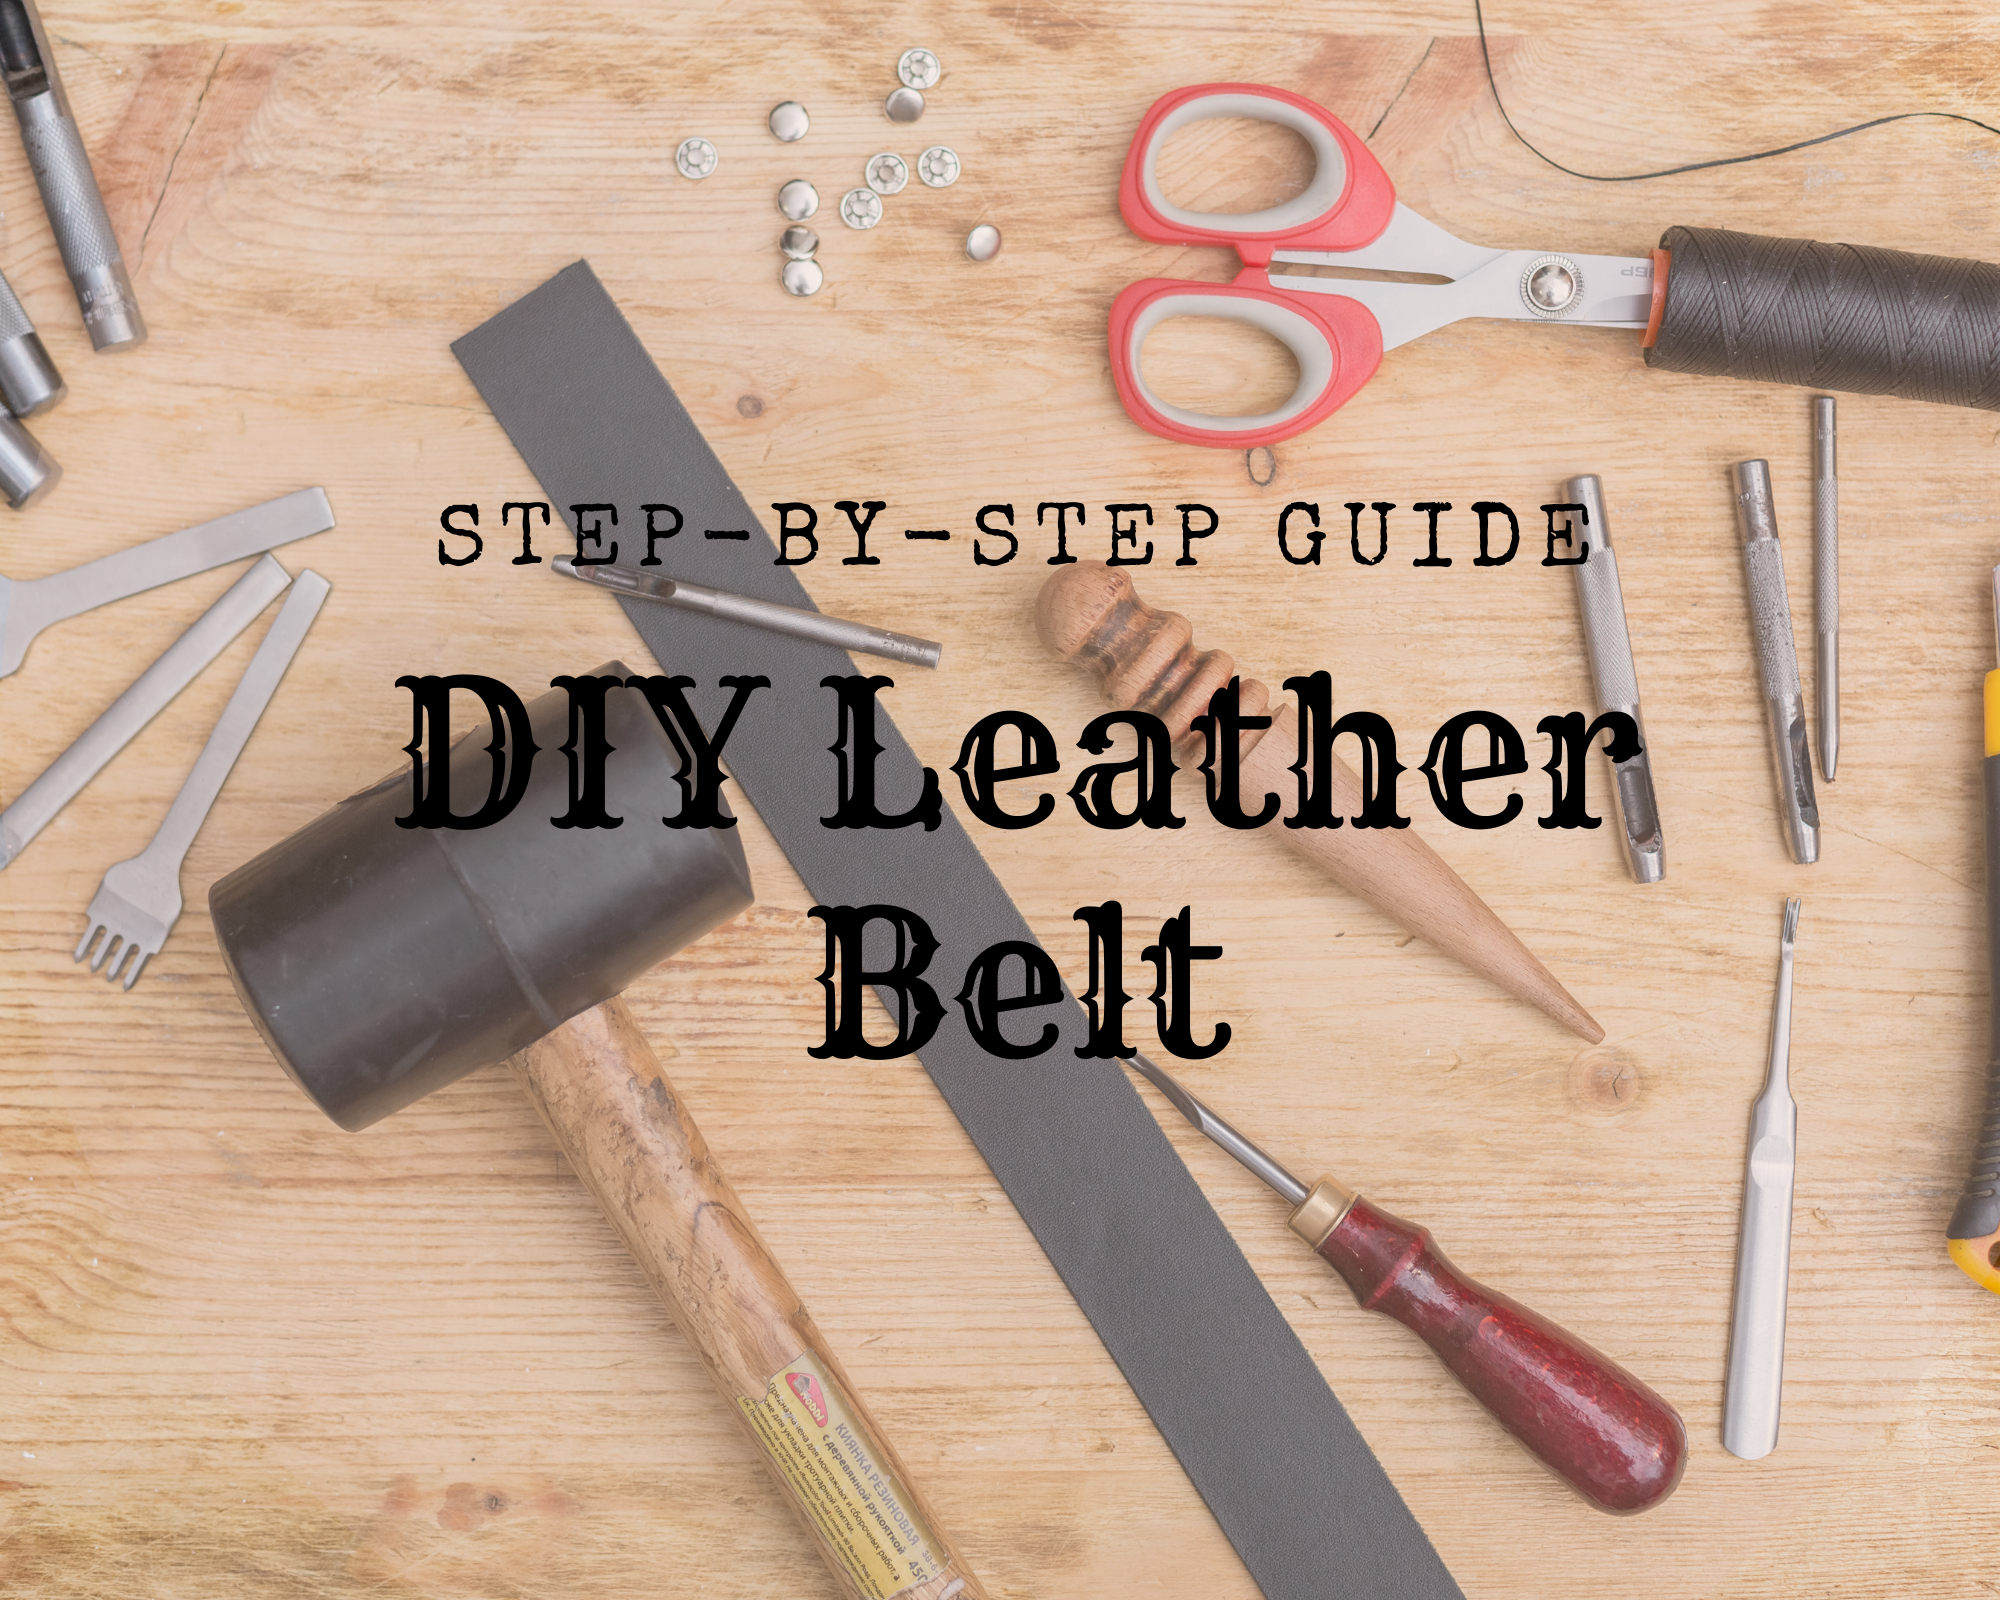
First Things First! Prep Up The Essentials
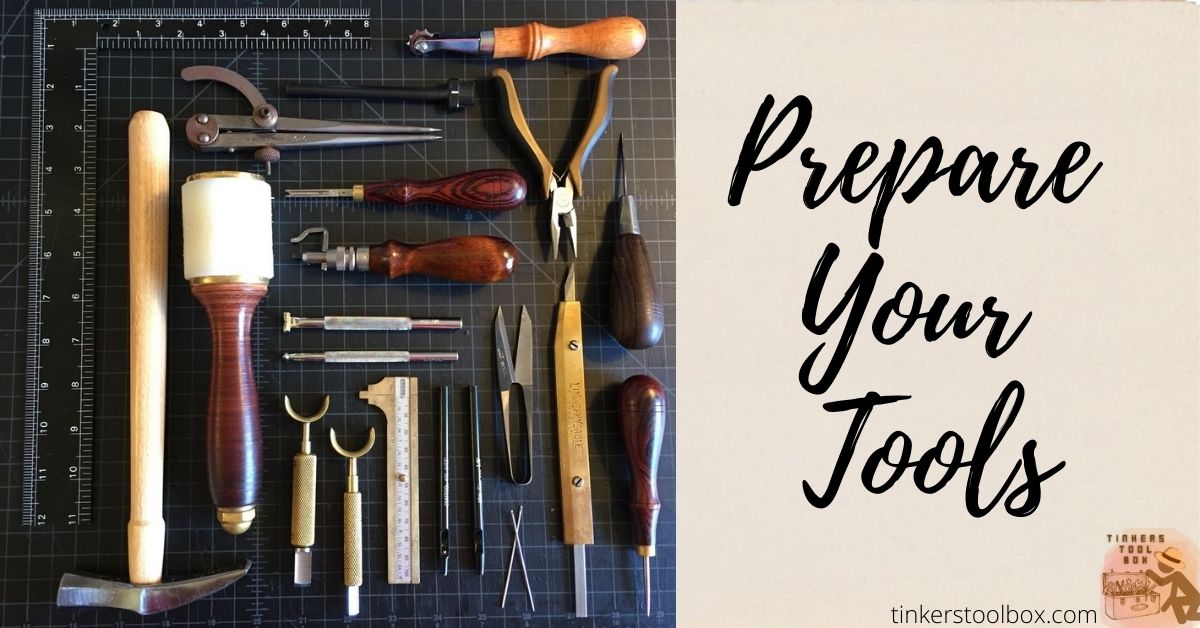
Just like doing other projects, you need materials and tools in making a leather flap bag. If you are on any level of your leatherworking, sure enough, you have these tools. If not, you can buy them in the nearest physical store or perhaps an online store.
Materials You Need For The Pattern
- Scissors
- Pre-made pattern (includes the strap)
- Cardboard or chipboard (optional)
- Glue
- Ruler
- Weights
Stitching Prerequisites For Best DIY
- Needle
- Leather of choice
- Leather shears or knife
- Strap cutter (optional)
- Stitching clam
- Sewing Machine
- Scratch Awl
- Pricking Iron
- Cutting Mat
- Glue or contact adhesive (optional)
Polishing Tools and Materials
- Beveler
- Wood slicker
- Burnisher
- Leather dye or conditioner (optional)
- Rivets and buckles
The Craft Of An Enjoyable Pattern Making
Patterns are essential to produce a well-thought-of design, especially in leathercraft. If you want to maximize your resources by minimizing the mistakes but still create a fantastic product, here are the must-knows.
Be Comfortable In The Pattern You Use
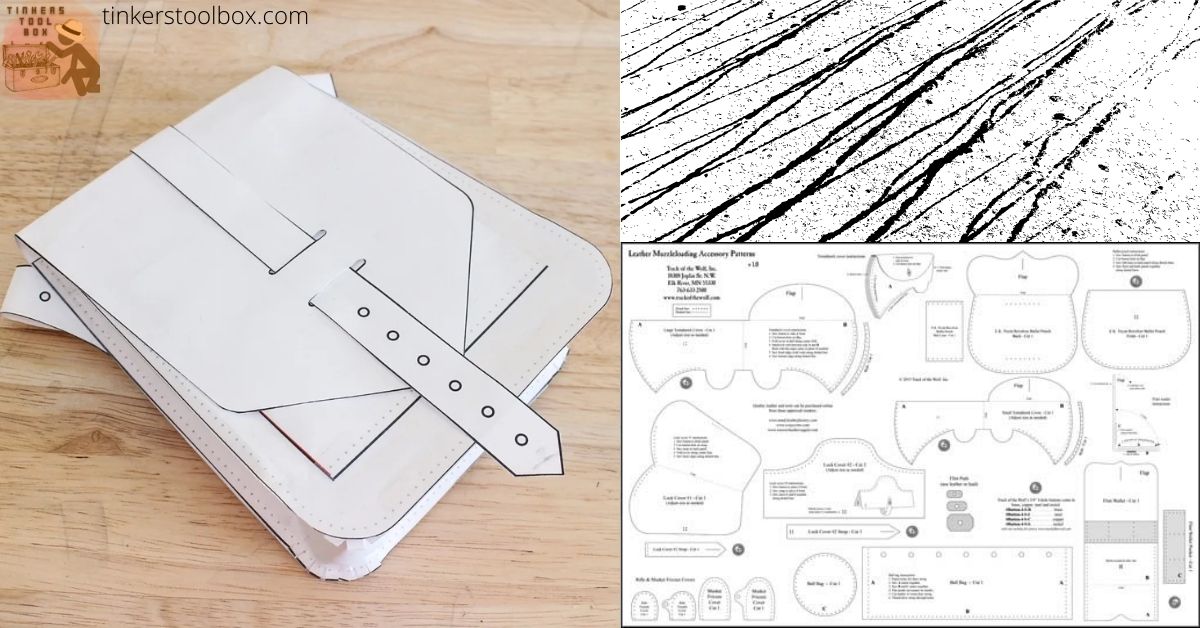
You can use a pre-made pattern or make your own. If you have a design in mind, you can opt to make your pattern to get the best result, showing your creativity. In making a pattern, you can draw it on paper or use digitized software for quick visualization.
There are many available patterns online for free, or you can purchase one if you prefer. Ensure that all parts of the pattern are complete before deciding to use them.
Cutting Pattern In The Best Way
Cut the pattern accurately to make sure they are well-drafted once you cut it in the leather using a steel ruler and scissors. Put enough allowance in the edge of the patterns (about 0.5 inches will be enough) to give a little free space in the leather. Once the pattern is already cut, glue them in a cardboard or chipboard if you want your patterns to stay longer.
Place the pattern on top of the leather and put weights on top to avoid the pattern from uncontrollable movements while cutting. Always use a sharp knife or scissors to cut along the pattern. For long stretches of pattern, be sure to cut smoothly along a straight line. Cut all the patterns on a cutting mat to preserve the sharpness of your blade.
Time To Move On The Leather Craft
After the pattern is prepared, you are now ready to move on to the actual leather cutting. Having clean, accurate leather pieces is very crucial to your project. If you want to get well-cut leather, sharpen your blades and always stick to the pattern.
The Best Leather For A Bag

There are many leather options for your DIY bag depending on the purpose of the bag you are making. These include top-grain, genuine, bonded leather, suede, and full-grain leather. These types of leather differ on how they are processed which includes buffing and sanding. Among the choices, genuine and bonded leather are the most affordable options out there but full-grain leather will be the best choice for a durable bag. The highest quality of leather bags is made out of full-grain leather.
When buying leather for your DIY flap bag, the common quality material available is known to be cowhide leather. Not only is cowhide leather highly tough, it is also aesthetically pleasing but you can feel the roughness when you touch cow skin leather. Depending on your preference and budget, you can use animal hide, veg-tanned or synthetic leather.
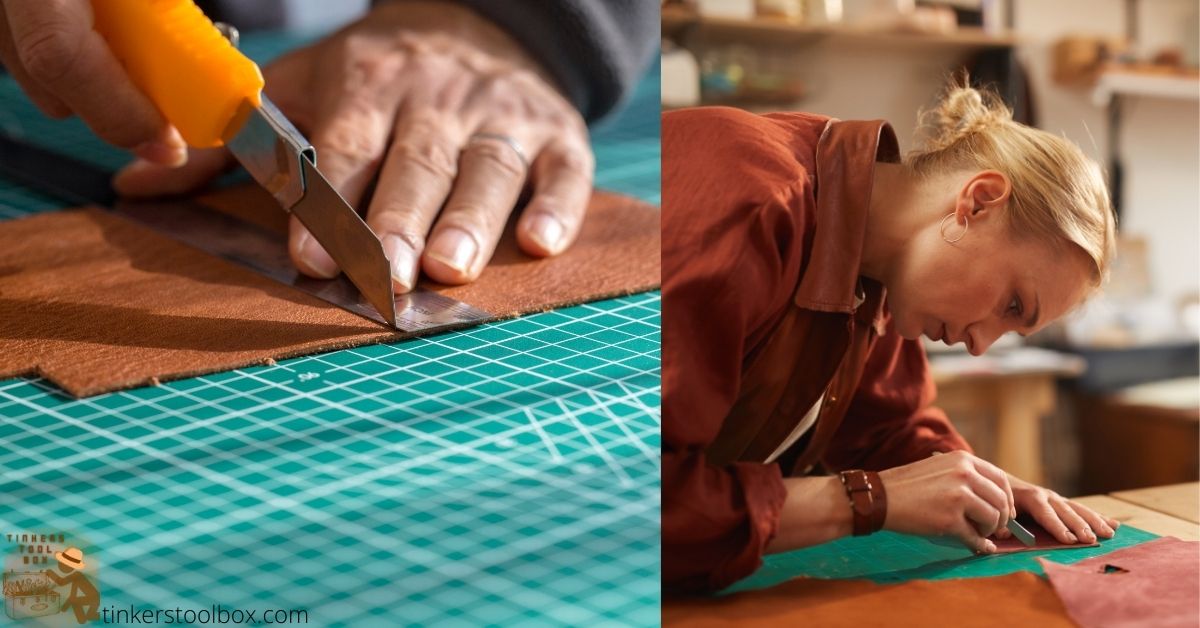
Go And Cut The Leather
Lay the pattern in the leather of your choice. Cut the leather using a leather knife, round knife, or other knives that you are comfortable using. Be sure these are sharp to cut through the leather to avoid uneven or fuzzy cuts. If you plan to stamp your leather bag, stamp it after cutting using your stamping tools or a swivel knife.
Cut the leather on top of a cutting mat to preserve the sharpness of the blade. Start to cut the main body of the leather flap bag, the flap, and the strap. Cut a strap (around one inch) using a strap cutter or a regular leather knife and mark out a point where you will attach the bag’s lock.
After cutting all the leather pieces, you can begin to color it using dye or paint. Be sure to try it on scrap leather first before doing it on actual leather. Be sure to apply leather finish after you color or dye your leather to keep it water-resistant.
Putting The Leather Together
Once the leather is set, sew the leather parts that go together. Use a pricking iron to get even spaces between stitches. You can also use a scratch awl to mark areas where the needle should go through. Make sure the size of the pricking iron matches that of the needle.
Bevel the leather sides to be joined together to get the right thickness using a skiving knife. Use a needle and waxed heavy nylon thread for saddle stitching. If you have a stitching clam, it is best to use this at this point so that you can do saddle stitching efficiently. You can also do machine stitching if you prefer, but manual stitches will also be great if you desire intricate output.
Add a lining inside your leather bag, you can use a material with a suede texture and use an adhesive to join the lining and leather together. You can also apply it to the leather for more secure attachment.
Polishing And Embellishing For The Final Look
If you have the design you want planned out well, it’s time to move on to the final part, which will make it even more impressive. Polish the leather and embellish it to get the leather flap bag you desire.
Shining The Leather Edges
Smoothen the leather edges by using sandpaper or canvas. You can apply a burnisher (you can use water, saddle soap, or gum tragacanth) as burnishers. When using gum trag, be sure it’s not too dry (tacky) when you rub the slicker. You can then apply beeswax for the final burnishing step.
Apply the beeswax and rub the edges with a wood slicker. Rub it back and forth to create friction. The polished edge will now look smoother than the unprocessed side.
Embellish Your Leather Flap Bag
When all leather edges are flat and smoothed, you can start to adorn your bag. You can add accessories to it depending on your preference. You can have it as simple and as elegant as you like. Be sure to attach the rivets and buckle in the bag’s strap so that it is firmly connected and can support the bag’s weight.
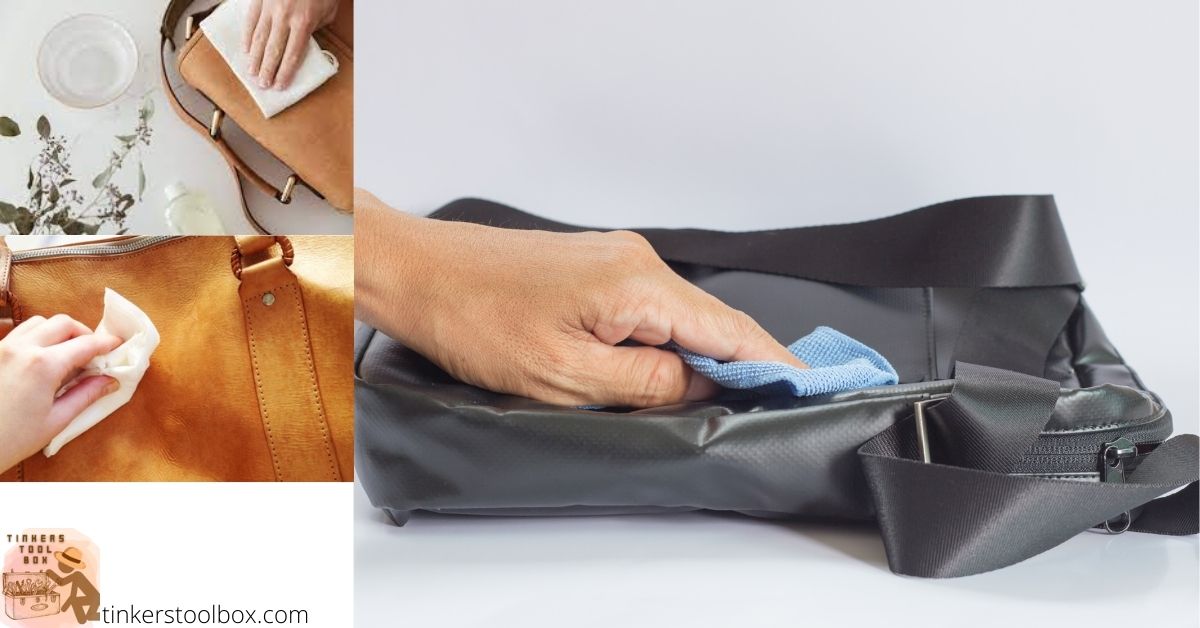
Inspect your bag for any excess threads, unpolished edge or other artifacts. Be ready to flaunt it once done. Remember that a leather bag will require the right care for more extended use. This will include proper cleaning (use a cleaner especially made for leather) and storage (you can use a bubble wrap to hold the bag’s shape when not in use).
Conclusion
Any leather product will require the utmost care to make it last, especially a leather bag. With the right tools and enough skills, you can produce a bag that you can flaunt in work or any casual occasions. It will be one of your prized possessions or an accent to your everyday look. Follow these steps and create the best leather flap bag ever!