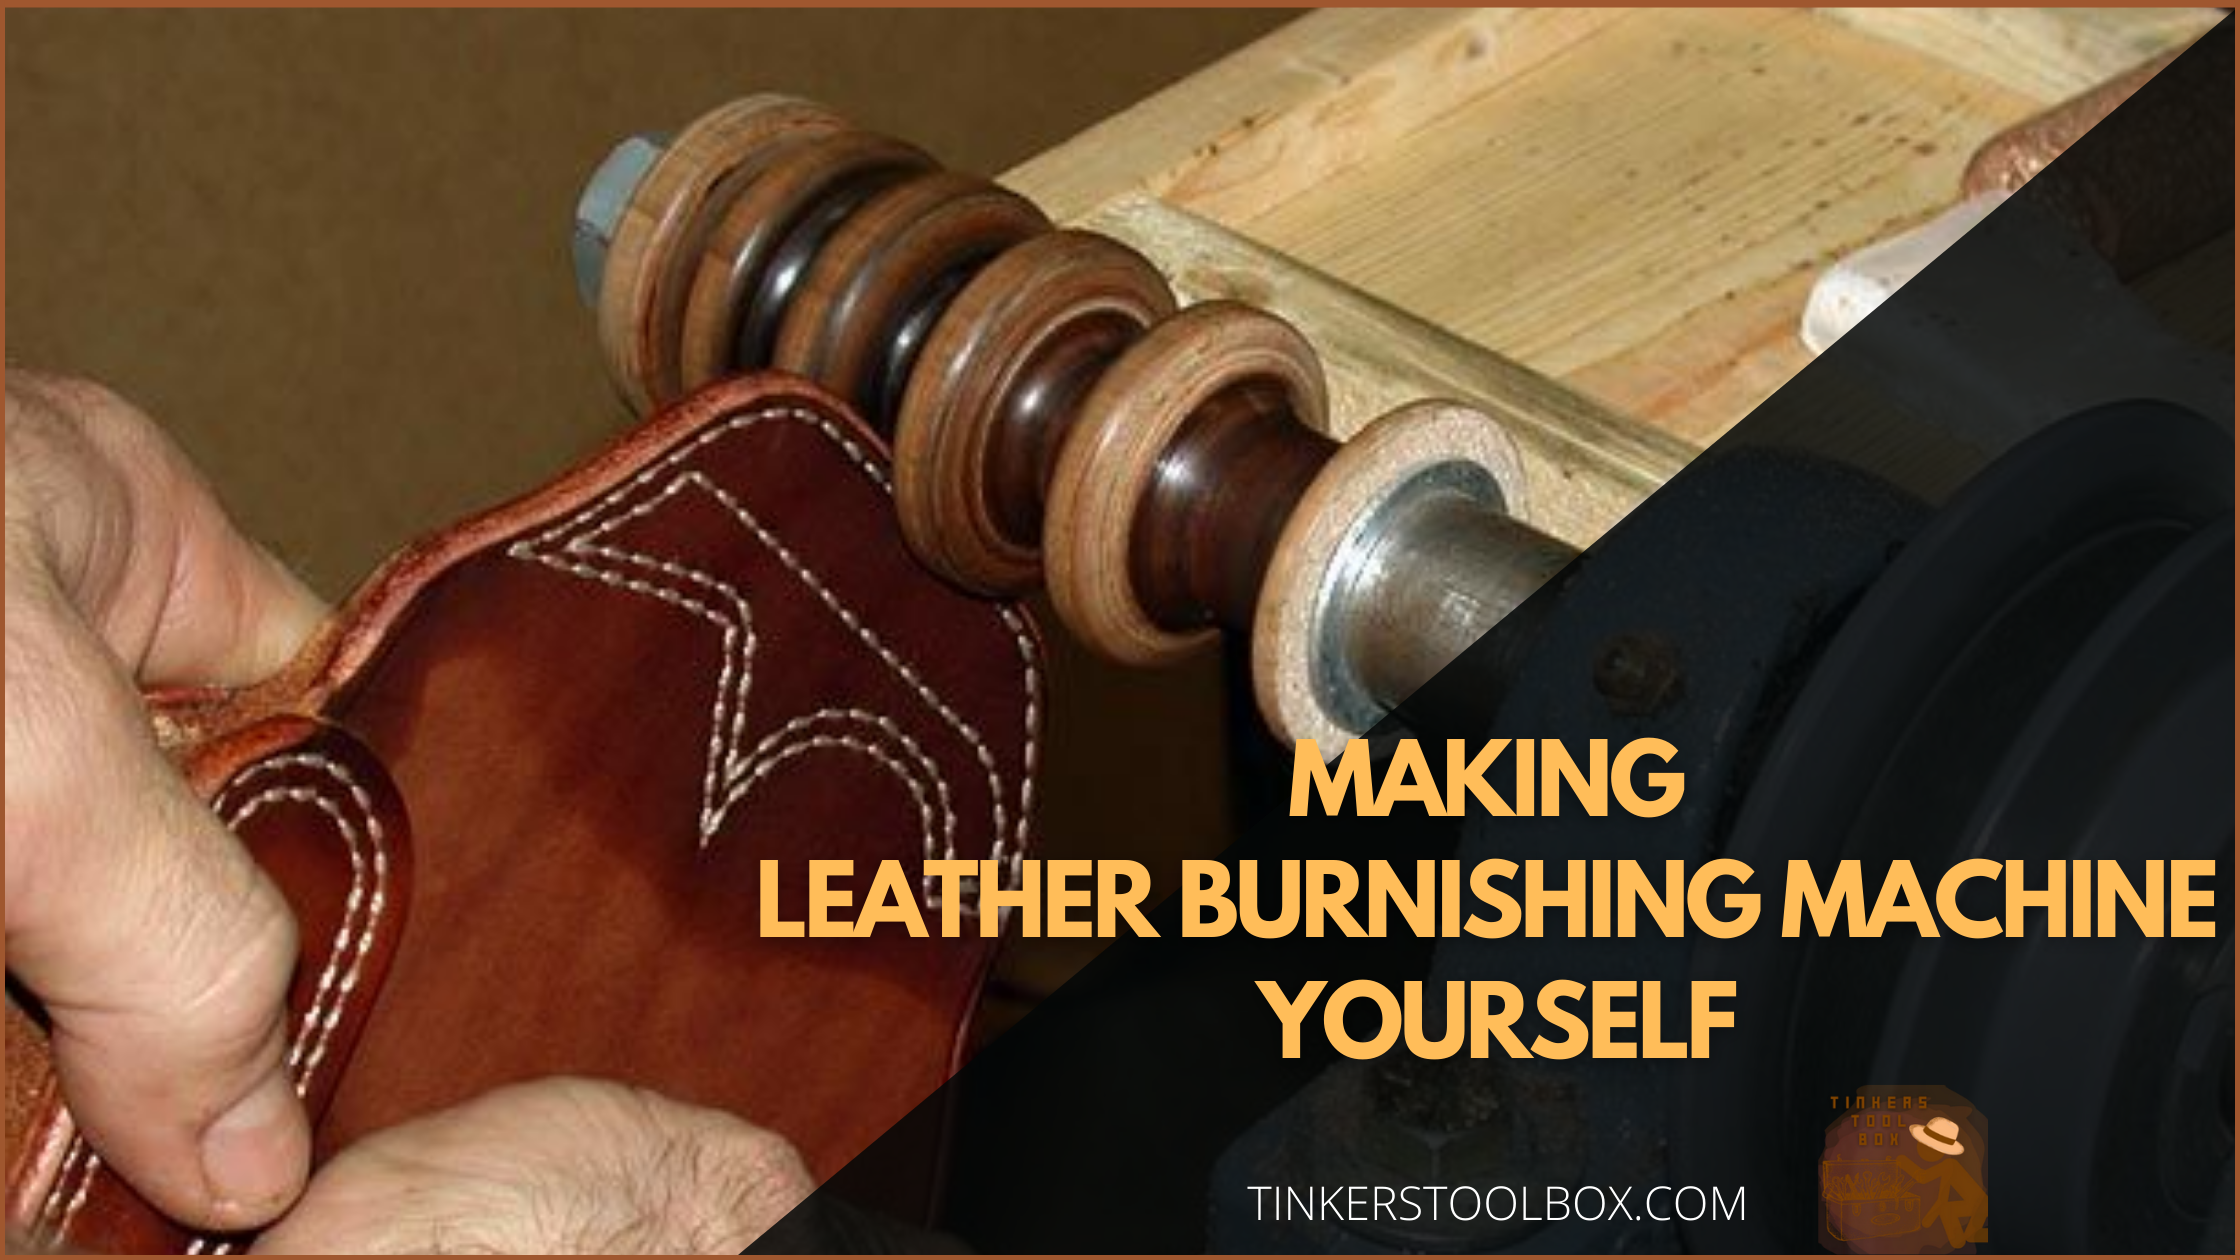
A burnishing machine is used to polish and smoothen out crafts. One can purchase this at malls or hardwares yet don’t you think that you can have yours by yourself? DIY’s are a trend nowadays. After digging through the web, I’ve finally accomplished one! Here’s what I’ve done after thorough search and trials in order to make my own burnishing instrument!
How can you create your own DIY leather burnishing machine? In order to make one, you need to: Get tools and materials prepared, set workplace, dismantle old bench grinder wheels, make your burnishing tool or simply attach a burnishing tool into the grinder if you have one already, lock it and you’re done!
Burnishing machines are considered as essentials in ensuring a good and well finished leather product. I know how eager you are to finally make your own DIY machine too without even going to malls, purchasing one. Know that you have browsed the right article! Here, a step by step process on how to have your own Do-it-yourself leather burnishing machine will be tackled. So, stay tuned and start by scrolling this article up!
Getting Needed Tools and Materials Ready
Tools and materials are primarily used to put things together. Without them, it’s impossible to get everything done. So, in making your own DIY leather burnishing machine, make sure you have everything in the list below!
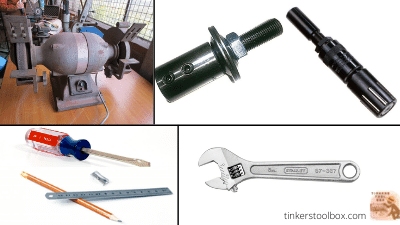
Tools and materials needed to make the DIY
Needed are an old bench grinder, a burnishing tool and a buffer adapter for 1/2″ shaft
Tools in removing wheels of the bench grinder
Go get yourself a wrench and screwdriver along with a penetrating oil or a lubricating oil which you can possibly use when the screws and nuts are rusted and are stubborn to remove!
Tools and materials needed to make a burnishing tool
To produce your own burnishing tool, have with you a pencil, ruler, hard wood with enough size to make a square rod dimension of 1 ¾” x 1 ¾” x 5”, saw, drill, nut and bolt, shellac wood finish, half-round files, belt sander and sandpaper!
Setting up a Comfortable Workplace
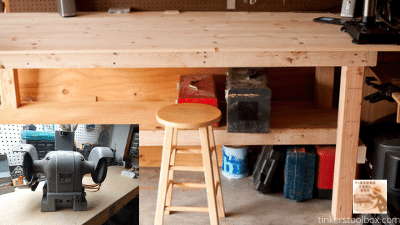
Working in an atmosphere that’s positive is what we want to make us more productive. What makes up a positive and productive working atmosphere is a comfortable physical space that promotes safety, growth and goal attainment. See the things below to know what you should do to have a haven where you can properly make your craft!
Must-do’s to have a haven while working
The very first thing to consider is a steady table or surface so that you can easily finish your work. Also, to get rid of residues on your floor, lay your mat or newspaper on your chosen workspace you are comfortable with
Utilizing an Old Bench Grinder: Unfastening Its Wheel
Being capable and devising clever ways and means such as re-using something and converting it to something more valuable is such a good thing. If you think your dad’s stacked bench grinder on the storage room for years isn’t useful, you’re wrong. Removing its wheel makes a huge difference that you can convert it into the leather burnishing machine you want to have. Follow the steps below to remove its wheels!
Safety first! – Tips in removing the wheels:
Safety is the very first thing to ensure whenever you work on something. So, when disassembling a bench grinder, you should unplug it before anything else. Also, wear safety gloves as the wheels of the grinder are abrasive. Wear safety glasses too. Lastly, keep those you have removed organized. Group and set aside all in one place to avoid accidents, wasted time looking for the parts when you need it and disorganisation
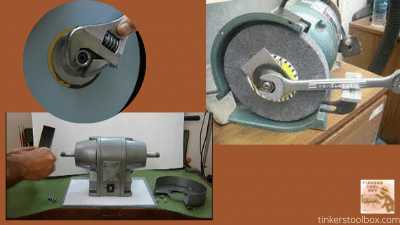
Removing the left wheel first
Take the screws off the shield
Start removing all the three screws on the left side by getting your screwdriver appropriate to the type of screw your bench grinder has. Match the screwdriver tip to the fastener’s head, hold its tip with one hand while your dominant hand holds the handle. Loosen the screws by turning the screw driver counterclockwise. After, remove the shield
Loosen nut with a wrench
It’s time now to remove what holds the wheel – the nut. To do so, use a wrench and hook its end around the head of the bolt. You should be holding the wrench at the very end of the handle and move gently in a clockwise motion for several times until it’s loosened
When a nut is stubborn or hard to loosen, your penetrating or lubricating oil will help you out. Grab it, spray it on the nut and let it sit for 10-15minutes to penetrate the nut. Afterwhich, try loosening it with the wrench
Remove the arbor
Using your hand, gently pull the arbor until you reach the end of the shaft. For later use, keep the arbors in one place
Remove the wheel
Grab the wheel on the left side and gently pull it. While removing the left wheel, here’s a tip! Hold the other wheel when you do this to keep the wheels from turning
Removing all its guards
Bench grinders have guards – tongue, eye and wheel guard. To remove, loosen all the screws (total of three screws) that hold the guards in place using a screwdriver. After removing the screws, gently pull all those guards
Repeat steps in removing right wheel of the grinder
Set Aside Grinder
Burnishing Tool Making and Attaching It
A burnishing machine would not be complete without the burnishing tool responsible for smoothing out the edges of your leather. If you haven’t purchased one yet, this part of the blog will teach you on how to make your own and attach it to the grinder!
Steps
Making a square rod
Get your ruler and pencil. Next, grab your wood and measure 1 ¾” x 1 ¾” x 5”. Now, using your saw, cut the wood. Carefully saw the wood to avoid cutting yourself
Pilot Hole Making: Drilling it!
With your rod upside down, find the center point of it. To locate the center point, get your ruler and pencil and from one angle, draw a diagonal line up to the opposite angle. Draw another diagonal line intersecting the other resulting in an X-mark. The intersection is the pilot hole location so period-mark it
Now, to continue making the hole, grab the rod and make a circle with the same diameter of the shaft which is ½”. Now, grab the drill and start drilling. See to it that you drill just of enough diameter to fit the shaft
Attaching Rod to the Bench Grinder
Get nut and bolt, and buffer adapter. Have your square rod stand upside down again.
Patch an arbor on top of it with its hole aligned with the hole diameter of the rod and glue it with epoxy. Next step, insert a nut and bolt into the hole and hammer it until the end of the bolt is visible on the other side. Patch and glue another arbor onto the other side. Next, attach the adapter on the bench grinder motor shaft. Grab the square rod and attach it to the adapter connected to the grinder. Connect the two sections and tighten it
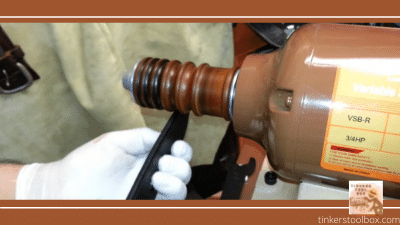
Sand the Rod and Make It Cylinder-shaped
To make it, you must sand it with a belt sander which is widely used for freehand rounding and shaping. Get it. Put it behind your square rod and start the motor with a low speed. Gently bring the wood in contact with the belt sander at full speed and ensure an even and smooth surface by moving the belt sander parallel to the grain of the wood. Just sand until cylinder-shaped wood is achieved. Don’t forget to turn it off when finished!
Groove-making
Usually, groove dimensions are 1″ flat, 1/2″, 1/4″ and 1/8″. To start, measure 1/4″ from the edge and mark it with a line. Now, measure 1″, line-mark it. Measure 1/4″ again which will serve as the gap between the grooves, mark it then measure the next groove dimension. Continue measuring and marking until finished with the last groove. Afterwards, grab first your 1″ half-round file and align it with the 1″ groove line you made. Turn your bench grinder on and you’ll see your spinning wood printed with lines. Gently take the files in contact with the wood. Sand it until you make the first curvature. When done, unhand file. Now, grab the 1/2″ file, sand it and the way you sanded the first curvature. Repeat until finished making all curvatures
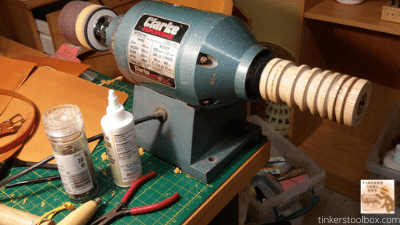
Making the tool highly durable: Applying Finishes
Shellac wood finish creates non-toxic finish and comes in spray bottles or cans and different ways of application vary.
To apply shellac in an aerosol can, grab it and spray it on the wood burnishing tool with about 7-inches distance for an even first coat. You can spray on multiple coats but allow one hour drying time between coats
If you have shellac on cans, grab shellac wood finish and a flat brush. Shellac is quick-drying, so, if you have a large shellac can, transfer to a smaller container. Next, get an adequate amount and brush it to the burnishing tool and allow it to dry for an hour. After, grab a 220-grit sandpaper and sand it. Now, apply a second coat, sand again and you’re done!
Finished DIY: Testing
The most exciting part when making DIY’S is to put it to test to see if it’s functioning the way you wanted it to be. Now, it’s time to try and test your DIY Leather Burning Machine!
To test it, get yourself a leather and locate its edges. Turn on your DIY leather burnishing machine and start burnishing by bringing the leather edge in contact. Now, see if the edges are smoothen out and you’re done!
Conclusion
Everyone could be resourceful and creative. It just takes a couple of research and trials to make one. Now, you don’t have to purchase a new burnishing machine as you have made use of an old one! You are now a leatherworker who is a certified DIYer!