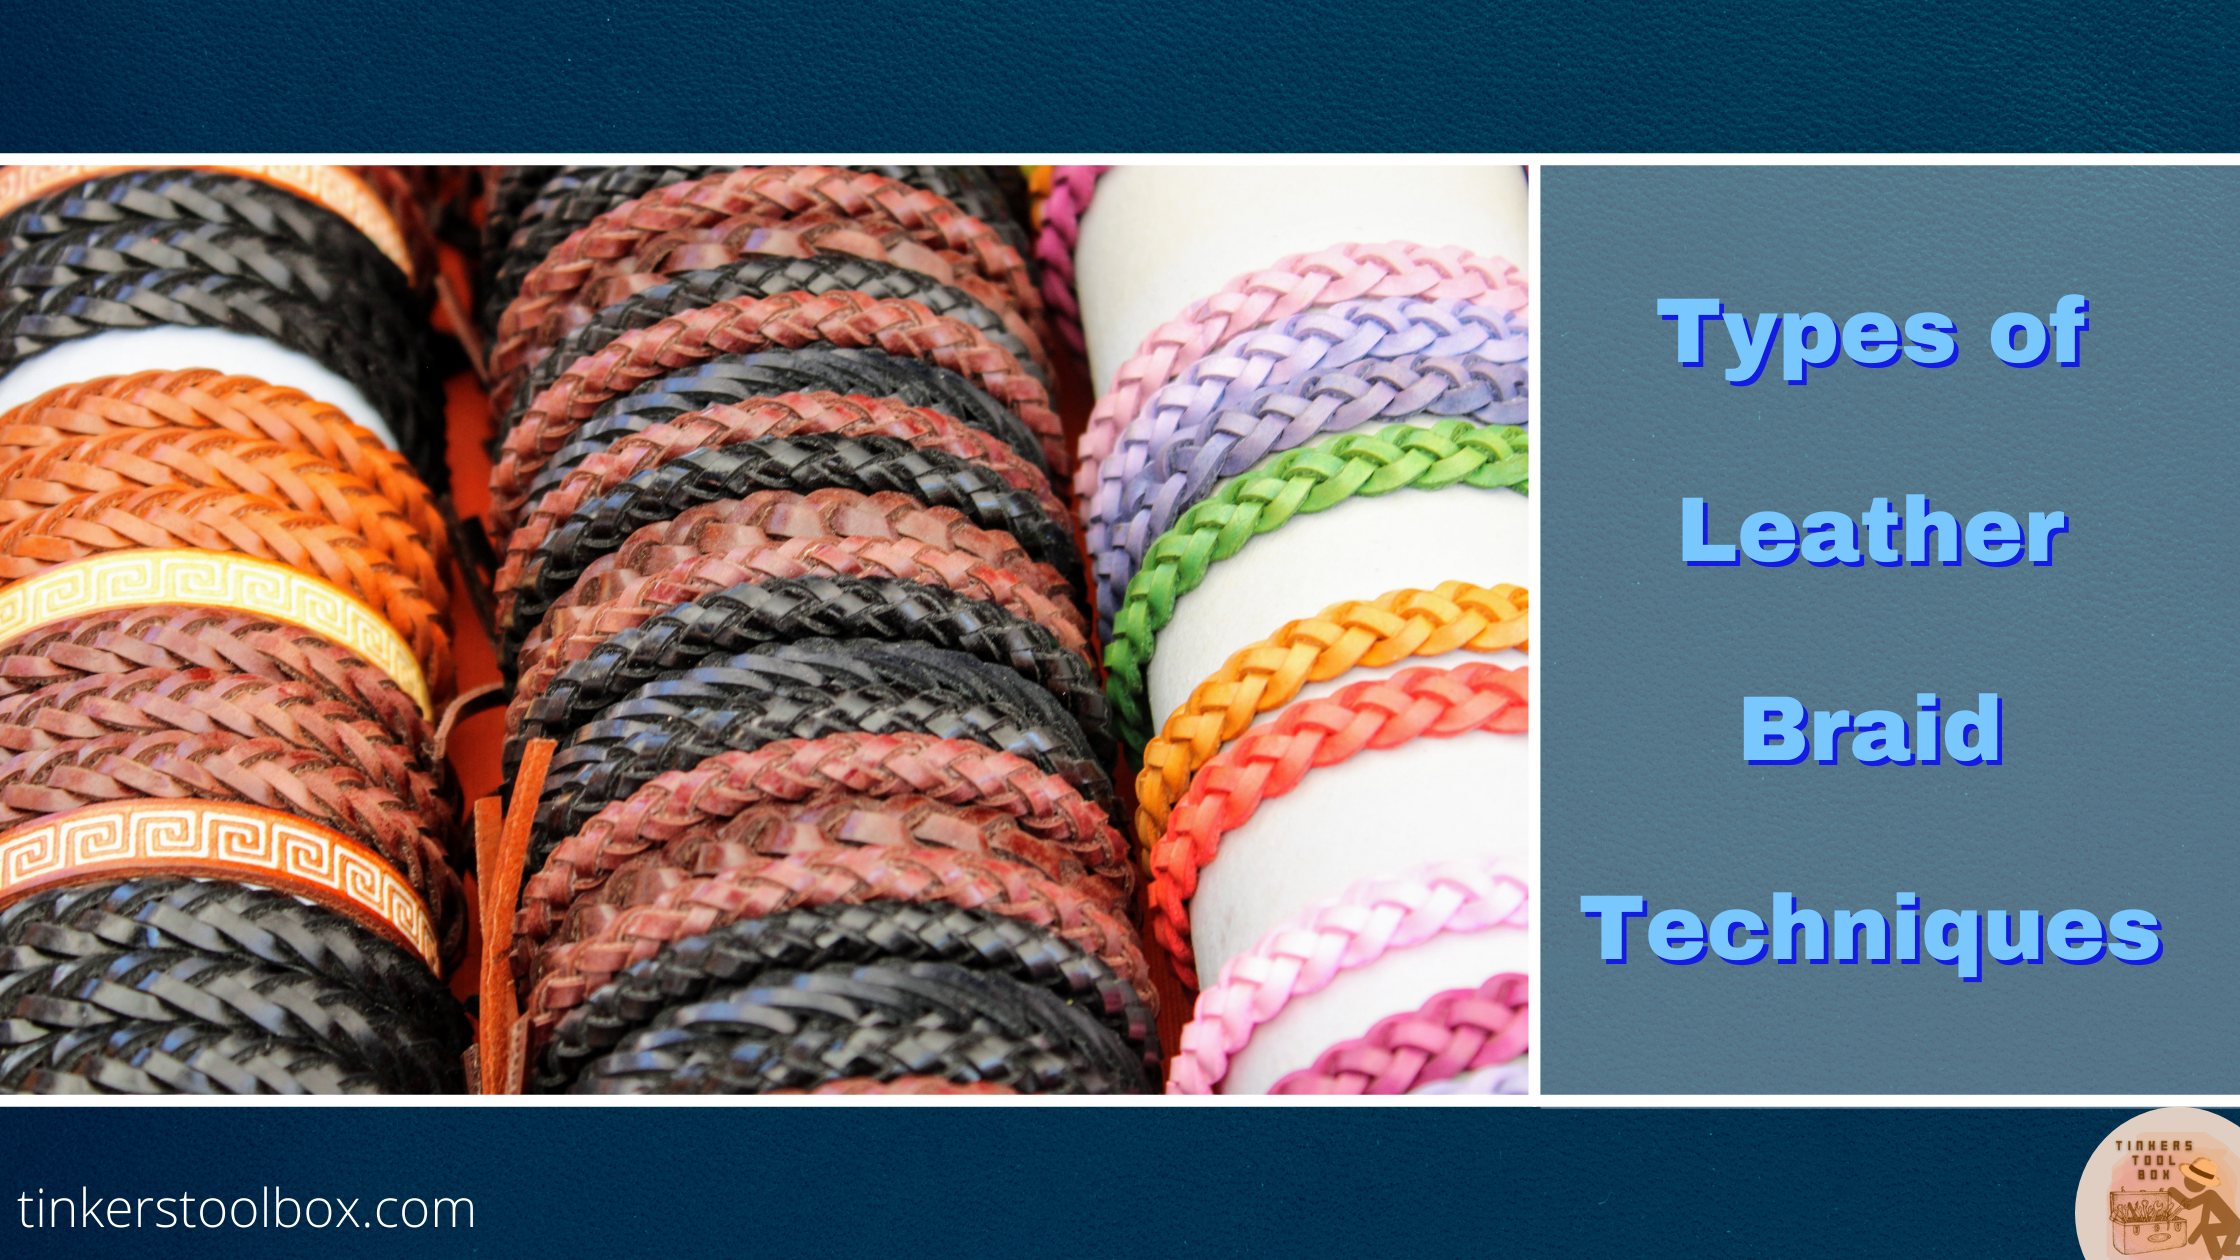
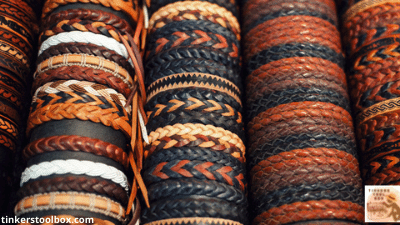
One of the best materials to use when it comes to braiding is leather. There are plenty of projects that you can do when it comes to braiding leather, from different accessories to belts. Leather is also pliable and soft, which makes it easy to be cut into different numbers of strands. All you need are some basic techniques to make sure that you end up with the best-looking leather braid for your leatherworking projects.
In this article, I will talk about the materials you need to create the perfect braid. I will also discuss the process of how you can complete a three-strand braid, leather strand braid, round four strand braid, and flat four strand braid. Lastly, I will also talk about the best leather to use for braiding and how you can finish off your leather braid.

Materials and Tools You Need to Create the Perfect Braid
- X-acto Knife
- Leather Lace
- Awl
- Cutting mat
- Rope cord core (Used in the round braid)
- Thick waxed thread
- Clear and metal ruler
- Scissors (Make sure it is sharp and strong)
- Stitching chisel
- Rotary Punch
- Double-sided tape
- Leather needles
- Binder clips (You can use pins or thumbtacks if you don’t have binder clips in handy)
- Quartz slab
- Poundo board
The Typical Three Strand Braid

The first type of leather that we have is leather braids. It is one of the easiest leather braids to work with. The process is very similar to braiding hair. The following will talk about the process of how you can do the three-strand braid.
Cutting the Leather Strip You Need for the Braid
First, you would need to cut a one-inch wide leather strip. Make sure you determine the length of braid that you need and add about ⅓ more than the material before cutting the leather. The reason for this is the process of braiding will shorten the material over time. When you cut extra leather, it will give you a proper length when you’re finished.
The best length to cut is about nine to ten inches. Cut two parallel slices down the middle strip that you have and make sure not to cut the ends. You should have three equal parts at this point, and the spacing should be about ⅓ inches from each other. Stop the slices at ¾ inch from vertical ends, as this will leave the strips intact and remain as a single piece.
When you decide on making your cuts with a blade and not scissors, you need to make sure there is a piece of cardboard, wood, or other protective board on the surface that you are putting on.
Start the Braiding Process
Now, you have what you need, and it’s time to get started on the process. First, grab the lower end of the strip and bring it up toward you. Then, strand one should be passed between strands two and three. After that, pull the end of the strip down from the other side and return it to the first position you have.
When you loop the strips through strands two and three, it will bend it and make the individual strips twisted and easier to braid. When all of this is done correctly, the strip of your leather should have a kink throughout the middle, and it shouldn’t lie flat. You should be able to see through the slits you’ve made earlier.
In this process, you can use a binder clip at the top of the leather strip so that it will be held in place. Pass the strand one over strand two, starting at the top of the leather strip. Then, insert strand one into the slit between two and three. If done correctly, strand one should be rested behind three.
The next step would be to pass strand two over three. The gap should be visible between strands two and three at the bottom of the braid. Next, bring the lower end of the strip up and toward you, just like what you did before. After that, loop strand one through the gap between two and three, then pull it back down.
Now, all you need to do is repeat the steps above for braiding each individual strand. Make sure you pass the lower end of the strip through strands two and three, which will complete the braiding cycle. When braiding a nine-inch by three-inch leather strip, it would be completed after two cycles.
The Beautiful Leather Strand Braid

The leather strand braid is almost the same as the three-strand braid. However, the only difference is that both ends of the strip are closed. This type of leather is a fun way to braid your leather, especially when creating small accessories such as bracelets.
Starting the Braiding Process
You need to start by cutting three strands out of a strip of leather, just like what you did with the three-strand braid. The only difference is to leave them connected on both ends of the strip. When using thick or stiff leather, it is best to punch a hole at the beginning of each cut. Doing this will help during the crossover process, which makes everything run smoothly.
Next, take your strands and braid. First, pull the center of the right-hand strip over the center under the left-hand strip all the way to the left side. Now, you will be creating the beginning of the braid. Due to the fact that the bottom of the strands are connected and crossed, make sure that you untangle them.
To do the untangling process, you would have to grab the bottom right-hand corner of the leather and fold it up. Then, thread it between the two strands that are farthest to the right. Next, pull the farthest to the right strand all the way through and twist it. When doing this, you will have the grain facing up again, and it may be a bit messy to look at since it contains a lot of twists. There’s no need to worry because that’s how it should look.
The following process is to fold the bottom right corner of the leather up again. Pass through the space between the far left and center of the strand. Again no need to worry if you will end up with something that looks messy.
When working from the top-down, untwist each strand with your fingers so that it will lay flat. At this point, it will start to look like a braid, and all you need to do is restart the process that’s mentioned above to complete the braid. Now, the last braid can be tricky, and there won’t be enough room to weave the strands. It may take some time to finish the previous steps, but you can do it with practice!
The Round Four-Strand Braid
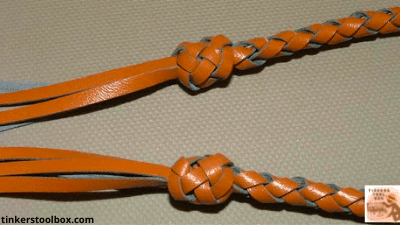
When it comes to the four-strand braid, it has a really nice effect. It is distinctly different from the traditional leather braid. This type of braid is good to use in places where you will be able to see both sides of the braid and looks good from any angle.
The Preparation of the Braid
Just like the first two braids, you start by cutting your strips. The only difference is you will cut four separate strands in this type of braid. Remember that you are using four strands, and they will be thicker than the other braids. Make sure that you cut the width slightly thinner than before and tie the top ends of the strands.
In this process, I’ll be referring to the strands as one, two, three, and four from left to right. Now, tying the ends to a keychain ring and putting the ring under the leg of a chair will help while working with many strands. Doing this will keep the strands secure, and you can focus your attention on the process.
For you to keep track of each strand, try practicing with a colored yarn first. When practicing, you can tie off different colored strings of yarn to the end of each strand. Also, you won’t be risking ruining the leather if you practice with yarn first.
The Braiding Process
Since you know the basic things, it is time for the braiding process. First, take strand four and move them to the leftover both two and three. The strand should be over one, four, two, and three from your left to right. Then, pass the strand two over strand four, moving left, and the new order would be one, two, four, and three.
When you are done with that, move strand one to the right so that it passes over both strands two and four so the new order would be two, four, one, and three. Next is to cross strand four to the right so that it passes over strand one, so the new order should be two, one, four, and three.
If everything is done correctly, strand four and one should be in the middle, strand two should be on the far left side, and strand three should be on the far right. Take strand two and one to your left and strand four as well as three to your right. Pull the two strands each away from each other to tighten the braid.
After that, pass strand three to the leftover strand four and one. The new order of the braid should be two, three, one, and four. Then, move strand one left so that it passes over strand three, so the new order should be two, one, three, and four. Next, cross strand two to the right over strands one and three. So the new arrangement should be one, three, two, and four.
Next, get a strand and pass it to the right over strand two. So, the new order from right to left should be one, two, three, and four. This would then finish your first cycle of the process. Always remember to make sure to tighten the braids after each cycle. It will help your braid be intact and won’t come apart while you are doing the process.
Lastly, repeat the steps until you’ve used the desired amount of leather. Now, the entire process can be challenging, so you need to try the braid out with a shorter length of leather first. When you are done with the entire braid, tie the end of the braid and the remaining loose strands to another keychain.
Doing this process makes it easy to adjoin the opposite ends to make your bracelet or necklace.
The Flat Four Strand Braid

The flat four-strand braid looks a bit more like weaving as you add more strands to the leather braid. You can create wide strips with beautiful and different interesting patterns. The flat four-strand braid can be used in different leather projects such as straps, belts, etc. It has gaps in the middle of the braid that can serve as holes for the buckle tongue.
The process of the flat four-strand braid is simple, just like the three-strand braid.
The Braiding Process
The first thing that you need to do is cut four strands of strips across the two center strips right over left. Bring the far left strip over to the center-right strip and cross the far right strip under the center-left strip, then over the far left strip. All you need to do next is continue the process to create the rest of the braid.
Make sure that you will always bring the strand on the left side into the center and always by going over. Next, the strand on the right side into the center should go under then over, which will give you a weave-looking braid that is beautiful and even.
The Best Leather to Use in Braiding
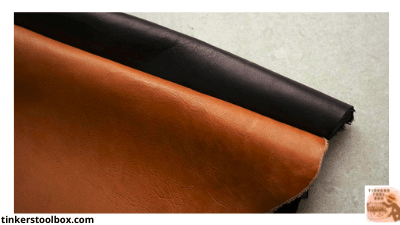
When it comes to braiding, the best leather to use is kangaroo leather because it is lighter, stronger, and more flexible than other types of leather material. Thus, this is why it is the best material to use for braiding. It is also thinner than other goat or cow hides, and they come in chrome-tanned and veg-tanned varieties.
Now, some downsides to using kangaroo leather are it creases easily. It doesn’t usually lead to cracking because of the strength of the collagen fibers on the leather material. Kangaroo leather may not be the smoothest leather out there because there are usually scars present on the material.
It is also not the shiniest leather which makes it the best material to use for accessories. Kangaroo leather also darkens faster than other leather materials. Other leather workers choose to use this type of leather because of its flexibility. It is excellent for making accessories such as belts, bracelets, necklaces, etc.
Finishing Off Your Braids

When finishing off our braids, there are different ways on how you can finish your braids. In order to incorporate a free hanging braid into the project, it is best to finish the end of the braid. This is not only for aesthetic purposes but also so that your braids won’t unravel. Of course, you don’t want your effort to go to waste.
There are different ways on how you can finish off your braids. If you don’t want your braid hanging, you can keep the strands of the braid free at the end or cap the braid, this way you don’t see any loose ends. If you are fine seeing the ends of the lacing, you can just wrap a thread or maybe another piece of lacing around the end of the braid. It would be just like how you would intact your hair braid with a hair tie.
Now, if you prefer to add lacing or a strip of leather, it is best to sew or glue down the ends of the lacing.
A More Professional Looking Braid
If you want a more professional-looking braid, you can add a large piece of leather at the end to make it look more sophisticated and beautiful. You can do this with a two-piece cap when creating the shaped end or a one-piece folded over to create a flat end. To do this, you need to apply glue to individual strands of the braid.
You can also punch holes in them and sew them together and trim the ends for a neat shape. Aside from that, you can cut one or two pieces of leather to form the cap you want to create with your leather braid.
To execute this finish on your leather braid, using one piece of the leather, glue the cap down over the end of your leather braid. It would sandwich the laces and then use one of the punching methods through all three layers. If you want to make a two-piece cap, sew the front edge of the cap first and glue it over the braid. Punch the rest of the holes and sew the cap onto the braid with a saddle stitch.
Conclusion
Knowing the different types of the leather braid will provide you with an infinite of options when it comes to your accessories, whether it is a simple bracelet, necklace, or even belts. As long as you follow the steps I have provided above, you will be good to go with your leather braids.