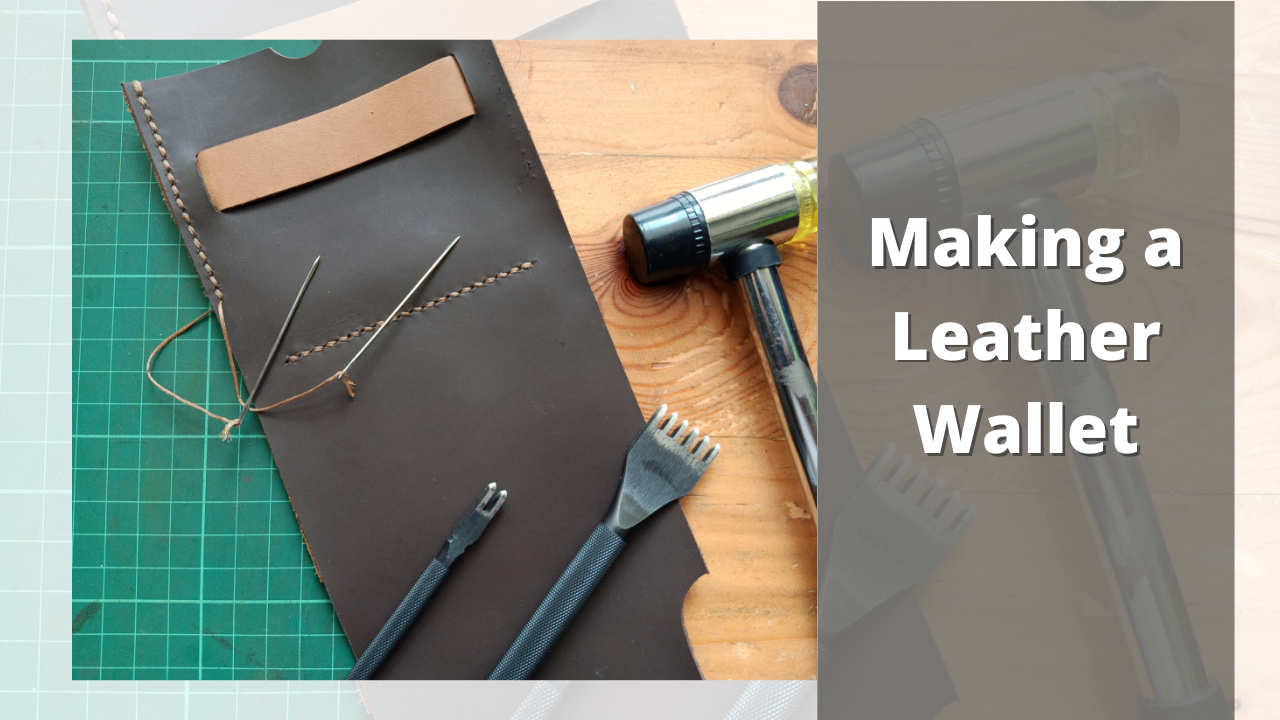
Nothing is manlier than owning a good leather wallet. It makes it great pride to own one, especially when you have the highest quality of leather. However, it comes with a price if you want a top-quality leather wallet. With this said, why not create your own and save a little money but still get the quality wallet that you want and need.
How to make a leather wallet? First, choose your template, then select the leather you want to use. After that, soften the leather, lay the pattern, cut the leather, sand the edges, assemble the pieces, sew and glue the pieces together, and make your final touches.
Know precisely what you need to do to get the leather wallet that you need. This article will talk about the step-by-step process of creating a leather wallet and the materials and tools that you will need. I will also talk about what leather material is best to use for wallets and how you can maintain them so that they can last for years.
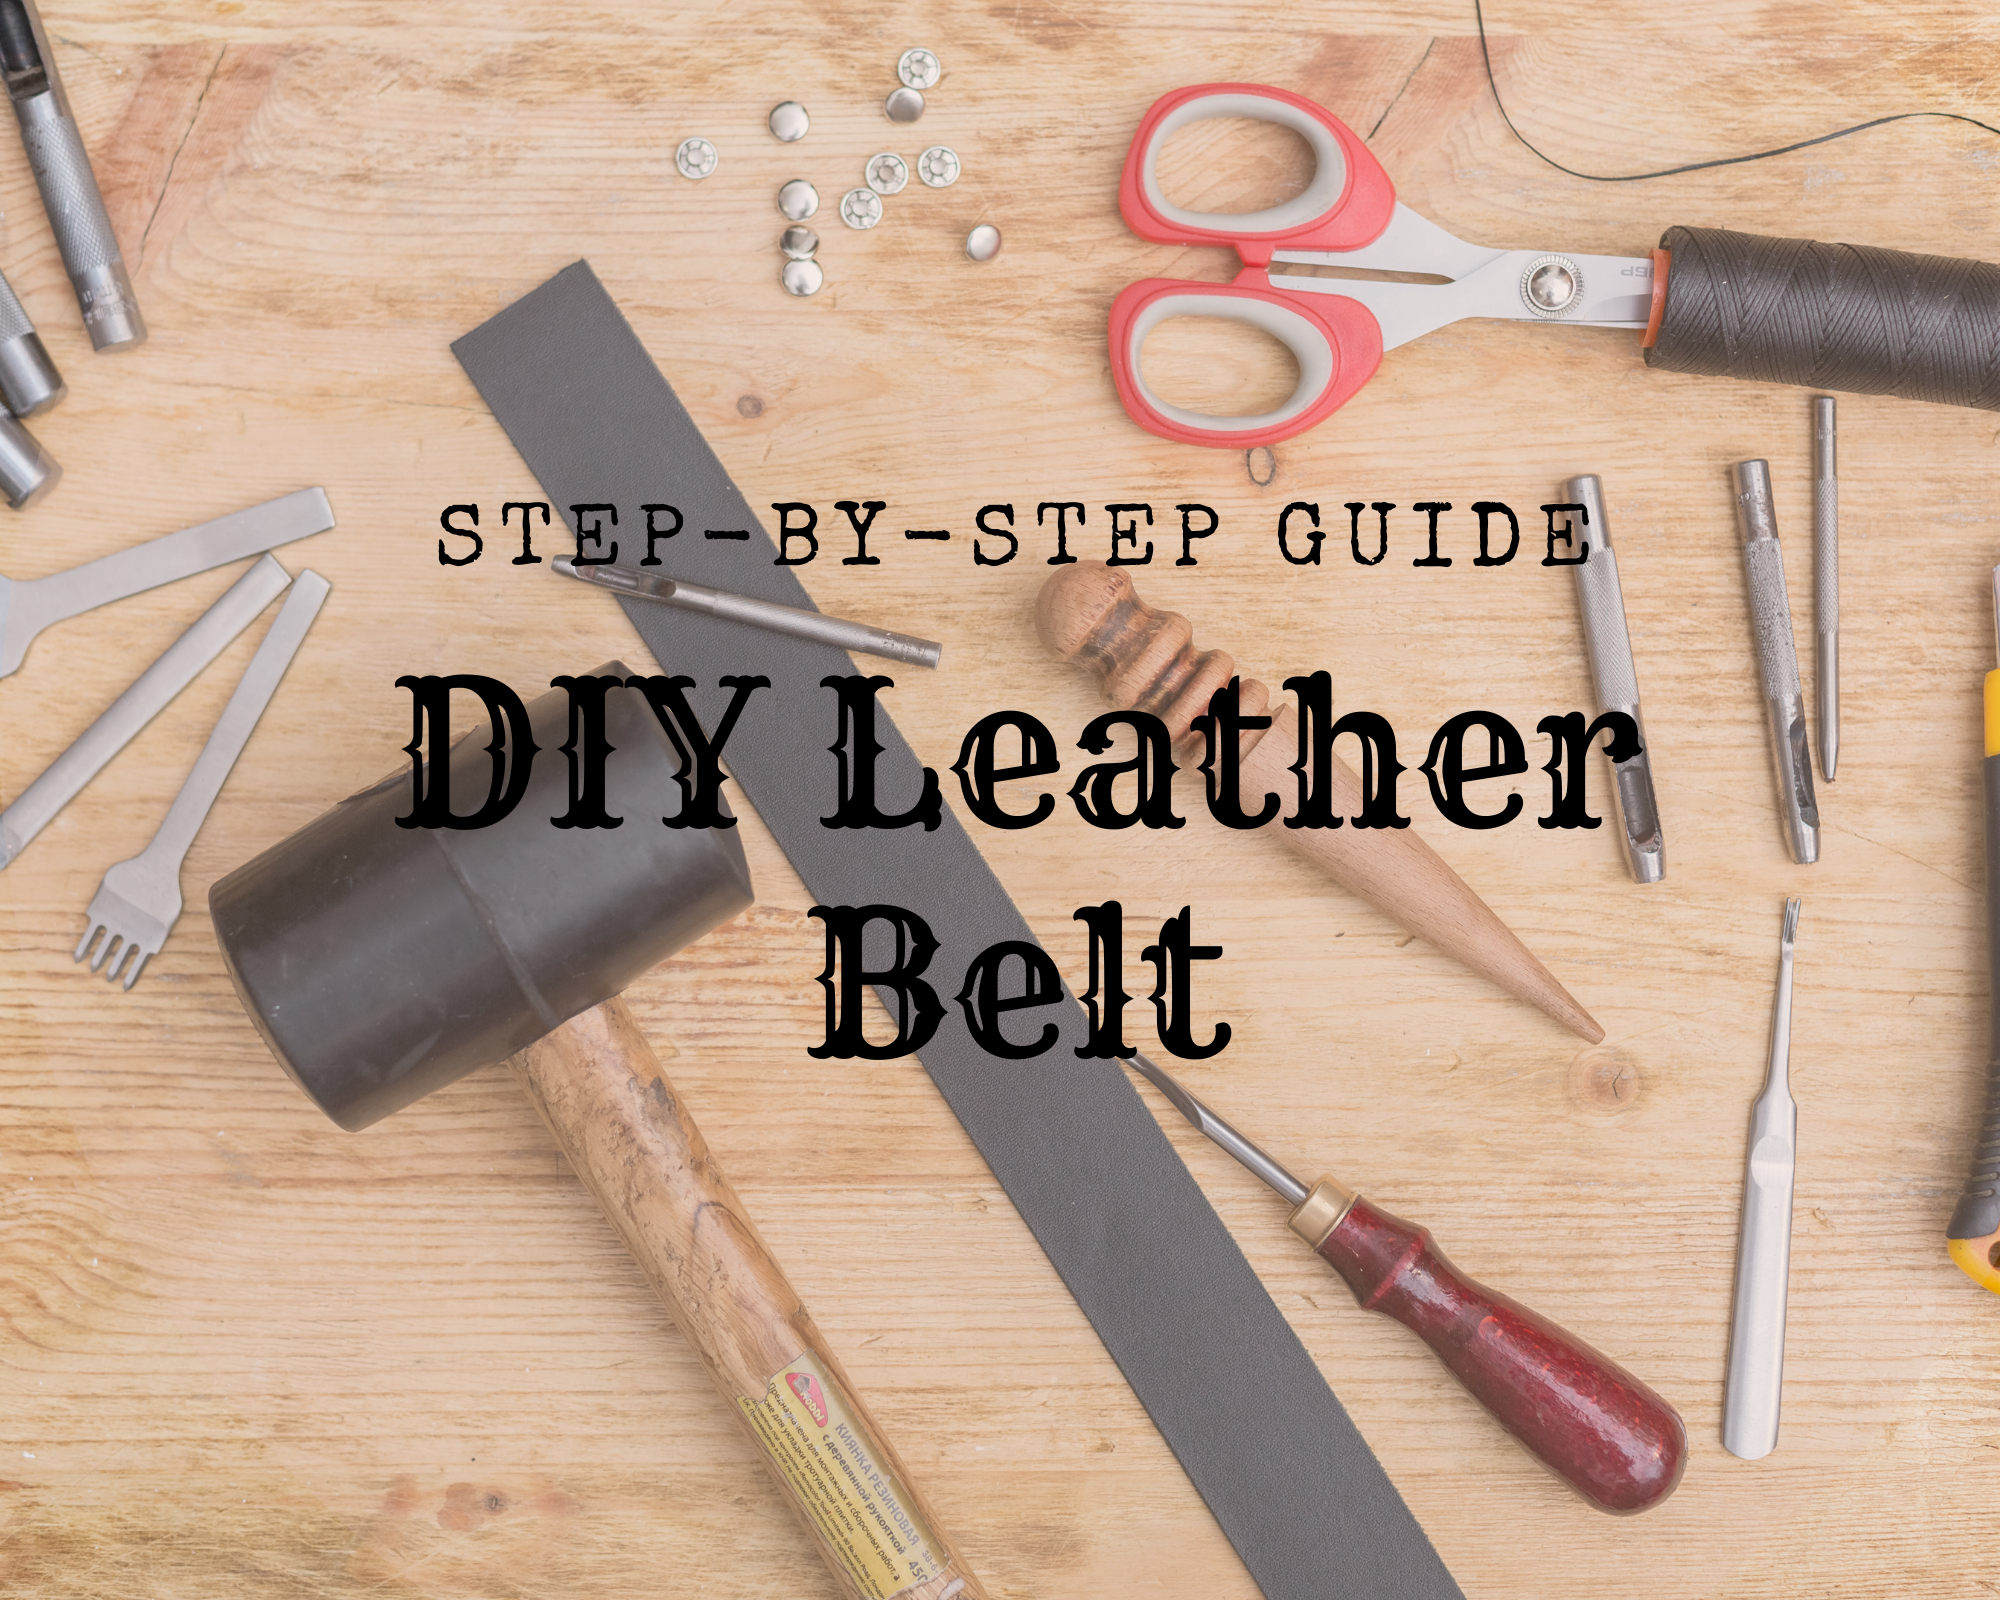
Tools You’ll Need for the Leather Wallet

- Rotary Blade
- Straight Ruler or T-square
- X-acto or sharp knife
- Stitching chisel
- Awl (If not available, you can use something similar to an ice pick)
- Leather groover
- Medium grit sandpaper (200 to 400)
The Best Leather to Use
Choosing the right leather to use for your wallet is an essential factor when you are doing this project. Leather provides beauty, durability, and overall longevity. There are many types of leather, and it can get overwhelming to choose the right one for your leather wallet. In the following section, I will talk about the leather that you can use.
Genuine Leather for Your Wallet
Genuine leather can be split or bonded. Split is the lower level of cowhide, and it is sheared off the top grain. Whereas bonded is made from scraps of leather that are glued together to make a whole piece. When it comes to your wallet, the split is a better material to use because of its integrity and quality.
Top Grain Leather for Your Wallet
Top grain leather is one of the best materials to use for a wallet. It is one of the popular choices of leather crafters to use. As mentioned above, split leather is the lower level of hide, where the top grain is the top of the hide or the outermost layer. It is stronger than split-grain since it comes from the hide.
Full Grain Leather for Your Wallet
Full-grain leather usually gets confused with top grain, but they can’t be more different. It comes from the outermost surface of the hide. Full-grain leather is not sanded nor processed. Due to the natural markings on the leather, it provides a more profound beauty and also a good choice for wallets due to its durability and beauty.
Choosing the Perfect Leather for Your Wallet
Now, the texture can be copied the same way as genuine leather. However, when the leather is pressed, it is much harder to duplicate. Genuine leather should compress and wrinkle when you press your fingers on it. Also, real leather will react to the heat in your hands when pressed, while mannery synthetic leather will not.
Fake leather will stay pretty much the same when you hold it. Smelling the leather is also a great way to know if it’s real or not. It is impossible to fake the smell of leather since it comes from animal skin. Now, fake leather will have a chemical or even a plastic smell to it. If you are unsure what authentic leather smells like, you should go to a store that sells real leather and start smelling.
Once you know the smell of authentic leather, you will remember it later, and it can be a huge help when you are choosing your leather material for your wallet. Leather is one of the most memorable scents there is in the world.
Other Materials You Will Need
- Contact cement (gluing the ends of the leather)
- Bone folder (folding the ends of the leather)
- Neatsfoot oil (softening the leather)
- Glycerine soap bar (burnishing the edges of the leather)
- Gum tragacanth (burnishing the wallet)
- Pure Beeswax (final step to burnishing)
- Leather Conditioner (Leather Honey Leather Conditioner)
Instructions on How to Make Your Leather Wallet
The following sections will talk about the step-by-step instructions on how you can create your leather wallet. Make sure you have your tools and materials ready before moving to the instruction phase of this article.
Step 1: Choose Your Template
The first step that you should do is to choose your template, which you can print out yourself or buy in craft supply stores. If you don’t have the budget to buy the templates, it is best to find one online that is free of charge. There are three different wallet patterns that you can choose from such as bi-fold wallet, a tri-fold wallet, and a vertical western wallet.
Make sure to choose the best pattern you like to make and either purchase the template or print it out yourself.
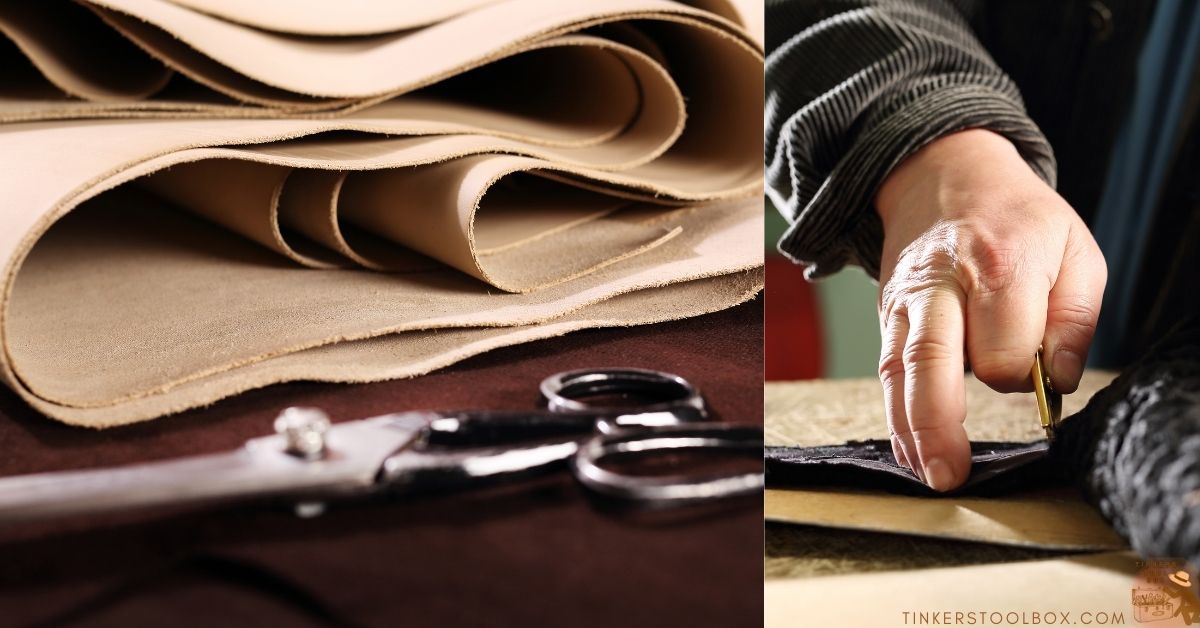
Step 2: Choose the Leather

Choosing flexible leather yet durable is important. I’ve mentioned some of the leather materials that you can use above. You should select a piece of leather that is thick enough to be strong and durable. It should also be thin enough to fold in half easily. However, you should avoid light, thin, or flimsy leather types because there is a huge chance of a leak.
Step 3: Soften The Leather
Once you have chosen the leather, you want to use it, and the next step is to soften the leather. Using leather conditioning oil such as the Leather Honey Leather Conditioner is one way to soften the leather. You can pour about one tsp to five mL of leather conditioner on the leather. You can purchase the Leather Honey Leather Conditioner online, which is available in eight and 16 ounces.
Make sure to distribute the oil evenly, and the leather fully absorbs it. Repeat the application as many times as possible until you reach the desired sheen and suppleness of the leather. You also need to ensure not to apply the leather conditioner on the wrong side. The wrong side would be the back or inner part of the leather.
If you don’t have a leather conditioner on hand, you can use water to soften the leather parts that you have. Softening the leather will make the parts fold easily, but there’s no need to worry if the leather is a little tough.
Step 4: Lay The Pattern
Now, you want to place the pattern on top of the leather and make sure that the pattern pieces are not overlapping each other. While you are cutting, you need to keep them in place but don’t insert pins through the leather since it can damage it. Instead, you can put one or more weight on top of the pattern pieces to keep them in place.
Depending on the pattern, you will have four to six leather pieces when you are done cutting the leather.
Step 5: Cut The Leather
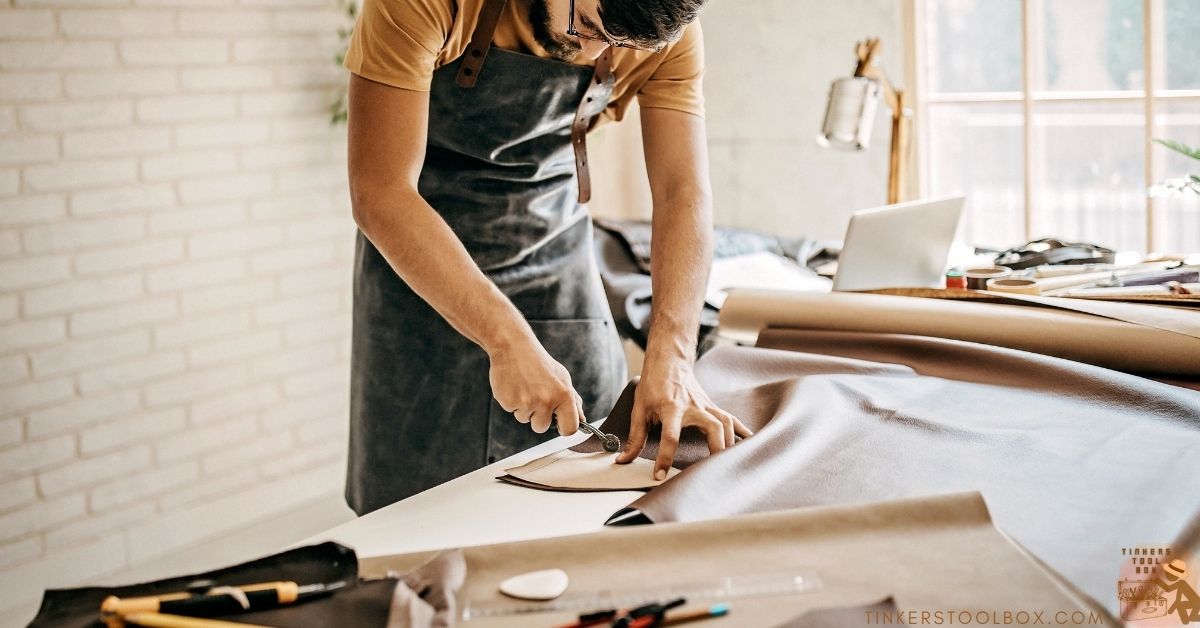
Trim along the edges of your wallet pieces so that you can angle them properly. To do this, you would need to use a leather groover in order to bevel the edges. If you don’t have one, a rotary cutter will be your best bet. Make sure to keep a 45-degree angle while doing this step.
Do this around the edges of the wallet. Now, angling the edges is unnecessary, but it will add an attractive-looking wallet that you want. If you’re going to purchase a leather groover, you can buy one online and in the craft supply store.
Step 6: Sanding the Edges of the Wallet
To smooth out the edges, sand the edges of the wallet pieces in one direction. If you notice rough patches along the edges, make sure to use sandpaper to smooth it out. Rub the sandpaper along the edges until you reach the smoothness that you want. Medium grit will ensure you do not fray the edges more.
Before applying this step to your wallet pieces, make sure to practice on a scrap piece of leather first, which will avoid damaging your pattern pieces.
Step 7: Time to Assemble
Get ready to assemble! Glue the smaller inner piece into the large inner piece. The best glue that you can use is the Tandy Leather Eco-Flo Leather Weld adhesive. The inner pieces I’ve mentioned before are for your cardholders. The larger outer portion that connects with the large inner part will form the pocket for your cash.
When the glue is applied, make sure to press on the pieces together and glue the right side of one of the larger pieces as well. Note that the wrong sides of both pieces should be facing each other when you are assembling them.
Step 8: Apply Glue to The Edges
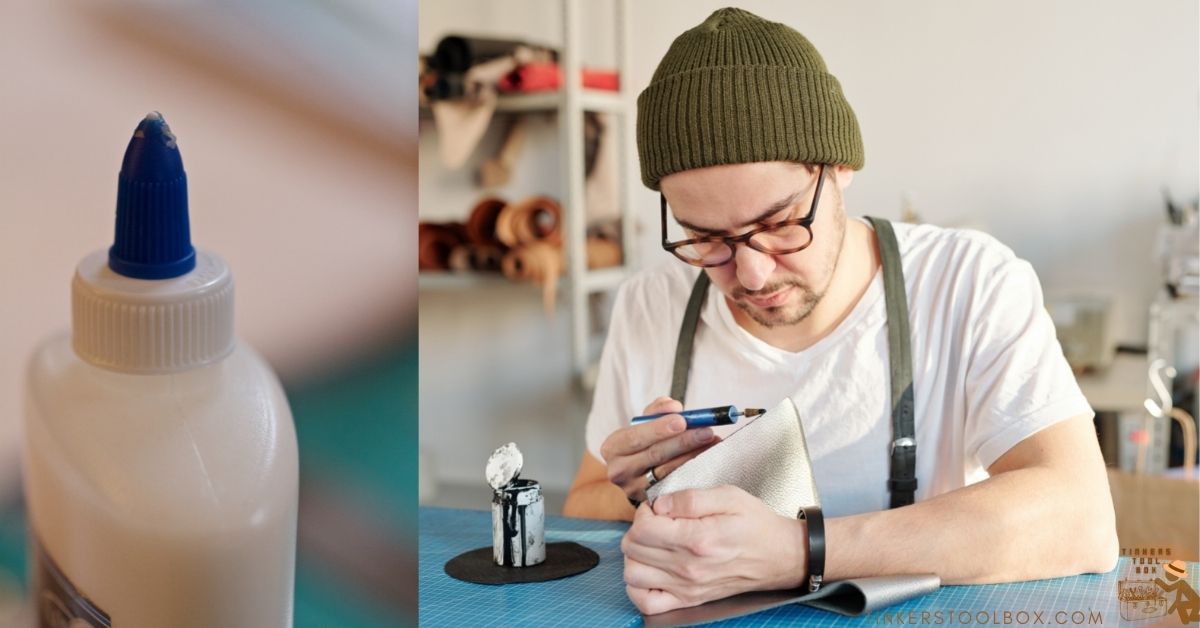
Using the glue that I have mentioned in step nine, apply it around the inner pieces’ edges. Squeeze the glue onto the backside of the inner pieces and press them onto the larger inner piece. The smaller inner pieces are about 0.5 in from the edges of the large piece.
You will have three or more pieces or have one piece to glue into place, depending on the pattern. Now, the drying process may take up to eight hours but waiting up to 24 hours will be better for the complete drying process.
Step 9: Score the Edges
Next, you would need to score the edges of the inner and outer pattern pieces. The marks will guide you as you sew the wallet together. When the glue is dry, you can use a scoring tool to press it evenly together. There should be space marks in the bottom and sides of your inner pattern pieces. Make sure to space the marks by 0.15 inches or 0.38 cm.
Position them, so they are about 0.25 in or 0.64cm from the edges. You may need a mallet to make the score marks on your pieces, depending on the toughness of leather that you chose. Press the scoring tool into the leather, then hit the top of the tool once or twice with a mallet.
Step 10: Sew The Leather
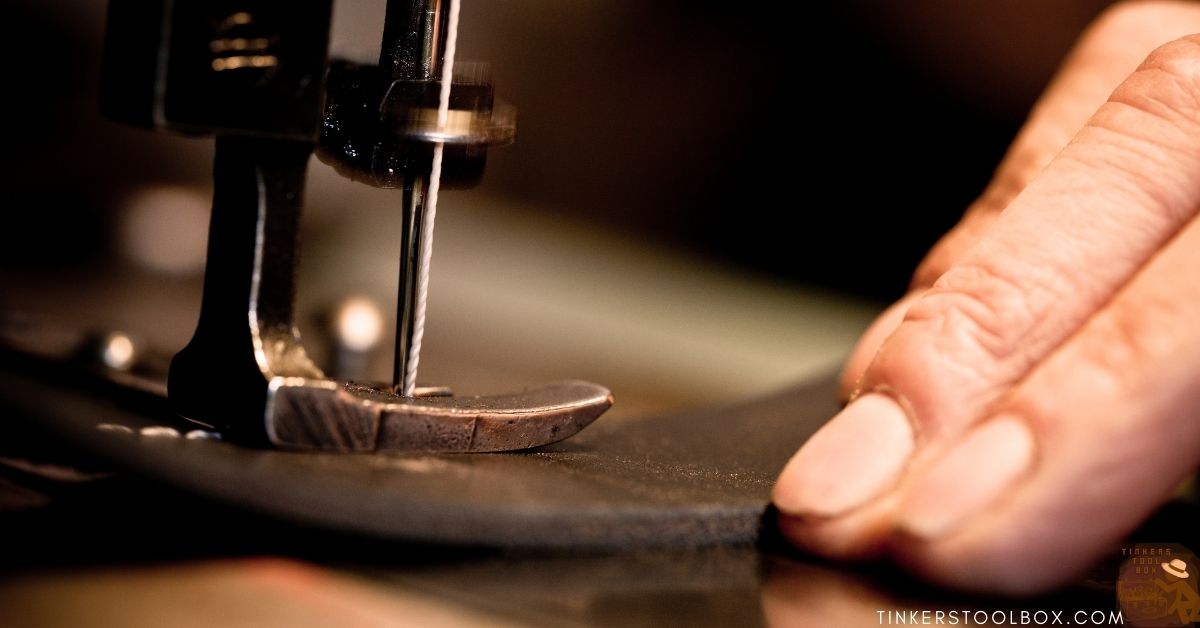
Next step is to sew the leather through the edges of the inner pieces and insert the needle on the first score mark that you have made. Bring all the through layers of leather and out on the other side. After that, insert the needle back through the leather and out through the second score mark.
Continue to sew in and out until you have reached the end of the first inner wallet piece. Repeat the same process for the second inner wallet piece. If you are having trouble getting the thread to glide, make sure to lubricate it with a bit of wax. You can rub the thread against the side of a candle if you don’t have wax available.
Step 11: Sew Front and Back Pieces Together
Here you would thread a needle with an 18in or 46cm strand of thread. Then, tie a knot in the end and use the threaded needle to hand sew along the wallet body’s edges. Use the score marks that you have done on step nine as your guide for stitching. Make sure to sew the opening of the wallet closed. Sew along the sides and bottom edge of the wallet to put the front and back pieces together.
Step 12: Final Step to Your Wallet
For the last step, tie off the last stitch and cut the thread. Once you are finished sewing around the edges of the large wallet pieces, sew the last stitch two more times. When you are done with the second stitch, insert the needle through one layer of leather, so the end of the thread comes out on the inside of the wallet.
Tie the thread in a knot as close to the leather as possible. Then, cut excess thread about 0.25 in or 0.64cm from the knot. Now, you finally have the leather wallet that you can use every day!
Caring for Your Leather Wallet
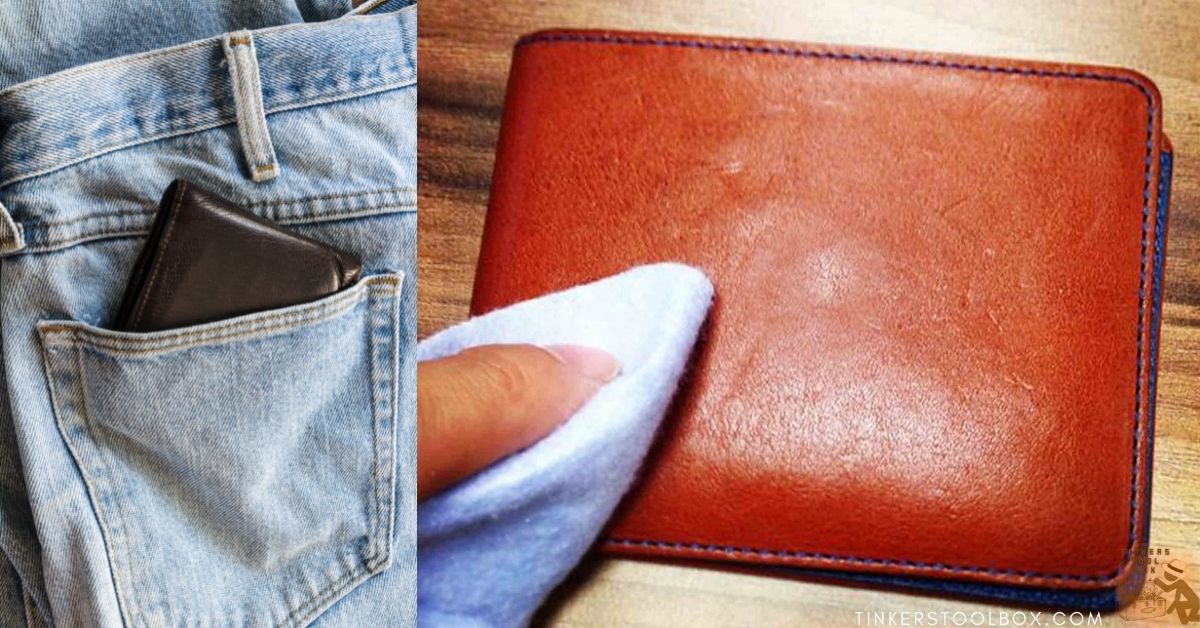
Now, just like cleaning your home, it is best to clean your wallet as well. Maintenance is the key when it comes to leather wallets. Over-stuffing your wallet can ruin the form. So avoid your wallet becoming fat by stuffing it with receipts and business cards that you don’t need. Make sure to go through your wallet once in a while and remove the things you don’t need, such as old receipts, expired coupons, outdated business cards, and other junk.
Also, make sure not to sit on your wallet. Not only is it bad for your wallet but also for you. When your wallet is placed in your back pocket, it is directly placed between your hip joint and sciatic nerve. It can cause pinching of the sciatic nerve, and eventually, you will experience back and hip pain. It can also compromise the grain of the leather and will become distorted over time.
Make sure your wallet doesn’t get wet. If it does, always blot it dry with a soft towel and allow it to air dry in a closed position. Don’t leave it open to dry since it may lose its shape. Also, don’t apply heat and ensure to dry the leather wallet promptly. The moisture that may build up on your wallet can cause mold or mildew.
Avoid placing your wallet in direct sunlight because it can fade. Also, make sure to clean it at least twice a year. As long as you make a high-quality leather wallet, it can last for years with the proper maintenance.
Cleaning Your Wallet to Look Its Best
Keep your wallet looking at its best by wiping it weekly with a damp cloth. This would remove any dirt, dust, lint, or stickiness that is present on your leather wallet. Some wallets may require more serious cleaning than others. Make sure to use a suitable leather cleaner, especially for cowhide materials. You can also use baking soda or cornstarch if you are unable to buy a leather cleaner.
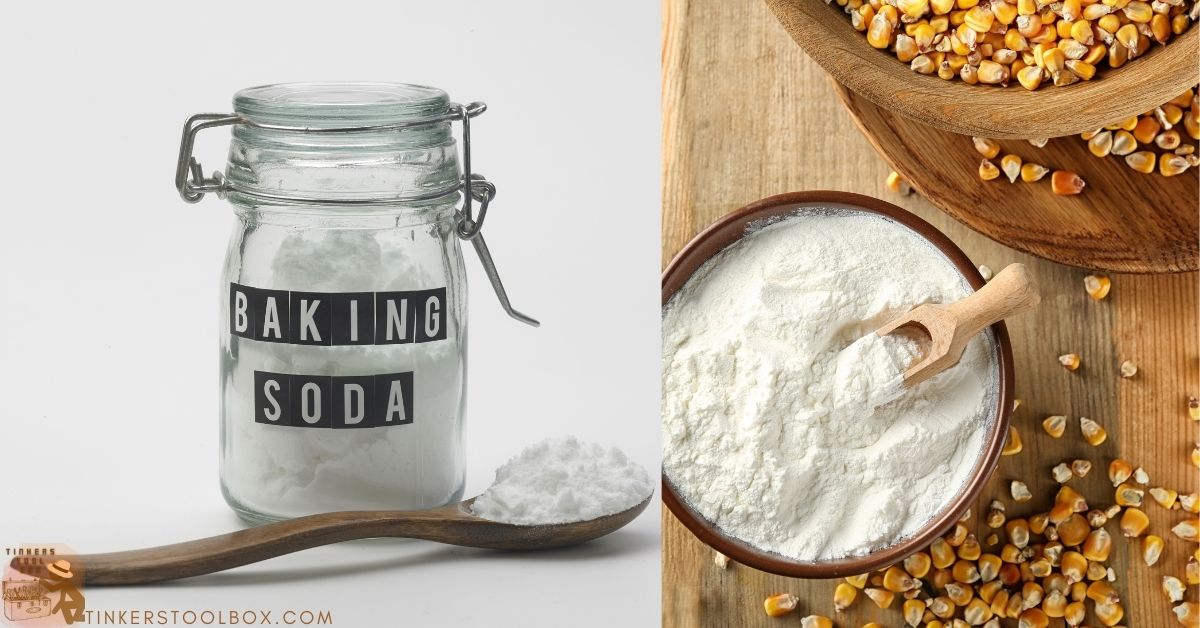
Rub the baking soda or cornstarch gently with a damp cloth and let it sit overnight. Aside from that, you can also take equal parts of lemon juice and cream of tartar together, then let it sit on your leather wallet for about 30 minutes. Then, use a damp cloth to remove the paste.
Before applying the materials that are mentioned above, make sure to test them on a small section of your wallet first to ensure that you don’t ruin the rest of your wallet. Check your cleaning cloth for any color rub-off and check the spot for fading or discoloration when you are applying your leather cleaner.
Condition Your Leather Wallet

Conditioning your wallet will remove any dirt and grime, which can also strip natural oils. Now, moisture can’t be replaced the way it can with healthy skin. Having said this, it is important to follow up on your leather cleaner. A good leather conditioner will replace the critical moisture that keeps your best wallet supple.
Just like the leather cleaner, you want to test it on a small portion of your wallet first. Soak for about five minutes and gently buff it away with a clean and dry cloth.
Conclusion
Making your own leather wallet is not as difficult as it may seem. All you need to do is follow the steps I’ve provided above. Also, taking care of your wallet is one of the most important things you need to note when you own a leather wallet. It will guarantee the life of your leather wallet for years to come. Instead of going out this COVID-19 pandemic, you can create your own leather wallet for your daily needs. Have fun crafting!