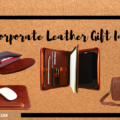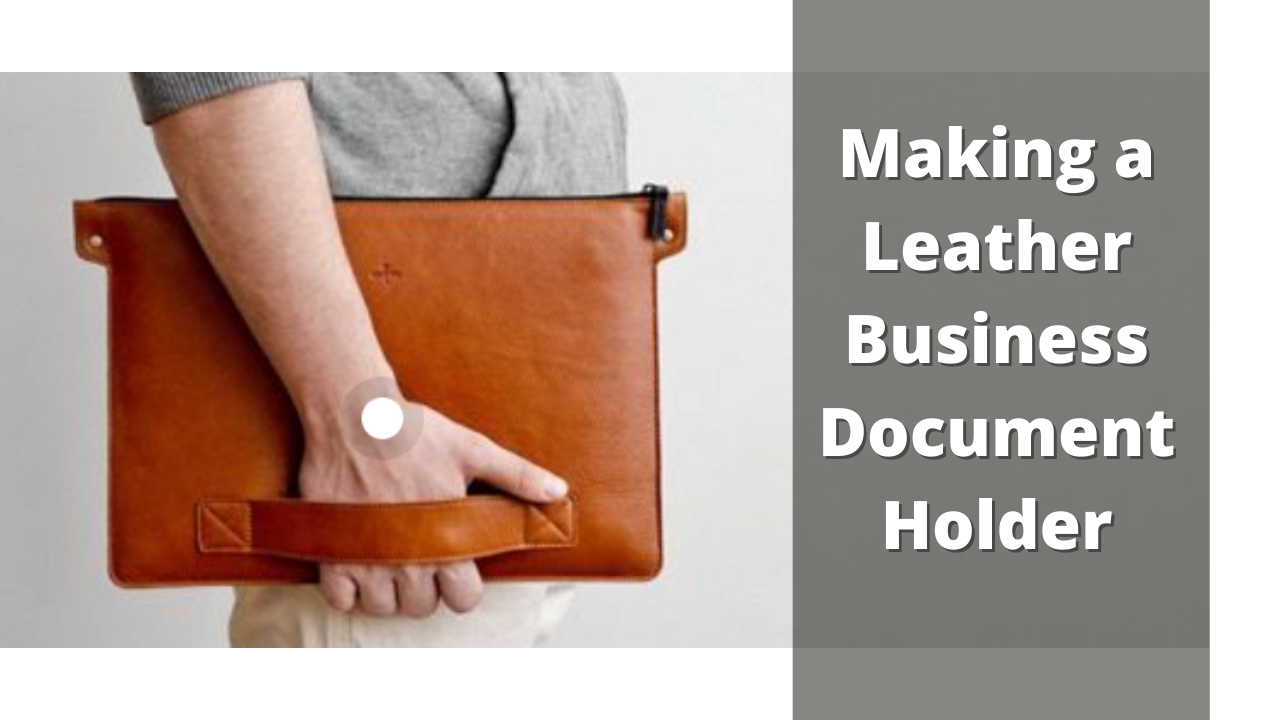
A leather document holder is a compact type of big wallet designed to hold business permits, business cards, or even business IDs. Some designs also feature a small pocket to store cash securely. Leather document holders are meant to protect cards while letting them combine their valuables and quickly move them into bags or carry them in a pocket.
How to make a leather business document holder? In making a leather document holder, you must first prepare all the materials and tools needed. Then, cut the desired rectangular shape and sew or stitch it within a rectangle pouch. Lastly, attach a zipper to keep all your documents safe inside.
Style is multifaceted and is constantly growing and examining the boundaries of elegance with innovative materials and forms. Style is also great artistry. This article will talk about the easiest way to bring your documents fashionably. I will also give tips on making leatherwork easier and help you budget the money in making the leather document holder.
Easy Steps to Keep your Documents Safe
Your home is full of relevant things, but one domain that tends to get missed when it comes to home protection is storing important documents. When keeping your records in a safe, you’ll want to guard them against any wear and tear, sunlight, or unexpected spills. One technique to do this is placing it on a document holder and making it leather for a much professional look.
Tools Needed to Make the Leather Business Document
Round Knife
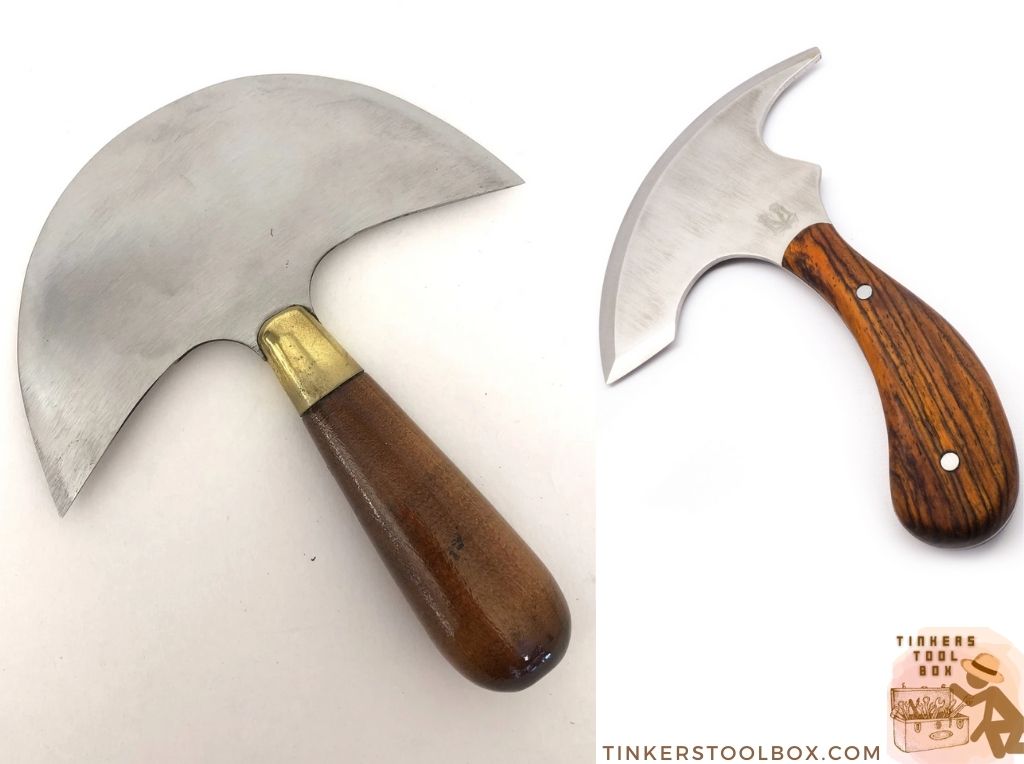
A round knife is a great tool to have because it is the iconic leather working tool. After all, it is versatile when cutting, and it is also capable of skiving. It will take time to achieve the skill using a round knife because it requires a good amount of sharpening. The estimated price for a round knife is $80.
Rotary Cutter
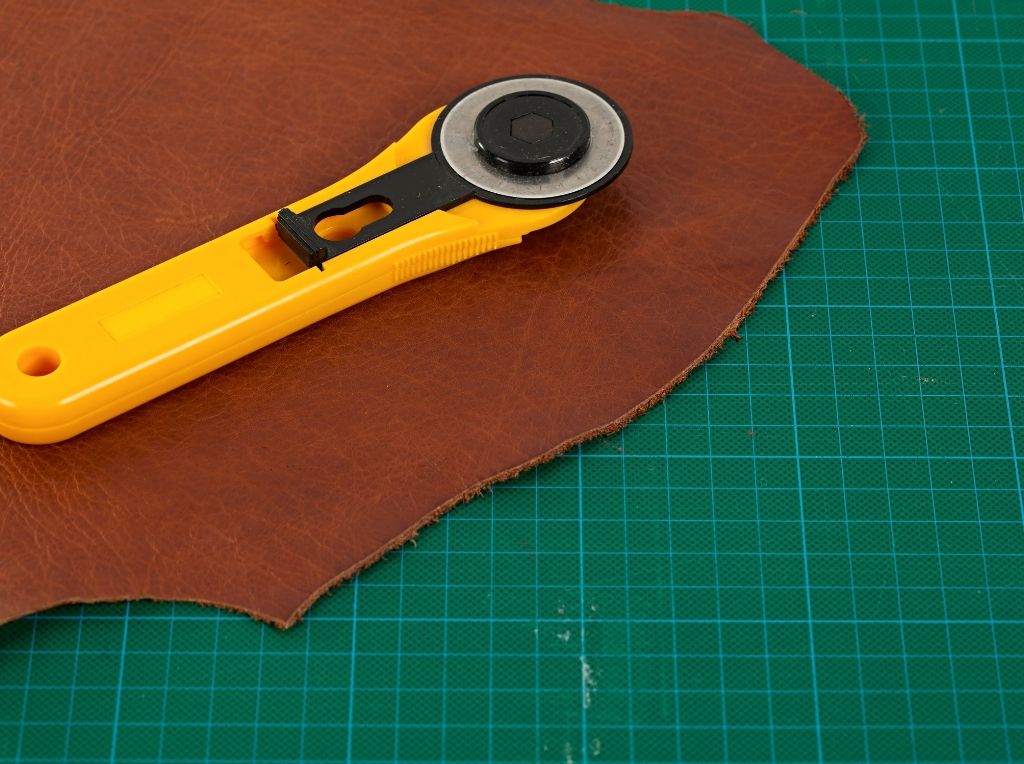
A rotary cutter lacks versatility, but the advantage of this tool is, it is effortless to learn. It is also affordable, and it never requires skill in sharpening. A rotary sharpener can easily sharpen the blades in a rotary cutter, and it is simple to use. A rotary cutter is also cheap and replaceable. The estimated price for a rotary cutter is $10.
Edge Beveler
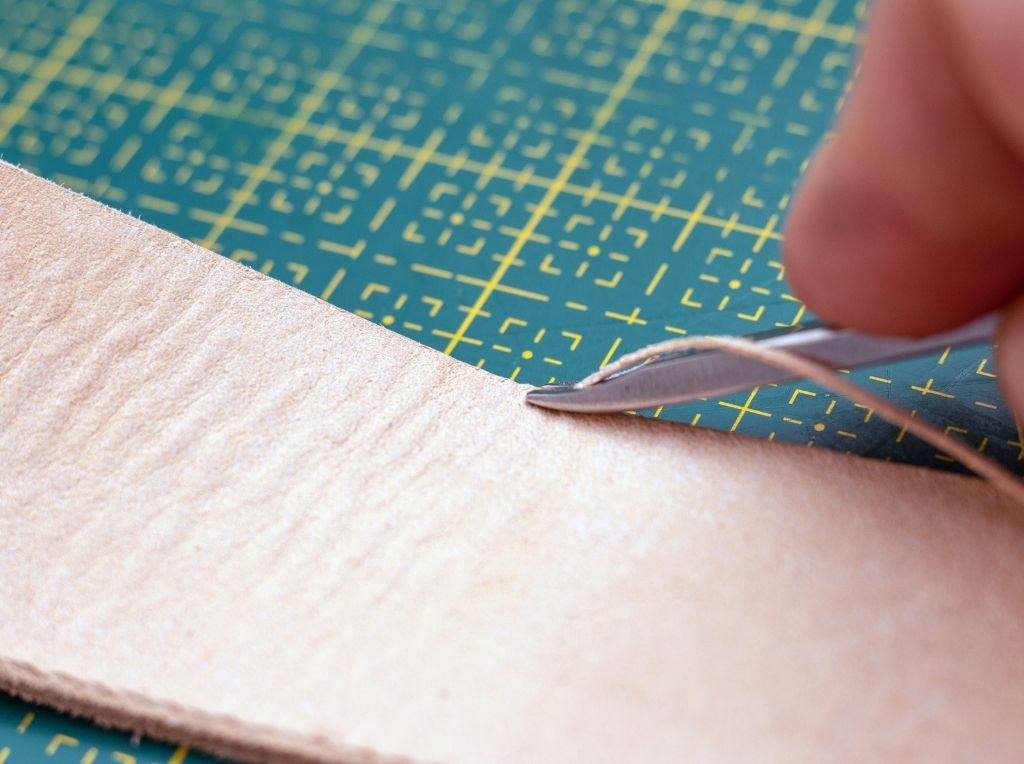
An edge bevelers has a hone notch used to exclude part of the edges of the leather, helping to curve them out. Commonly, an edge beveler is for thicker leathers. Having edges fold-over is a typical problem when edge bevelers aren’t used. An edge beveler comes in a range of different sizes to form cuts at different angles. Still, there’s no pressure to get more than one size when you’re still starting. The estimated price for an edge beveler is $15.
Groover
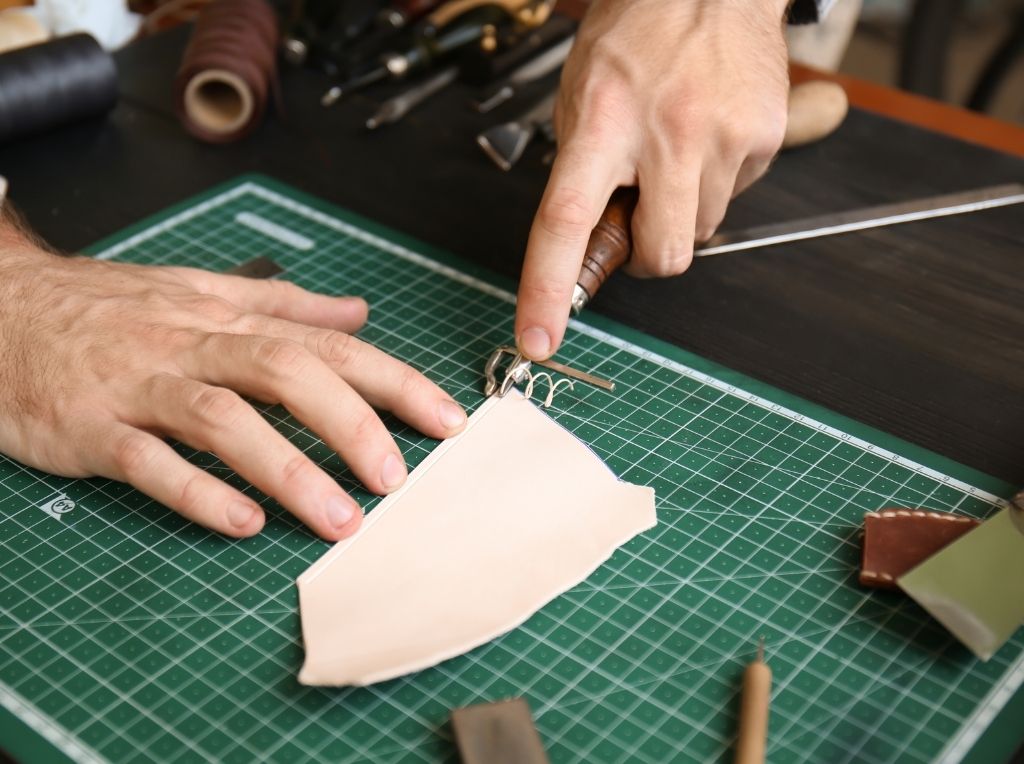
A groover creates a line that serves as a guide when punching holes with a chisel. By cutting a tiny portion out of the leather, the stitching no longer remains fastened up from the leather and receives less interference in regular use.
Grooves can also be cut more profoundly, creating a channel in which stitching can stay set. Since the last stitched will rest within the track, they will be less sensitive to abrasions and tearing below the leather cover. One can also place channels where they desire to form a fold line in the leather material. Or make notches into leather for decorative ideas. Groovers are commonly available as stitching or scratch groovers, each with its potential interests.
If handling the groover on the right, be specific in having a small screwdriver adjust the groove’s distance. The groover on the left has identical parts and works as a creaser, creating decorative lines. You can get a groover for an estimated price of $25.
Diamond Chisel
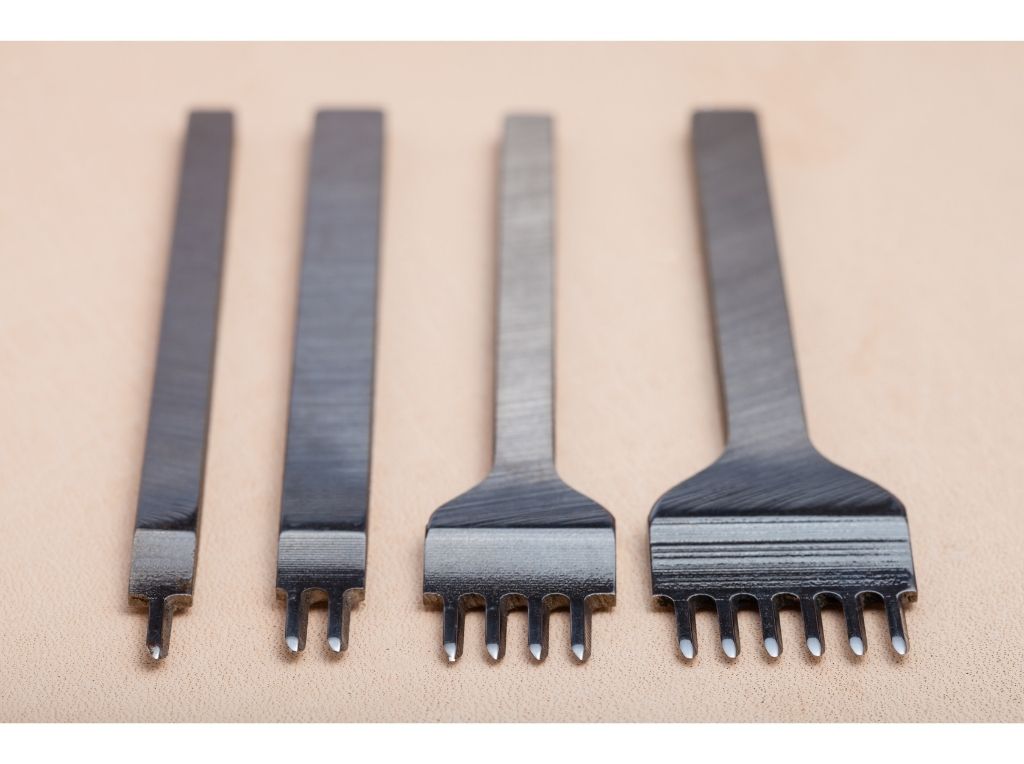
Diamond chisels are made to punch the stitching holes made by a groover all the way through the leather. It is not similar to pricking iron, so don’t be confused. You can also use an awl for a much easier way to open or widen up the holes. A diamond chisel comes in a range of hole sizes and widths. It will only cost you an estimated price of $55 and is cheaper than you think it is because it is made to be replaced often.
Stitching Awl
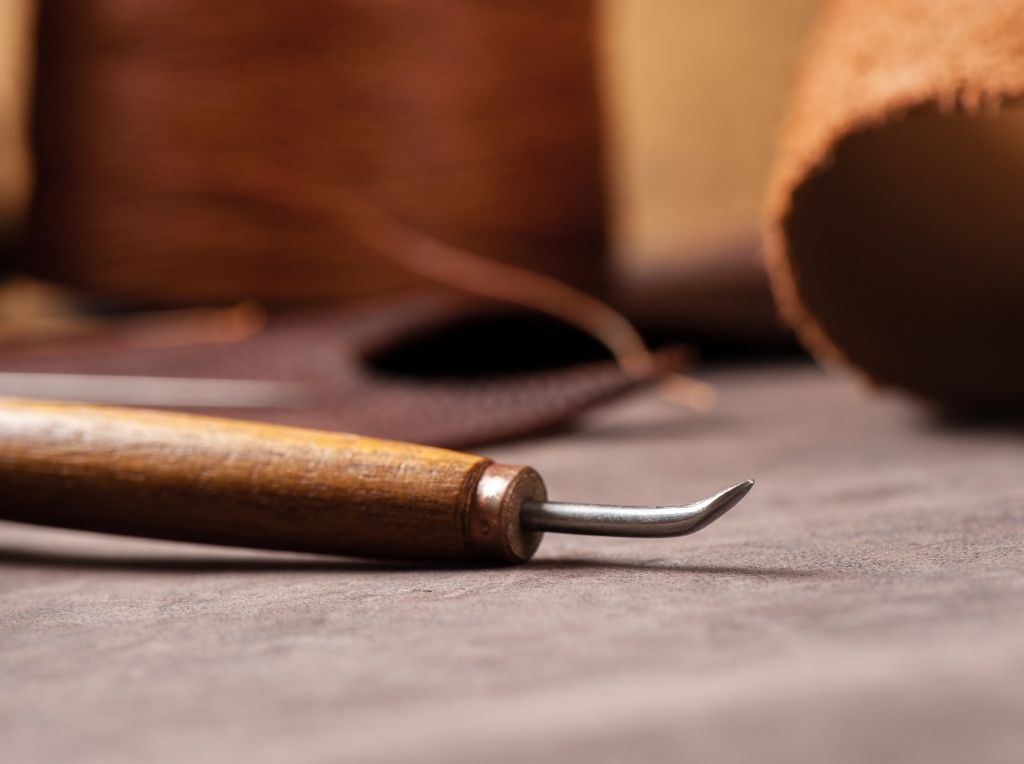
The stitching awl has a razor that gets more extensive as it approaches the base. The more the blade is pressed against into the leather, the larger the hole gets – making it effortless to adjust the dimension of a too-small hole for the stitching. Using a pricking iron, which only indicates the leather, an awl is used while stitching to create each hole. The estimated price for a stitching awl is $20.
Edge Burnisher
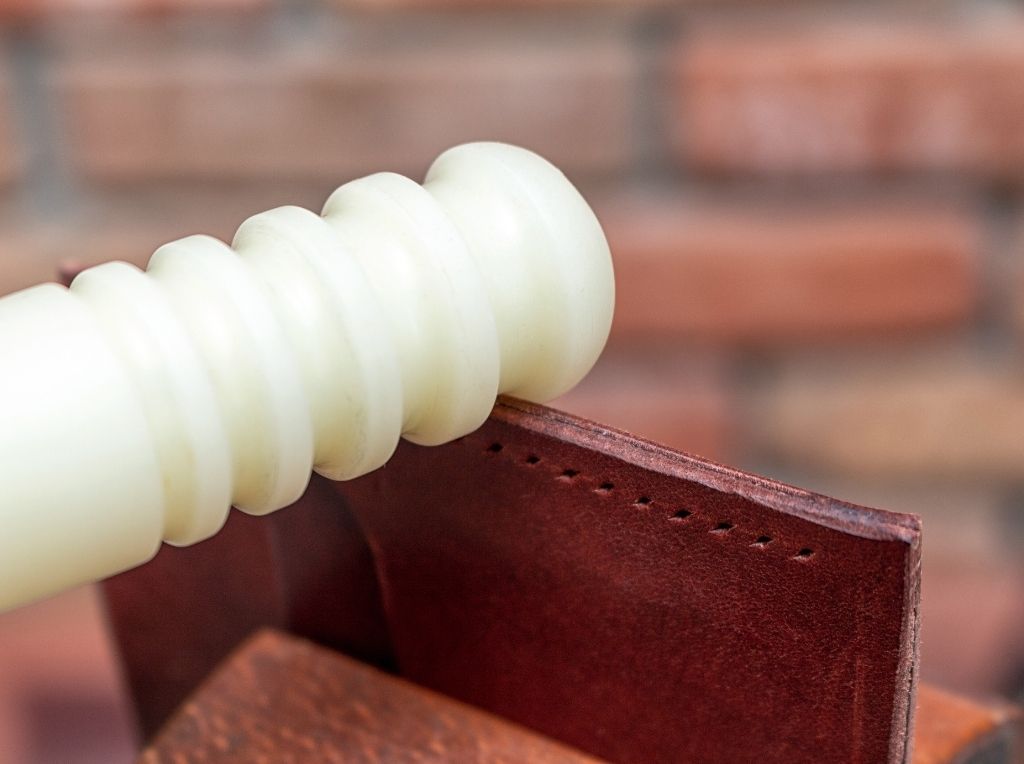
The edge burnisher softens fibers on the leather corner together, producing a smooth surface that won’t shred. Edges need to be slightly moistened just before being burnished. The edge burnisher’s elongated side can be used with gum tragacanth to mat down the fibers on the bottom of the leather. The process for using this one is done by hand, which can cause you minor frustrations. You can get this tool for an estimated price of $15 only.
Stitching Needles
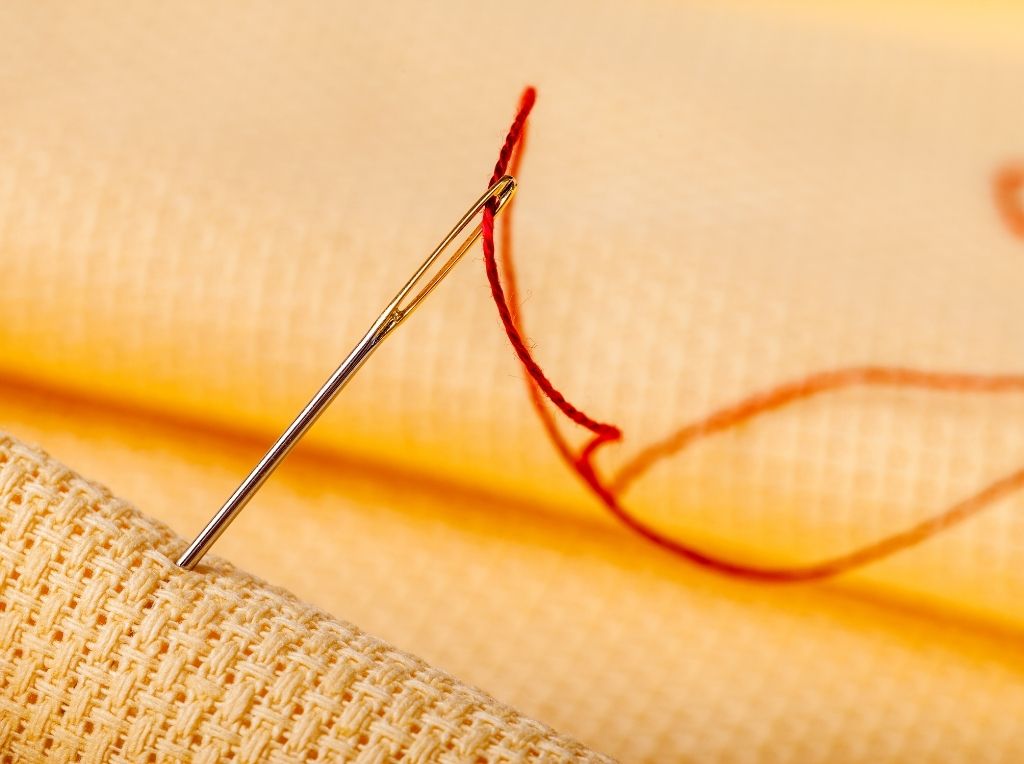
Stitching needles create certain kinds of knots that are used to attach to the string before stitching. In using stitching needles, you must make sure that the needle’s eye isn’t too big or small for the thickness of the thread. For a stitching needle, you will cost an estimated price of $10 only.
Materials Required to Make the Leather Business Document
Full Grain Leather
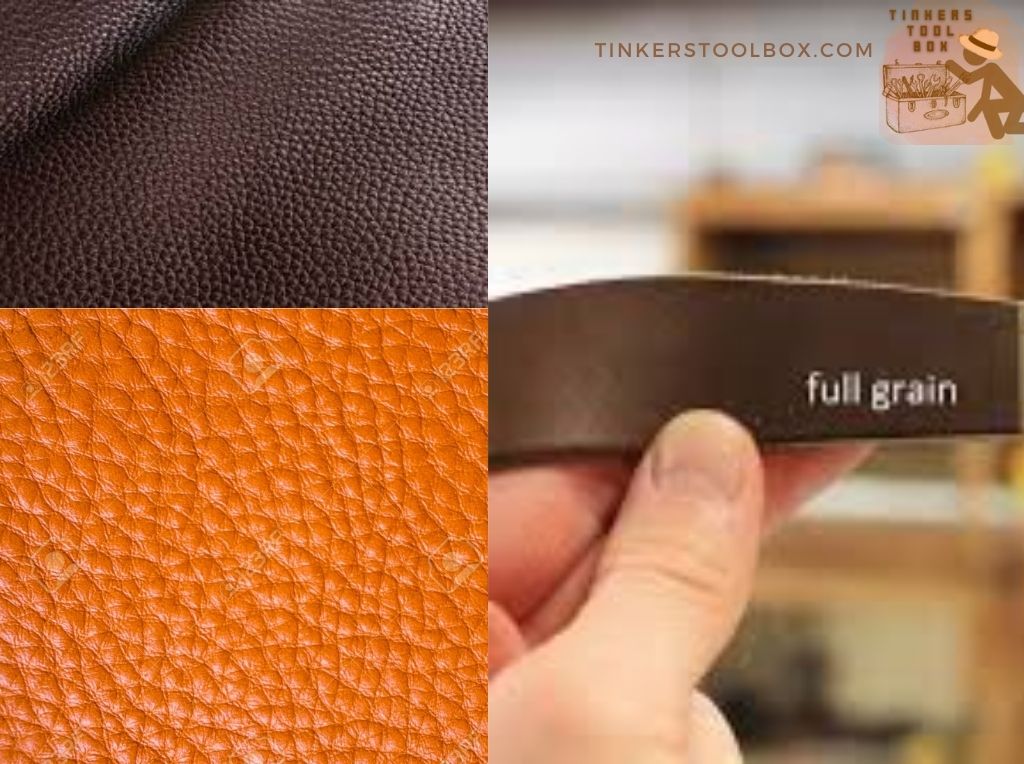
Full-grain leather is an excellent kind of leather, and it brings out more of the characteristic of leather, which is being elegant, fashionable, and resistant. Full-grain leather is made of a whole hide of an animal, which is the most durable and most substantial part. This leather is the most costly because it is rugged and very long-lasting. The estimated price per square foot of this kind of leather is $7.65.
Sewing Wax Thread Cord
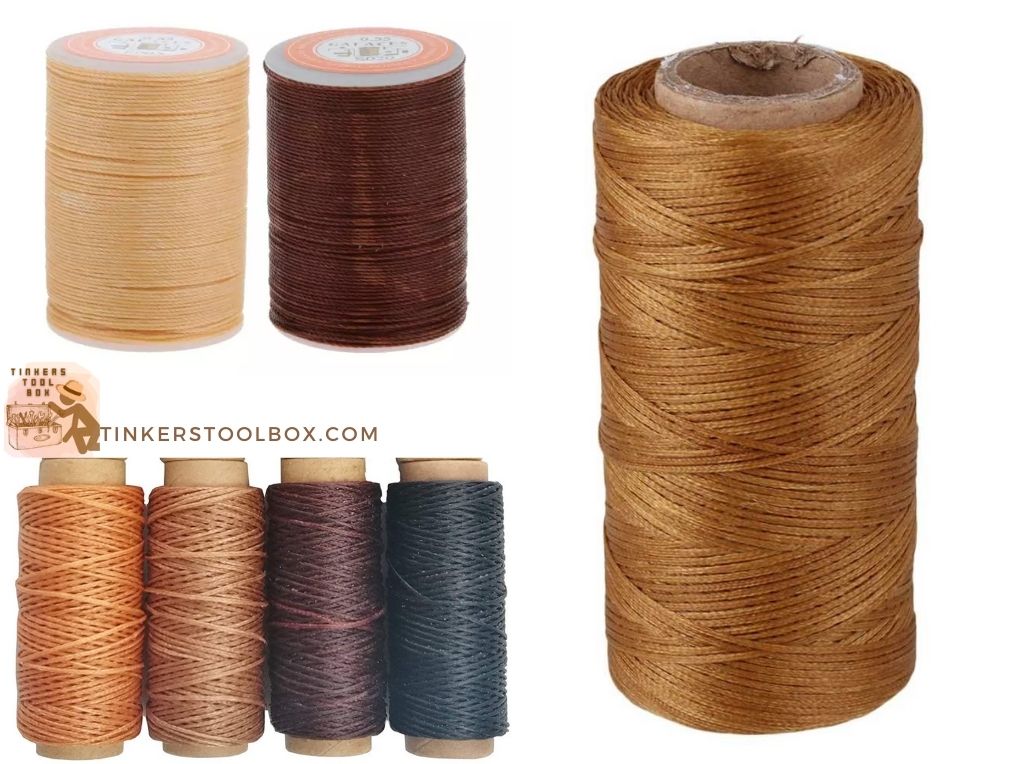
This type of thread is strong and durable and made from polyester yarn textile. This thread is lightweight and has a soft touching feel. A sewing wax thread cord is suitable for DIY handwork, leathercraft DIY, and also leather sewing. This leather will cost you an estimated price of $8.99 per 260 meters.
Pigskin Lining
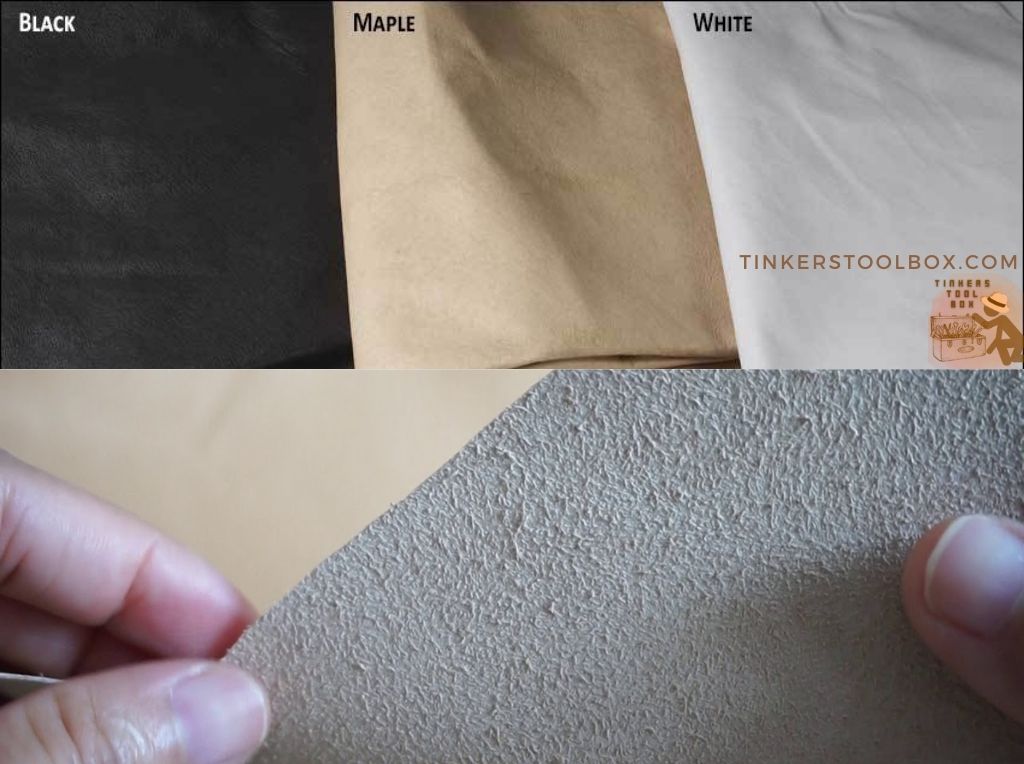
Pigskins are a handy product with both the grain surface and reverse side useful for different purposes. It can also provide a smooth lining material. A pigskin lining is also durable since it is made of full-grain leather. A pigskin lining is ideal for making shoes and bags. Pigskin lining is bought at an estimated price of $25.38
Zipper
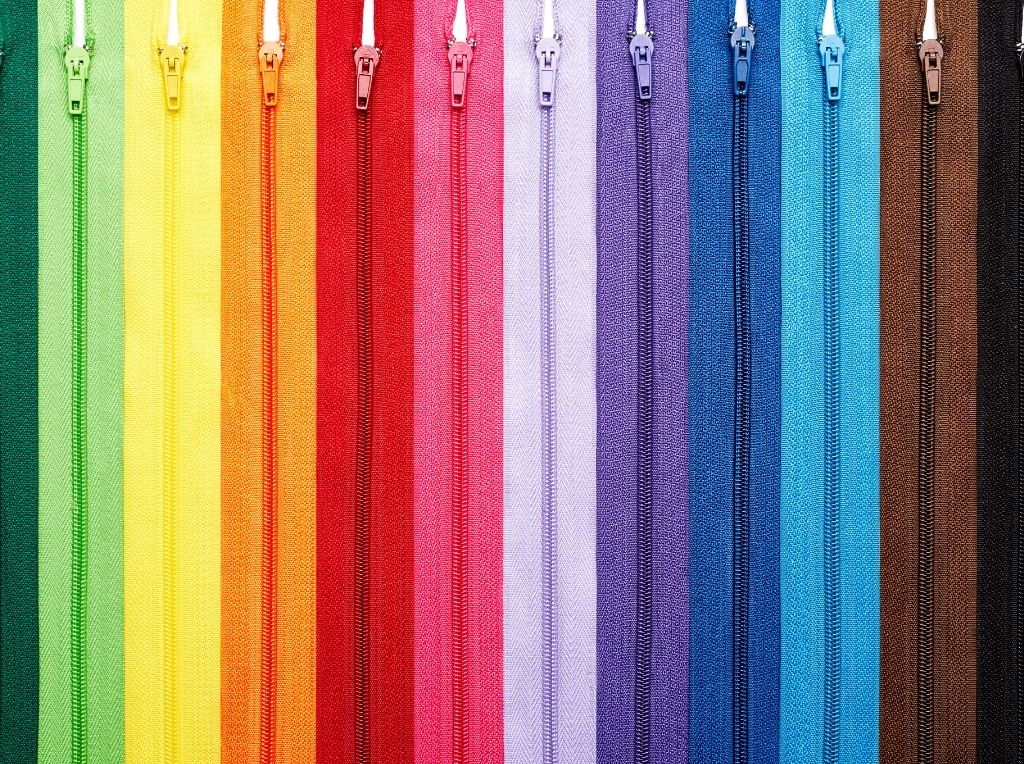
The primary advantage of a zipper is the high-quality zipper draped around its edges. The zip is a welcome contradiction to a regular bag, and the zip closure will store your things inside, no matter how disordered they get. You can move throughout all you want, and your papers, ID, and cards will stay put. The estimated price of a zipper is $0.10.
Step 1: Prepare the Tools and Materials
The benefit of the preparation is that you can handle problems more promptly and more efficiently because you will already possess the solutions at hand ready to be performed. The critical factor here is time – and as we all know, time is money.
In fixing the appropriate tools and materials for the project, it’s more significant to concentrate on doing it right. Plan for success by determining yourself. It might mean running over one particular area multiple times to get it “right.” It will be alright because preparation time serves as the exact time for smoothing out the rough edges.
Step 2: Cut Rectangular Leathers
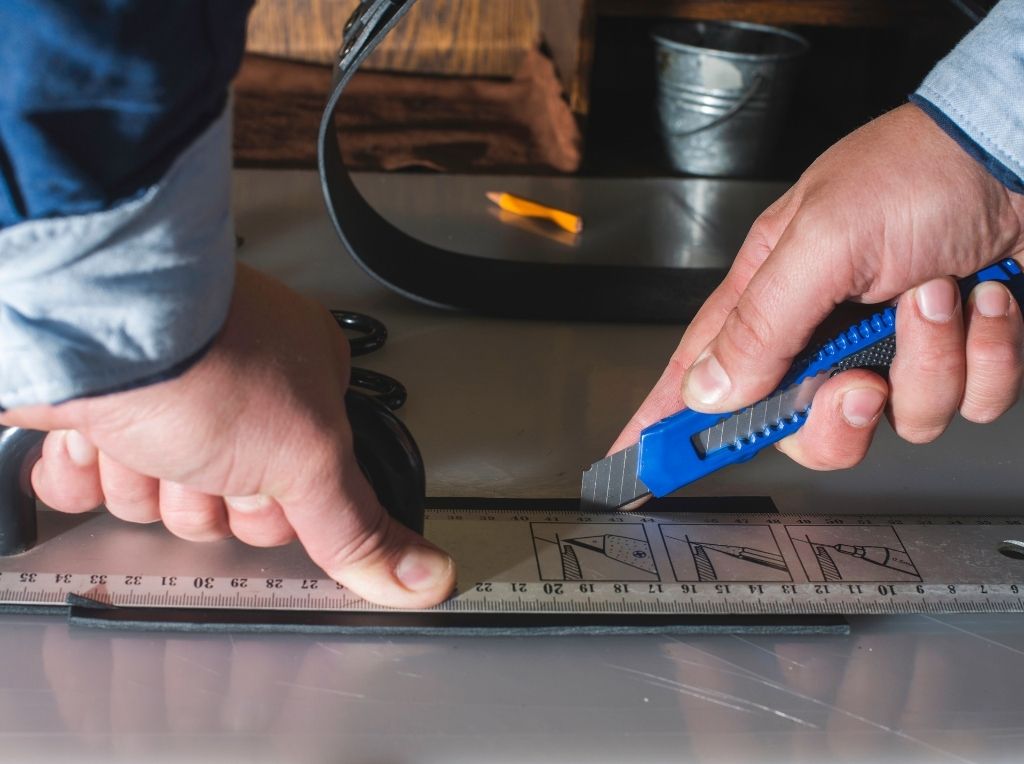
In cutting rectangular leathers, it is essential first to make a pattern. Using a legal size bond paper will make the design much easier to prepare. Second, provide the full-grain leather and make sure that it can cover at least three legal-size documents; the more, the better. The rectangles will serve as a divider applicable for the different document sizes such as legal-size, letter-size, and A4 document.
Third, cut the leather using a round knife. Follow the pattern to make three or more identical leathers. To smoothen its edges, use a rotary cutter first to round the corners, then use a beveler afterward to produce a smooth and clean curve. Prepare the burnishing tool for softening the edges’ fibers. A technique to do the work more straightforward is to lay the leather at the side of the working space and roll the side quickly.
Step 3: Make a Rectangle Pouch Pattern
Grab an oversized leather and measure a landscape legal size. Add an extra centimeter on each side, or much better to add two or three. Adding extra space is necessary since an A4 document has a broader width than a legal document and letter document. Include an inch at the bottom for the base before drawing another rectangle, identical to the first rectangle.
It would be best if you then had a big square, cut the pouch pattern. Grab a steel ruler or anything straight and sturdy material to lay on top of the leather so that it can create a straight cut. Smoothen the sides using a burnishing tool. You can also fillet the top corners to smoothen out rough, sharp edges. Similar to the divider, use a rotary cutter first and then a beveler.
Step 4: Stitch
Before you start stitching, fold the pouch pattern and be sure that it is symmetrical. Second, insert the divider in between. Gluing the sides vertically from the top down to the leather would help and leave the horizontal top open. Be sure of the holes that are punched through the coating and the leather.
Mark the distance to be sewn. Multiply by three. Marking the area serves as a guide in how much thread you should use on each of your needles, but earn assurance that the length is no longer than 24 inches because it becomes challenging to maintain longer than that.
Start with a groover to make it easier for you to use a diamond chisel in creating the holes. When the glue dries, start stitching the sides to produce a durable and robust product.
Step 5: Attach the Zipper
In attaching the zipper, first, attach it to each side of the document holder to see whether it fits or not. Then, with the zipper parted its ways, attach the other side to the leather, and stitch to within a half-inch of the surface seam. Do the same thing with the other side. To make it easier, you can glue it first and stitch it when it dries, and it is also long-lasting that way.
Conclusion
There are many designs for a document holder that you can buy at amazon or any online store. But, in buying, you can’t make sure of the materials they have used, and the advantage in making your document holder is you can customize the design, shape, and sizes. You can add extra pockets if you want to. Also, learning the correct tools and materials to use is an advantage in making your organizer. Having a document holder is so fashionable and organized to look at, and adding the fact that it is made of leather, you can be more professional than ever.