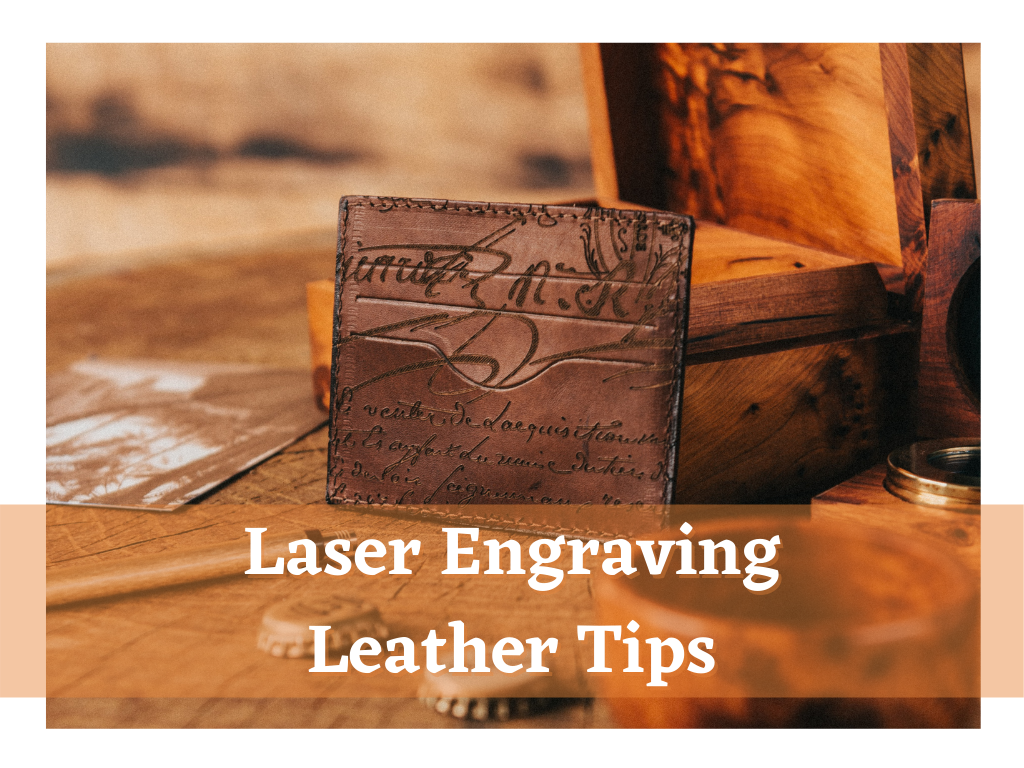
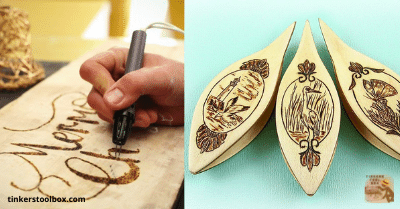
Leather is a remarkably flexible material. When combined with the age-old technique of picture making and writing, known as pyrography, the variety of effects you can achieve is always a delight. Pyrography is the practice of creating a pattern by burning content. While wood is the most common material for pyrography, the leather may also be used. Leather pyrography is a leather decoration technique that involves burning designs on the leather’s grain surface with a scorching leather tool.
How to pyrography leather? Prepare the burning tools, dampen the leather, burnish it and let it dry completely. Do this on both sides of the leather. Transfer the pattern on the leather using tracing paper or stencil and start burning following the premade design.
Leathercraft is indeed one of the hobbies people turned to in this COVID-19 pandemic. Doing this also entails the proper skills to maximize the resources if you are going to invest. One of the things that define a leather product is a design it has. Leather pyrography is just one of these techniques you can use to advance to a new leathercraft experience and produce an out-of-the-box leather design. If you are interested in learning this technique, this article will state how to make pyrography easier and some tips useful, especially for beginners.
The Beginnings of Leather Pyrography
Pyrography is just one of the many design techniques that leatherworkers can apply to leather. If you are looking for other methods that produce a new design feel to your leather, this might be for you.
Pyrography for Leather Design: What You Should Know
The art of pyrography dates back to the 17th century. It was first used in wood manually, and eventually, a pyrography machine was made to make wood burning easier. Today, it is used in leathercraft as a form of design technique.
In pyrography, you are not limited to leather or wood but other smooth surfaces that are not easily damaged by the process. This means that not only leather and wood are possible, but it could be paper, chipboard, and the likes. You primarily need the right tools in pyrography to mark your desired design on the leather.
Generally, leather pyrography is way smoother and more comfortable than wood because you can take advantage of leather’s natural characteristics. It is softer than wood when burning but durable for various designs. Also, leather has different shades and types that can produce a dramatic effect in pyrography.
When To Use Pyrography
Since pyrography is just one design technique, you can choose to do this any time you like. If you did your leather project or brought one and just wanted to add some accent to your leather, you can perform pyrography. You can use this also to show your creativity.
It is also commonly used to showcase brands and logos and record events and cultures, such as in ancient times. Products of leather pyrography are also easier to store and preserve than wood ones.
Materials and Tools: What To Use In Leather Pyrography
Like any other design technique, essential tools and ideal materials are the prerequisites. If paired with vital skills, you can perform pyrography efficiently. Enough knowledge on choosing the leather to use is, of course, your weapon.
The Essentials of Burning Designs To Leather
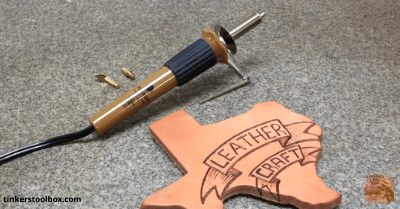
You do not need a lot of tools in leather pyrography. The principal tool is a leather burning tool which is the main component in this technique. There is a hand-held burning tool you can buy which appears like a pen with a burning tip. It is easy to maneuver and handy.
Remember that if you are buying a burning tool, you might consider one where you can control the temperature since leather only requires ample heat, unlike wood, as mentioned.
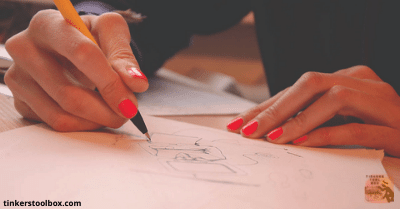
Transferring designs to leather before the actual pyrography is also necessary. With this, tracing paper or a stencil is used. You can also opt to use a pencil, but this might be tiring and time-consuming if dealing with many projects. Be sure to use a blunt or soft pencil to avoid leaving unnecessary marks on the leather.
Having this draft mark on the leather will guide you throughout pyrography and minimize the mistakes. Remember that you cannot undo leather pyrography, so be careful as much as possible. You can remedy some minor errors, but it is better to avoid this as early.
Most importantly, prepare a smooth and solid surface to lay your leather to eradicate unwanted movements. These uncontrollable movements of the leather can cause the burning of the wrong area of your project. This will also help you execute your design smoothly and precisely. In this case, you can use a cutting mat or a stone or granite slab. Perhaps anything with a non-skid back surface.
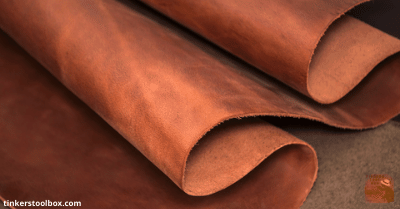
Type of Leather Ideal For Pyrography
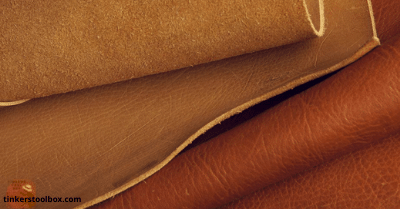
Any smooth surface can be pyrographed; however, in leather, not all kind is appropriate for this process. The best leather for pyrography is vegetable-tanned leather because of its natural characteristics. This leather is not flammable, so it will not burn when applying heat.
Significantly, It does not produce any toxic material when burning. Naturally, a surface smells when being burnt, but it is way safer because, despite its smell, it does not give off a toxic substance. Caution! Artificial leather produces toxic compounds when burnt, so as much as possible, do not use them for pyrography.
On top of these, it is naturally beautiful which looks gorgeous when burnt. It retains the natural rustic look it has, which makes your project more appealing. When choosing leather for pyrography, take note of its color and weight. These are the primary factors too that might affect your process. Usually, monochromatic leather colors are ideal for emphasizing more on the design produced. Burning thicker leather will also render durable if doing heavy pyrography.
Precautions In Doing Leather Pyrography
Before starting leather pyrography, you must first make sure to read all the materials needed and the confidence to use a burning tool. You should be familiar with all your tools, primarily the burning tool.
Always practice using tracing paper, a stencil, or a pencil before proceeding to the actual burning process. Wear a mask to minimize or avoid breathing in the smoke from leather burning. Having a fan nearby to blow away the smoke is also helpful for your safety. You can use a glove when handling the burning tool to protect your hands.
Keep in mind that safety always comes first, so be sure to have a first aid kit at bay in case of emergencies. You can also prepare a fire extinguisher just in case the worst might happen. (Of course, we hope not).
Preparations For Leather Pyrography: The Precursor
Besides the preventive measures you need to remember before pyrography, you have to prepare materials, especially the leather.
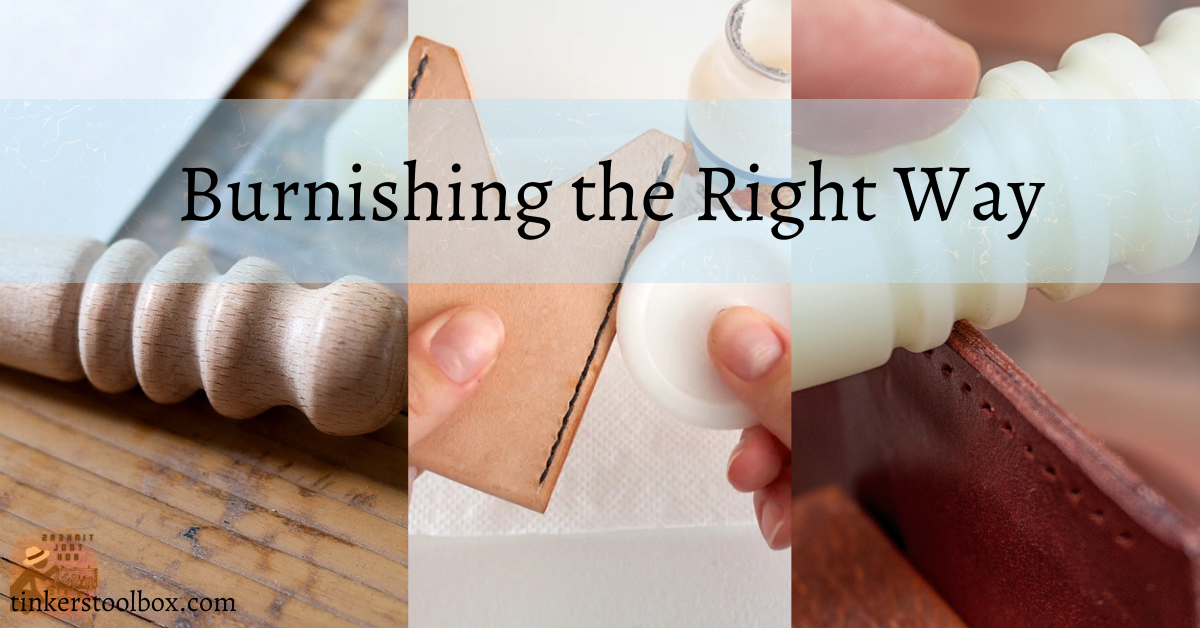
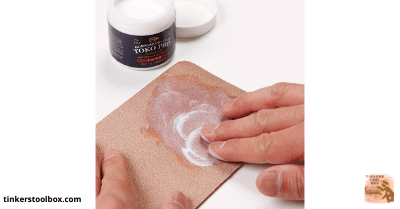
Wet and Smoothen the Leather: Doing It The Right Way
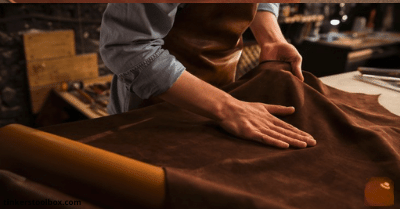
Place the leather on a clean, smooth surface, skin side up. Since the smoothing process will distort the form of the leather, do not cut it to scale. If you cut it before smoothing it, bear in mind that you’ll have to trim it later to shape.
After the leather is very moist, use the burnisher of your choosing to rub over the leather’s entire skin surface firmly. As you smooth the leather with the burnisher, apply a lot of pressure. Make sure to dry it out once the burnishing is done.
Do The Same On the Fleshy Side
Do the same process in both wetting, drying, and burnishing on the fleshy side. Use a burnisher like gum trag to darken the leather’s flesh side. Smoothen not just the front but also the backside of the leather. This will provide the firmest surface for burning or pyrography later on.
Transferring Marks To The Leather For Accuracy
Transferring marks to the leather ensures a perfect and accurate leather design, especially for complex images/ drawings. There are various ways to transfer characters onto the leather, but the most common is tracing paper and stencil.
Utilizing a Tracing Paper For Pattern Transfer
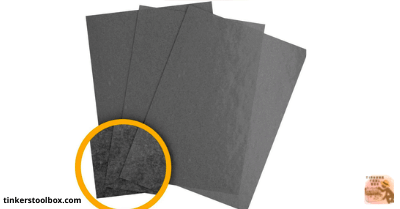
A graphite paper is used as a tracing paper in transferring marks like patterns and designs. It is a lightweight paper where one side of it is coated with waxed graphite. This paper comes in both pale gray and pale white.
This graphite paper is available in sheets having these sizes; small 8 ½ “ x 11” or 216 x 279mm and 48” x 96” or 1219 x 2738 mm. To trace marks, the graphite side is placed against the wood. As a result, its tracing lines become a medium-gray color.
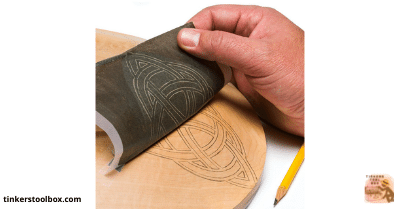
To start transferring, you can do the following; mark the center of the blank leather surface and from there make two lines (horizontal & vertical) which will both intersect to the center of origin. Fold the paper patterns into quarters, then place it on the leather surface (paste it with a low-tack painter’s tape on its edge or use an alligator clip cushioned at the top of it).
Place and slide your graphite paper under the pattern. In transferring the marks, simply trace the pattern paper’s outside lines and do it nicely and accurately. You may use a notebook under your hand to protect your leather project against graphite smears.
When you are done tracing, lift the pattern and the graphite paper to check the leather’s transferred marks. Do some corrections and additions if necessary before removing the tape or clips to align to the existing patterns and markings.
The Basics of Using a Stencil
Stenciling is another way of transferring designs onto the leather. It comes in a hollow cut where you can access an unlimited range of patterns, symbols, letters, techniques that you can simply apply pigmentation to burn the leather directly due to its premade designs.
The physical stencil comes in metal and plastic. The metal stencils are usually for creating letterings, and these are expensive, heavy, hard to store and are not customizable. Moreover, the plastic stencils are fairly priced, light, easy to store, and are customizable. Stencil is used to transfer designs or to print marks onto the leather. A stencil can be created by anyone using a cutting machine (like a silhouette machine), stencil materials, and software to create designs.
To transfer the designs, simply place your stencils onto the leather project and use foam pouncer to apply for pigmentation. Never let your foam absorb too much paint because it may spread to unwanted areas of the leather.
Remember to wash the stencil before using the next color. If pigmentation has reached some unwanted areas, you may use a toothbrush and water to remove the paint by lightly scrubbing it.
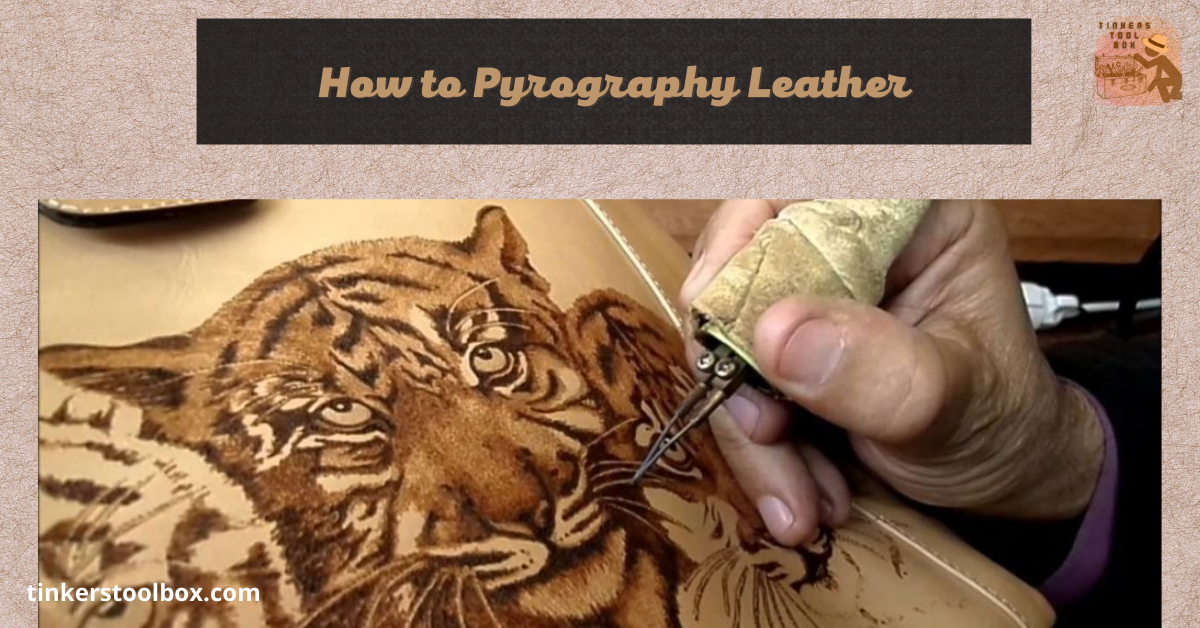
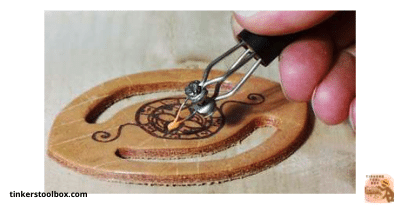
Burning The Leather For Unique Designs
Similar to other crafting processes, leather burning or leather pyrography depends upon the burning tools. This is the reason why choosing the best leather burning tools is essential. The burning tool will be your stepping rock in the design you want to make.
Burning the Leather Accurately
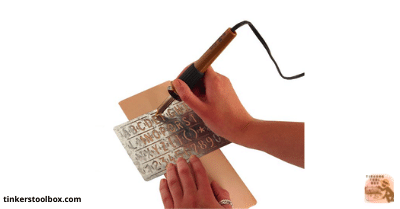
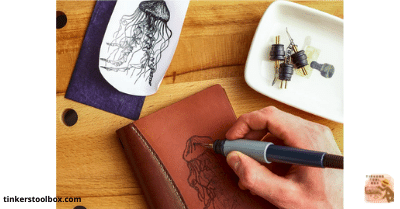
Before the pyrography on your project, practice burning first some leather craps so that you will be familiar and comfortable with the different burning tooltips. Dampen the leather area where you want to make burns,then place some traced images for your designs. You can also start burning if the leather project has already graven images or design by pencil etc.
You can sketch the image directly on the leather with a pencil or scratch awl to burn right after. When making burns, never stop in the middle of a line to avoid a deep pit on your leather. If it is necessary to stop, you may lift the burning tool.
Ensure to keep the burning pen in low heat to avoid over burning. Clean the pen tip with a metal polishing cloth from time to time to maintain your work’s heat and neatness. If you need to redo or re-burn a leather, make sure to let it cool before going for it again. If you burn with high heat, make sure to do short strokes to avoid ripping the leather.
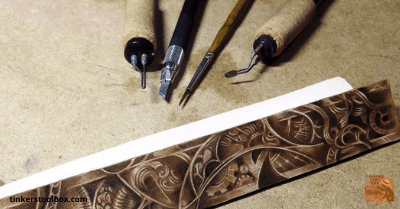
Tips for Burning Leather
A steady hand paves the way in burning leather smoothly and accurately. A hand that traces marks or sketches on the leather with the same speed and stability will result in a neat uniform line.
Clean off your tool’s tip when it is hard to burn the leather by scraping away the burnt leather with sandpaper. Never exceeds at an angle, for this will sear the side of the leather.
Tips For Safety Pyrography
Avoid inhaling the toxic fumes by consulting an expert to know the materials’ toxicity and the risk of using them. Secure several fans in your working area such that air will keep on circulating, and never forget to open all your windows.
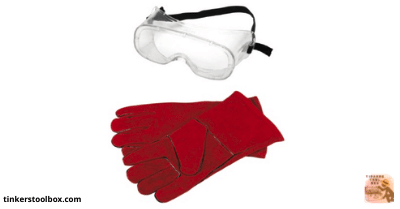
Wear safety eye goggles, protective gloves, and breathing mask to prevent the inhalation of sawdust. If possible, always use vegetable-tanned leather. You may keep aloe vera plants or aloe vera products in the room for your minor burns.
Projects You Can Use Leather Pyrography
Pyrography is used in the leathercrafting industry for aesthetic reasons. Through pyrography, leather can become stunning and fabulous at a low cost. Here are some of the common leather products where you can apply pyrography.
Leather Products Perfect For Pyrography

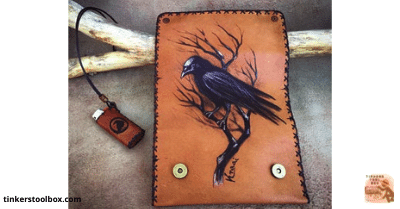
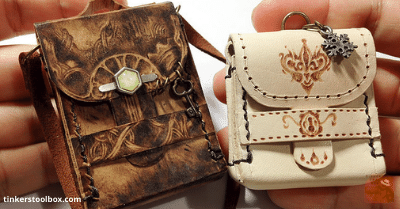
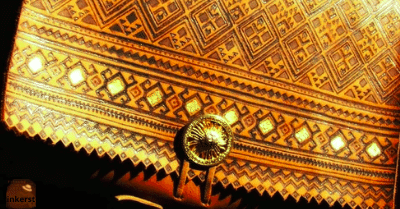
You can make wallets and burn the outside surface to spice up the regular leather wallet you are making. Leather bags and belts are easier to work on for beginners because it is flat and can be pinned down in place. Leather shoes and sandals can also be one of your projects to design your heart out in your footwear.
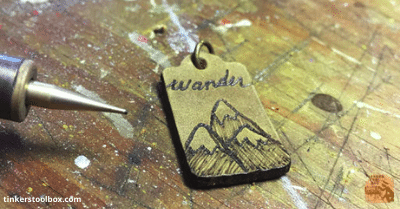
If you are a traveler or like jotting down on your journal, you can pyrography your book cover showing a personal touch like your name. You can do this in any projects you plan to make, just bear in mind the necessary stuff.
Many companies are also doing leather pyrography for a unique touch on their products. You can start doing small pyrography projects then explore larger ones.
Conclusion
A pyrography on leather is timeless with the proper care. It may be fun to burn leathers for aesthetic purposes but has risks that you should consider. Always keep these in mind, and you will have an enjoyable pyrography experience. Most importantly, you will produce a product “burnt” with passion!