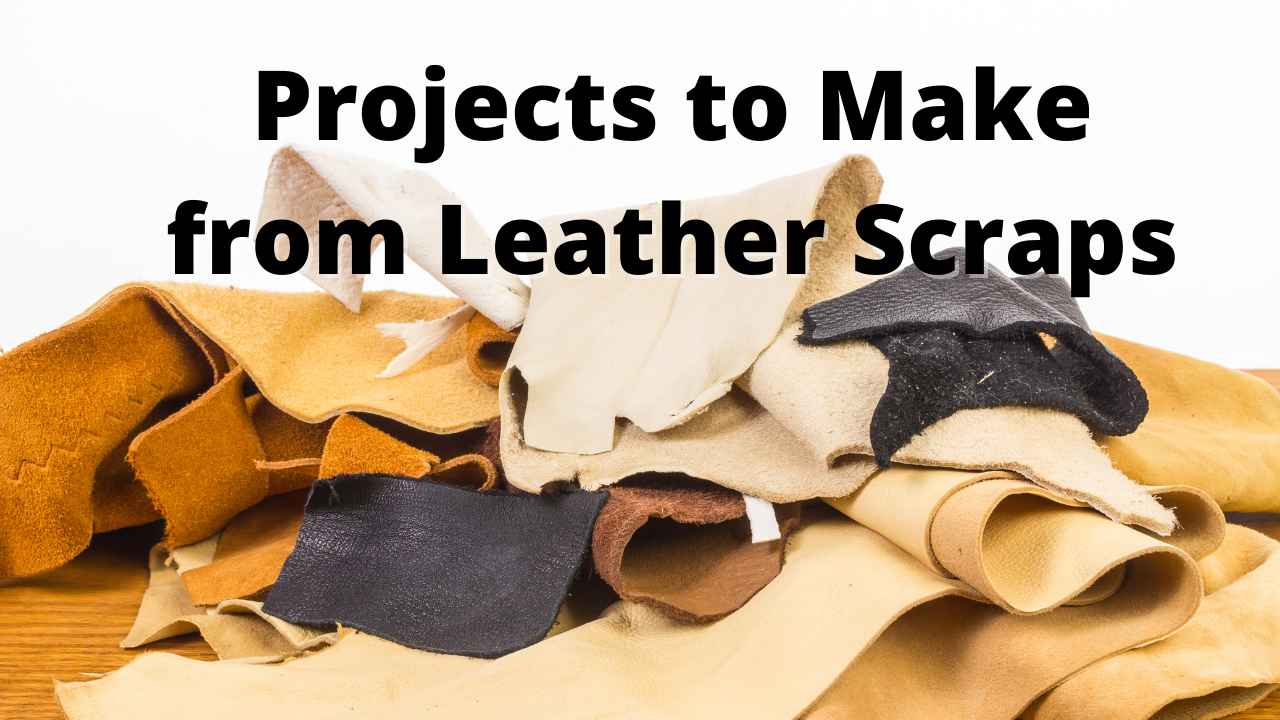
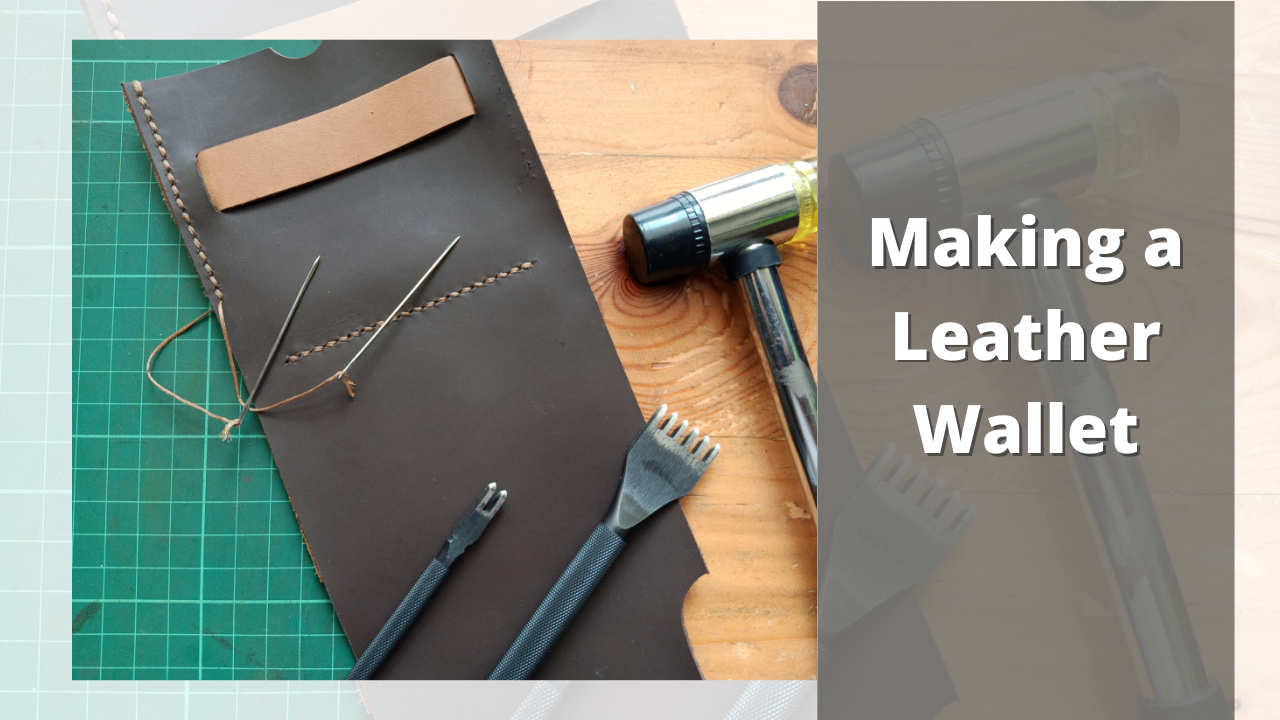
There are so many leatherworking projects that we can do, but some of us are worried about the amount of leather to be used in every project. Leather is not a cheap material, to begin with so it is natural for us to think carefully about the projects before buying yards of leather. Lucky for us, we can make tons of projects with the scraps that we have from our previous projects. Here are some projects that we can make with leather scraps.
What are the leatherworking projects to make using leather scraps? You can make projects such as picture frames, plant labels, light switch plates, coasters, trays with handles, and even accessories such as bracelets and jewelry. These projects only require scrap leather and some basic leatherworking tools many people have in their tool holders.
We will be learning about different leatherworking projects we can make using leather scraps at home. These projects only require the basic tools we might already have and some scrap leather from our previous projects. You might be done with several projects in a few hours. These can turn from simple things such as coasters, tags, and plant labels to more advanced ones, like picture frames, trays with handles, and light switch plates.
Basic Projects Perfect for Beginners
We will start with some projects that are easy to make, and perfect for those starting in leatherworking.
Cute Herb Planter Labels for your Spices
Identifying herbs simply by the leaves is not easy at all. Give them names to avoid confusion and potential cooking disasters with this simple project.
Materials and Tools Needed
You will need the following: scrap leather (any leather will do but English bridle leather works best), a revolving leather hole punch, some fine-point paint markers in metallic colors of choice, some twine or string, and an X-acto knife.
Step-by-Step Instructions
Cut out tags into rectangles. Rectangles should be about 1 inch by 4 inches or longer, depending on your pot size. Then, punch holes on both ends and write the names of the herbs and spices using the paint marker. Lastly, thread the loops on the holes then tie to the pot.
Leather Cable Ties to Bunch Your Wires
Wires lying around the floor, making everyone trip and tangle all over is never a good thing. Worry no more! These cable ties will take care of your wiring mayhem.
Materials and Tools Needed
You will be needing the following: scrap leather (medium to heavy leather recommended but anything will do), a stud fastener kit, and a hammer.
Step-by-Step Instructions
First, cut the leather into strips. Dimensions should be about three centimeters by eight centimeters in size, but it depends on how big or small your wires are. Add stud fastener to both ends of the leather. Make sure the ends line up neatly when they are folded together. Bunch the wires then snap the ends shut. Enjoy!
DIY Leather Keychain for Your Bags and Purses
This simple project can be made into presents, perfect for those who want to make their luggage zippers stylish on a budget.
Materials and Tools Needed
For this project, you will be needing the following: craft leather, two brads, a key ring, a permanent fine tipped marker, some rhinestones or any decorative materials, needles, a pair of scissors, some embroidery thread, some glue (optional), and a leather punch.
Step-by-Step Instructions
Cut leather into strips, with the dimensions being 0.5 inches x eight inches in size. Trim ends at a 45-degree angle. Then, fold in around the keyring. Next, mark where to poke the holes, and then oke the holes with a leather punch. You can add patterns of your choice using markers. Rhinestones are also okay, but it solely depends on your style.
Knot the end of the embroidery floss four to five times. Make sure it is a big enough knot.
Avoid pulling through the hole, then stitch both sides together. Make another XL knot on the other side, then cut the ends off the brad and glue caps over the knots. Poke the brads through the holes on each side. Then push ends up in the loop, and voila!
Stitched Leather Keychain Perfect for Papa
Impress your father with this easy to make stitched leather keychain! This requires little sewing and it’s very easy to make!
Materials and Tools Needed:
You will be needing the following: some scrap leather, a pair of scissors, some chalk, a sewing machine, and some colored thread.
Step-by-Step Instructions:
Cut two circles and one rectangle from the leather. Mark the corners with chalk, marking it like a clock’s face. Put some glue between the two circles and start sewing using the marks as your guide. You can make zigzag patterns or whatever stitching you fancy on the leather circles. Put the rectangular leather as your holder by folding it in half and sewing it with the circles. Then, stitch along the edges and erase the chalk. There you have it, your very own leather keychain!
Leather Zipper Extensions as Mini Keychains for Your Wallets
Use these adorable zipper extensions as your mini keychains on your small wallets and coin purses.
Materials and Tools Needed:
You will be needing some scrap leather and wooden beads or plastic beads for this project.
Step-by-Step Instructions
Cut the scrap leather into small strips. The length should be eight centimeters long and the width should be 0.25 centimeters. Take the strip and insert it inside the zipper hole.
Hold both ends together. Put beads by inserting them through the strap. Adding three to five beads are fine, but it’s up to you. Tie a knot at the end of the strips, then keep one centimeter of the strip. Trim the extras and enjoy!
Cool Cabinet Handles for Your Dressers and Cupboards
Save yourself some money and trips to the hardware by using scrap leather as handles and drawer pulls for your cabinets, cupboards, and dressers.
Materials and Tools Needed:
For this project, you will be needing the following: leather scraps, a twelve-inch ruler, a hammer, an X-acto knife, a screwdriver, some screws (check if they fit the ones for the original handles), and a revolving leather hole punch.
Step-by-Step Instructions:
Measure the distance between holes left behind in the doors. Cut the strips long enough to overlap on both ends. Make sure it is spacious enough to fit your hand. Punch holes on the leather using a revolving punch. Then, thread the screws through the holes. Screw them on the doors. Try using them then adjust until you achieve your preferred tightness.
Geometric Pendants for Your Necklace Gaming
Jazz up your wardrobe by accessorizing with this edgy and chic necklace pendant, perfect for your casual style.
Materials and Tools Needed:
You will be needing the following: leather scraps (you can also use pleather or vinyl for more texture), a pair of scissors, some leather glue, and a rotary cutter.
Step-by-Step Instructions
Cut your leather into your desired shape. Any shape will do, but angular shapes are recommended to achieve this geometric, edgy look. Use any shape for your template then glue the scrap leather pieces to fit your template. Cut any pieces sticking out your template with scissors or rotary cutters. Attach it to your necklace and enjoy! Pair it up with a white shirt and denim pants to make that no-frills, casual look perfect for a day at the mall.
Intermediate Projects for More Experienced Enthusiasts
Triangle Coin Pouch for Your Loose Change
This project is already popular online but this only needs the simplest tools and scrap leather.
Materials and Tools Needed
You will be needing the following for this project: some faux leather or suede, 6mm brass screw backs, a leather hole punch, the printable pattern, a rotary cutter, some fabric glue, and a cutting mat to protect your workstation in cutting your leather.
Step-by Step Instructions
Print the pattern and cut the shape out. Trace the shape onto the leather and cut it out.
Follow folding according to the pattern. Try to gently crease as you fold. Next, mark the spot for the inner clasp with a pencil. Unfold the pouch and punch the inner hole with the leather hole punch.
Then, fold it up again and mark the hole on the outer hold with a pencil. Unfold and then punch. Fold the pouch again and glue the front half to the back half. Add lots of glue and let it dry. It is best to let the glue dry by clamping with binder clips overnight. Let dry while clamped. The next day, remove the binder clips when it gets dry. Add the screwback and enjoy your very own coin pouch!
Light Switch Plates to Accentuate the Buttons
Give your boring old light switches a rustic facelift with these leather switch plates meant to turn every head in the room when you turn the light on.
Materials and Tools Needed:
You will only need these tools and materials for this project: scrap leather, an X-acto knife, a revolving leather hole punch, and a leather modular stylus (optional).
Step-by-Step Instructions
Trace the shape of the light switch plate on the backside. Make sure to include the rectangular switch hole in the center and screws on both ends. Cut along tracing and remove the center switch hole (the one where the switch is supposed to be placed).
Carve any design using a modular stylus but it is definitely okay to not put any designs if desired. Next, punch holes for the screws. Then screw over the light switch. Wipe using a dry cloth and enjoy!
Leather Coasters to Jazz Drinks Up
Use these leather coasters to show off your leatherworking skills and impress your friends at the next barbecue.
Materials and Tools Needed:
You will be needing the following: English bridal scrap leather, an X-acto knife, some paint (optional), some thread (optional), and a leather needle (optional).
Step-by-Step Instructions
Make a stencil in whatever shape you want. Circles and squares are highly recommended but if you want to do other shapes, it would be perfectly fine. Cut out the coasters according to the stencil. Then, you can design using leather stamps or stitching around the edges for a clean and polished look. You can also add some paint for a decorative touch. Now you have a set of leather coasters to show off on your next family brunch!
Leather Tray with Handles for Your Next Lunches
Speaking of lunches, impress your family and friends with this leather tray while serving them wine and cheese for Sunday brunch.
Materials and Tools Needed:
For this project, you will need the following: scrap leather (English bridal or chap recommended), a sheet of sandpaper, some scrap lumber, some wood stain and a paintbrush, a drill, a few bronze screws, and a sewing machine and thread (optional).
Step-by-Step Instructions:
First, you have to sand down the wood until it gets smooth. Stain the wood in any color of choice and let dry. Next, trim the scrap leather into straps.The leather should lie flat on the board for the most part. It is also needed to be raised enough to grab. The next part is putting the two straps together, and using a sewing machine to add stitches around edges.
Machine sewing is optional so it is okay if you are not a pro in sewing. Finally, put straps on both sides of the tray and attach with screws.
Chic Leather Picture Frames to Amp Up Nostalgia
These leather picture frames bring out the rustic outdoors, framing each photo with an extra touch of elegance.
Materials and Tools Needed:
For this project, you will be needing the following: scrap leather, a plain picture frame, any leather cutting tool, some leather glue, and a clamp.
Step-by-Step Instructions:
Measure the outside edges and width for the picture frame. Next, cut the leather into strips. Make sure both sides have the same length and width. Then, cut ends at 45 degree angles. You have to do this to not overlap the edges when you put them on the frame.
Glue strips to the frame, then clamp overnight to let the glue dry completely. The next day, insert your photos and you can display it on your living spaces, for everyone to admire
Stylish Geometric Leather Necklace for Your Arsenal
Here’s another leather jewelry suggestion using scraps and some glue, added with a touch of patience and creativity.
You will be needing these tools and materials for your project: scrap leather in different colors (any color is okay), a pencil, an X-acto knife, a pair of scissors, some leather glue, a ruler, a pair of pliers, and a plain necklace chain with clasps.
Step-by-Step Instructions:
Measure the leather first then cut them into strips. Make sure the width is the same on both colors. One color must be longer than the other. Cut the strips into triangles at the tip.
Make sure that one color is longer than the other. Next, put some glue on a bit less than half of the first strip (any color).
Fold it in half and press until it gets glued together. Make sure there is a loop in the middle for the chain to pass through. Then, put glue on the other color, entirely. Fold over the first color, then press. Finally, pass the chain through the hoops, and there you have it, your personalized necklace! Partner it with something neutral for a pop of color.
Conclusion
There are a lot of projects available using scrap leather. You do not need to worry about your projects looking cheap because scrap leather adds a vintage touch into everything. You can make simple ones like cute little keychains and progress into something more detailed like leather trays and accessories. You can make more and give these as gifts to your friends and family, saving yourself money and giving them a part of you, in every project you do.
