Leather iPad cases are designed to provide the security and protection that iPad owners will need when taking their device outdoors. Some people decide on a leather case due to its ability to protect the screen and body from impacts, scratches, or scuffs.
In making this leather iPad case, you must prepare the pattern and draw it to the leather. Next is to cut the pieces and work with the assembling process. Lastly, its durability must be assured by gluing and stitching the important areas and placing a magnetic snap button to complete it.
This material is not just durable and protective; it also looks great! Different features in leather cases include hand-stitched construction, custom colors, pockets for documents, headphone holders, and even stylus holders.
- Stay Worry-Free With A Leather Case For Your iPad
- Step 1: Prepare The Design and Make A Pattern
- Step 2: Provide The Needed Tools and Materials
- Step 3: Draw The Pieces of The Pattern to The Leather
- Step 4: Cut Out The Pieces of The Marked Leather
- Step 5: Work On With The Front Pocket of The Case
- Step 6: Make Sure That It Fits Your iPad
- Step 7: Stitch The Front Pocket To The Front Surface
- Step 8: Fold The Leather Before Gluing The Sides
- Step 9: Round and Soften The Edges
- Step 10: Mark The Areas You Will Need To Stitch
- Step 11: It Is Stitching Time
- Step 12: Put The Magnetic Snap Button For The Final Step
- Get Your Decisions Right And Make A Leather iPad Case Now!
Stay Worry-Free With A Leather Case For Your iPad
It is no secret that Apple products are expensive, so it only makes sense to care for and protect your investment. The leather case is the typical style to protect your iPad from scratches and dents while also adding a touch of personal flair.
It looks great and offers various benefits, making it the best way to say “I love my iPad” while making the leather case. In addition to making your iPad look great, the case keeps it safe from accidental damage and disaster. Some of these cases are even crush-proof, preventing them from being hurt when dropped or placed underweight.
A leather iPad case can also be a great gift idea for anyone who owns an iPad because chances are they need protection for their device. Without any further, here are the 12 simple steps for making a leather iPad case.
Step 1: Prepare The Design and Make A Pattern
Many people are looking for the best and the most comfortable leather iPad case in which they want to spend their hard-earned money. Since iPad leather sleeves have a huge market of interest and demand, it is easy to find ideas, but it is nearly impossible to find what you want when designing.
The simplest design can also be a big asset in making your leather case. Before making a pattern for your iPad case, the first thing you need to do is measure your device from end-to-end and widthwise and its height from top-to-bottom and side-to-side.
Cut your scraps to size and lay them on top of each other. Keep in mind that you want a slightly smaller piece than the one you will be using for the template. Make sure your pieces are even, not one above the other, and not touching.
Use one of your cut pieces to trace a design on your larger piece of leather, then cut out all four pieces and use these as patterns for the corners. Be careful not to cut through to your scrap piece!
Lay these four corner patterns side by side on a table with the edges facing up. Next is to lay your iPad on top of the patterns and trace the outline. Make sure you have the corner pieces turned in so that they are correct.
After you trace your outline, use a marker to draw another line around it, making sure to leave about ¼” between your lines and tracing. Cut out your pattern with sharp scissors and remove your iPad from the pattern. You now have four individual pieces that make up the corners of the case! You should also have a removable piece to cut out parts of the actual leather case.
Step 2: Provide The Needed Tools and Materials
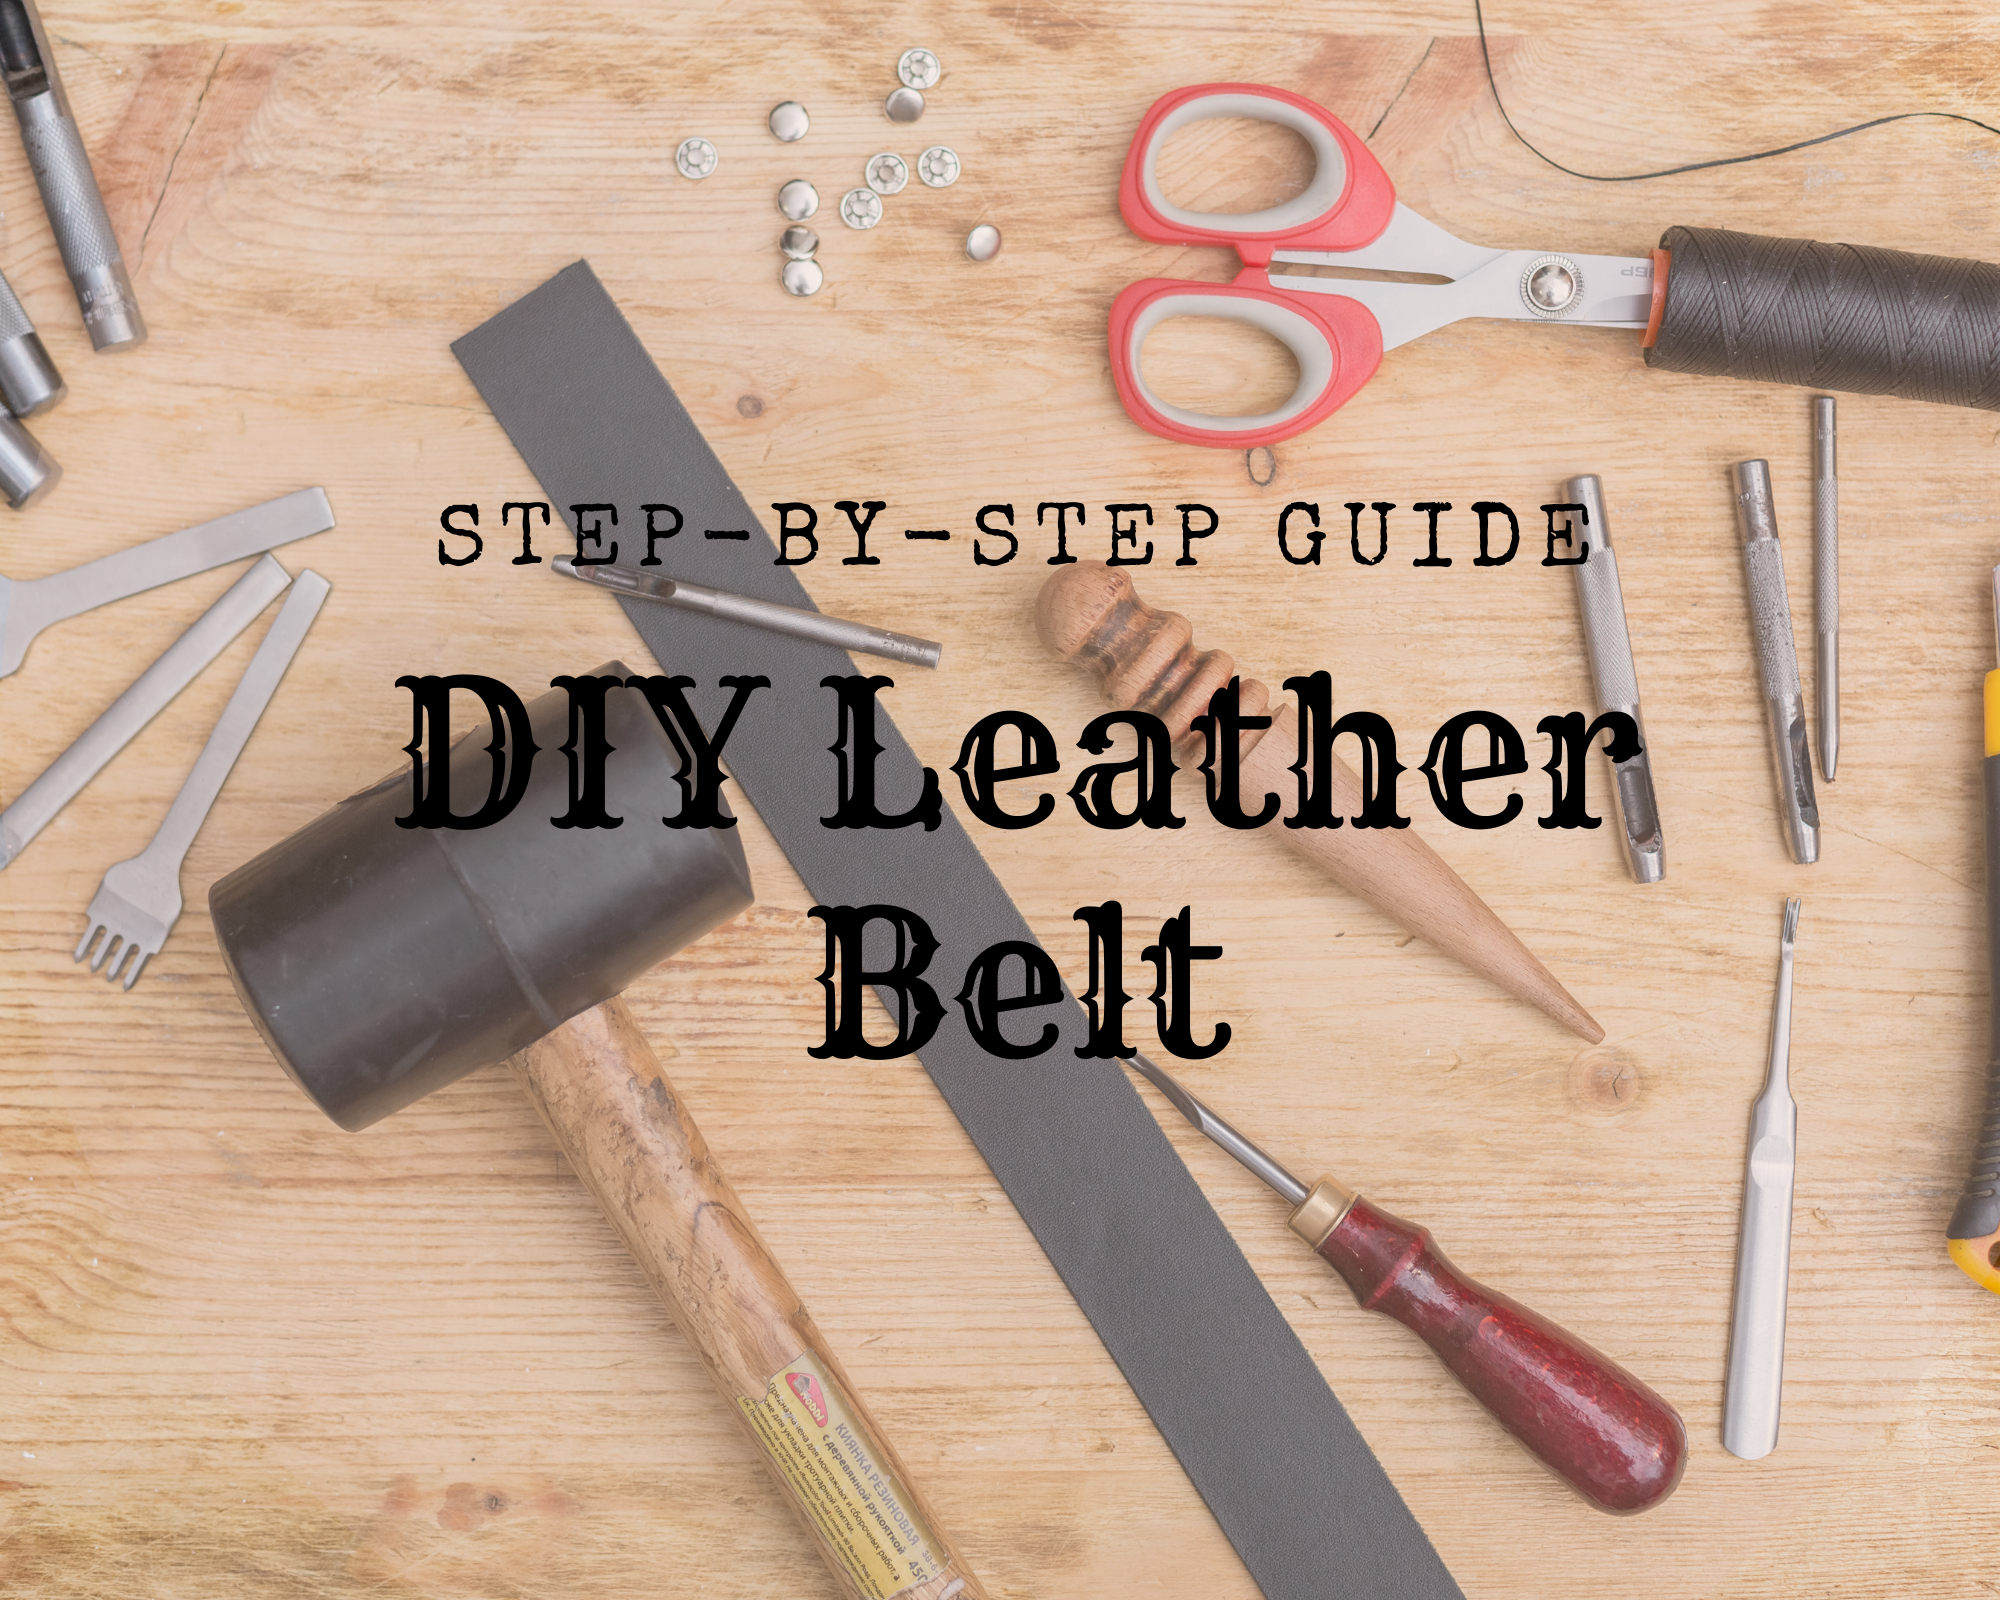
You will need the following tools and materials to make an iPad case:
- Leather
- Magnetic Snap Button
- Leather Thread
- Awl
- Stitching Tools
- Metal Ruler
- Leather Knife
- Pricking Irons
- Creaser
- Cutting Mat
- Burnisher
- Edger
- Leather Deglazer
This step requires you to consider everything useful to help you create the leather iPad case. These tools and materials given are the basic and most common in making leathercrafts. Having these will help in achieving the desired design for the leather iPad case.
Step 3: Draw The Pieces of The Pattern to The Leather
In this stage, we will trace the pattern onto the leather and set it aside. Using a sharp tool to trace the outline will make it easier to locate it for cutting.
Grab the cutting patterns and place them on top of the leather. To trace, place the metal ruler on top of the design and press it down firmly into the leather. Then, drag it and sweep it to the ruler’s side to achieve the perfect lines and curves that should be followed using the sharp tool.
Step 4: Cut Out The Pieces of The Marked Leather
After drawing the pattern to the leather and marking where to cut them, it is finally time for cutting. Cut out the pieces with a straight edge. It will take a few extra passes to get through the leather where it initially started if the utility knife blade is not as sharp as it could have been.
Attempt to cut through something like a single pass because it is generally considered best practice. With the knife, you will have a higher chance of slipping and injuring yourself or making a mess of the cut.
Make a pass next to the ruler with the knife while applying mild pressure to it. Then, keep doing this until you have sliced through the material. If it does not slide easily, try switching out the blade for a new one, and you will be able to complete each cut in approximately two passes rather than three or four.
Step 5: Work On With The Front Pocket of The Case
When your iPad has an additional pocket for holding small items such as money, you will want to bring it everywhere you go. To make this leather iPad case, we will insert a rectangle piece of leather into the front pocket and close it up with a leather strap.
Cut a piece of leather that is slightly smaller in size than the front face of the leather, and smooth the surface while also burnishing the edges. Also required is the application of deglazer and wax.
After cutting the rectangular piece, mark out the sides and bottom portion of the leather with a compass. The marking will be the indication of where the prick holes will be placed. Then, trace the designated areas of the leather with diamond chisels to make it easier to weave the leather together.
Step 6: Make Sure That It Fits Your iPad
While it would be easy enough to guess at the dimensions of the iPad and cut out pieces of pigskin accordingly, there are several steps you can take to make sure the case will fit.
The initial task you need to do is measure your iPad’s dimensions. It is done by opening up the device and measuring its width and height in centimeters with a ruler or measuring tape. This process is made from the beginning, but you should consider checking the size again to ensure fitness.
Another way is to assemble the leather case without stitching or gluing. Lay the leather on a flat surface, put the iPad on top of it. Next, assemble the case by folding the bottom part to the top of the iPad. Check for unwanted spaces and cut if there are any.
Step 7: Stitch The Front Pocket To The Front Surface
The next step after securing the fitness of the case to your iPad is to stitch the pocket you have worked on lately. Grab the rectangular piece of leather and make sure that it is ready to be stitched.
Prepare your stitching tools and leather thread with the leather for your iPad case. Place the rectangular piece on the front surface of your leather case. Put a pencil mark and gently trace the surface on the desired area you want your pocket to be placed.
Put glue on the edges of the rectangular leather and gently press it down to the marked area of the leather case. Since there are holes already, prepare to stitch the holes and ensure that it does not get through the back portion of the leather case.
Tie a knot on the last part of the hole and cut it. Use a lighter for the excess thread to have a clean stitching line. Be careful not to burn the leather; after the excess thread got a little amount of fire, turn it off quickly and press the thread to the leather using a damp cloth.
Step 8: Fold The Leather Before Gluing The Sides
Set up the leather on a mat or a level surface, then slowly raise and lower the bottom half of the leather until it is level with the surface on which most of the leather is laying. Ensure that the part where the leather case will be bent has been thoroughly coated with high-quality wax to avoid having a rough surface on the leather case.
Put a little volume of glue on each side of the leather and press it together, making sure that no adhesive extends beyond the leather’s edges at any time during the process. The sides of your iPad case must be supported by a ribbon knotted around the perimeters of the glued sides for them to hold up your iPad case while the glue is drying.
You can also place a heavy object; it can be a hardbound book or anything on top of the case to protect the leather case from messing while waiting for the glue to dry.
Step 9: Round and Soften The Edges
To complete this stage, you will need a creaser and a burnisher. If you look closely at the folded leather once the glue has set fully, you will notice that the edges were sharp.
Gently scrape the edge with a creaser to soften the sharpness of the edge and give it a rounder, more elegant appearance. Scrape all of the edges and examine to see that everything is level.
After the scraping procedure, take a burnisher and begin burnishing the edges that have been rounded out. The burnishing technique will keep the edges of your leather iPad case as smooth as possible while also generally removing any unwanted particles from the sides of your leather iPad case.
Step 10: Mark The Areas You Will Need To Stitch
The quickest and most straightforward method is to mark the spots where you will stitch your leather. Prepare the sides by marking them approximately half a centimeter from the edge with a compass.
If the leather case has a U-shaped mark on it, you will know you did it correctly. The markings will assist in the alignment of the pricking irons. Place it on the straight-line mark and bury the irons through the leather with a hammer or mallet, leaving holes for an easy stitch.
Step 11: It Is Stitching Time
The outlining of the area will make the sewing process much easier in the long run. Sew the holes from the sides using the stitching tools and leather thread you used with the pocket.
After the stitching process, similar to the pocket, use a lighter to clean up the excess thread. Also, keep in mind not to burn the leather case, or else you will end up making a new one. Add only a little bit of fire and quickly press a damp cloth firmly to the leather.
Step 12: Put The Magnetic Snap Button For The Final Step
Add a magnetic snap button to have a clean lock for your iPad case for the final step. It should lie in the center of the case and remain fastened by gluing it down tightly and pressing it down firmly into the leather.
After all the process, you can now place your iPad inside your made leather iPad case. Make sure that the magnetic snap button secures your iPad inside it.
Get Your Decisions Right And Make A Leather iPad Case Now!
The right leather case for your iPad can protect it from just about anything, even when you are on the go. One of the best things about a good leather case is that it looks good and feels good too. It will improve your productivity by keeping your device free from bumps, and there are many types of cases to choose from, depending on what you need for your particular lifestyle.


