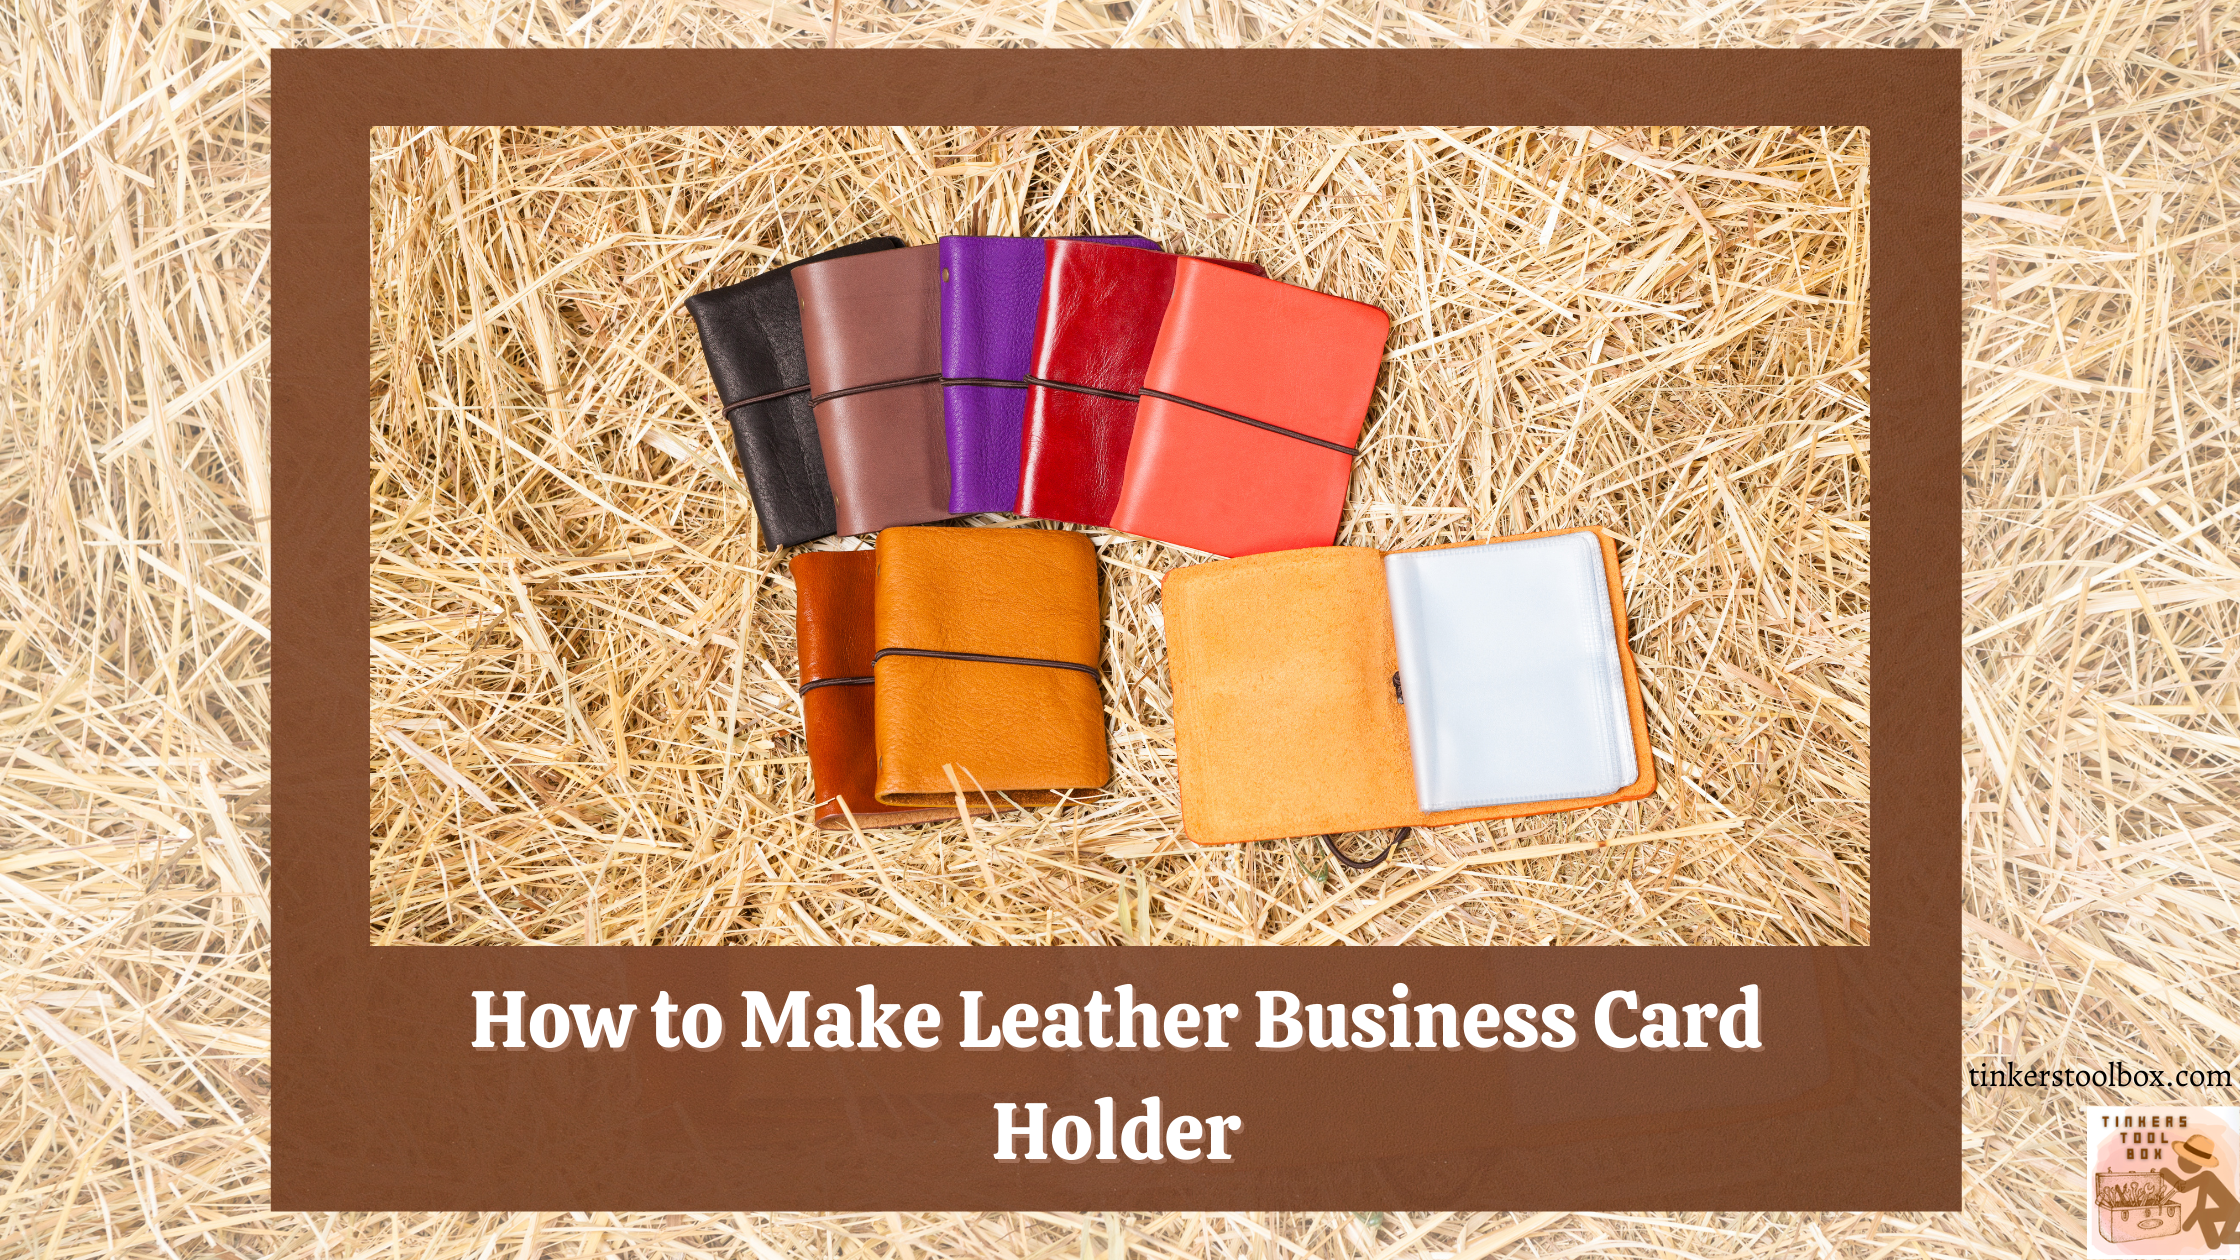
Business cards are an advertisement to generate sales for your company. Despite the positions you have in your company, you will carry a business card. The business card standard size is 3.5 inches by two inches. However, a wallet cannot hold your bunch of business cards, thereby requiring a specific holder. This is where leather comes in to create the most long-lasting and durable business card holder. Leather is a versatile and durable material perfect for this purpose.
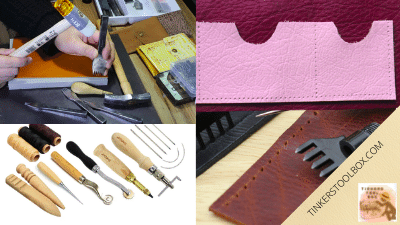
How to make a leather business card holder? The first thing is to prepare the essential tools and materials like leather and thread. Create a pattern if you prefer and cut the leather project pieces. Glue the cut pieces and sew them together. Lastly, dye and burnish.
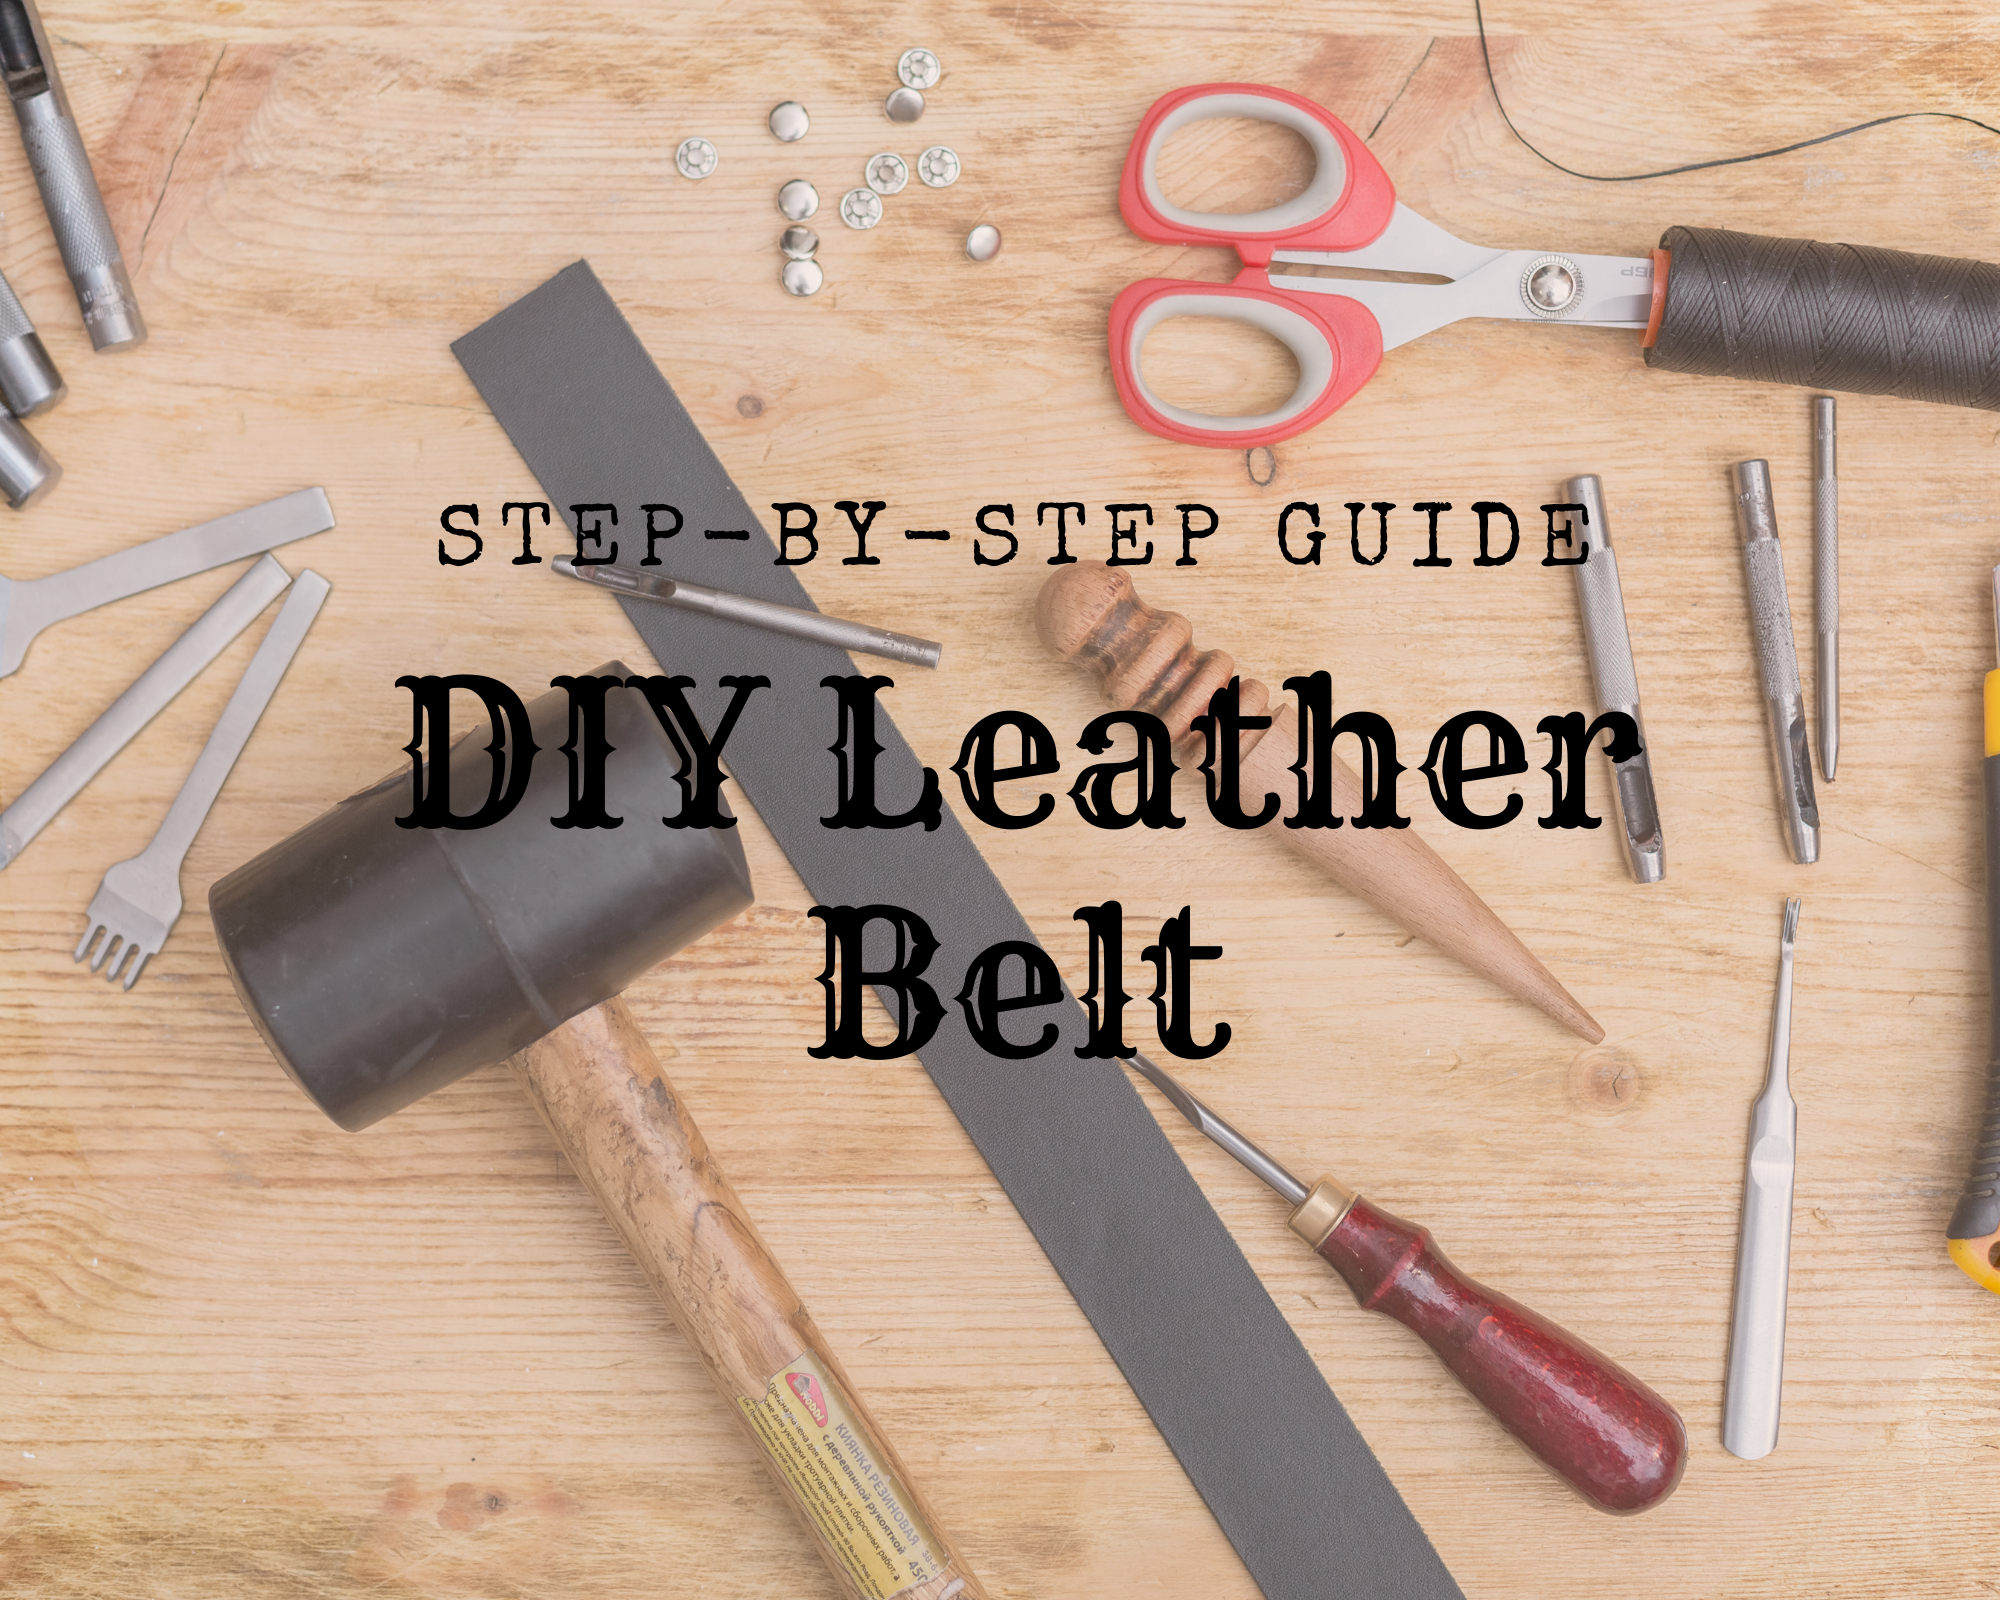
Business card holders may be a simple card wallet, but it processes the common labor in leatherworking. These are measurement, cutting, gluing, sewing/ stitching, dyeing, burnishing and also require pattern making. The leather business card holder involves painstaking labor to produce one, but the good news is, they are created easily due to their sizes. This project is simple and suited for a beginner. You can follow the details in this article and make your leather business card holder.
Start-Up With Essential Tools and Materials
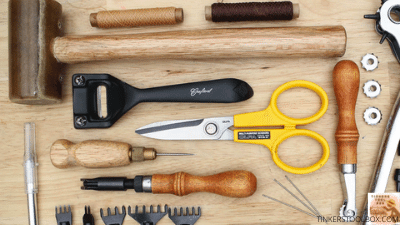
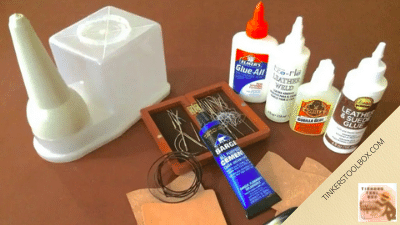
Of course, every leather project always starts with gathering the essential tools and materials. It also goes for crafting leather business card holders despite the item dimensions. The process requires the specific tools to carry on the material or will frustratingly look for alternatives, especially the burnisher. Below are the things you need to prepare before working- tools & materials.
The Needed Tools
First of all, you have to prepare efficient cutting materials. This can be scissors, a utility knife, a straightedge, or a rotary knife. You can also add a Xacto knife for more precise leather cutting. Ensure that the blades are sharp to prevent damage to your leather caused by blunt tips. Also, remember to cut on a cutting mat or board to avoid unmanageable and unwanted leather movement during the cutting process.
The next set of tools includes a scratch awl and a leather hammer or mallet. This pair is used in establishing or making marks on the leather where the needle and thread will go through during sewing. Having this at bay will make sure that you can stitch smoothly and evenly by prepping the leather prior to sewing.
While for sewing, you will need blunt stitching needles, stitching pony. Also, prepare a canvas or denim, chisel punch, and dauber. Also include wing dividers, beveller, foam brushes, and wood slicker on your list.
The Needed Materials
- Dye
- Thread
- Beeswax
- Water-based contact element
- Leather of choice
- Card case template
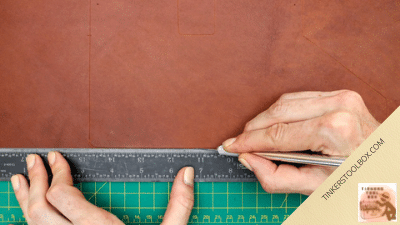
Be Systematic! Create and Follow A Pattern
Most projects need a guide for good execution. In leather works, a pattern is essential to come up with the desired design and correct size. Without it, your workflow might just go on a loop and delay your progress.
Patterns You Can Use
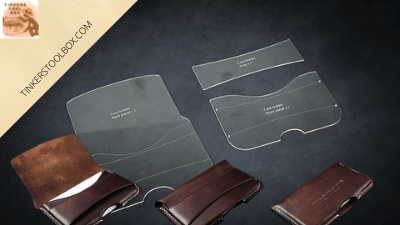
A pattern is essential to create a business card holder. Patterns for a leather business card holder being simple are available online. All you have to do is download the free pdf pattern. You can also purchase one, then print it out.
A paid pattern can start from $2 to $4.99, wherein a stiff cardstock paper is usually recommended to print out your pattern.
Of course, cut out the printed template according to the included instructions (make sure to use a good pair of scissors or a rotary knife, or use a sharp utility knife).
Random Tips In Pattern Making
A tip to make a clean rounded cut is to use a sharp cutting tool. This might be a given knowledge but ensuring the sharpness of your cutting materials is a must to get the cleanest cut possible.
In making a card holder, ensure that your project can hold up to 20 or more business cards. You can just download a free template to have a suitable pattern for the best result on your leather project. This is perfect for beginners who are not yet capable of making their pattern.
Most importantly, always test the sharpness of your cutting tool first before using it.
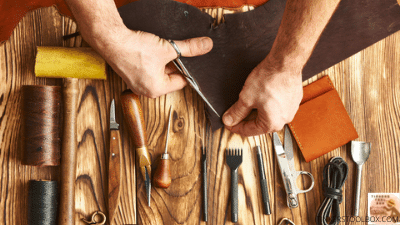
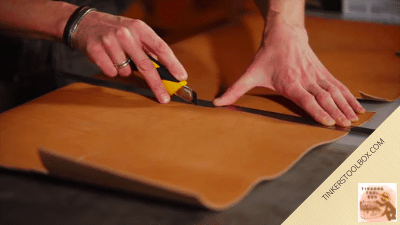
Cutting the Leather Project Pieces Properly
Cutting is simply a way of dividing a piece of leather. Yet, it is not as simple as cutting a piece of paper. It would be best if you avoid or minimize error as much as you can. Leather cutting should be done efficiently to cut with accuracy and not waste a single piece of leather. In creating a business card holder, you need to cut the leather first before starting the actual process.
The Prerequisites In The Cutting Process
Locate first where you want to cut the pieces from your leather along with the placement of your pre-made template. Now, you must turn the leather over in the sense that the backside is facing upward before starting to trace the pattern.
Doing this recommended technique will leave no markings on the finished project of your leather business card holder. Before cutting, inspect to ensure that the piece you will cut is the best leather use in creating your project.
Of course, you will not just be following a standard cutting procedure because you will cut along an accurate printed template/ pattern. This is why ensure to choose the correct placement of your pattern on the flesh side of the leather.
The Actual Cutting
Depending upon your cutting tools preference, you can use a utility knife, rotary, or XACTO knife, making sure that it is razor-sharp. Also, prepare the straightedge to produce a straight cut.
Now cut along the lines with the use of the cutting tool and a straightedge. Using an XACTO knife in conjunction with the RM Radius Tool is recommended when making an inside cut and rounded corners because the tools make cutting easier and smoother.
Once you have cut the leather piece of your project, you are ready to go to the next level in making the business card holder.
Assembling the Whole: Gluing the Cutted Pieces
Now that you have prepared and cut your leather project, the next step is to glue those pieces together. Gluing leather is a must in leather crafting, especially in working with business card holders so that it will indeed align before you stitch it. It would be best if you glued your cut leather pieces the proper way.
The Prerequisites In Gluing Individual Pieces
In assembling the pieces, your objective is to create and glue them to form a leather business card holder as neatly as possible. It is essential to use a business card to be guided on where to glue your piece of leather.
Before gluing the pieces, try to place your business card inside the leather holder for you to know where to apply the glue. It is recommended that you use water-based contact cement to gluing your leather project piece. Paired with your glue is a simple foam craft brushes, which you can find almost anywhere.
Of course, prepare your workbench with paper before gluing the leather to avoid future mess. These are the things you need to do and prepare for the actual gluing process.
Gluing The Right Way
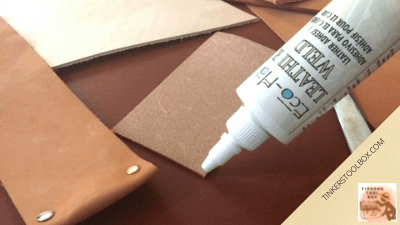
Remember that you only need to glue down the holder’s long edges to provide space for your business cards. Start by gluing both sides of the leather project necessary when you apply the contact cement.
The next procedure is letting them dry. When it is already dry, you can now place them together. Doing this (drying before placing them) promotes a durable and long-lasting hold of the leather. Then line them evenly as much as possible, but it is pretty impossible, so you need to have a belt sander. A belt sander will help you sand the edges with each other.
Sewing the Glued Leather Project For More Durability
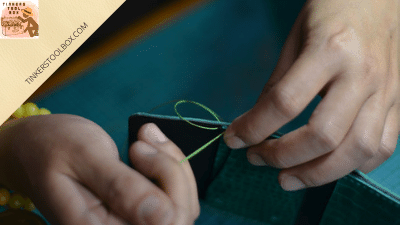
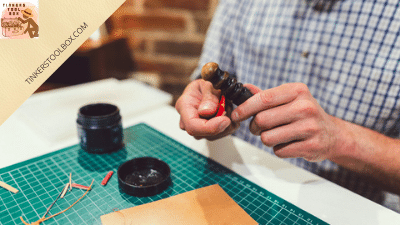
Sewing is the process of making stitches to connect pieces of leather. This process has always been part of leatherworking, even before up to the present. Sewing is an essential skill because it will take you to another level of leather crafting. And, in making leather business card holders, you need this skill. Sewing your project can be done through hand stitching, or you can use a sewing machine depending upon your preferences.
The Prerequisites of Sewing the Pieces
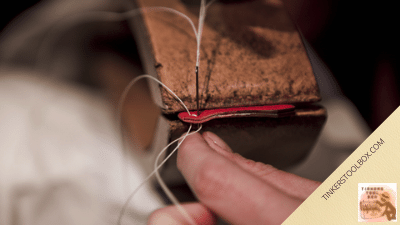
Gather the essential materials in sewing- a three-millimeter chisel punch, thread, leather scratch/awl, needle, beeswax, wing divider, scissor, two-pronged chisel, and stitching pony. Begin by setting the wing divider at about 1/8 “ or 3.2mm and use it to draw a line down to glued two edges.
The scribed line serves as your guideline as you make the first- last holes on your leather project for even spacing. Then create holes on your leather project with the use of a 3mm chisel punch. Use a two-pronged chisel for curved edges so that you can still closely follow the scribed line on your leather.
Now that you have already prepared the leather for stitching, you may proceed to the sewing process.
Hand Stitching For The Meticulous Leather Worker
As it is said, “A good rule of thumb to remember when cutting the thread for your project is to measure the length of the stitch and multiply it by three for each side of the business card holder.” Thread your needle first by poking it with your waxed thread leaving with three inches in the end.
Now place the three inches end of the thread in the needle’s eye and pull the line on the needle over the end. Doing this will produce an inconspicuous knot for sewing. Next is threading both ends of the needles in preparation for saddle stitching.
Saddle stitching is applied in hand stitching the leather business card holder. It is a type of leather stitching that involves two sewing needles to create double stitches.
It will be a hand stitching; make sure to have nice, beautiful, uniform stitches and a well-made clean output. You may use a stitching pony to clamp your leather while sewing to ensure the alignment of holes. Begin stitching at the bottom of the business card holder or the last hole towards the top.
When you reach the last holes, backstitch three holes and lock and cut the thread on the backside closely to the leather. Repeat the step on both sides.
Now use a leather awl having a small amount of glue on its tip and poke it down onto the last hole of your last stitch to lock it in place. Remove the excess adhesive you can find.
The Leather Dyeing and Leather Burnishing
Dyeing and burnishing are processes that provide aesthetics to your leather project. Dyeing means applying dye or pigmentation/ color to your leather project, while burnishing is the act of polishing, burning, slicking the leather edges through creating friction. Apart from these, dyeing and burnishing both add durability to your leather project.
Leather Dyeing and the Beauty It Adds
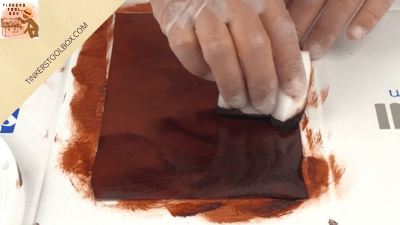
Dyeing and burnishing are essentials in leatherworking. However, in a thin leather project like this business card holder, these two processes- dyeing & burnishing-are unnecessary, but you can do it for aesthetic purposes.
In preparation for the leather dyeing, use a number one beveller on both sides of the leather so that you can have a well-rounded edge and finished looking edge. Strop your beveller first to ensure it is exceptionally sharp before using it on a leather business card holder.
If you want to have clean round corners on your leather project, use small movements with your beveller. After finishing the leather bevel, you can now start dyeing. Never forget to wear some personal protective equipment like a face mask, hand gloves, etc.
According to your style, pick a color you want for your leather business card holder. Use a wool dauber and soak it to the chosen color, for instance- brown.
If the wool dauber loaded so much dye, discharge first the excess color before dyeing the leather project to avoid unnecessary staining. Now gently apply the wool dauber to the edge of your leather project with light pressure. Apply it along the edge until you have covered all the raw faces in your leather.
Leather Burnishing For Sealed and Smooth Edges
Apply the beeswax evenly on your leather business card holder before burnishing it. The burnishing procedure seals the raw edges on your leather project and makes the multiple layers appear as one.
In the thin leather of the business card holder, it is helpful to lay it flat on a solid surface. Since your project used light leather, you can burnish it using canvas back and forth.
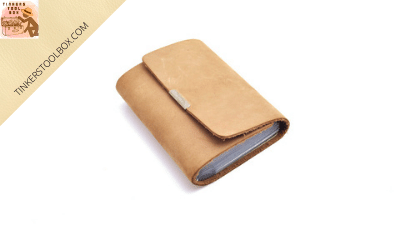
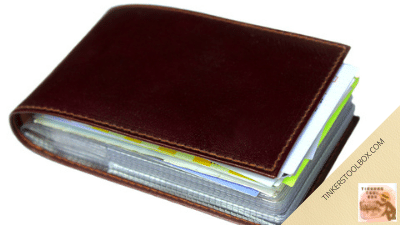
The leather business card holder is now ready. You can test if it will work appropriately by inserting your business cards.
Knowing The Price: How Much It Costs
Making something from anything will require materials, which is associated with spending on your project. Making your own could save you some bucks, which also applies to creating your business card holder.
Things to Consider For Pricing
Variable cost refers to the overall marginal cost in doing your leather project. Variable price includes the materials, labor, and packaging. At the same time, marginal cost includes all the costs behind your leather business card holder.
If you are DIYing your leather business card holder, focus only on the materials and labor so that you can calculate its cost and conclude if you have saved money or not. When you are crafting for selling purposes, include all the variable costs and the profit for you to grow your small leather business.
Their Value For Use

The materials used in leather business card holders are thread, glue, leather dye, and of course, the piece of leather material. The prices of these materials are summed up then added to the variable cost. If the leather project you had is for your personal use, you can easily find a leather scrap at home, provided that you are a hobbyist.
The same with the thread, glue, and leather dye you can easily find at your workspace if you have been crafting leather items as a hobby. Therefore, buying materials used in making business card holders are no longer needed.
For beginners who have no stock yet at home and don’t want to spend money on a piece of leather, you can find a free leather scrap online or look physically to some leather warehouse.
Leather is usually expensive (e.g., vegetable-tanned leather-Hermann oak saddle skirting, 13-15’ heavy mid grades cost $284) considering its types- the thickness & thinness. Still, there are also cheaper materials suitable for crafting business card holders.
For you to save money when buying a leather material intended for the small business production of leather business card holders and other leather wallet products, you can consider the genuine type of leather that cost $40 to $60 with a size of a small handbag at about 6-12” and $180 to $240 for a briefcase size.
So when you create your business card holder, you need a small amount of leather at about 4” by 2.3” (this is just an example but keep in mind that the standard size of the leather business card is 3.5” by 2”) from the 6”-12” genuine leather you bought for $40 to $80.
Concludingly, you still have a lot of leather material from the newly bought genuine leather, which you can use in creating another business card holder, wallet, etc.
To determine the exact price of the leather material used in creating your project, take the precise measurement needed in your project, then subtract it to the overall dimension of the leather material. For instance, the leather material is capable of producing ten pieces of the business card holder, divide it with the leather price so that you can get the exact value of each piece of leather (the precise dimension of the leather material used in crafting business card holder)
For instance, you have $20 as the variable cost (the exact value of the piece of leather cut from the leather material, the glue, thread, and the leather dye), which is already the overall cost if the business card holder is crafted for your personal use.
If it is for sale, add the variable cost, the labor cost (calculated by the hours spent in creating your project), and multiply it with your profit percentage preferences. You will have your business card holder’s price for sale. Note that the shipping fee is not yet included, and it’s up to you on how much value you will add to it.
If planning to buy a new one, you can get a brand new leather business card holder at an online shopping store with a price range of $7 to $30. These leather business card holders’ prices are one of the cheapest products available in the market. In the process, you will be the judge if you indeed saved money in making one.
Conclusion
Making a simple leather business card holder is one of the leather craftings covering the standard processes in making projects such as cutting, sewing, dyeing, burnishing, etc. In making a leather business card holder, the crafter must gather the essential tools & materials and the necessary skill to create one. The finished leather business card holder of yours is now complete having an aesthetic look and, of course, durable & long-lasting.