If you know how to make beeswax candles, you’re in for a ride. One of the most popular candles that most candle makers usually do is beeswax candles. Many people like making beeswax candles because beeswax is sustainable, more environmentally friendly, and a much cleaner alternative to paraffin wax in candle-making projects. Also, it has become one of the biggest trends in modern candle-making, and beeswax is also a great material to use in your projects. Here are some of the tools and materials needed in making a beeswax candle:
- 1 pound beeswax
- 1/2 cup coconut oil
- 6 4 ounce mason jars (or 3 1/2 pint mason jars)
- Candle wicks
- Metal pouring pitcher or an old coffee can
- Large pot that will fit your metal pitcher (or any metal container you are using)
- Bamboo skewers or pencils
- Essential oils (optional but highly recommended)
Step One: Melting and Preparing the Beeswax
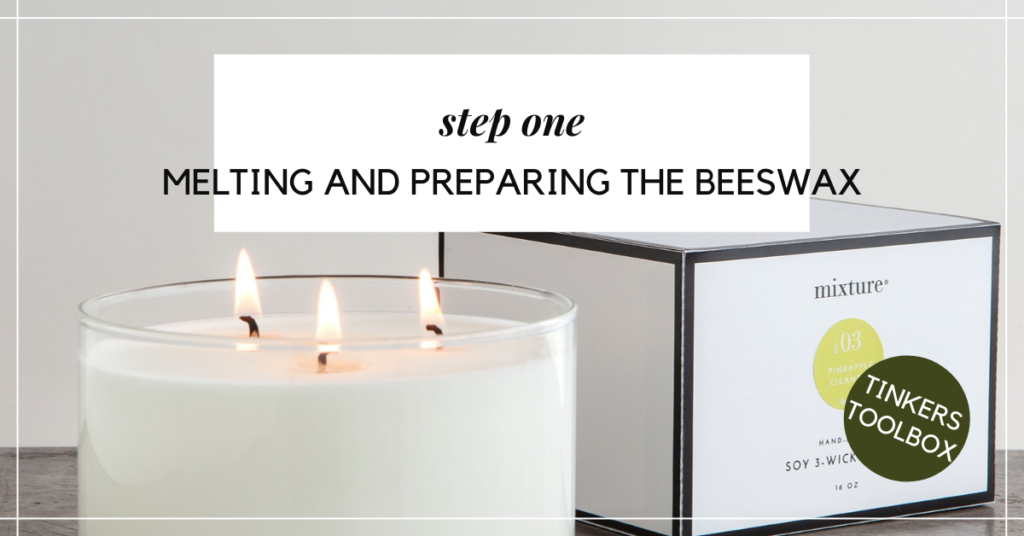
The first thing you need to do here is melt and prepare the beeswax for this project. Pour the beeswax into a metal pitcher or metal container and set it aside. Use a metal container that you can toss away when you are through since it is nearly hard to remove beeswax from dishes once exposed to heat. I am making do with an old popcorn tin.
You can use whatever container you have at home, as long as they are heat-resistant. I do not want to endanger you by using flammable containers, such as coconut husks, which are more popular nowadays. I do not recommend using those because they might be disastrous to you and to the recipient of the candles if they are meant for gifts.
Fill a big saucepan halfway with water, just enough to cover the beeswax height but not so much that it spills out when the water begins to boil. Placing the jar in the saucepan and bringing the water to a low and gradual boil is next. Allow the heat coming from the water to melt the beeswax, stirring it with a wooden skewer every few minutes until it is completely melted.
Since beeswax has the potential to catch fire, keep an eye on it while it’s melting and check to see that no wax pellets have fallen onto your hot burner. One clue that the wax is becoming too hot in the jar is when it begins to smoke, so keep an eye out for that as well.
There are different methods for melting your beeswax, and this depends on what you have been using for your candle-making projects for so long. One of those is using crock pots, which comes in handy for those unexpected, emergency candle-making projects. Temperature control is possible with the majority of crockpot models. It is necessary to place the wax in a container placed inside the crock.
Please remember that this step is critical, especially if you want to cook in a crockpot. Beeswax can be difficult to totally remove from some surfaces. An extremely low setting is selected for the unit, which can melt slowly.
Another way is through a double boiler. Fill the bottom pan of the double boiler halfway with water and lay the top pan on top of it. Place the beeswax in the top pan and set it aside. Cooking on medium-low heat for a few minutes will allow the wax to melt more quickly.
Keep an eye on the bottom pan to ensure it does not become completely dry while the wax melts. This will cause the temperature of the wax to rapidly rise to the point where it will scorch or reach its flashpoint. Flashpoint is at this moment that the beeswax will begin to burn and erupt into flames. This is the most important reason you should never leave your beeswax alone while it is melting.
Remember these pointers wherever you are heating your beeswax: It’s important to remember that mild heat is the key. Beeswax begins to melt when the temperature is between 143 and 151 degrees Fahrenheit. At temperatures beyond 170F, beeswax loses its aroma. In addition, the color will begin to deepen. The flashpoint of beeswax is between 400 and 500 degrees Fahrenheit.
As the beeswax melts, it turns clear in color, regardless of what color the beeswax block was originally painted. From virtually white to yellow to deep amber in color, the spectrum is wide at this point. However, as soon as the cooling process begins, the color returns to its previous state. Remember that we are making a latte beeswax candle here, so if the color is not what you have expected, feel free to use color dyes.
Step Two: Putting the Wicks on the Candle Containers
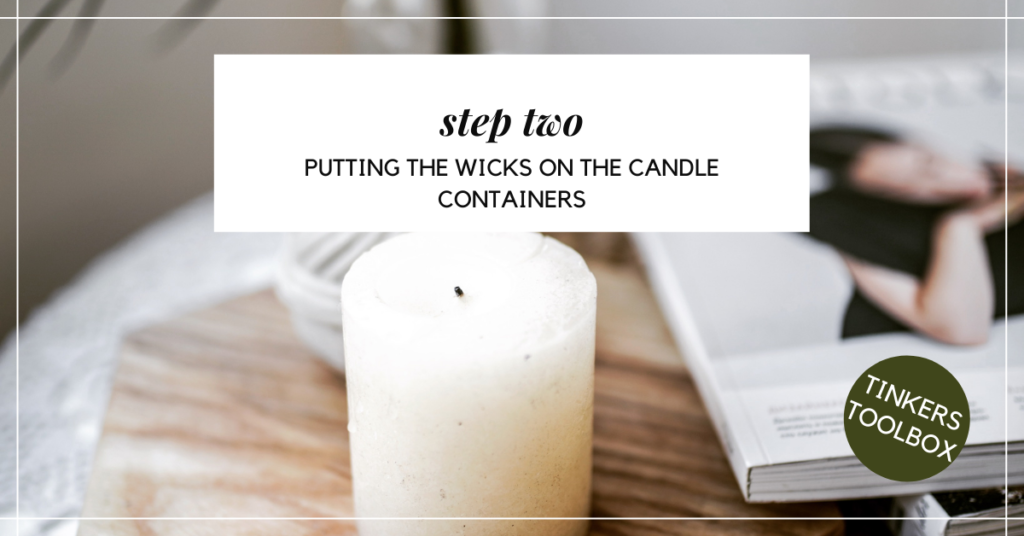
While you are keeping a watchful eye on your beeswax, you can proceed with putting the wicks on the candle containers. Pick up your wick, complete with a wick tab and wick stickers from the counter. Pull one of the wick stickers from the roll and place it on the wick tab. Then peel the paper backing off the exposed side of the wick sticker to reveal the sticker itself. Attach the wick to the middle of the jar’s bottom at its lowest point.
Alternatively, a little amount of glue should be used to secure the wick at the bottom of the mason jar, and then fill it with the melted wax and coconut oil. Allow approximately one inch of space at the top of the jar.
Placing it horizontally across the top center of the jar with the other end of the wick wrapped around a pencil or bamboo skewer may help it to burn longer. While the wax hardens, this will help to keep the wick centered.
Step Three: Adding Essential Oils And/Or Color Dyes

This is an optional step, and you do not have to do this if you are not into essential oils, color dyes, or both. Since we are making a latte beeswax candle, you might not need any color dyes at all. Still, suppose you happen to be dissatisfied with the results of the natural color of the beeswax. In that case, you can add some color dyes to achieve your desired hues.
Pro-tip here: since you are making a latte beeswax candle, I recommend adding a few drops of coffee-scented oil to make this candle project extra special since you will be on-brand for this project. There are a lot of essential oils that you can use in this candle-making project since many brands are now effective to be used in beeswax, along with soy wax and other kinds of wax.
Remove from heat and whisk in your essential oils until they are completely dissolved in the next step. Gentle whisk the contents with your glass stirring rod or a wooden spoon until they are well combined. Pour the liquid into the jar slowly and gently using your chopsticks, being sure to keep the wick in place during the procedure.
However, you can skip this step if you do not want to use any essential oils and/or color dyes.
Step Four: Pouring the Beeswax Into the Candle Container
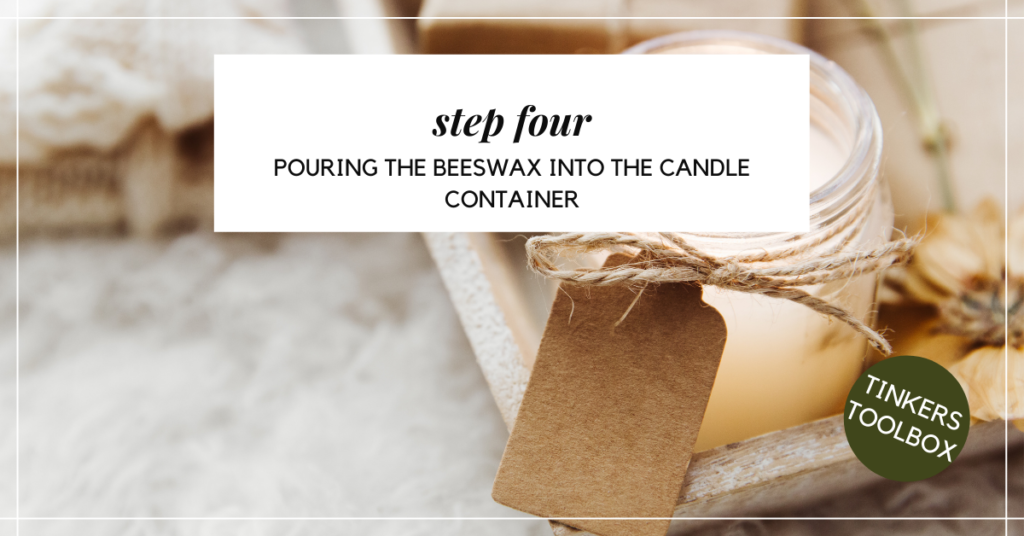
After you have melted the beeswax, added the essential oils and/or the color dyes, now is the time to pour the beeswax into your selected candle container. As soon as the beeswax is completely melted, remove it from the heat and whisk in the coconut oil until thoroughly absorbed. After a few gentle stirs with the bamboo skewer, the coconut oil should have melted and been entirely incorporated.
Fill the bottom of each jar with a little amount of wax, leaving about a half-inch of room at the bottom of each jar for expansion. The pitcher should be continuously heated with hot water to maintain the melted wax.
Insert a wick into the wax in the center of each jar and press it all the way down into the wax until it is completely covered. By pressing the wick down and holding it in place for a few minutes with a skewer, you can ensure that it is properly positioned before continuing the process.
Continue to allow the wax to cool until it has hardened enough to hold the wick in place, which should take around 5-10 minutes on average. Wrap the top end of the wick many times around a bamboo skewer until it is tight, with the skewer lying across the top of the jar after the operation. While the procedure is underway, it may be essential to use a small piece of tape to keep the wick from slipping off the skewer.
Holding on to the skewer, gently pour the remaining melted wax into each container until it is completely filled. Allow approximately one inch of space at the top of the page. To ensure that the wick is positioned in the middle of the jar, you may need to move the skewer that holds the wick.
Allow plenty of time for cooling. This procedure might take many hours to complete. Consequently, it is recommended that you leave them overnight. It is best to keep them overnight so that the wax cools down naturally without any complications at all. Again, candle-making, in general, will test your patience, so do not be impatient when waiting for the wax to solidify.
Step Five: Trimming the Excess Wicks
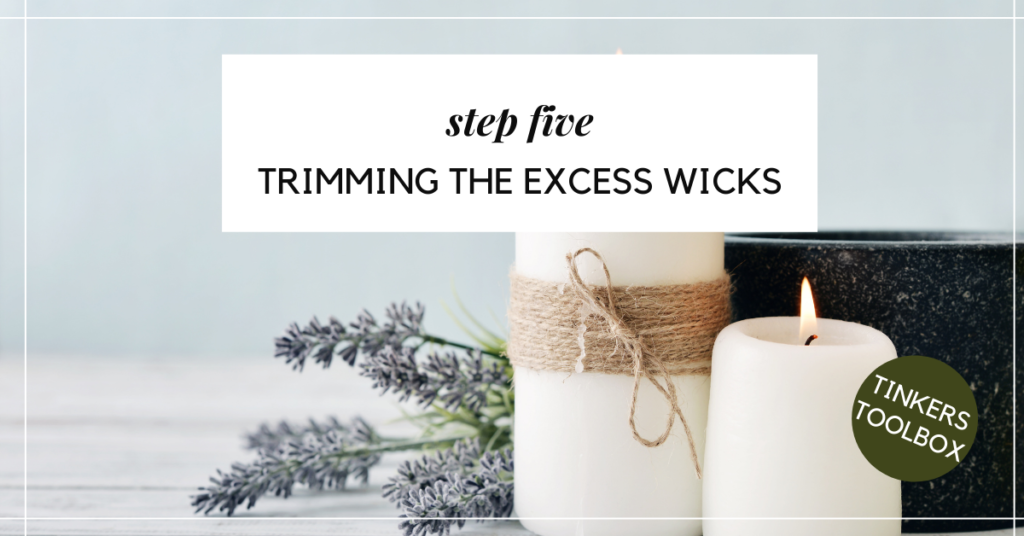
After letting the beeswax solidify and cool down overnight, the next thing you should do is trim the excess wick. The first thing you should do is trim the wick to around 1/2 inch in length. Do not trim the candle any shorter because doing so will result in a smaller flame and a greater likelihood of the candle tunneling. Simply blow out the candle after it has been lit if the flame is flickering wildly or smoking, trim the wick a little more, and then relight it.
Step Six: Finishing Touches and Embellishments

At this stage, your beeswax candles are already done. However, I am not stopping you from showing your creativity in putting embellishments and other finishing touches on the candles. These can usually be done on the container by tying ribbons, putting some glitter and paint on the jars, or simply putting stickers around the candles.
If you want to decorate the inside, you must do that before pouring the wax inside because there is no way you can do that when the wax solidifies at this point. However, suppose you want to do embedded designs. In that case, you must be careful in choosing which items you will put inside as it can also cause burning hazards.
It might end up shattering the jar when it heats up too much or burns the surface where you have placed your candles. You can read about the don’ts in candle-making in this article I have written here for reference.
Step Seven: Packing the Candles (for Gifting Purposes)
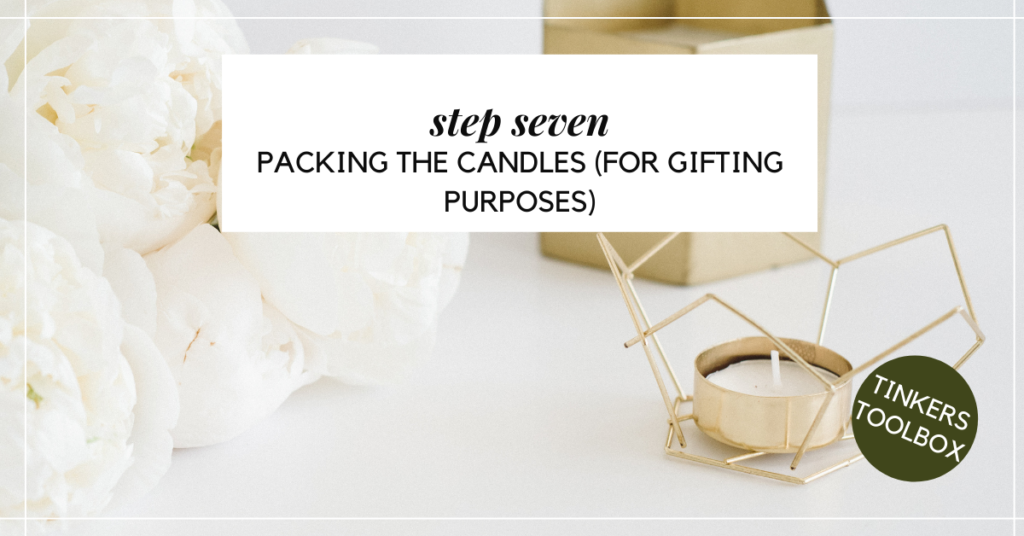
This is one last step you must do if you are making these latte beeswax candles for gifting purposes. You can put them in boxes or paper bags, whichever fits your aesthetic. I always recommend putting the candles inside white and black candle boxes a la Jo Malone’s expensive candles and aromatic essentials.
Another tip is to buy an off-white paper bag and then a long strip of shiny ribbon to tie the bag shut, and there you have it: an expensive-looking gift for friends and family. You can also add some coffee elements to it, such as coffee-colored notepads or coffee-scented items that will complete the latte beeswax concept. The world is your oyster, so do whatever you want at this point. After all, it is supposed to be representative of your creativity and personality.
Wake Up to the Scent of Coffee With This Beeswax Candle
At the end of this candle-making project, you are expected to have a latte-colored beeswax candle, either using its natural color or enhanced by color dyes. You can also have a coffee-scented candle when you light it up if you have decided to add essential oils to the mix. However, this is still great if you decide not to add any colors or scents to the mix. You can expect a candle with a cleaner burn and a more sustainable origin since beeswax is more environmentally-friendly than the others. Happy candle-making! I hope that you enjoyed using beeswax for your candle-making projects.