Some products of innovation eventually become outdated as technology improves and human trends shift. Not candles. Candles continue to be popular even when people no longer use them as an alternative light source. This demand comes from the popularity of scented candles, whose global market was worth USD533.5 million in 2020 and is still estimated to grow in the coming years.
Because of this, it is necessary to make your scented candles stand out, and you can only do so by ensuring that your candles have a unique fragrance that lasts.
To make the scent of a candle last longer, you will need to go back to the basics. The length of time the smell of a candle lasts depends on the compatibility of its materials, namely the wax, wick, and fragrance oil, and the actual candle making process, which starts from measuring your materials correctly and ends with curing the candle in the right amount of time.
In this guide, you will learn how every component of a candle affects its smell and how making the right tweaks in your candle making process can help you make your candle’s scent last longer.
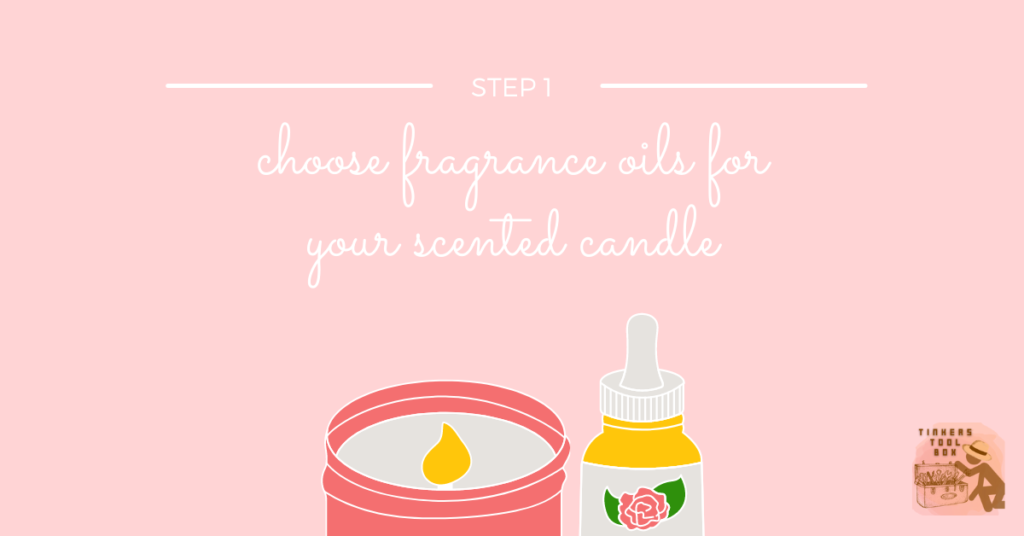
Step 1: Choose Fragrance Oils for Your Scented Candle
Anyone can mix fragrance oils and wax to make scented candles, but it takes extra attention to detail to get the scent you want and make that scent last as long as your candle burns. Everything depends on mastering the basics of candle making and tweaking the process to get your preferred results. Here’s the lowdown on all the components that will ensure your candle will have a long-lasting scent.
The journey to perfecting your scented candle begins with finding fragrance oils. Start with scents that personally appeal to your sense of smell and build your fragrances from there. It doesn’t matter if you prefer citrusy, floral, earthy, minty, or spicy scents. Trust your nose, experiment, and eventually, you will come across a scent that appeals to you and your potential customers.
However, choosing the right fragrance oil does not guarantee that your scented candle will smell good. Several other factors come into play, all of which involve how you use your fragrance oil during the candle making process.
Before adding fragrance oils to your chosen candle wax, make sure that both components are compatible with each other. There are fragrance oils specially made for candle making, and using them will guarantee that the wax will hold the fragrance better.
If you’re unsure if the fragrance oil you would like to use will work with your chosen wax, check the product specifications, or ask the supplier directly. Product reviews are also a great way to see which fragrance oils work well with which type of wax. It will save you time and money and give you insight into the processes and techniques of other candlemakers.
Another thing to consider is portions or how much fragrance oil you should add to the mixture. Again, it is tempting to assume that putting more drops would yield a more potent and better-smelling candle, but this is not the case.
Adding too much fragrance oil can negatively affect your wax formula and may even shorten your candle’s burn time. The shorter the burn time is, the less time there is for your candle scent to permeate the air.
Instead of pouring too much of the same fragrance oil, try combining different scents that would yield a unique and more potent smell.
Lastly, it is vital to add the fragrance oil at the right moment. Check if your supplier provided a recommended wax temperature and follow their advice.
Suppose you don’t get your preferred result, and the candle does not smell great—experiment by adding the fragrance oil a few degrees warmer or cooler. Test, record your progress and try again until you find what works best.
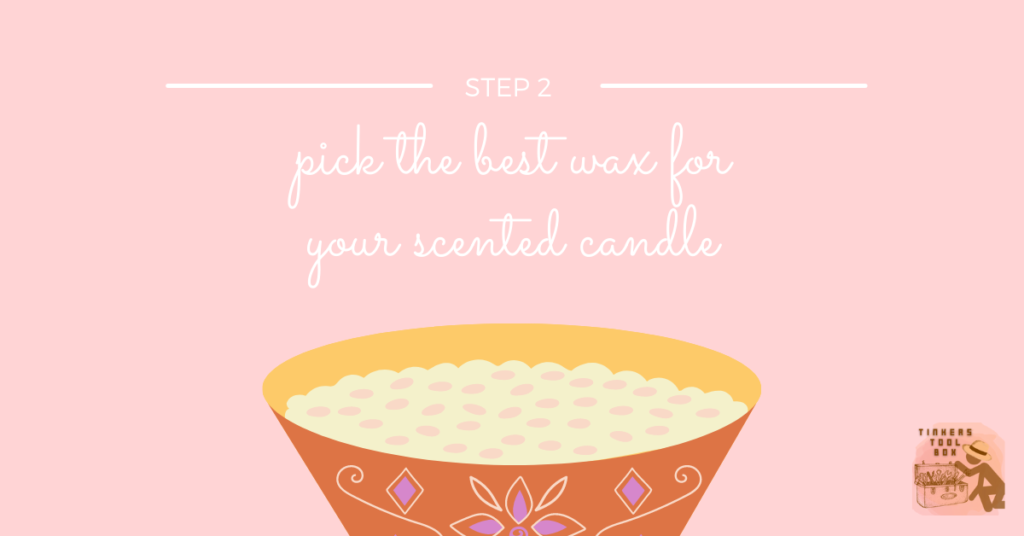
Step 2: Pick the Best Wax for Your Scented Candle
The type of wax you use to make candles will determine how it will smell. Firstly, different types of wax can hold different amounts of oil. For example, paraffin wax is lighter than other types of wax when burnt, which means that it can diffuse further and enhance the overall scented candle burning experience.
Secondly, wax types like bayberry wax and beeswax have inherent aromas that can complement, enhance, or change when combined with fragrance oils, so consider this when you use them.
Most importantly, please take note of the wax’s melt point and only add the fragrance oil when it reaches the recommended temperature. While it’s not always necessary to follow the recommendation to the T, knowing it will give you a good starting point.
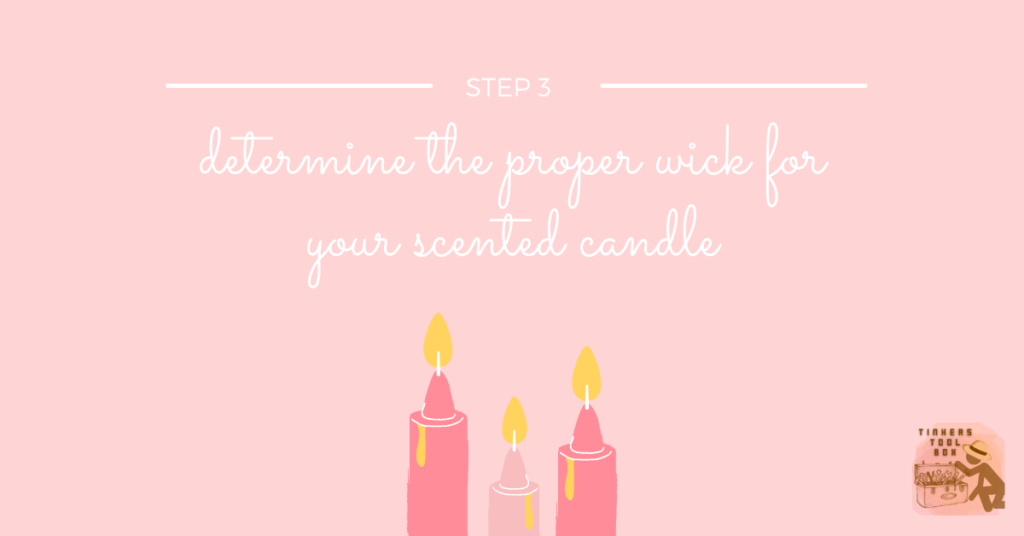
Step 3: Determine the Proper Wick for Your Scented Candle
The performance of the candle’s scent, precisely the strength of its aroma and the length the fragrance will last, depends on every component of the candle. Ergo, no matter how good your fragrance oil is and how compatible your oils and waxes are, the final result can still fail if the other components are unsatisfactory.
Let’s talk about wicks.
The primary function of the wick is to sustain the candle’s flame with the use of wax, which functions as the candle’s fuel source. Therefore, if your scented candle’s wick is not up to par, it will not burn and provide fragrance as desired.
As a rule, always measure your candle wick per the diameter of your candle. Candlewick suppliers often indicate recommended diameters that correspond to the wick length.
A wick that is too short will not produce any melt pool, which will affect your candle’s hot throw. On the other hand, a wick that is too long will make the candle burn quicker, diminishing the time it can add fragrance to your room.
Try different sizes and types of wicks to get optimum results for your candle formula. It will not only improve your candle’s burn time but can also boost its hot throw.

Step 4: Perfect your Scented Candlemaking Process
Now that you’ve learned how crucial each component of a scented candle is, it’s time to recognize how the actual candle making process affects the overall performance of your candle.
Each person prefers different scents and smells, so it is only natural for you to tweak your candle formula to achieve the specific fragrance you want. Remember to mix everything thoroughly to make sure the wax and the fragrant oils are entirely incorporated.
Experiment with the measurements and portions of your wax, oil, wick, and other additives while also considering your supplier’s recommendations. Try different brands for your materials, test several types of wicks, wax, and fragrance oil. Check which combinations yield the most aromatic hot throw and the longest burn time.
Letting your candles cure for different lengths of time can also change their performance. Cure your candles for at least 24 hours and at most two weeks, then study which smells better. Don’t forget to test your candles in the appropriate room size, as this also plays a part in your candle’s hot throw.
Changing every variable in your formula may be overwhelming, so take it one step at a time. Then, record all the changes you’ve made and write down the results so it will be easier to know what to alter and what to retain.
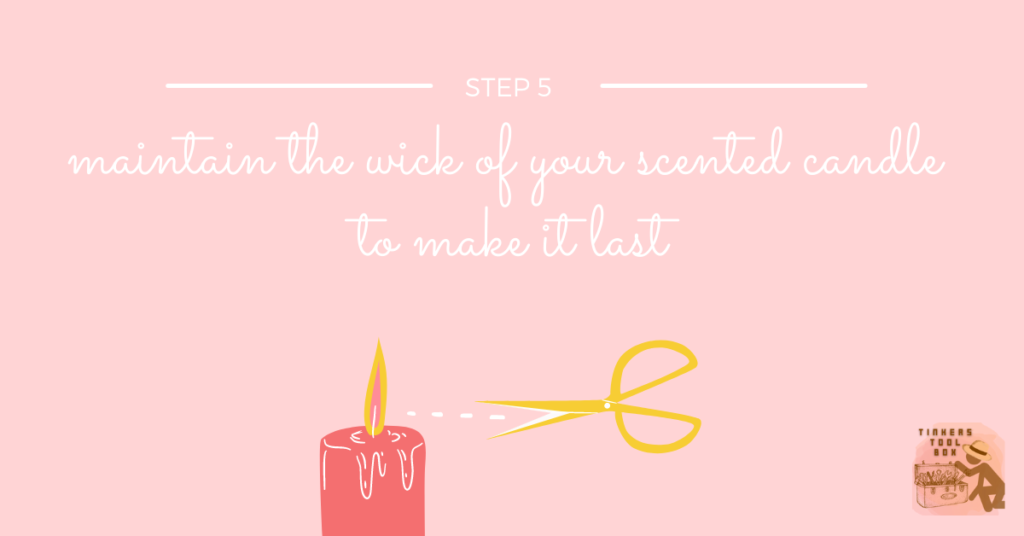
Step 5: Maintain the Wick of Your Scented Candle to Make it Last
Aside from the components that make up a scented candle, the actual burning process also affects the strength and length of its hot throw. Here are a few tips on how to burn candles properly to make their scents last.
Always trim your candlewick to the appropriate length before every use. Doing this prolongs your scented candle’s burn time, melt pool, and hot throw. Recommended wick lengths are often indicated in the candle’s packaging and usually depend on the candle’s diameter.
You can use a pair of scissors to trim candle wicks, but this can be challenging, especially when a significant portion of the candle has already melted. Though not necessary, candlewick trimmers are better alternatives because they can cut wicks from a vertical angle. Wick trimmers also have rounded edges to catch excess wick stubs and prevent them from falling into your candle.
In addition to this, you can use a candle wick dipper not only to snuff out your candle but also to coat it with wax. Dipping the wick in the candle’s melt pool will make it easier for you to light it next time.
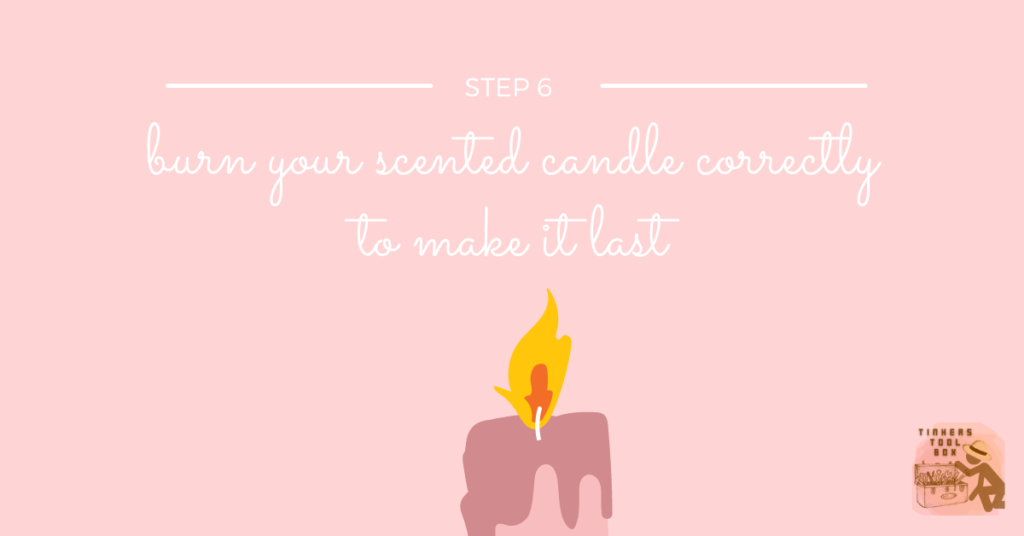
Step 6: Burn Your Scented Candle Correctly to Make it Last
Burn scented candles in rooms with proper ventilation. Even the gentlest breeze can alter the flame’s shape and the wick’s position, resulting in uneven melt pools. To avoid this, watch if the candle’s flame flickers. If it does, transfer your candle to another location and wait until the flame adopts a steady teardrop shape.
On the other hand, it is also important to burn a candle in a room with sufficient air circulation to prevent excess smoke and ease occupants’ breathing.
Using candles in rooms that match their size and purpose will also strengthen its smell. Save smaller candles for smaller spaces like bedrooms and bathrooms. Burn larger and more candles in dining and living rooms.
It also helps to pick certain fragrances for specific occasions. It does not necessarily make the candle scent last longer, but it can certainly set the mood you want to achieve.

Step 7: Experiment with Your Scented Candle’s Curing Period
Properly storing scented candles can preserve both their cold throw and hot throw, thus maximizing their overall performance. Whether you are a candlemaker who wants to bring the best possible fragrance out of your candle or a scented candle enthusiast who wants to make the most out of the candle you just bought, these tips will make you appreciate your candles more.
It’s tempting to burn your scented candle as soon as you’ve finished making it.
Don’t!
Instead, let your candle cure for at least one day before trying it out. Suppose the resulting scent is satisfactory; congratulations! If it’s not, use the same candle formula and let it cure for a more extended time.
Curing does not only influence a candle’s fragrance; it can also determine how hard or soft the final product would be. The harder the wax becomes, the more likely it is to burn slower. Therefore, it may be helpful to let your candles cure for up to two weeks to see if there are significant changes in their cold throw, hot throw, and overall performance.
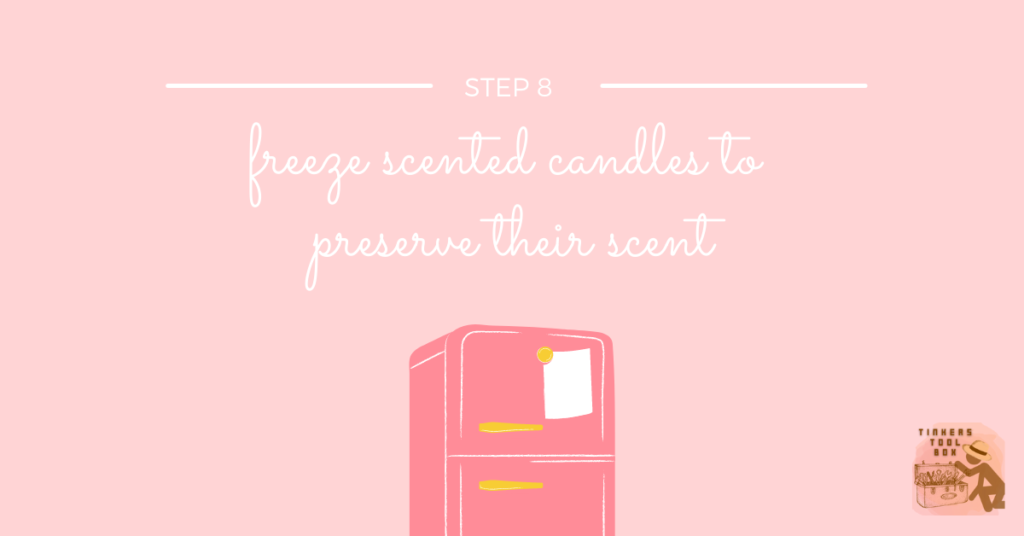
Step 8: Freeze Scented Candles to Preserve Their Scent
Putting scented candles in the fridge may prolong their burn time, as harder candlewax takes longer to melt. A long burn time gives your candle the chance to release its fragrance more slowly.
Small and thin candles will require one to two hours in the refrigerator, while taller and thicker ones will require more time.
Do note that wax also shrinks when frozen, so do not store your candles in the freezer forever. Instead, temporarily pop your scented candle in the fridge only when you are ready to use it.
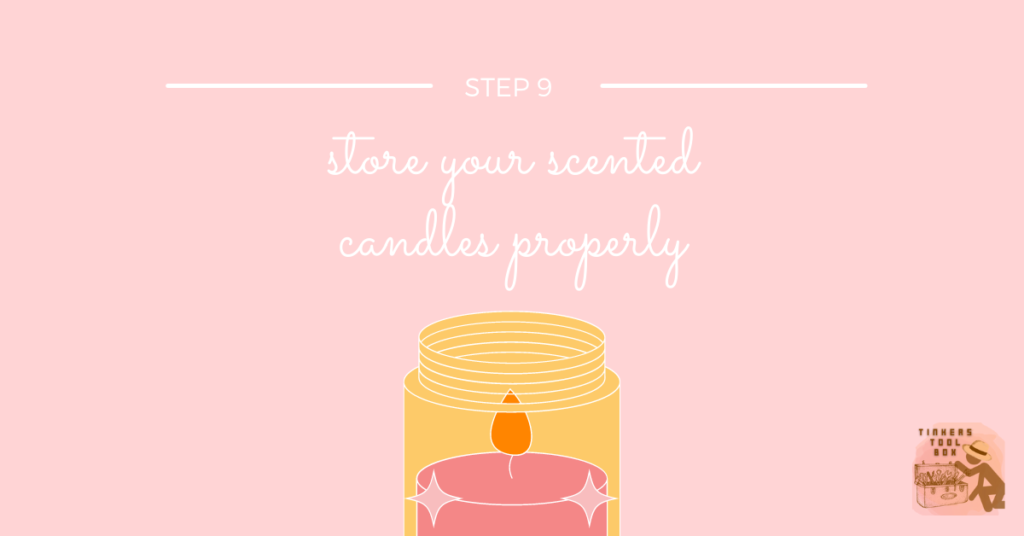
Step 9: Store your Scented Candles Properly
Keeping candles under direct sunlight will affect their hardness, color, and fragrance. On the other hand, putting candles in the freezer will make them shrink. Therefore, opt to store your candles in a place that is neither too hot nor too cold.
Nowadays, some candles also come in fancy packages with lids. These lids are not for aesthetic purposes only. Cover your candles when they’re not in use to preserve their scent and quality.
Lastly, always keep your candles in a safe place, away from children and pets and far from flammable objects. Choose a flat surface that is not prone to accidents to ensure that the candle will melt evenly and not topple unintentionally.
Step 10: Enjoy Your Scented Candles
Making candle scents last longer is possible, and it requires patience and attention to detail.
Recognize that each component of a scented candle contributes to its throw’s strength, quality, and duration. Once you understand the purpose of each material and process, it will be easier to adjust and polish your candle making supplies and techniques.
Do not stop trying until you get the results you want, and constantly jot down changes and developments as you go. Making scented candles entails numerous trials and errors, but it is also a pursuit that is both enjoyable and worthwhile.