A leather travel wallet is one of the common leather products you can buy in the market and one of the go-to projects leatherworkers can make. This will ensure that your money, cards, passport, and other documents are safe. Travel wallets are truly important during trips and getaways not to lose some of our valuables along the way. Depending on the material, some travel wallets can reach a high price, so be wise enough to make one yourself!
How to make a leather travel wallet? Design your wallet, cut out your leather pieces and add some decorative features according to the pattern. Begin to assemble the main body punch and sew them. Make inner compartments and attach them to the main body, then polish and condition.
When we travel, it’s nice to be always on the go, but sometimes we tend to forget things that can ruin our escapades. The common things we tend to forget to bring are cards, IDs, passports, and even important receipts and tickets, which can be very frustrating. If this has also been your problem when you travel, it’s nice to have your own leather travel wallet to keep these things intact ready for another trip. This article will be your guide to the steps in making the best leather travel wallet, the cost of this project, and how long it will take to get it done. So, let’s get started.
- Step 1: Gather The Essentials For The Leather Travel Wallet
- Step 2: Design The Leather Travel Wallet
- Step 3: Create The Pattern Out Of Your Design
- Step 4: Prep The Leather and Start Tracing the Pattern
- Step 5: Cut The Leather To The Right Pieces
- Step 6: Polish The Individual Leather Pieces
- Step 7: Glue the Pieces Together
- Step 8: Focus on the Inner Compartments and Assemble
- Step 9: Punch The Seams On The Leather
- Step 10: Give the Final Buff and Polish
- The Cost of A Personalized Leather Travel Wallet
- Time to Spend in Making A Leather Travel Wallet
- Conclusion
Step 1: Gather The Essentials For The Leather Travel Wallet
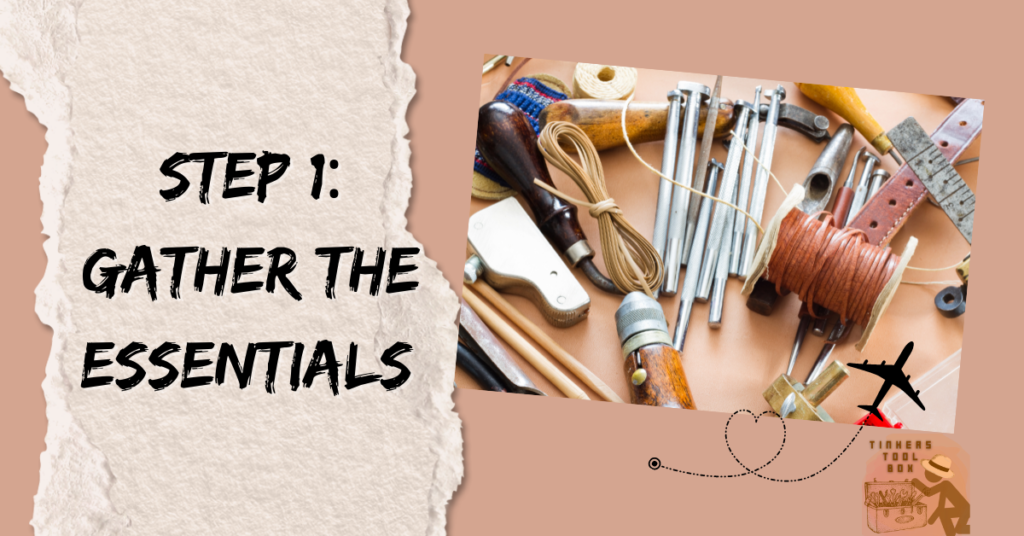
If it’s the first time you will be making a leather travel wallet, you have to purchase all the tools, but if not, you have to focus more on the materials you will need. Here is the list of the project’s essentials.
Tools
- Leather Needle
- Scissors
- Leather Puncher
- Cutter
- Scalpel
- Tracing Stylus
- Leather Gauge
- Metal Ruler
- Dremel rotary tool
- Leather Bevel
- Rubber Mallet
Materials
- Leather of your choice
- Thread
- Sand paper
- Leather Glue
- Leather Polish/ Restorer
- Piece of Paper/ Cardboard
- Pencil
Step 2: Design The Leather Travel Wallet
For a start, you have to make a design for your travel wallet. You can look for any design on the internet or make it yourself. It is important to know your design to make a pattern for your wallet and have the right measurements for it.
In making your design, consider how many compartments you like or want inside it and your travel wallet’s overall size. You will also have to consider the outside design and other features you want to include in making this wallet.
Once you have the design in mind, sketch your design. You can do this by using a simple pencil and paper or a digital graphic tool if you prefer. If you do not have the time to think of a design, you can download free designs on the web.
A typical travel wallet made out of leather has a dual-tone feature or design with dark trim on the inside face. At the same time, the rest of the wallet will be the same tone with some other decorative features like grooves stitching and other trademarks.
You can also apply this or explore other techniques or styles for your design. Consider the leather quality you will use and the capacity and size you like your travel wallet. Just be creative!
Step 3: Create The Pattern Out Of Your Design
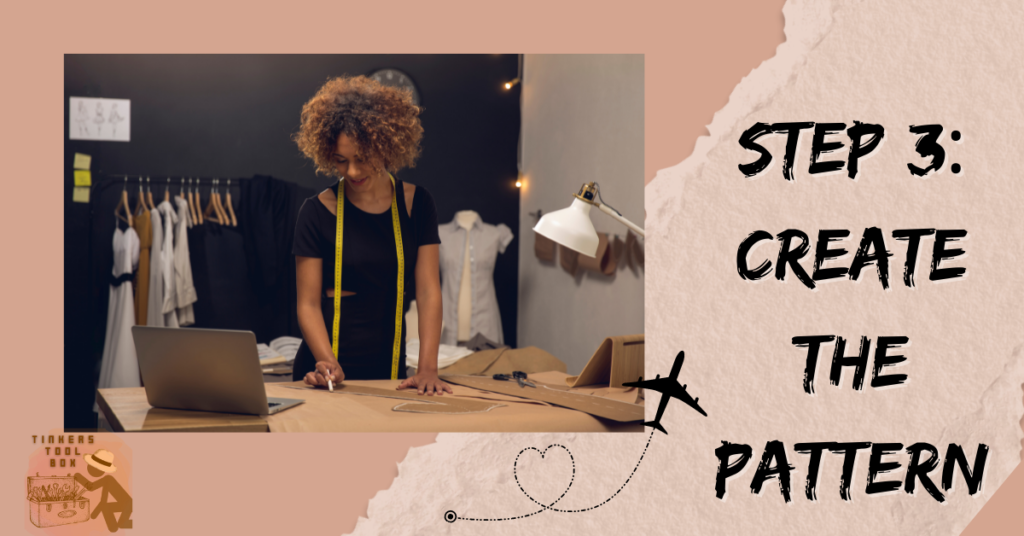
Based on your design, create a pattern to be your blueprint in making the actual travel wallet. This will include the main body of the travel wallet, where you will stitch your inner and outer compartments. Ensure that this is the right size for your design and need. Since there is no standard size for a travel wallet, you can do it your own way.
Travel wallets have inner parts, commonly with two compartments, three inner holders, and two outside compartments for your cards and passports. The back of the wallet will have a piece of pocket for the cash, which is optional.
In creating your pattern, follow your design and measurements since this will be crucial in cutting the leather later on. Print the pattern and cut it out carefully, cutting in the right areas.
Step 4: Prep The Leather and Start Tracing the Pattern
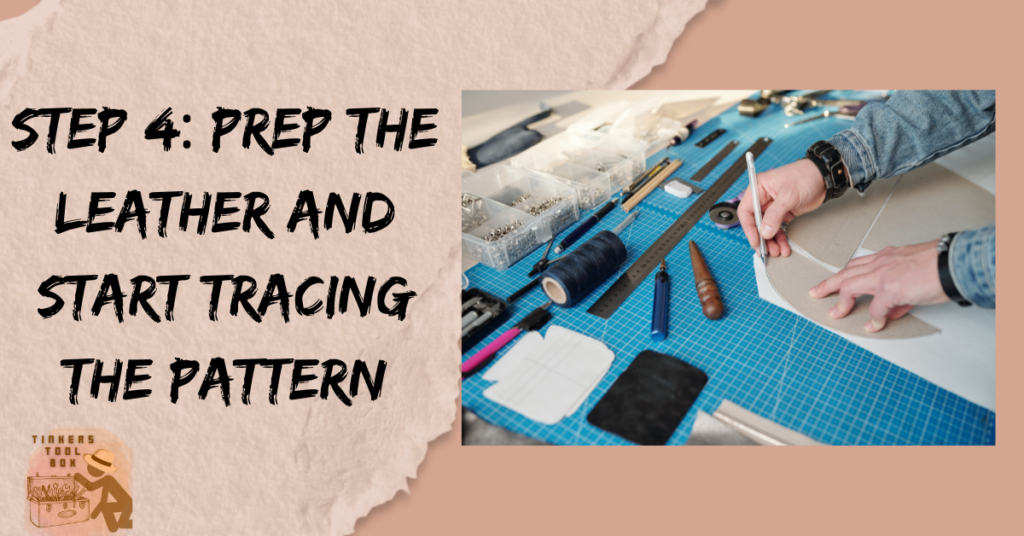
With your design already sketched and cut out, it is now time to prepare your leather piece. Take your cardboard molds, place them on your leather material, and then start tracing to put a mark on them using your tracing stylus or pencil. Ensure to put weights on top of the leather while you are tracing the pattern.
If you are applying a dual-tone design, compare your tones and make sure they’re different, from light brown to a darker reddish-brown, to achieve your design. You can choose whatever tones of leather you like or want.
For the darker-toned parts of your material, repeat the same process before using your leather wallet cover molds. With all of these complete, we are now ready to move on to the next step.
Types of Leather You Can Use
With the wide variety of leather types in the market, you might find it daunting to choose one for your project. With that, here is a quick guide to the best options you can check.
One of the best options for wallets is full-grain leather because its natural rustic look adds more character to your piece. It is a leather type that skipped sanding and buffing hence more natural-looking.
Next is top-grain leather, which is a more flexible option. The leather’s surface is buffed owing to its smooth and soft texture. It also has the right thickness for a DIY project.
Lastly, you can choose suede leather that has a unique texture. It is also high-quality leather from the undersides of animals.
No matter what you choose, make sure that it’s durable since you will be using your travel wallet whenever the travel bug bites you for your next trip.
Step 5: Cut The Leather To The Right Pieces
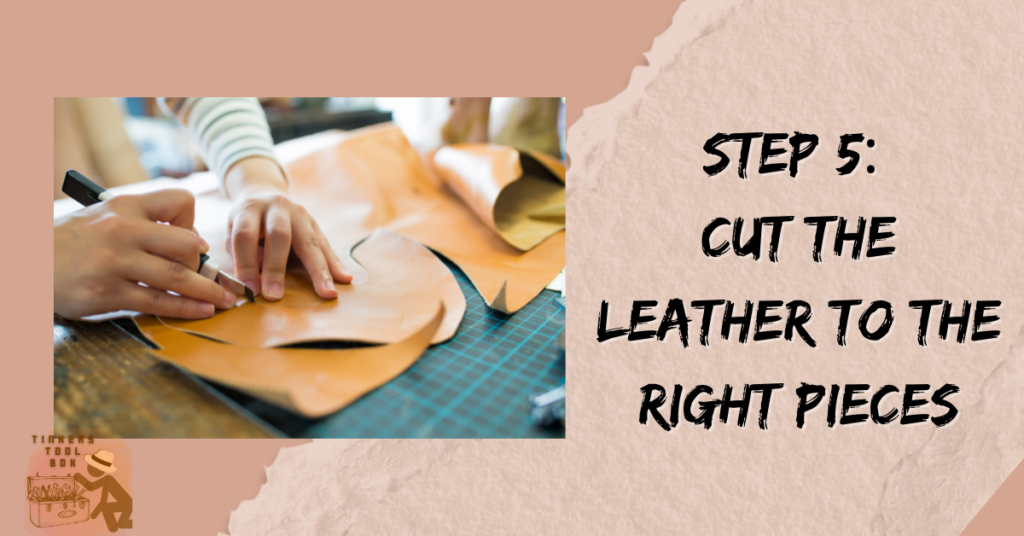
Once you have already prepped the leather for cutting, you can now grab your scalpel or leather knife and begin carefully cutting out your shapes. As usual, you have to use your metal ruler to ensure that you’re cutting straight lines. Cut in a cutting mat to protect your blades and your working table.
Keep cutting lines until all the necessary pieces have been thoroughly removed from the leather piece. Next, get your leather puncher/punches and punch holes required in the leather piece to form round corners.
Before assembling the pieces, you need to polish each piece first.
Step 6: Polish The Individual Leather Pieces
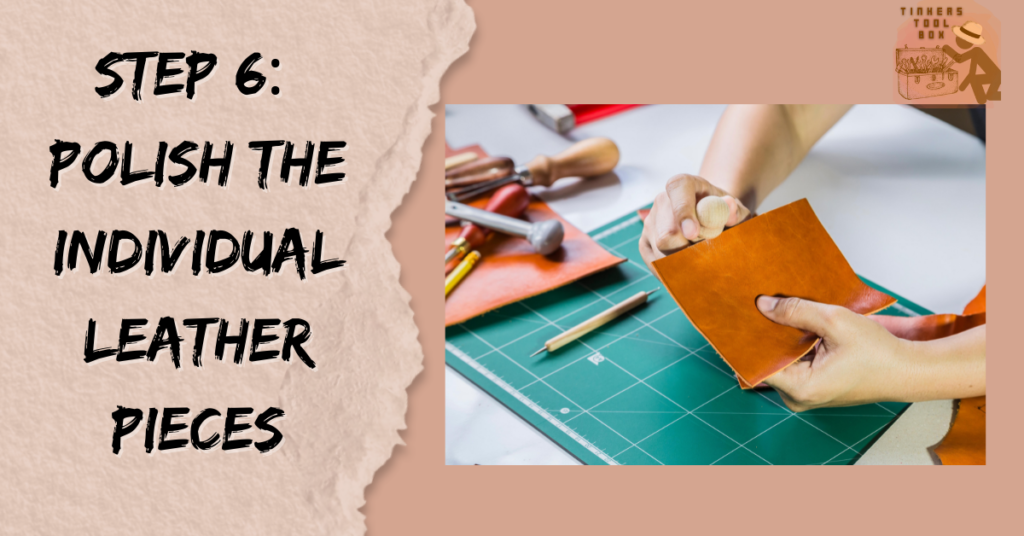
With all of your leather pieces cut out, you can start polishing. Grab your leather polish and apply thin layers over the areas where you need to put them. Ensure to work on the rear side of your material because you would want the polish to be absorbed as much as possible.
With that already done, grab sandpaper, wrap it around the scrap piece of wood or your cardboard, and start sanding down the cut edges. Make sure to polish with enough force to achieve a smooth edge.
Step 7: Glue the Pieces Together
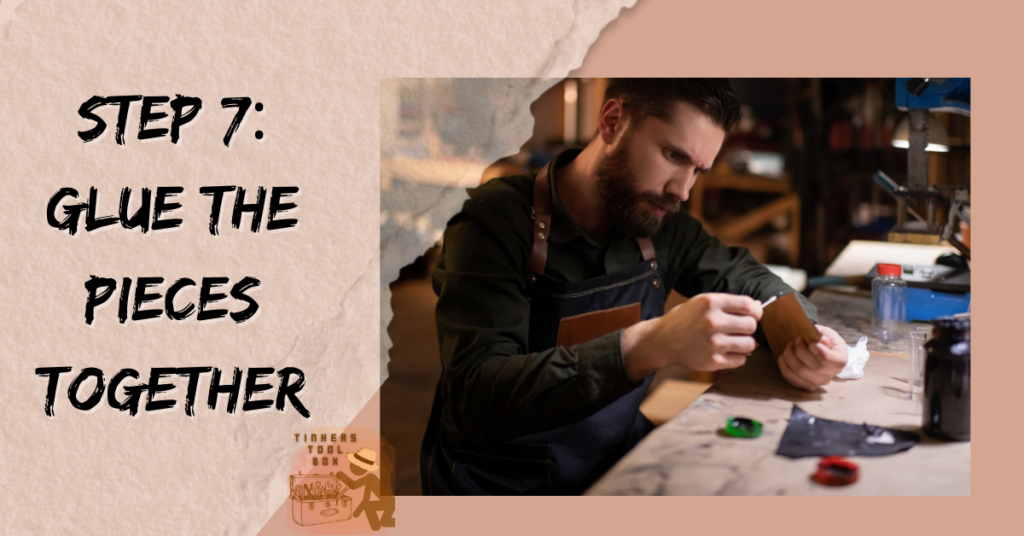
When you are already done polishing all the pieces, it’s time to begin assembling your travel wallet. Begin by gluing the pieces together using your leather glue. Mark out the shape of the leather component that will be attached to the larger one where necessary. Using your pen, roughen the surface and apply a coat of leather glue.
Grab the leather piece to be affixed, align and press into place. Tap down the entire length of the material using your rubber mallet to ensure a very solid join.
Trim away any excess leather to make the leather level. Begin by beveling the edges of the leather piece with your leather bevel. Make sure it’s sharp, just like your scalpel, so you get a smooth, clean-cut.
For any edges that might get exposed on the final leather travel wallet cover, add a liberal amount of polish and work again on the edges.
Step 8: Focus on the Inner Compartments and Assemble
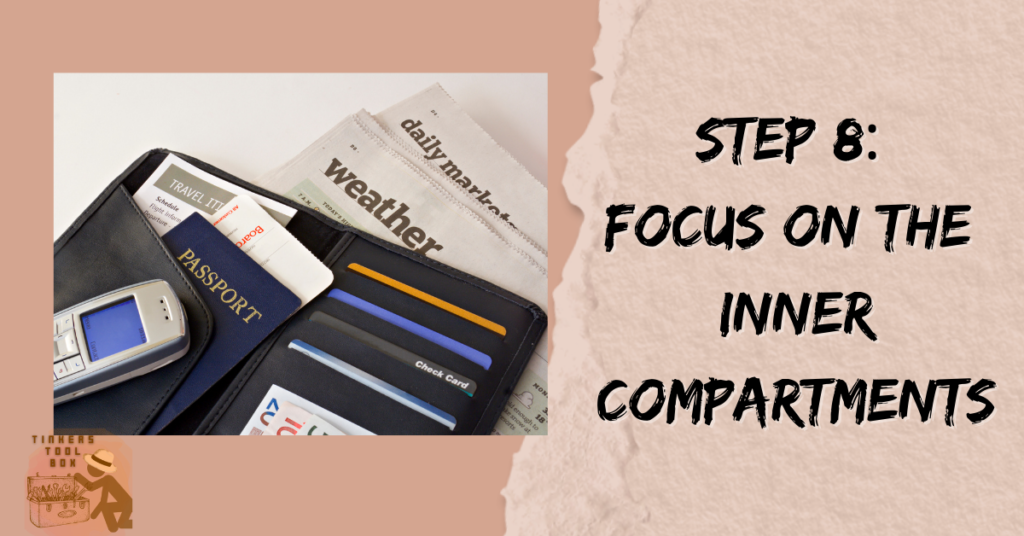
Let’s now move on to the inner holders or compartments of the wallet, glue the pieces together. Use your mallet to have a well-adhered join.
When sticking your pieces together along a single seam, scratch your area first, apply your glue, and glue the materials together. This will ensure your piece has a strong nice bond. Hammer down your seam just like before. Like in the previous step, mark out the corners and remove them using your bevel.
Scratch its perimeter on the inner part of the leather wallet along three edges and apply glue to the inner edge. Then add glue to the inner layer or surface of the outer jacket of your leather travel wallet.
Glue the two pieces/part together and use your rubber mallet to have a strong join. Your stitched detail must be created earlier and should be towards the top of the wallet for your reference.
Next, leave a slight fold when you add this piece. This will act as a hinge, allowing you to fold your wallet more easily. You can add more details if you like rounded edges. Trace the shape you like and use your scalpel and bevel. Rinse and repeat for all the corners you want to be rounded off.
Lastly, use your Dremel again and buff down all of your cut edges and rounded corners.
Step 9: Punch The Seams On The Leather
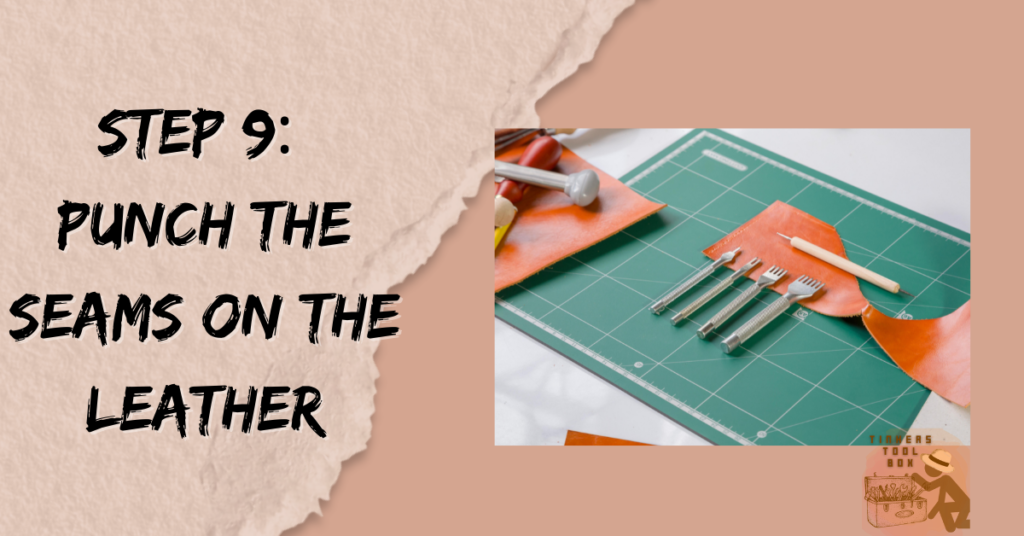
You can now grab your leather puncher, then begin to punch along the thread holes along the line you’ve just created using your gauge.
Begin sewing the seam using your needle and thread of choice after gripping the leather material. You can use any stitching pattern you like, as long as you use all of the holes you’ve punched.
Thread two of your leather needles and stitch the piece using a double pattern. Cut off the thread and burn them off any loose ends. Work on any exposed edges with extra leather polish until they have the same shine as the rest of the leather.
You can now scour the new line around the outer edge of your leather (darker leather) to match the power of the same leather piece or strip if doing a dual-tone. Once you’re done, return the edges and sand them down and repolish them again if necessary.
Step 10: Give the Final Buff and Polish
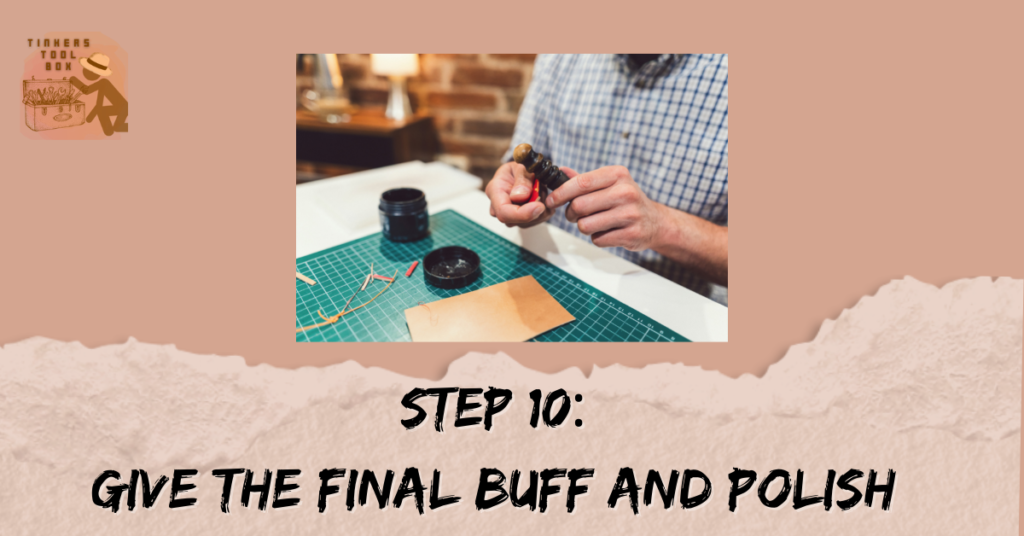
At this point, the main assembly is already complete. Now all you have to do is polish the piece up a bit, now get your sandpaper, and start working on the exposed edges on your leather wallet. Work as much as you need until you get the edges nice and smooth.
Grab your leather, polish it and work on the sanded edges. Apply this using your fingers and rub as much as you can. Grab some old rug and buff it afterward.
Sand down again and rinse, repeat the polishing step, don’t stop until you have the same luster on the edges and the rest of your wallet.
Loose up the compartments ready for use. Grab your leather molding and then run it gently through the inner compartments of your travel wallet; tease them open but not too rough, though. Stretch the leather as much as possible so that the compartments can break in for use.
Now place some of your cards or your passport and other documents to help stretch the wallet more. You can also add other decorative features such as a monogram or flowers to make it even more appealing.
The Cost of A Personalized Leather Travel Wallet
Costs are often discussed in any project you will make, and this general costing would help you adjust your specific budget or target price if you plan to sell this project.
Leather is the primary material that you will consider and different types of leather come at different prices. Full-grain leather starts at around $7 per square foot, and any other leather suitable for this project would usually just cost from $15 to $125.
Cardboards and sandpaper are around $2.5 to $7.6. Just buy it at your local store for a cheaper find. Leather polish can be expensive, but you can buy a small bottle for this project that costs about $12. Take note that some polish products can be really pricey, like $15 to $28.6.
Needles and threads are affordable, which is around $7. Leather glue is only $5 to $12 on local stores, depending on how much you need. Dremel Rotary Tool and Rubber mallet cost about $27.50 to $35, but Dremels can be quite expensive. Lastly, leather bevel, tracing Stylus, and leather gauge in total cost about $40.
Time to Spend in Making A Leather Travel Wallet
Depending on your pacing, you can make this project in one sitting. It could take you two to six hours if you have the luxury of time to do this in one go. If not, it will take a while, but it will surely be worth it. Make sure to prepare your tools and materials always were accessible so that when you have time to do it again, these are ready.
Conclusion
Finally, your leather travel wallet is finished. This will surely be a fine piece of craftsmanship, and having leather travel wallets are beneficial and exquisite. It is made for style and looks, and convenience protects your things and ensures that they’re well kept and safe inside of it. Now, you are ready to flaunt it while you travel.


