
Tubular or rounded bag handles can effortlessly make a bag more sophisticated and durable. But at first glance, it looks pretty complicated, especially if you are a self-taught leatherworker who is just beginning to create homemade leathercrafts. In reality, you only need to have your trusty leather, a rope for cording, adhesive, leather thread and needle, scissors or skiving knife, and a template to make this handle. So grab your leatherworking tools and read this step-by-step guide on creating homemade tubular leather handles.
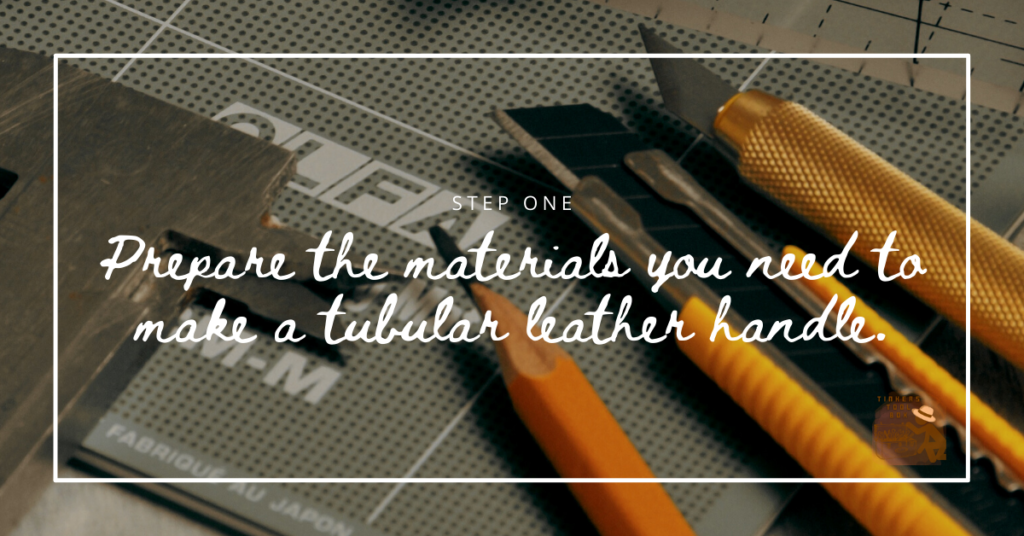
Step 1: Prepare the materials you need to make a tubular leather handle.
If you have most of the essential leatherworking tools and a decent supply of leather available at home, chances are you already have most of what you need to make a tubular leather handle.
The primary materials needed to construct this project are the leather itself and the core or cording that will serve as the skeleton of the handle. For the main bag handle, use a thick leather that matches the look and material used in the project where the handle will be attached (a bag or a case, for example). For the liner, you can go for a thinner alternative.
If you are only practicing, you can use a thin strip of leather as the handle’s cording. However, a sturdy nylon rope or polyester rope will serve the purpose better.
Choose a cord that is appropriate for the size of your bag. In addition, you want something strong enough to support the contents of your project and tough enough to withstand regular use. Likewise, you want a handle that will complement your bag aesthetically.
Like other leather projects, a tubular leather handle follows a template. So have your paper, cardboard, pen, and steel cork-backed ruler ready to make the necessary illustrations and measurements.
To put this project together, you will also need glue, contact cement, or any leather adhesive of your choice. Adhesive will hold the leather and cording together and also serve as a reinforcement when it’s time to stitch. Speaking of stitches, you will also need your stitching chisel, leather stitching needles, threads, and scissors for this project.
Having a skiving knife, mallet, sandpaper, and beeswax on hand will make it easier for you to burnish your finished product. Remember, always work on a flat surface and spacious work area to avoid accidents and achieve efficiency.
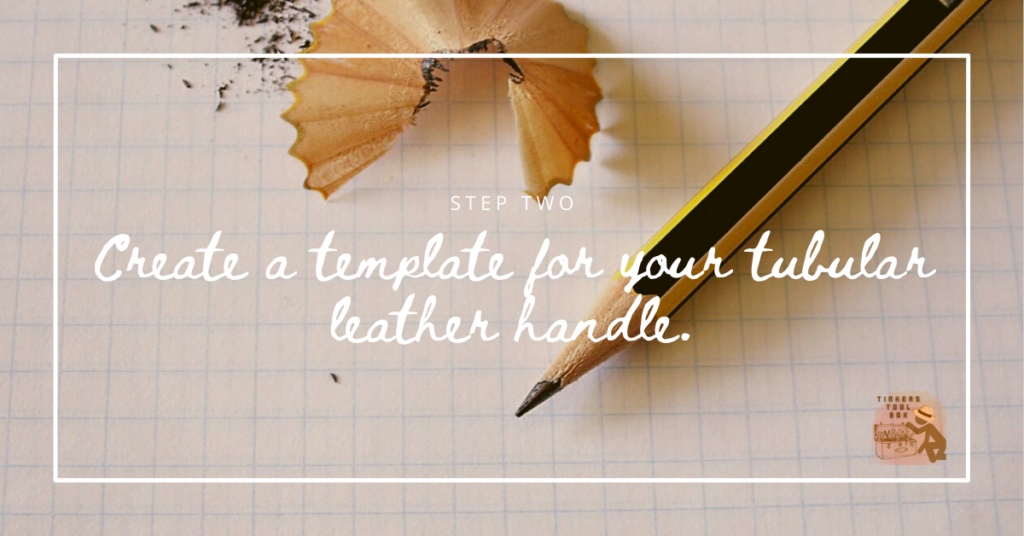
Step 2: Create a template for your tubular leather handle.
Templates are essential to make leatherworking precise and efficient. There are premade templates for tubular leather handles available online or in books, but creating your own will ensure that your handle will work well with your particular materials and leather bag.
The template for a tubular handle consists of a long rectangular strip that curves into a narrow edge. Its shape resembles that of a bottle with a slight bottleneck. This bottleneck-like edge will serve as the tab of the handle, which will be attached directly to the bag. The tab at the end of the template can either have angular or rounded edges.
Before drawing a template, grab your cording, place it on the piece of paper or cardboard where you’re drawing, then fold the paper or cardboard in half. Doing this will ensure that there will be enough leather to wrap around the rope. Don’t scrimp on leather. It’s easier to trim it to the correct size than start again from scratch.
The length of your template depends on the size of your bag or leather case. So, again, grab your cording and test how it looks when attached to the bag. Adjust the length of the handle as necessary. It’s also helpful to mark the center of the template so you can easily stick the cording where it should be.
Lastly, prepare square templates for your liner. The liner should be big enough to cover the handle’s tab and the tip of the cording.
Once you are satisfied with your template, you can print or finalize it on pattern paper or tracing paper to preserve your templates for future use.

Step 3: Cut the leather strip, leather squares, and cording according to your template.
Lightly transfer and trace your tubular handle pattern to the leather with your skiving knife or mechanical pencil. Follow the template closely. You can use clamps, masking tape, or pins to secure the template in place.
A steel cork-backed ruler can help steady and guide your hand. Don’t forget to mark the leather to indicate its center.
After you’ve transferred the pattern, cut the leather as carefully and as accurately as possible. Tip: To ensure that you waste no part of your leather supply, always trace and cut your templates near corners and edges instead of cutting right at the middle.
Cut your cording material according to the length of the leather strip, sans the tabs on both edges. Burning or applying a small amount of glue at the tips of the rope will prevent it from fraying.
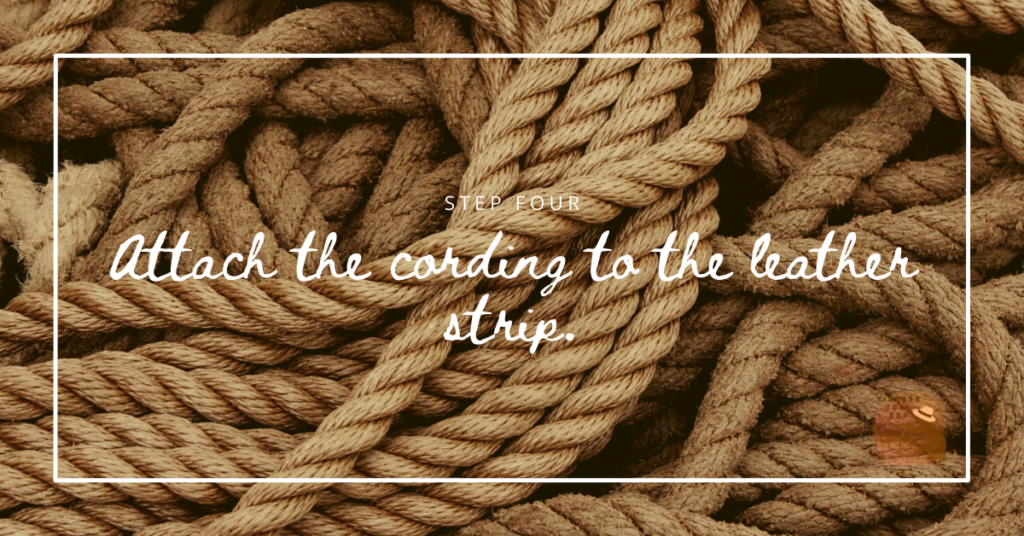
Step 4: Attach the cording to the leather strip.
Flip the leather strip and grab your contact cement. It’s now time to put the leather and core together.
To do so, apply your adhesive liberally on the leather strip. Leave the tabs untouched as they do not need to be glued or stitched at the moment. You can also apply glue on one side of the cording to make it stick better.
Press the cording firmly into the leather strip. Remember to use the marks you previously put on the center of the leather as a guide. These marks will ensure that the cording is at the very center of the strip.
Next, use a mallet to drive the cording into the leather further. You can also reapply glue on the leather strip and the cording so that they will stick better when folded into each other. Just make sure not to apply glue on the tabs accidentally.

Step 5: Glue the square leather liners on each of the tabs of your leather strip.
Take the square leather liners you have prepared and apply glue on the back parts of both pieces. Next, attach the liners on both tabs but make sure that they will also cover the tips of your cording. Remember: The back sides of the liners and the leather strip should face each other so that the front sides will be visible in the finished product.
At least half an inch of the liner should overlap with the ends of the cording. These liners are vital because they will act as secondary reinforcements to keep the cording in place. In addition, it will help your handle have a better grip and shape.
Use your fingers or a mallet to press and mold the leather around the rope. Once everything is in place, you can start trimming and cutting the excess parts of the liners, using the shape of the handle as a guide. Make sure that the edges of the liners do not overlap that of both tabs.
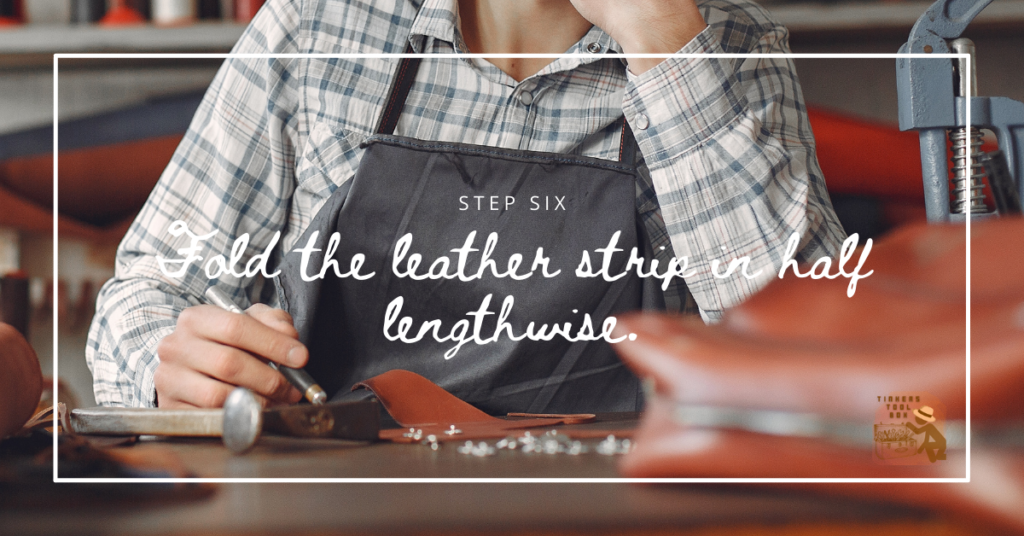
Step 6: Fold the leather strip in half lengthwise.
You should have all the significant parts of the tubular handle assembled by now. Ergo, the leather strip, cording, and leather liners should all be attached securely to each other.
To achieve the correct form of the tubular leather handle, you need to fold the leather strip in half so that both its long edges will meet. Start folding at one side then, slowly make your way through the rest of the strip.
Press firmly to ensure that the attachment is secured. Align both ends as perfectly as possible, but do not fret if there are some imperfections. You can always cut the uneven parts afterward. Using a mallet to apply pressure on the glued area can help both sides stick better.

Step 7: Punch stitch holes on the leather strip
While waiting for the glue to set and dry, you can begin the second major part of this project: stitching.
Even if you have applied a generous amount of glue to secure the cording, stitching everything together is still necessary. Stitches strengthen the handle, ensure that the leather is secure for the long term, and make it more aesthetically pleasing to the eyes.
You can also do this step when transferring the tubular handle pattern from the template to the leather. However, I prefer putting holes on the leather after the gluing process to have more chances to put as much glue on the leather as I like. It also saves time because you will only have to punch one line of stitches.
Multi-prong stitching chisels are perfect for creating straight and evenly-distanced stitch holes on your leather. So grab your stitching chisel and mallet and punch stitch holes into the leather handle to begin this process.
Punch holes as close to the cording as possible. You want to keep the cording in place while it is in use, and having tight stitches around the core will ensure that this happens.
Be mindful of positioning the chisel right so that the stitch line remains straight and the holes themselves remain evenly distanced. You can also use a stitching awl to make the stitch holes bigger.
Again, do not put stitch holes on both the smaller ends of the leather strip, as you will use these parts to connect the handle to the bag.
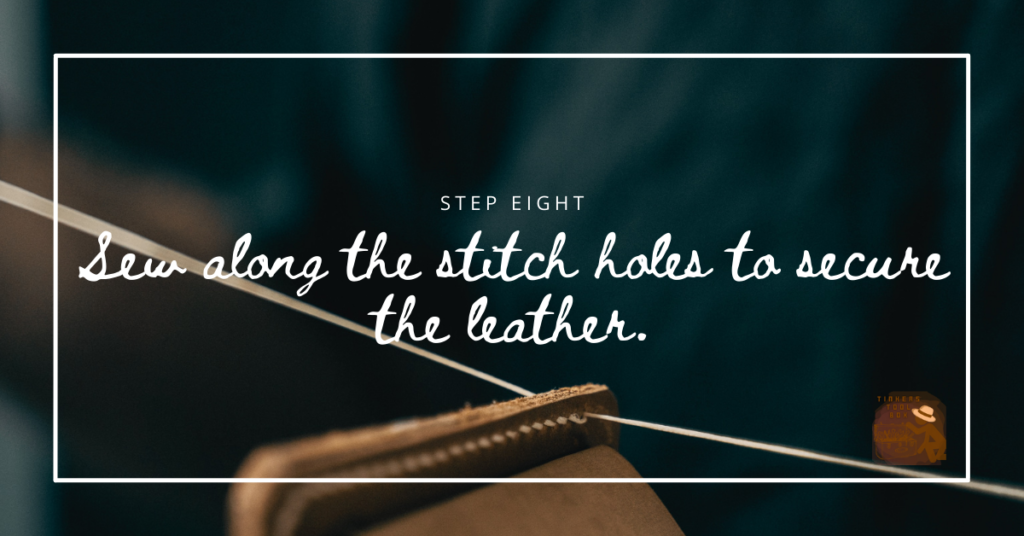
Step 8: Sew along the stitch holes to secure the leather
Sewing a tubular leather handle is possible with just leather stitching needles and waxed thread. However, having a stitching horse to hold the handle in place may also be helpful. Be sure to use it for this project if you have one available.
To make the stitching process more efficient, you can rub extra beeswax on your leather waxed thread. Doing this will help the thread pass through the holes easier.
You can begin sewing in the area where the handle and the tab meet. Start with a double hand stitch or saddle stitch to secure the folds. You can also use the backstitch to sew the handle close.
Assuming that you have glued everything securely and have punched the stitch holes near the cording, you will have no problems with the core moving out of place.
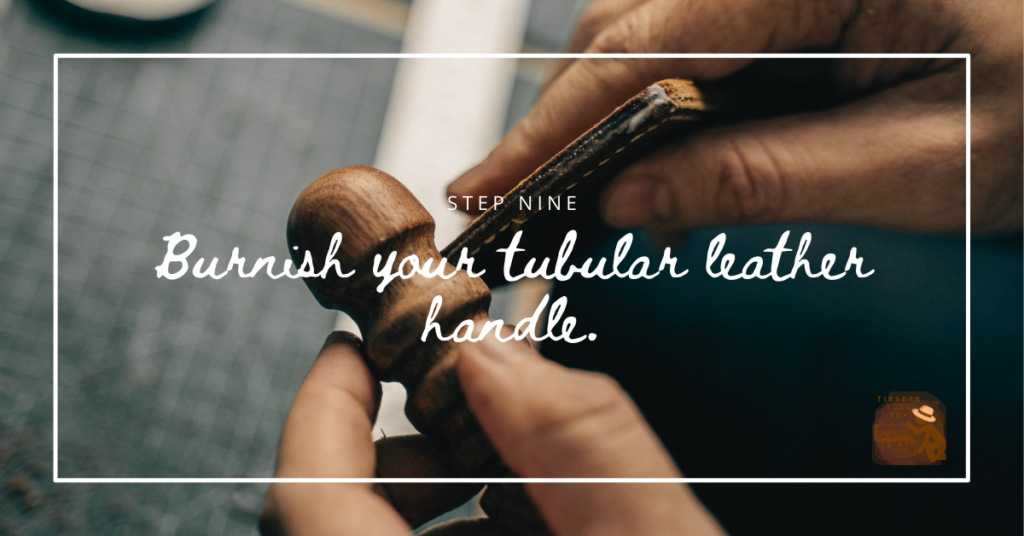
Step 9: Burnish your tubular leather handle
Your tubular leather handle project is almost done! Now that everything is in place, you can dedicate ample time to trim and burnish the handle to perfection.
First, trim and cut off excess leather using a precision knife or cutter. You don’t want the underside of your handle to have any uneven areas. Harsh edges do not look good and are uncomfortable to the hands.
Likewise, check if the liner and the leather strip align perfectly. Cut off any surplus. You can even enhance the handle by skiving the edges of the tabs.
Next, burnish the tubular leather handle with sandpaper and wax. The sandpaper will smoothen out the leather’s rough edges and make it more comfortable to use.
Once you are satisfied with the edges of your leather handle, go straight into burnishing. Paraffin and beeswax are some of the traditional leatherwork materials you can use to burnish this project.
Apply the burnish on the edges of the handle as many times as you like. The goal is to make the handle easy to grasp and comfortable to hold.
Congratulations! You have finished working on your first tubular leather handle. You can now attach it to your main leather project, like a bag or a leather case. First, don’t forget to use the tabs to sew the handle. Then, follow the shape of the handle’s edges for a clean and stylish finish.
While tubular leather handles look highly sophisticated and durable, it is also entirely possible for beginner leatherworkers to create these handles at home. You can even use this skill for sewing fabric or vinyl projects. Make as many leather bags and cases as you like, and be as creative and resourceful as always.