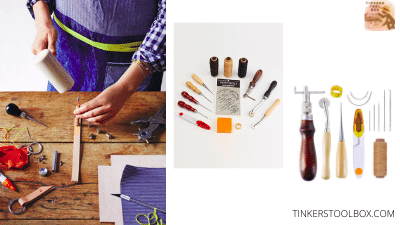
You purchased your leatherworking kit to start leather crafting and later realized that you lack some tools. That is a significant inconvenience. Knowing the tools and supplies you’ll need before starting a project can save you enough time and money on purchasing unimportant materials. Understanding the use of each tool will also help to utilize it in your project better.
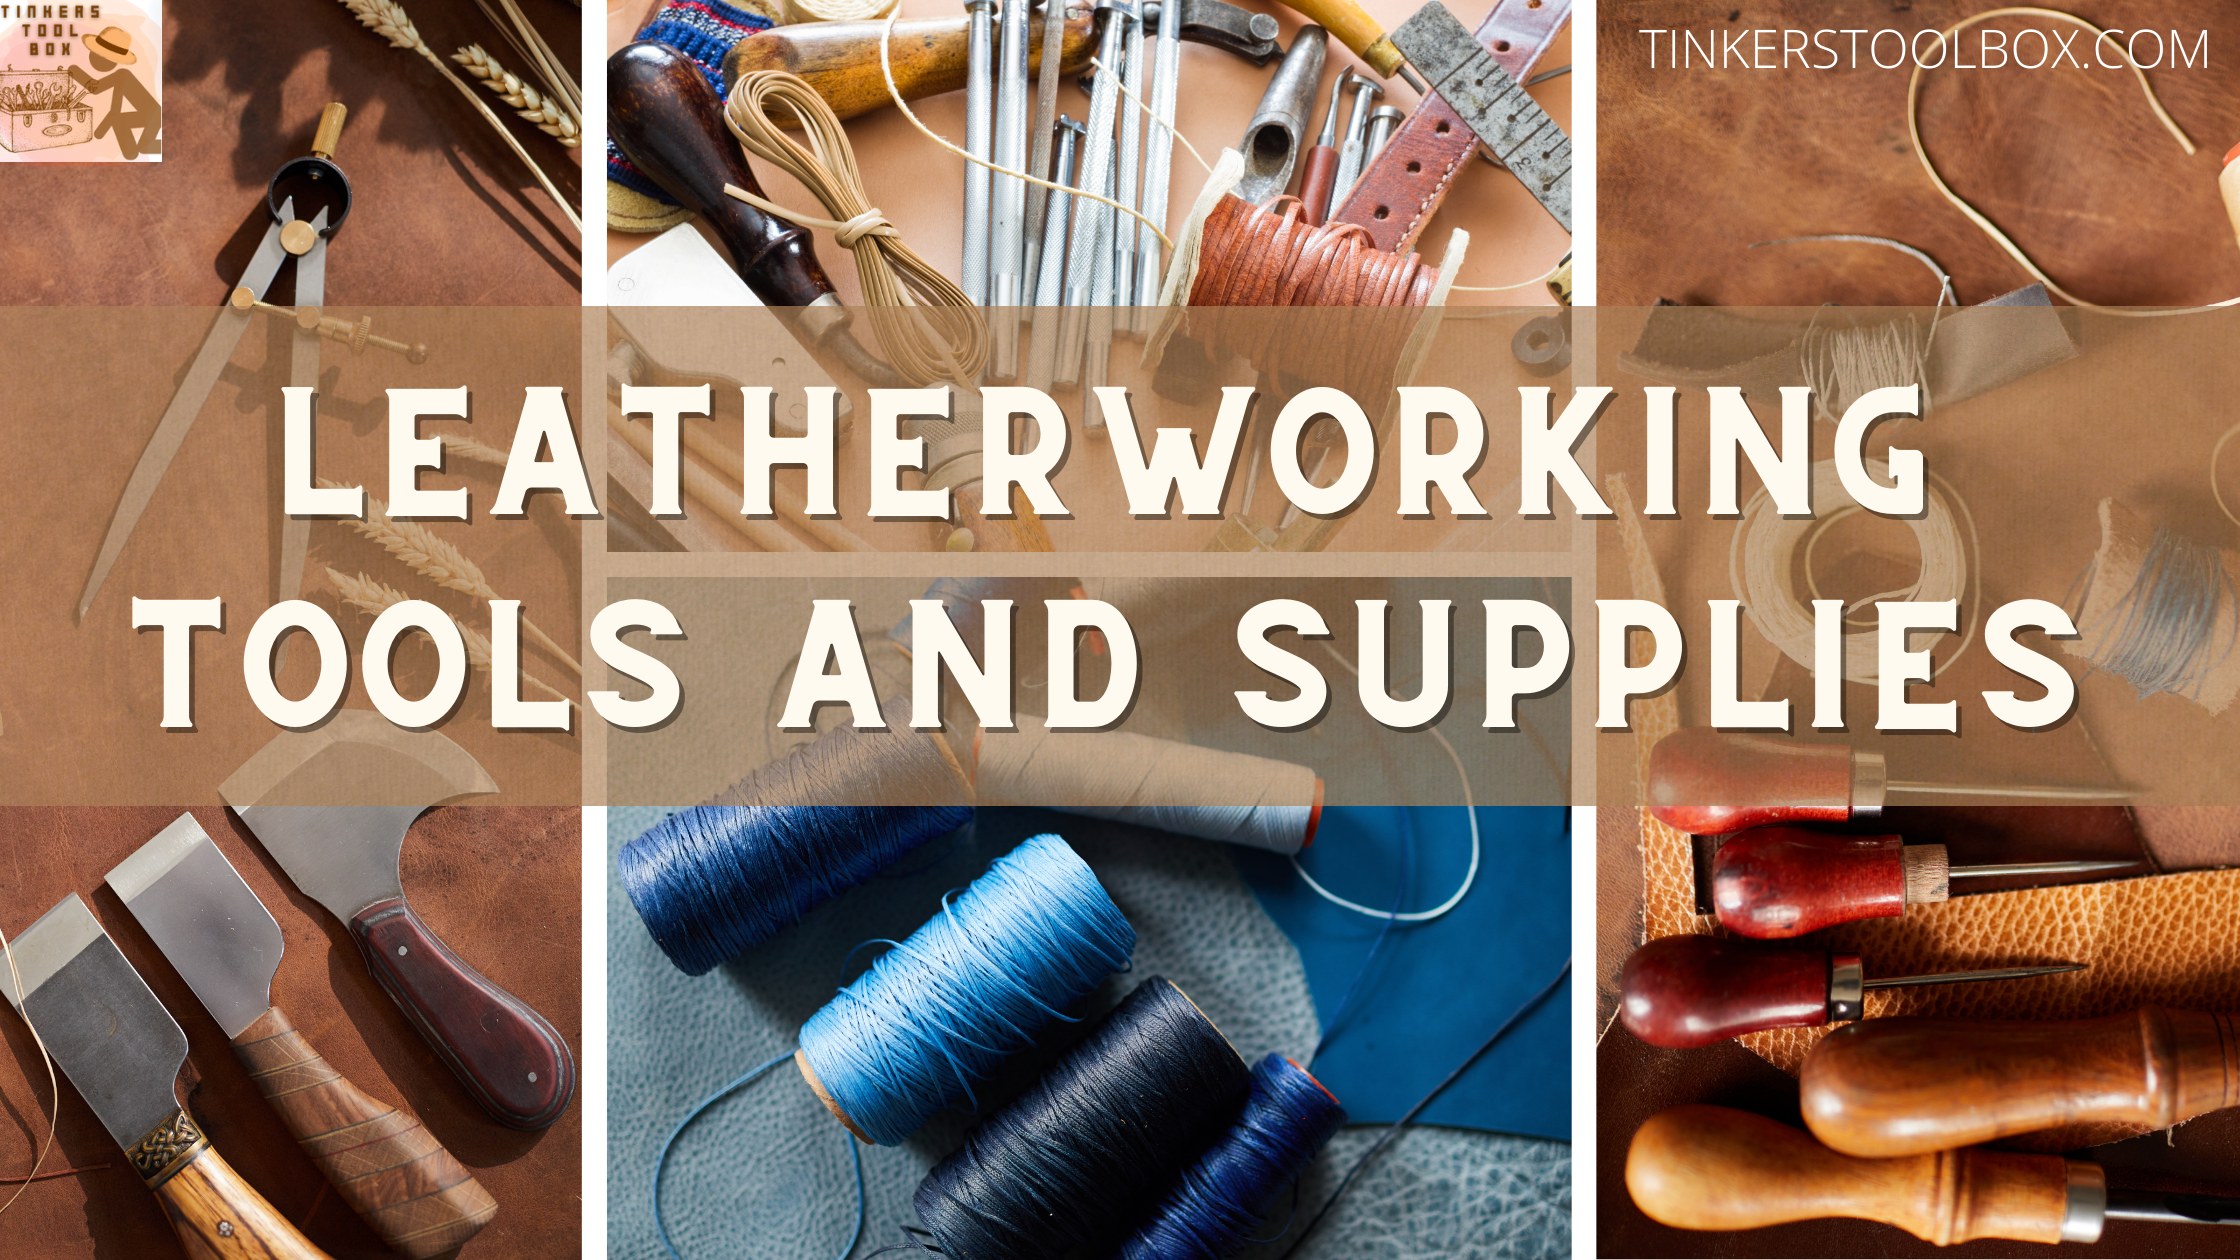
What are the tools and supplies in leather working? Leather, dyes, round knives, edge beveler, self-healing mats, needles, and threads are fundamental tools in leatherworking. Tools and supplies are categorized according to their use in leatherwork, such as cutting, stitching, dyeing, and burnishing tools.
There are many leatherworking tools in the market. If you are new to the field, you might get confused about why there is a need for so many. Each process in leatherworking requires a different set of tools to achieve a specific output. This article will discuss all the tools you need to have in each process, starting from cutting your leather to stitching, dyeing, and finally burnishing your product.
Tools in Cutting Leather to Get You Started
Cutting the leather into its desired size is the first step in leatherwork. There are heavyweight and lightweight leather materials, and it is vital to use the right tool for cutting them. Here are the tools you might consider depending on the type of cut you’ll make and the leather you use.
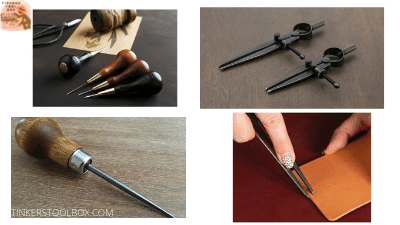
Knives
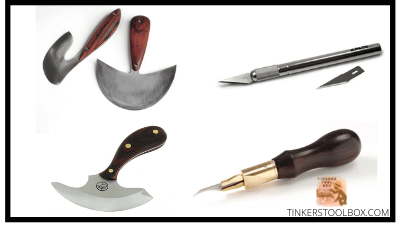
First on the list is the round knife. It symbolizes the leather trade and comes in different blades such as moon knife, half-moon knife, and quarter moon knife. Round knife cuts leather by first using the cutting edge and sliding it through the leather, and then tipping the blade forward to keep a straight cutting line. For cutting curved edges, hold the knife upright, the cutting edge on the leather without tipping it forward as it follows the curved line. For safety, have the handle at the palm of your hand and your index and middle finger at the back of the blade, avoiding the tip. The round knife is primarily used to cut thick leather, bevel edges, and skive leather.
Exacto Knife is a handheld tool used for small and intricate cuts into thin leather. It is held like a pen cutting a curved line through the leather. However, it is not advisable for use in cutting heavy leather because it will wag and create an uneven cut.
A Clicker Knife has a replaceable inward curving blade used to cut curved patterns for making designs in heavyweight leather. To use, place your index finger firmly on the top of the handle to put pressure on it, and the rest of your fingers wrapped around the handle for support. However, it is not suitable for soft leather because it crumples under the knife, making an uneven cut.
Other Cutting Materials
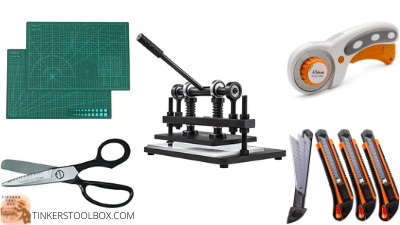
One of the essential tools to protect you and your work area is a self-healing cutting mat. It has grid lines for measuring and cutting leather. It is placed on top of your working table to protect our work area from being cut by tools. It also helps by providing friction to the leather to avoid slipping under the knife.
Clicker Press and Clicker Die work together to cut leather shapes. Clicker dies are made out of metal and come in various sizes to cut different repeatable shapes. The leather and clicker die is put under the clicker press then pressed to cut the desired shape. The clicker press carries a weight that helps in making consistent cuts to the leather.
Rotary Cutter is a friend for beginners in cutting lightweight leather. It has a rotating blade that cuts by slowly sliding it through the leather, following the marking line at around a 45-degree angle. It is very sharp but not advisable for cutting round edges because of limited control to the rolling blade.
Using scissors may quickly tire your hands if you are cutting a volume of leather, but it is excellent for cutting straight, curved edges and leather shapes of both thin and thick leather.
Last on the list is a box cutter. It has a sharp blade that fits comfortably at the worker’s hand.
The knife easily slides in and out of the handle to avoid having an open knife in the working area. Suitable for cutting heavy and lightweight leather and can also get through tight spaces.
Marking Tools for Stitchlines and Holes
Making marks into leather is an essential step in leatherworking by creating a guideline for stitching, making holes, and tracing templates into your leather.
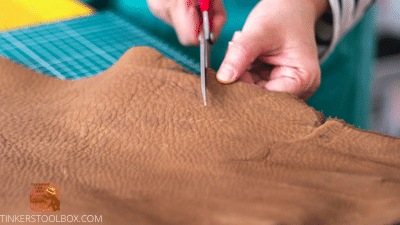
Scratch Awl is a small tool with a pointed tip blade. This material is used to mark cutting lines, draw templates into leather, and mark holes for stitch lines so the needle will go through quickly.
Wing Divider is a tool used for making equal stitch and parallel lines, most especially for hand stitching, that usually requires straight stitches. It also works like a drafting compass to draw circles. It has two pointed tips, one is for the center, and the other is marking a circle through the leather.
Stitch It Up: Hand Stitching Tools vs. Machine Stitching
Hand Stitching Leather
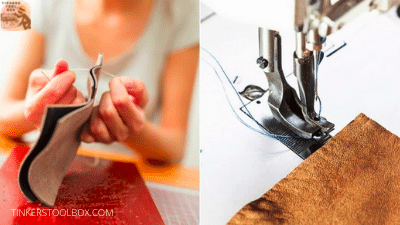
Hand stitching is a traditional yet superior way of stitching leather. It provides even stitches between the front and back using a single thread that provides durability. However, hand stitching takes longer than machine stitching. But it is more practical to use for small projects.
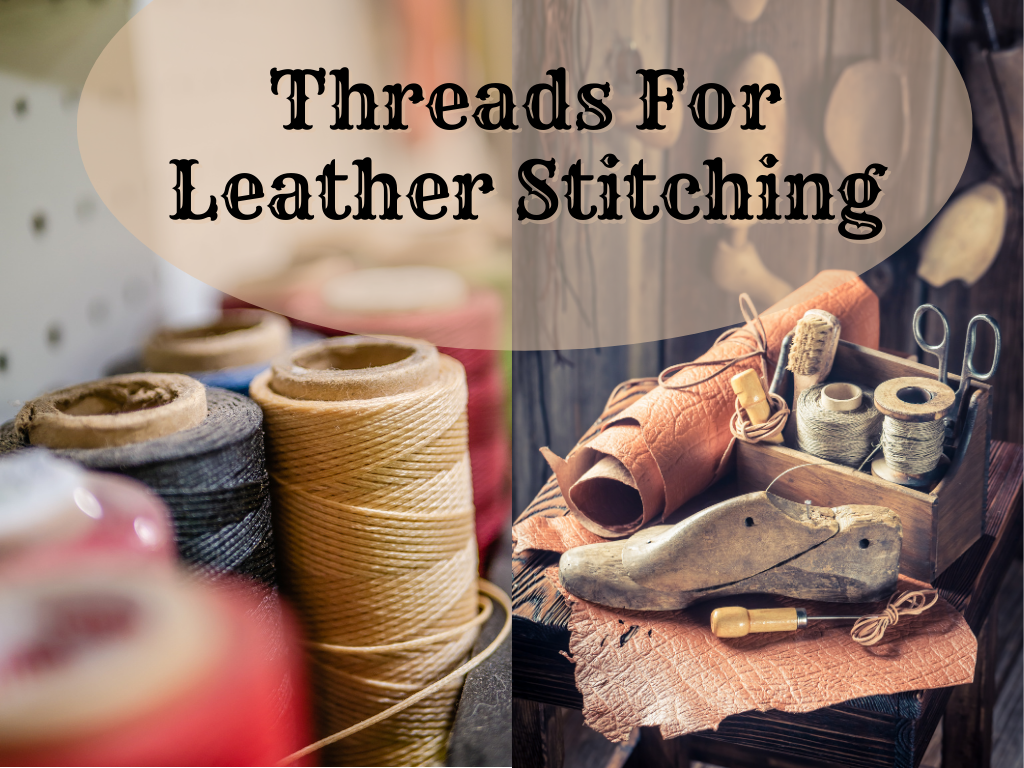
Needles and threads are the first in line when it comes to stitching. They come in different types and sizes depending on the leather thickness, stitching hole’s size, and the thickness of the thread you want for your project. Threads can range between .6mm and 1.2 mm thick. Thicker threads are suitable for belts and bags and thin-sized threads for smaller projects like watches and bookmarks. Needle sizes can have 1.09mm, 1.42mm, and 1.63mm, depending on the thread you are using.
Stitching punches or pricking iron makes holes for stitching by hammering it through the leather with a mallet’s help. The teeth of this tool can be replaced into different sizes depending on the desired hole size and can create diamond or round holes.
A wooden tool called a stitching pony is your third hand that holds leather in place. It is clamped to a table and has the leather in position while stitching. The leather is inserted between its two legs, and then a rotating knob is adjusted to make the legs come together and hold the leather firmly. A pro-tip: use leather glue to make edges stick together and align well before stitching.
Machine Stitching Leather

Machine stitching produces a volume of leather product that requires a small amount of time and consistency. It uses two threads of the same lengths twisted together in the leather. As a disadvantage compared to hand stitching, when one stitch breaks, the entire row becomes loose. Three of the most commonly used sewing machines in leatherwork are cylinder arm, flatbed, and singer patcher machine.
Cylinder Arm Machine has a long arm that makes space for a more extensive leather product. It can sew heavyweight or lightweight leather, depending on the model that you purchase. It works well for making bags, belts, and products of a thicker leather type. The space on its long arm makes it easier to sew in hard to get in parts of the leather, like corners and edges.
Flatbed Machine is a small-sized sewing machine that creates fine sewing. It is excellent for products with thinner type leather like wallets and card holders.
A singer patcher is a cheap sewing machine that can sew a circle because of its rotating sewing needle. It is excellent for creating circular products like patches and coasters and is commonly used for hobby leatherwork rather than more extensive production.
Smoothen Edges with Burnishing Tools
After cutting and stitching leather, there may be some uneven parts or edges that need burnishing. That is when you’ll use these tools to provide a smooth, professional look to your product.
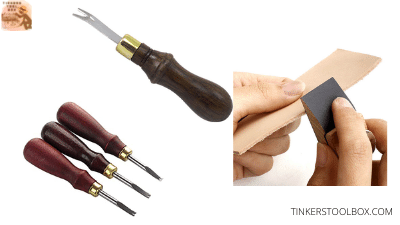
The edge beveler is a sharp metal blade slid through the edges of leather, creating straight, even cuts. It makes the corners and edges look smooth and polished. On the other hand, a leather burnisher is a tool made from wood, used by rubbing the edges of leather to the wooden material. The friction and heat created from rubbing the leather edges to the wood produce a smooth finish.
An alternative material if you don’t have an edge beveler is sandpaper which works the same as a burnisher. Lastly, a corner punch will be great for smoothing or rounding corners of leather by hammering it through the leather corners using a mallet. This tool has a curved blade perfect for making round corners.
Other Tools Used in Leather Work
Here are other tools for leatherworking that are also as essential as the tools mentioned above.
Leather Dyeing Tools to Upgrade Leather Design
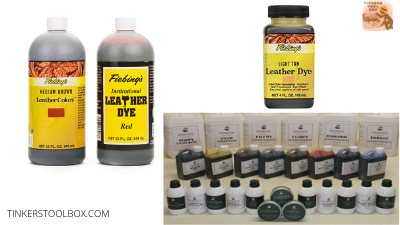
Leather Dyes comes in three variants. A water-based dye is suitable for products for schools and hospitals because it has no smell but dries slower than the other types. Alcohol-based dyes penetrate rapidly to the leather material; hence it dries quickly. Oil-based dye offers a variety of colors for different leatherwork making it ideal for straps and bags. It absorbs perfectly in the leather, so it dries quickly.
Multi-purpose Tools

Mallets help in cutting leather. It is also used for stamping leather designs and borders. The mallet is made of a plastic head to avoid damaging metal tools and has a metal or wood handle.
Another multi-purpose tool is a ruler who serves as a guide for creating straight line markings to the leather. It works together with a cutter for making straight cuts and a scratch awl for making stitch lines.
Thinning leather by skiving it through the feather side of the leather is the primary purpose of a skiving knife. It has a very sharp blade and is drawn to the leather with a downward force to remove leather layers. It can also be used as a straight blade to make cuts in leather.
Finding the Right Leather
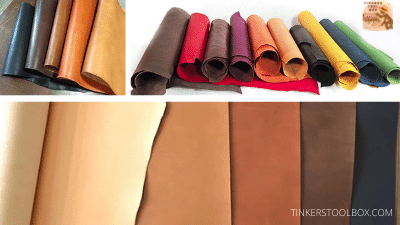
Leather is the primary material you will use in your project. The most common leather type is top-grain and split leather, which is unaltered raw materials and carries the hide’s natural marks. The following types of leather undergo the tanning process to make it durable and less susceptible to decomposition and are ready for use in leatherworking.
Chrome tanned leather is the first material to consider in your project. It is mass-produced, making it cheaper compared to other leather. It has a soft feel to it and is great for making shoes, gloves, and furniture.
Oil-Tanned Leather is a type of chrome-tanned leather infused with oil to make it water-resistant. It is cheap to produce and more affordable to buy. It is pliable and makes great material products like shoes which require molding and stretching.
Vegetable Tanned Leather is a more expensive type of material commonly used for heavier products like belts and bags. It is known for its durability and environmental-friendly process of tanning. It ages better and has a classic leather smell to it.
Conclusion
In each step in your leatherwork, there are several tools and supplies depending on your needs. As we discussed in this article, finding the right tools is essential in making your project. Remember that each leatherworker has their preferred tool to use, and they function differently in ways that help your product be better, if not a perfect one.