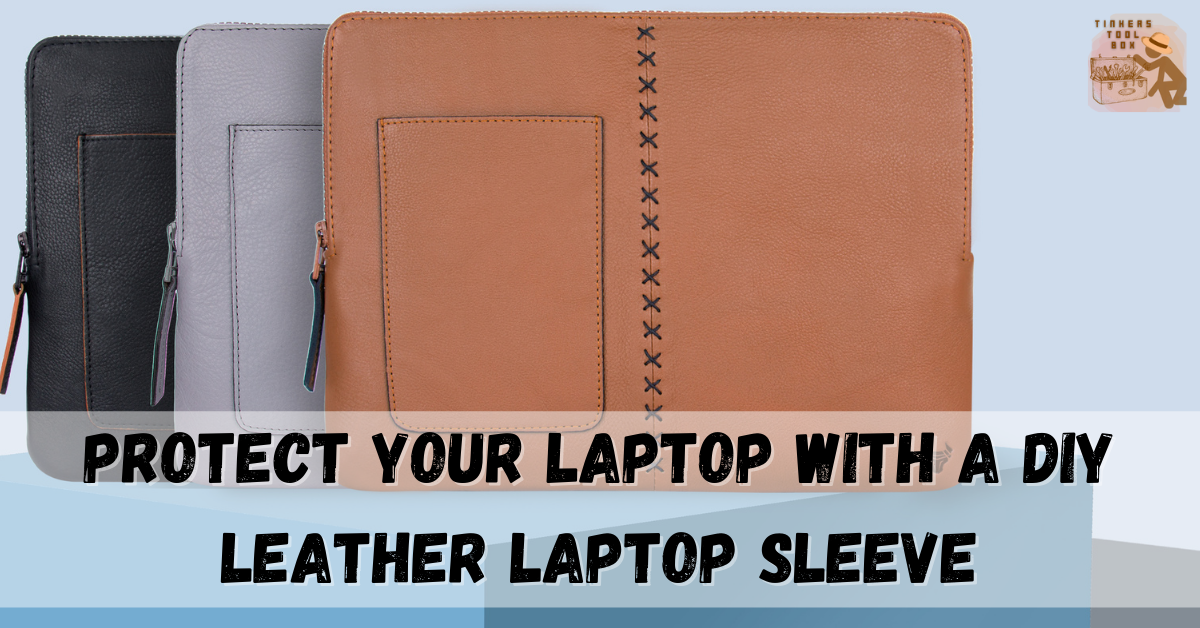
Whether you are a student or already working, there will be tasks that will need a laptop. For this reason, you need to protect your laptop from environmental damage when bringing it along with you, and one of the common solutions is a laptop sleeve. Most laptop sleeves are made to withstand dust and water but seldom are not durable to shock and damages over time. This is where leather laptop sleeves come in.
How to make a DIY leather laptop sleeve? Start by preparing the materials and tools. Measure the dimensions of your laptop accurately. Create a pattern and incorporate the dimensions. Lay the pattern and cut the leather. Assemble the leather, glue the pieces, and polish.
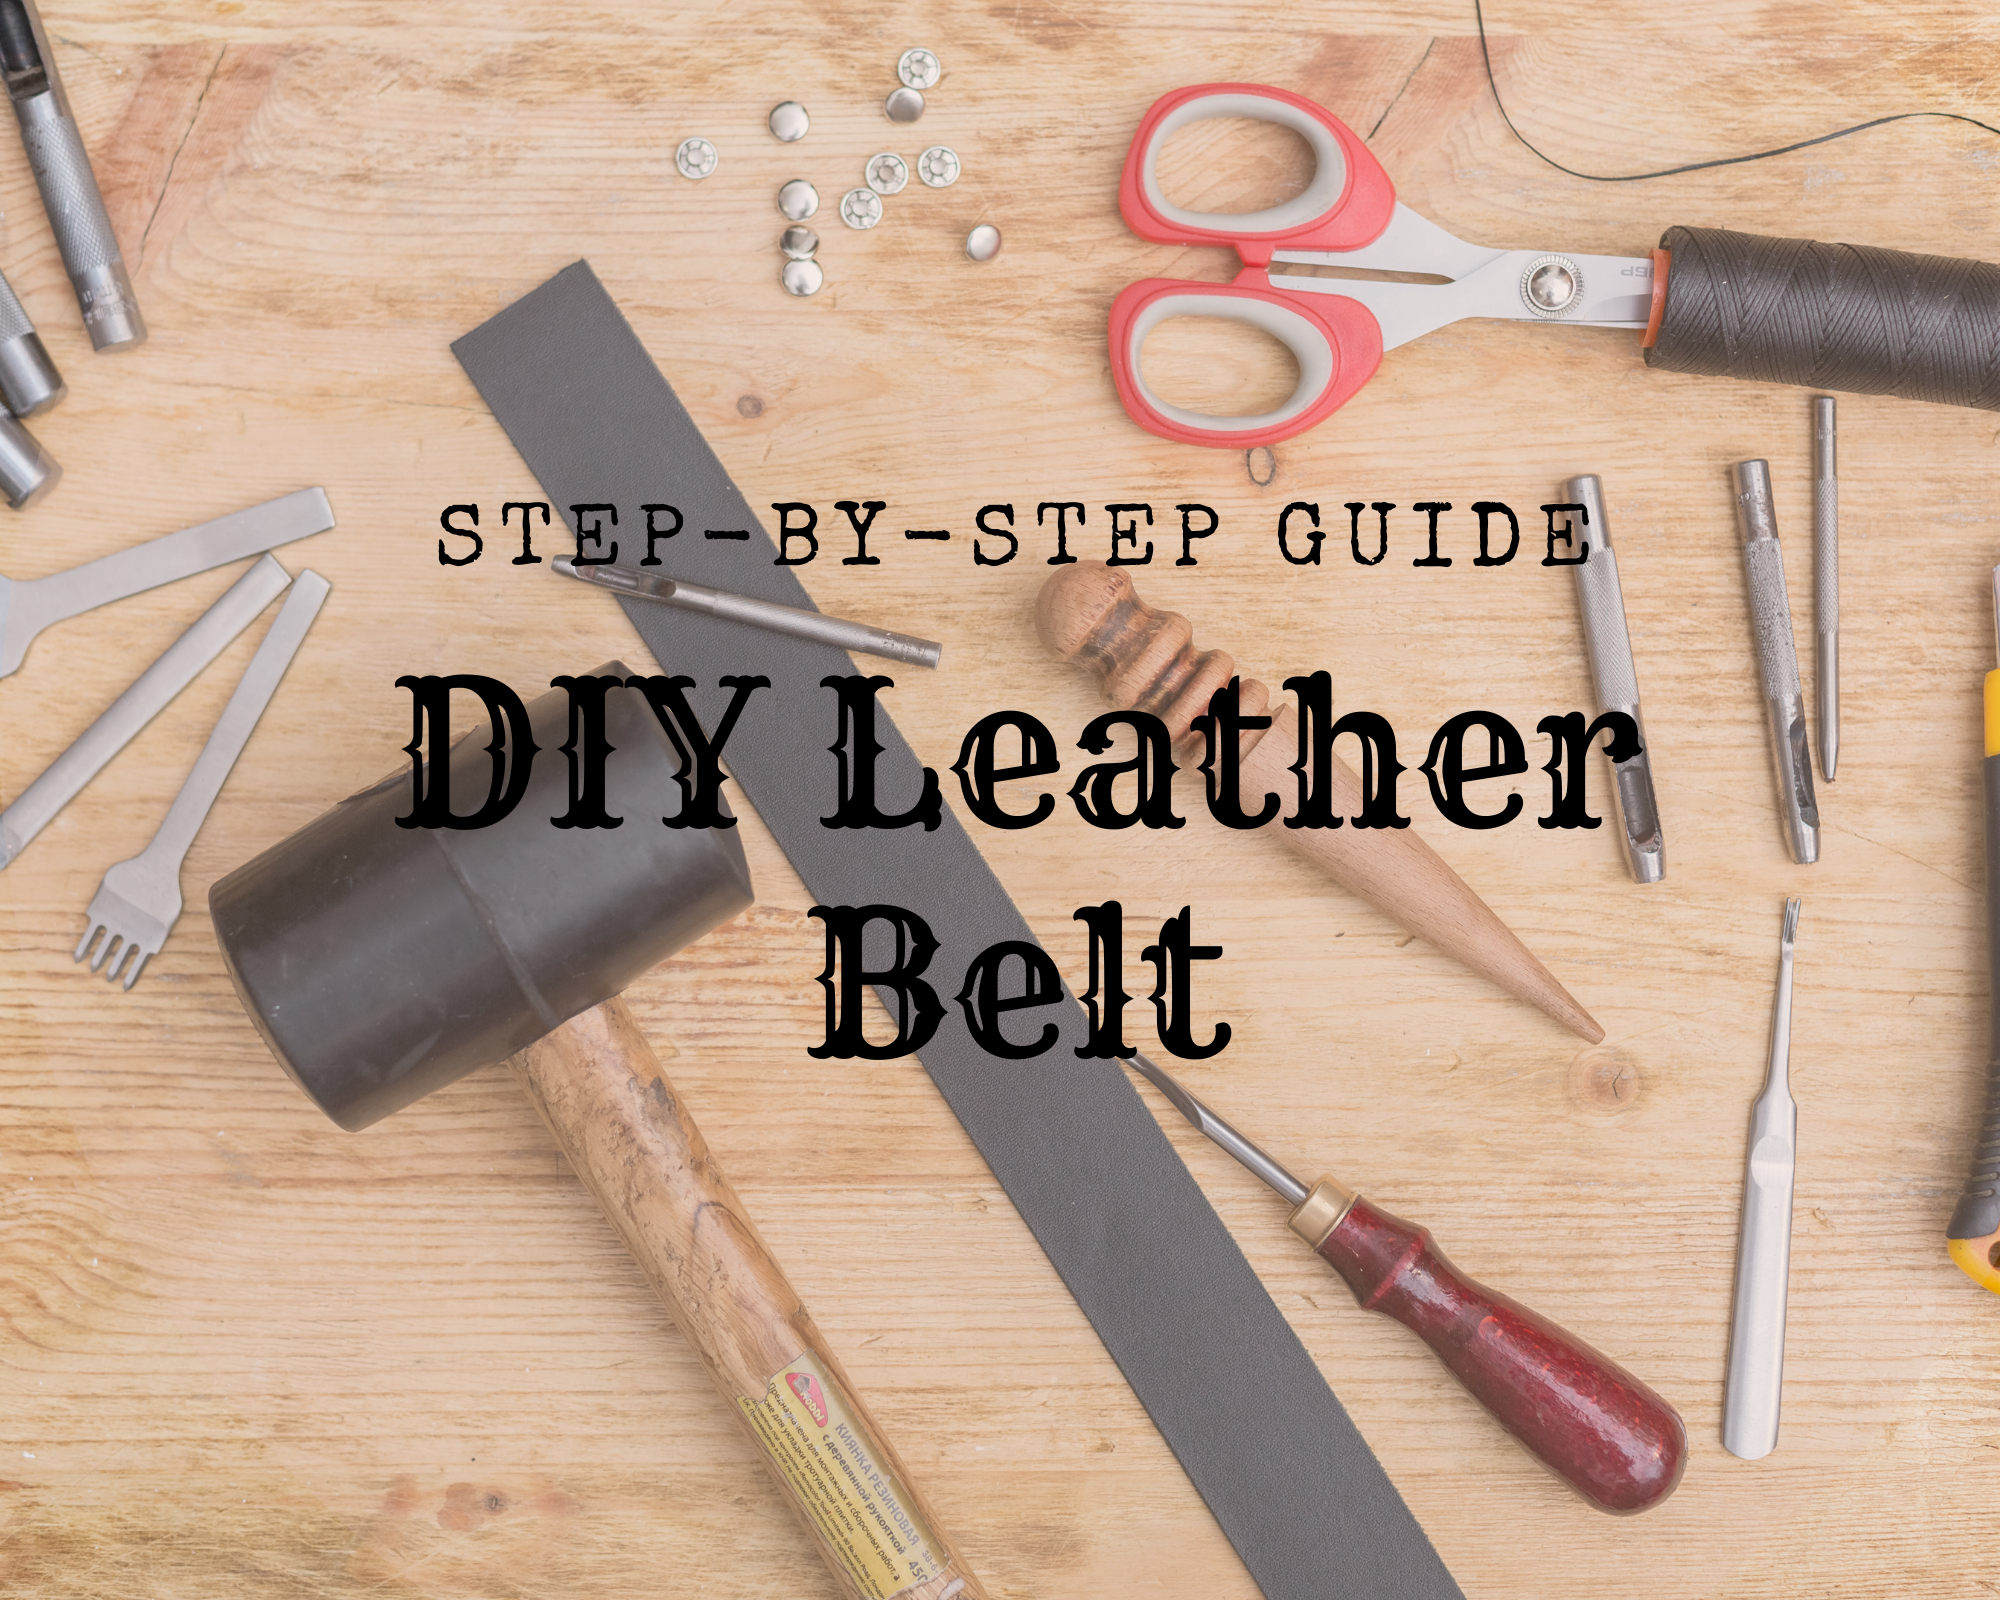
Leather is already popular for its durability and versatility, and most authentic leather products are a good investment since they are timeless pieces. However, leather laptop sleeves usually cost hundreds of dollars in the market. So, making a leather sleeve will be your best shot. With this article, you can DIY a leather sleeve for your device following this step-by-step guide.
Part 1: Prep Up The Essential: From Materials to Pattern Making

The first step includes preparing tools and supplies and the template to get it done in every leathercrafting. These things are necessary to start your projects, especially pattern making, for it serves as your guide on where to make cuts, sew, folds in the actual leather.
Tools and Materials You Will Need

- Leather material (few square feet, 4.5 oz thick, and vegetable tanned)
- Leather thread (nylon or a polyester is suggested)
- Leather stitching needle
- Small binder clips
- Contact cement (you may use a weldbond available at craft stores)
- Leather dye
- Leather conditioner
- Straight edge
- Square edge
- Box cutter
- Sand paper
- Edge skiver
- Burnishing tool
- Edge sealant (gum tragacanth is recommended if you love to burnish edges)
- Leather stitch punch
- Leather stitch groove tool
- Pencil
Get The Accurate Measurement of Your Device

Get the dimensions of your laptop by measuring its width, length, and height. To ensure that your laptop will fit perfectly, add allowances to the device’s dimensions. The allowance is around 1.5 to 2 inches.
To create the template width, start by multiplying the height measurement or the thickness of your laptop by 2, add 0.5. Doing this will ensure leather wrap both sides of your laptop and provide room for stitching. The results will then be added to the width measurement, which will be the dimension of your template width.
Lay-Out The Pattern and Design That You Want

Now that you have the length measurement multiply it by 2 to ensure that your leather material can fold around your device. Next is to multiply the height (rounding it off is recommended) of your device by 4 so that leather can cover the front and rear edges. Then divide the length measurement by 2 to have the closure flap extension. Add all the results, and that is your template length.
To make the flapping keeper template, cut and match it to your template width. Divide the template length by 10 to determine the taper angle of your closure flap. The result should be a sizable rectangle. The result is the measurement you will use in making the boundary or line between the flapper edge and the body of your laptop sleeve.
Draw this pattern in paper or software, and cut it out. Ensure to include all allowances in your template.
Part 2: Leather Cutting and Polishing

After having the pattern and template, you can now proceed to the leather material. At this point, you should be careful since some procedure mistakes cannot be undone. Do not worry, though, since some can be remedied.
Ready The Leather

Lay your template on the leather. Plot out your rectangle shape for your device sleeve using a straight edge, a square edge, a pencil, and a utility knife. Hold the straight edge or the straight edge firmly down to the given line, then hold the utility knife with the other hand to run its blade against the straight edge. This will create a perfectly straight cut. Your leather is now ready for crafting.
Make A Block Guide on The Leather

Now that you have done the preparation part to make leather laptop sleeves create blocks on the actual leather. Doing this will result in a recognizable laptop sleeve.
Make folds to the cut leather and ensure that you are folding on the right path based upon the laptop sleeve. This is the part of the process where you will make changes like the size of the flapping keeper. For example, the flap keeper was cut longer, so make adjustments.
Shape the Tapered End For the Flap
In making a tapered end from the template you created. Cut it out with the use of a straight edge and a utility knife. Remember, you are cutting an actual leather; make sure to be extra careful.
Go For the Round Corner

Working with corners is one of the crucial parts of leathercrafting, especially in making cuts. Some of the cuts you are going to slice in different leather projects are the round corners. In making a rounded corner, slice off your leather corner if you want to have a round corner design of the flapper. Make use of a sharp utility knife or razor-sharp round knives.
Make sure to make a clean cut of your round corner. You can also use a large coin to serve as your guide in making a round cut.
Sand The Leather Corner The Proper Way

You have already cut the round corner of your leather project, and the next step is sanding for better results. This is required to maintain a smooth end.
Make use of sandpaper, especially the heavier grit (600 grit is recommended). Rub the sandpaper on the round corner of your leather project until you obtain nice and smooth results. For the finishing touch, use 1000 grit sandpaper to remove disheveled leather fibers.
Skive the Leather

Skiving is one of the important processes in leather crafting, for it reduces leather thickness. Once the leather is skived, it helps sewing or stitching become easier.
With the use of your edge skiver, run it down to the edges of the leather to skive it and run the tool at about a 45-degree angle so that the squared profile will be removed, as well as to smooth them out.
When skiving, always use a sharp skiver with a freshly replaced or sharpened blade to maintain a clean skiving work. Repeat skiving on the front and back sides of your leather, the flesh and grain side. Make sure to have a leather strop at bay too.
Designate A Thumb Slot in the Leather
From the name itself, the thumb slot is for your thumb, especially in getting your device from its sleeve. Yet, it is up to you if you would like to put this on your laptop sleeve.
You may use a round object depending upon the diameter of your preferences. You can also choose to draw a half-circle on the center of the sleeve bottom edge.
Next is cutting it out with the use of a Xacto knife for a clean cut. Cut slowly until a piece of leather is ready for removal.
Dye The Leather Easily

One of the fun parts of leather crafting is dying or applying color to your leather project. It is up to you what pigment you will color on your project.
Choose the leather dye you want to use. Then apply a leather dye to a dense sponge and gently rub it in a circular motion. Gently rub the dense sponge with a leather dye to the other side of the leather. Repeat the steps until all the leather surface is fully covered evenly
Let your dyed leather air dry first for several hours before proceeding to the next process. Yet, it depends on the type of leather dye, but most products recommend letting it sit for 24 hours.
If it is fully dry, even for 6 hours or so, you can already proceed to the next step because it depends on the thickness of the dye you apply. You can touch it lightly to check if it is completely dry.
Apply a Leather Conditioner

Leather dying is followed by conditioning to restore the nutrients to the fiber that have dried out from applying color.
Put some leather conditioner on a clean towel, then lightly rub it to the leather in a circular motion. Repeat the process until all the leather surfaces are fully covered with conditioner. Condition your leather with coating 2-3 times.
For your leather conditioner, it is better to choose those products that will affect the color of your project. Mink Oil and Aussie products are some of the suggested leather conditioners. Remember to apply leather conditioner lightly.
Part 3: Assemble The Leather Sleeve

You are almost done! You are now in the section where your task is to assemble the pieces of leather. Assembling your leather sleeve includes pasting it together, then preparing to the next step, sewing, and stitching.
Glue the Edges Together
With the use of leather cement, gently apply the paste to the leather, particularly the inner length of the device sleeve. Repeat the step on the other side of your leather sleeve
Next is by joining the leather together, and be sure to take extra care since it already has cement. By applying a small amount of cement to the flap keeper, paste it to the leather sleeve, and make sure to place them in the correct position.
And use binder clips to clip the edges of your leather sleeve. Doing this will help the leather in place, especially when stitching.
Groove The Leather for Stitching
After the cement had dried, the next step is preparing the project for stitching. Remove now the binder clips. With stitching groove, run down the grooving tool from both sides of the sleeve, front and back. Be very extra careful in the area where the flap keeper is attached. Doing this will create the perfect line for stitch holes.
Punch a Stitch Hole
You can use a stitch fork punch or a leather stitching awl. Then use the newly groove on your leather as your guide in punching holes.
Position the stitching awl to the groove, and it’s up to you where you will start (top-bottom or bottom-top). With the use of a hammer, hit the punching tools firmly to pass through the leather. Repeat the process until reaching the end part of the groove
If you don’t have a hammer, you may use an arbor press to force the tools to pass through the leather.
Time to Stitch The Leather
It depends on what stitching techniques you will use, but most leatherworkers preferred saddle stitching. Stitch the edges of your leather sleeve with a pair of stitching needles and a nylon or polyester thread
Pass the threaded needle to the stitching holes on your leather until reaching the end part, and don’t forget to lock your stitching process to secure your work.
Burnish and Polish The Leather
The same 600 grit sandpaper will be used to finish the edges of your leather sleeve. Rub-down the sandpaper to the newly stitched edges of the project
Then use the 1000 grit sandpaper to smooth out your work. Use a clean sponge to absorb a little amount of water gently dampen it to the sanded leather edges.
Doing this will prepare the edges for burnishing. Use an appropriate burnishing tool, then rub it up and down until you observe shiny and smooth results. Repeat the step, then apply water if needed
Finish the edges using a sealant (Gum Tragacanth) and apply the sealant with the tip of your finger along the edge of your project. Rub again with a burnishing tool until it fully polishes.
Determining The Estimated Cost

Depend on the types of leather used, you can really save a higher percentage in making a laptop sleeve. If leather crafting is your hobby, then it is assumed that you already have the needed supplies such as cement, dye, and thread.
Some DIY crafters cost less than $20 in creating their laptop sleeves and only consumed an hour or few hours of your time. Of course, this varies if you are a beginner leatherworker.
If you look for a durable and artistically designed leather laptop sleeve on the market today, the price ranges from $29 to $200. Hence, a DIY laptop sleeve is a good save.
The Final Output
A leather laptop sleeve is easy to make by following simple steps. The methods you will use here are generally the same as the other leathercrafting projects. All you have to do is to work on it and enjoy the process patiently. A DIY leather laptop sleeve is both a work of your art and a protection of your device, which helps you save a bit of money.