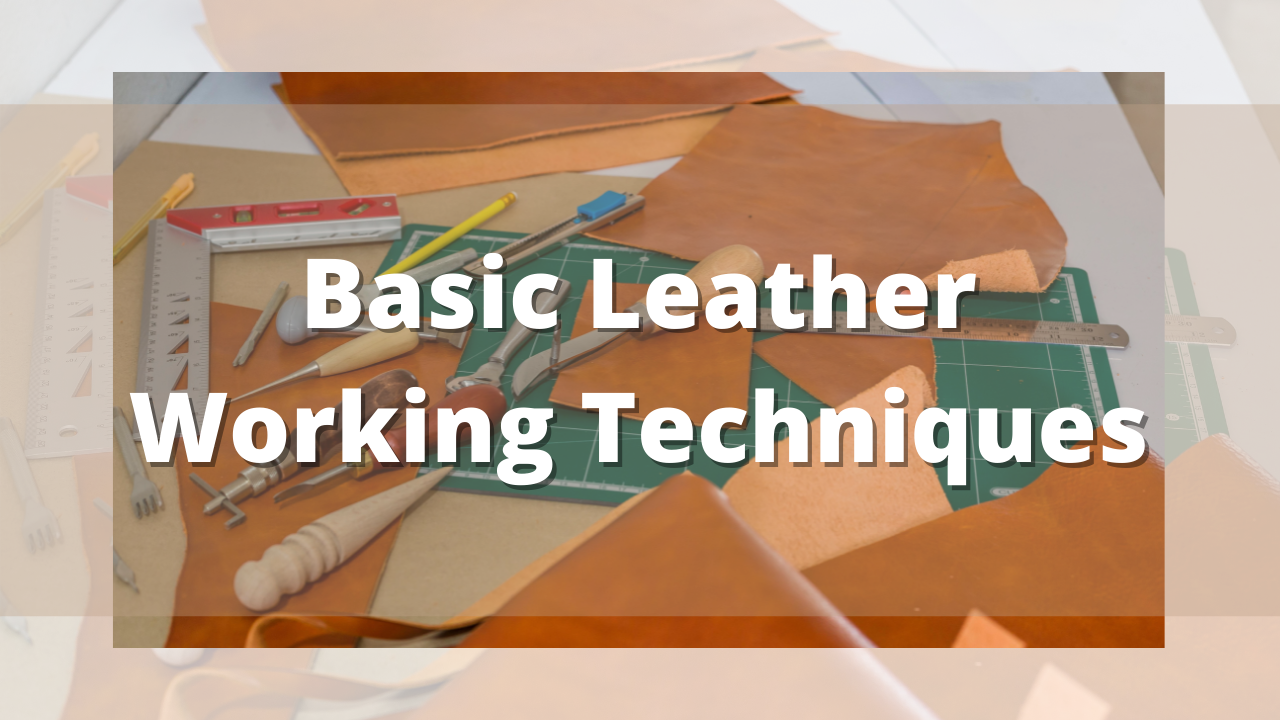
Aside from the quality of material, arguably nothing takes leather projects to the next level better than good techniques. With enough practice, they can transform your simple items to look like professional handiwork. If you have zero clue what these techniques are or would like to know a bit more about them, you’ve come to the right place.
What are the basic leather working techniques? Leather selection, cutting, gluing, stitching, edge work, skiving, cleaning and conditioning, dyeing, finishing, and decorating are the basic leather working techniques. You will use a couple or more depending on the complexity of your project.
Learn more about the importance of these techniques for your leather crafting and pick up some tips on how to choose tools, products and methods for better results.
Leather Selection
This may not be a use-your-hands kind of technique but definitely one of the most important knowledge for any leather craftsman. Your final product will depend a good deal on the quality of the leather you will use. Knowing the kind of leather for which item, choosing something good enough without costing too much, and when you shouldn’t compromise is a plus especially if you plan to sell your leather goods.
Chrome Tan vs Veg Tan
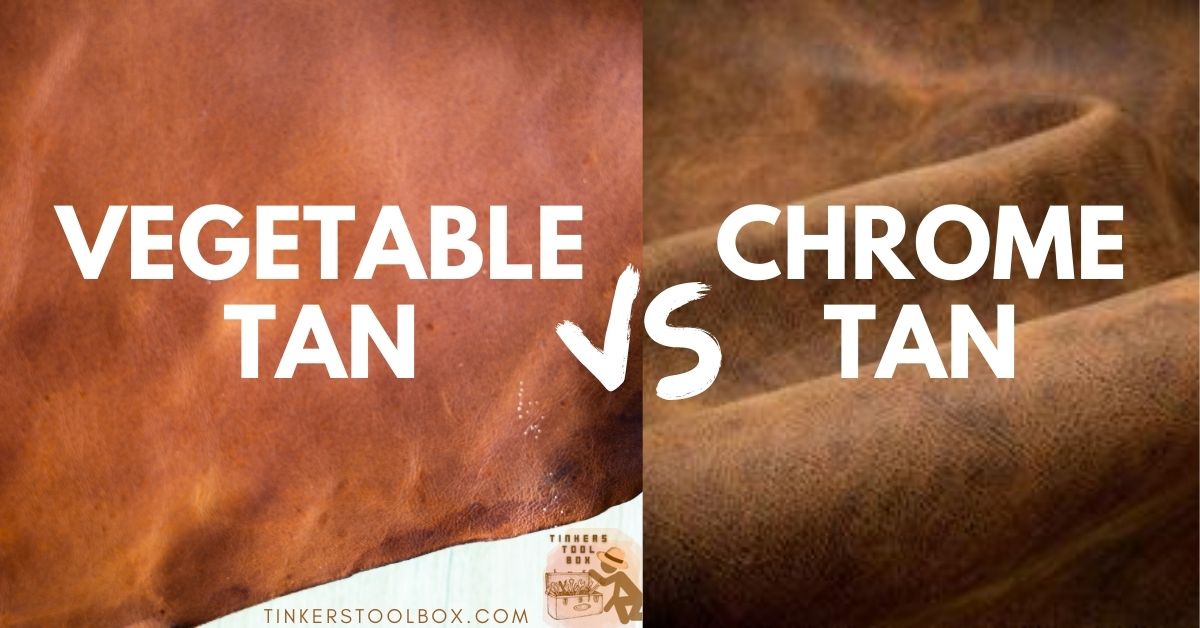
Leather comes from animal hide and that is basically animal skin. Tanning is the process of treating animal hide to make it less likely to decompose. There are two main kinds of leather depending on the chemical used to tan them.
Chrome tan uses chromium sulfate for tanning. It is cheaper and can easily be dyed. You would normally find chrome tan coming in many colors. This kind of leather has a more supple, stretchy feel which is good for small projects and upholstery where keeping its form is not very important. However, when chrome tan gets wet, chromium residue sometimes comes out of the leather and may affect the project or your tools.
Veg tan is treated with vegetable extract from tree bark or leaves. This comes at a higher price point and takes longer to treat. It has a sturdier build that keeps its form well over time. This is good for projects like belts and knife sheaths where you don’t want the item falling apart after a year of use. It’s also good for decorative techniques like dyeing, carving, and stamping.
Thickness
Leather is usually measured in ounces in the US and millimeters in the UK. Lighter leather in the 1oz or .5mm group is good for lighter use such as pouches and wallets where you’re not after bulk or much strength. The thicker ones in the 8oz or 3mm group is usually used for knife sheaths. Think of how using thinner or thicker leather will affect the final look and feel of your project before you decide to buy one.
Leather Grain
Genuine leather can mean anything from purely natural hide to reconstituted leather scraps. As long as it’s leather, it’s genuine leather regardless of quality. Mostly, it will boil down to the amount of work done to modify the hide.
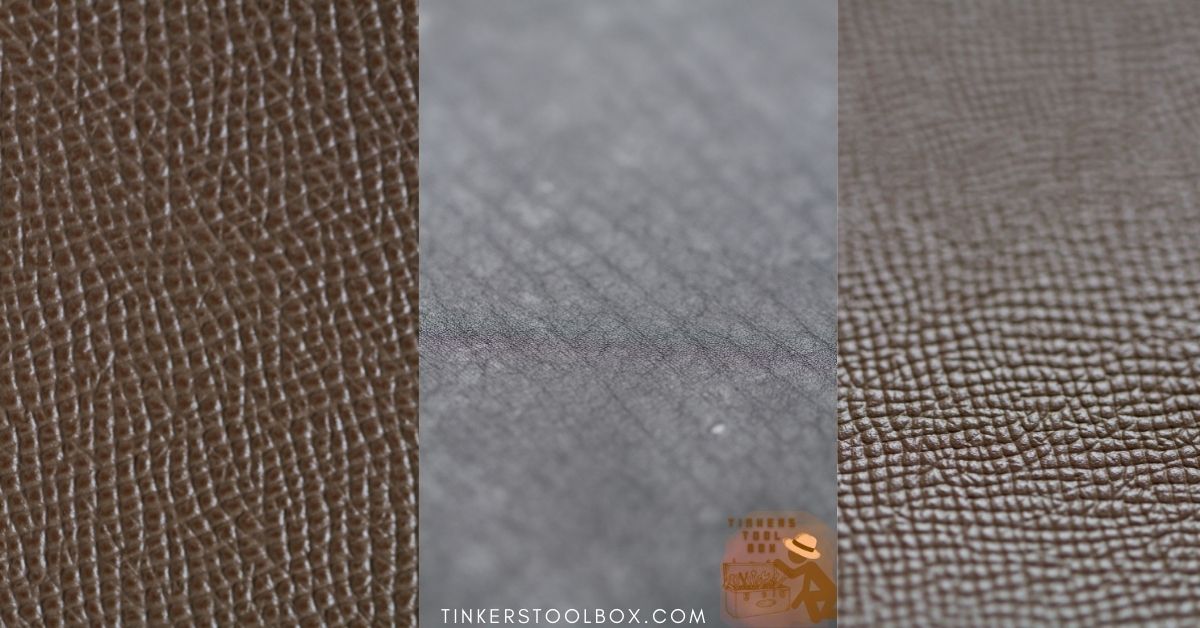
Full-grain leather is animal hide in its natural form. Once the top layer or grain has been modified or treated, it is no longer full grain. It still contains all the markings and blemishes on the skin. While this gives leather much appeal if you’re going for ruggedness, some projects still require a more consistent texture which you can get from first-grade leather.
Top grain is hide that has undergone minimal alteration. The top layer is often sanded to hide imperfections like tick bites and barbed wire cuts that break the even surface. Sanding, however, removes much of the leather character and makes it weaker.
Corrected grain is more heavily treated than the first two. The goal is really to achieve a smooth, consistent texture in demand for mass production. Alterations are also done to make the cheap hide look nicer.
Cutting
Cutting leather may be so basic, but depending on the tools you will use you might find yourself needing more training than you expected. Experience will help you here. Before making any major cuts, try the tool on a small piece of the leather you are working with to get a good sense of how the pair feels. Here are some of the common cutting tools used in leatherwork.
Craft Knife
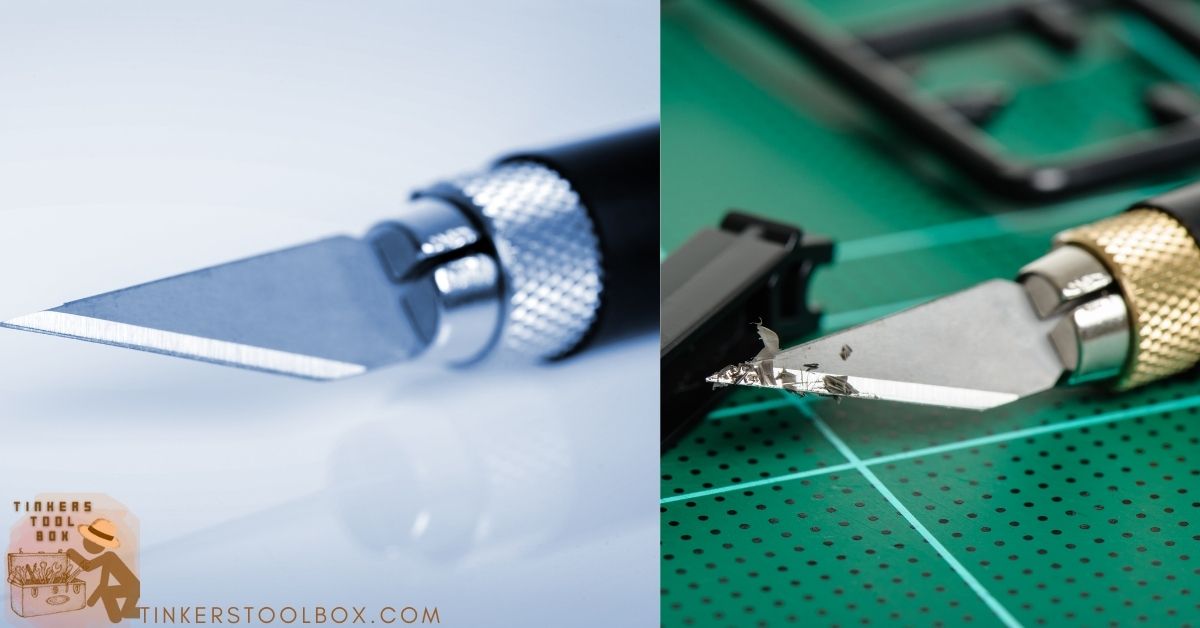
Craft knives are great for precision cuts like corners and decoration. They will work fine for heavy leather cuts but can easily dull or snap the sharp point.
Box Cutter/Utility Knife
One of the best all-around knives, the box cutter is comfortable to use and works well for tight corners, rounding, and heavy-duty leather cutting. It works for most leather weights. Sharpening can be done but it’s easier to just replace the blade with cheap ones.
Rotary Knife
This is also a good general-purpose knife but the shape of the blade makes it a little hard to reach sharp corners. The blade is also tough to sharpen and expensive to replace.
Gluing
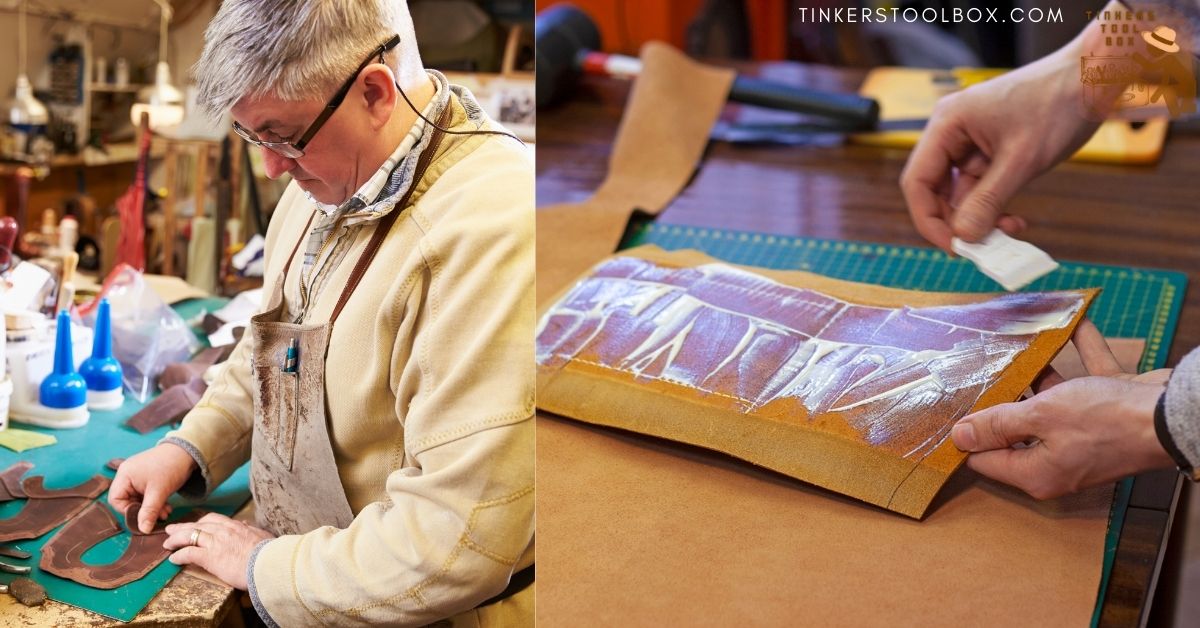
Applying adhesive products to leather is useful if you want some hold for when you need to do stitching. It can also give a permanent stick depending on the product you’re going to use.
Most bottles will come with application brushes which are okay for most projects but extremely tedious for bigger areas of leather. For such cases, consider using a glue tray that is like a big roller brush used in painting.
If the surfaces that you’re trying to put together don’t receive glue too well, use a rougher to give your glue more places to settle into. For thinner leather, sandpaper will work just fine.
Leather Glue
Leather glue is for non-permanent adhesion. It is used to hold the leather enough to get good stitches. You can still pull the surfaces apart after trying to stick them together if you need adjustments.
Contact Cement
Contact cement tacks for a permanent hold. Many leather crafters use cement and stitch for a stronger hold. You will need to apply contact cement on both the surfaces and let them dry for a few minutes until it’s tacky to the feel.
You should note that contact cement will not give you much room for error. Once it’s bonded, it can stay for years so you only have one shot. A safer way to avoid adjustments, if your pattern will permit, is to give some extra surface that you can cut later on after the surfaces have bonded. Stick them together and do the more precise cutting afterward for perfect alignment.
Cement Thinner
Contact cement thickens over time and can get too heavy for easy application. Add some thinner to bring the cement back to the consistency of a newly-opened bottle.
Stitching
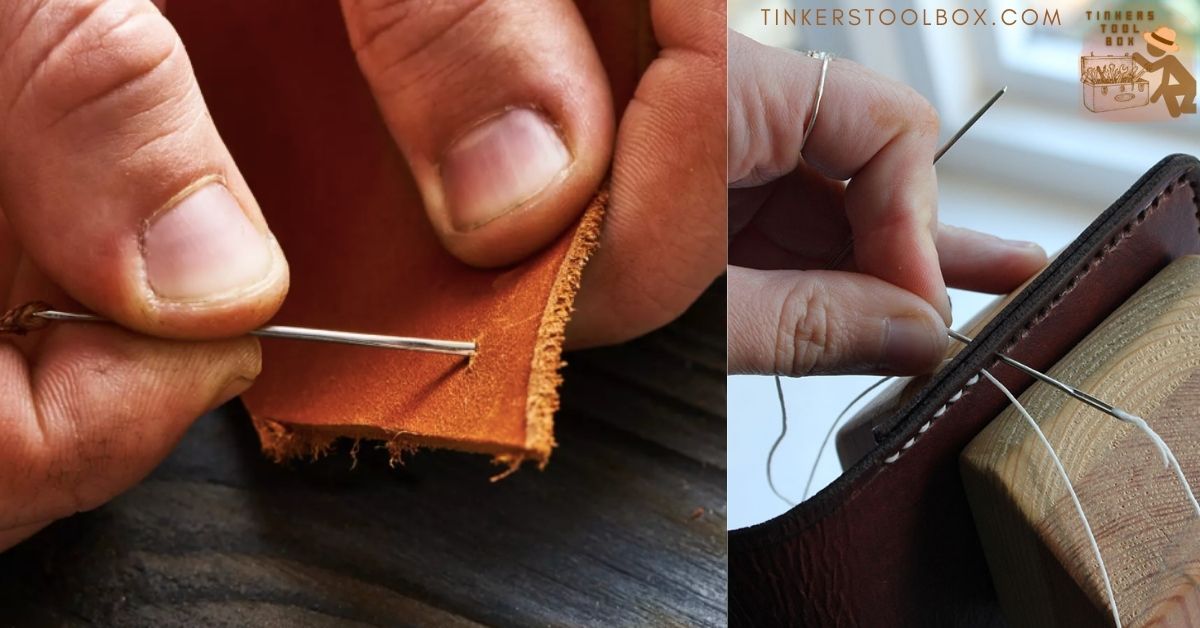
Stitching is not just for keeping the project strong. It can also be quite decorative. Use chisels to make stitching easier and to get nice, even stitch holes. You can even use a groover before creating stitch holes to have the thread sink almost the same level as the leather. This will prevent snagging and can help your project last longer. Also, use waxed leather for a smoother stitch and easier sealing.
Hand Sewing
Big companies often use machine sewing but many businesses still prefer hand stitching. Hand stitching can be tedious but it can be made easy with a stitching pony to give your hand more freedom of movement.
Edge Work
Smoothing and sealing the edge of leather is important to prevent unraveling or snagging with much use. They make your projects last longer and give them a professional look. Edge work is good for thicker leather, particularly veg tan which is sturdier and has more oils in the leather for burnishing.
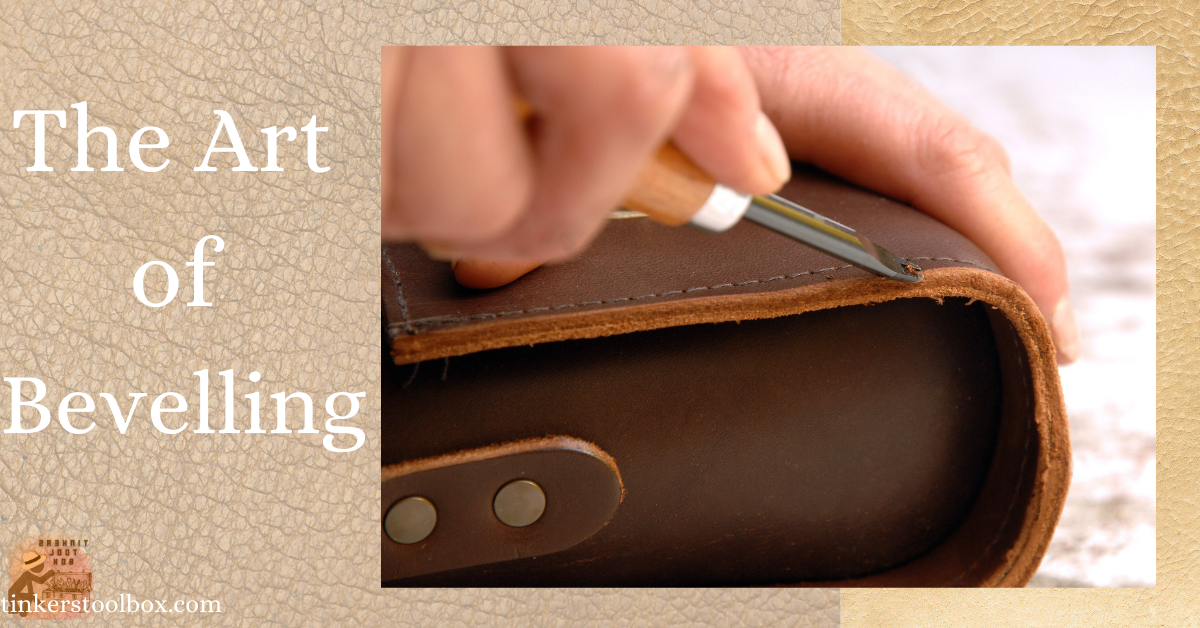
Beveling
Beveling is removing the top corner of an edge to remove the sharpness, making it more rounded. This is achieved by scraping off the sharp corners with a French beveler or a similar tool.
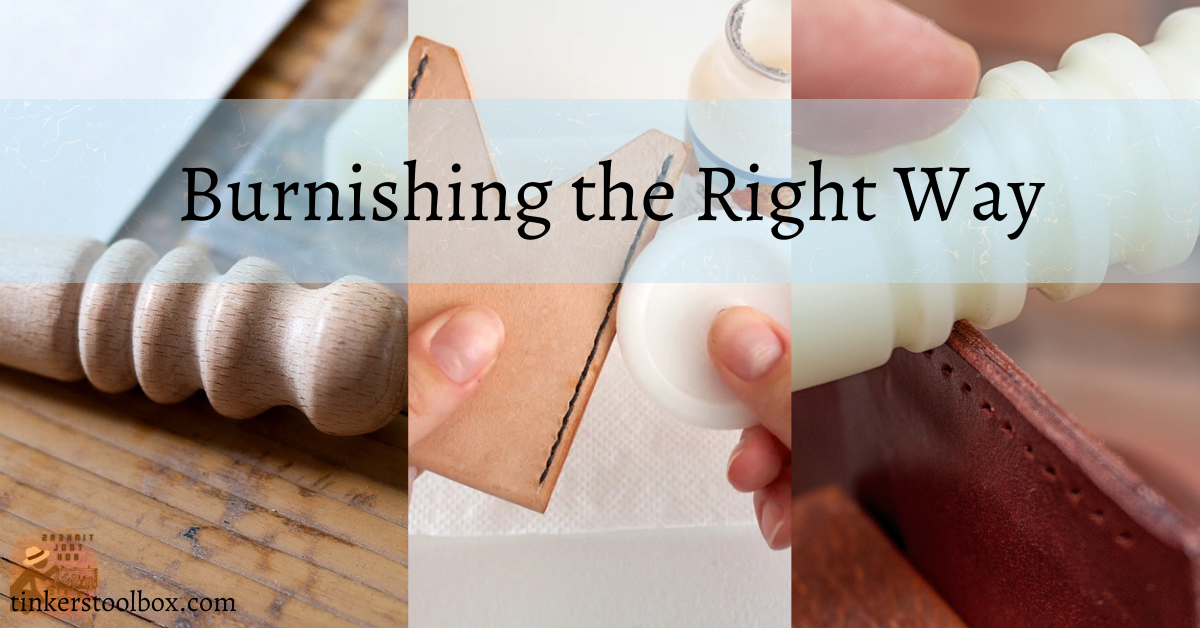
Burnishing
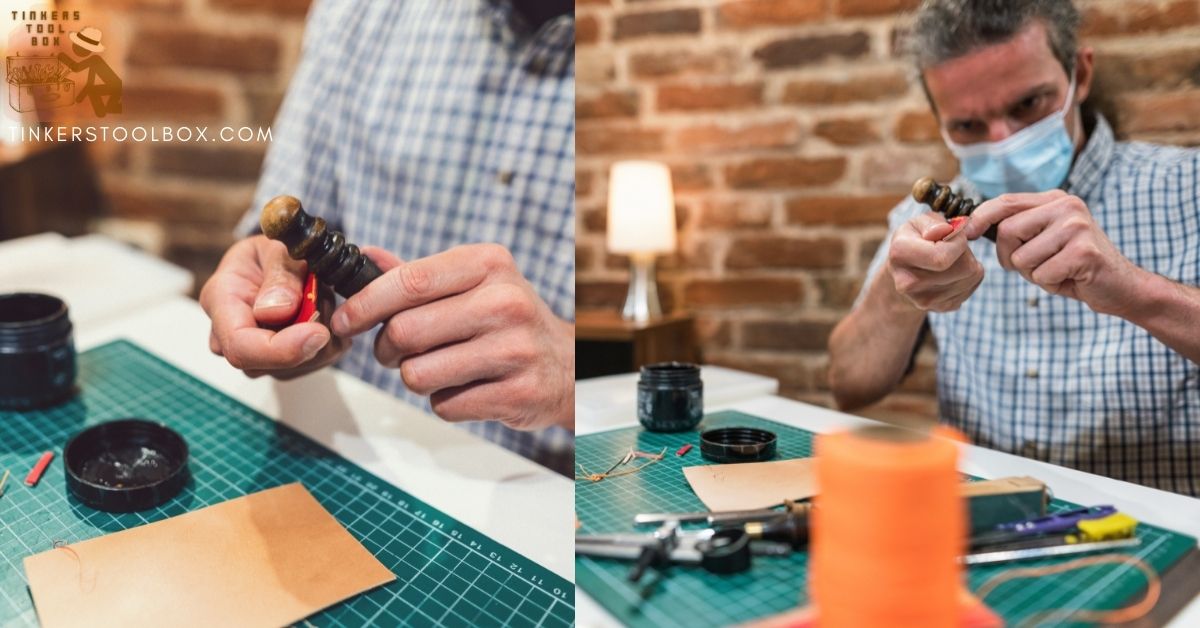
Burnishing is the process of sealing leather edges using its natural or added oil by rubbing the edges. Craftsmen use gum trag, water, beeswax, or no addition at all before rubbing the edge with a burnisher or a piece of canvas cloth until the edge is sealed and shiny. Note that the key here is to create heat using friction instead of pressure so go lighthanded with your rubbing.
Veg tan leather tends to retain more oils after tanning so it’s good for burnishing using just water and cloth. Thinner leather is harder to seal so many choose to stitch the edges instead of burnishing to prevent unraveling.
Skiving
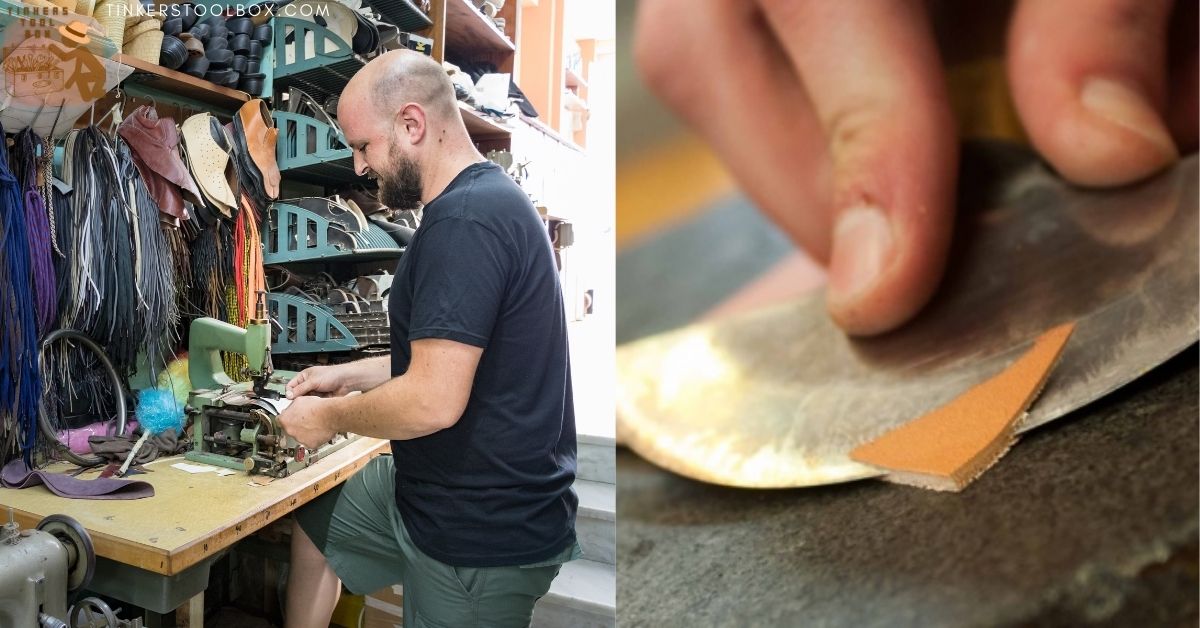
The main job of skiving is to reduce the leather’s thickness. I like to imagine it as filleting the leather. It can be to keep an even thickness throughout your layered projects, to make an edge thin enough for easier folding, a preparation for stitching, or for the easier adding of elements like rings, buckles, and snaps.
Following are the most common tools for skiving, all of which require practice in handling. Remember that these tools come super sharp and that’s a good thing. Just be extra careful when using or placing them on top of your workbench. Make or buy a sheath for them to protect yourself and other tools.
A skiving knife has a rectangular blade with one very sharp side. This is a good tool if your goal is a gradual thinning of an edge. You would normally want that in a wallet with many pockets where you will layer much leather in the same area. This is to reduce the bulk in the project and for a smoother look. The skiving knife will need constant sharpening and care since the sharp edge can be thin and fragile.
A round knife is similar in use to a skiving knife, just with a different shape. This tool also requires frequent sharpening and care.
A french beveler is a good tool if you’re after a more even thinning. Think of a thick leather suddenly stepping down to a thinner strip. This tool is good if you want an even thickness for a long strip of leather or a sudden change in thickness.
Dyeing
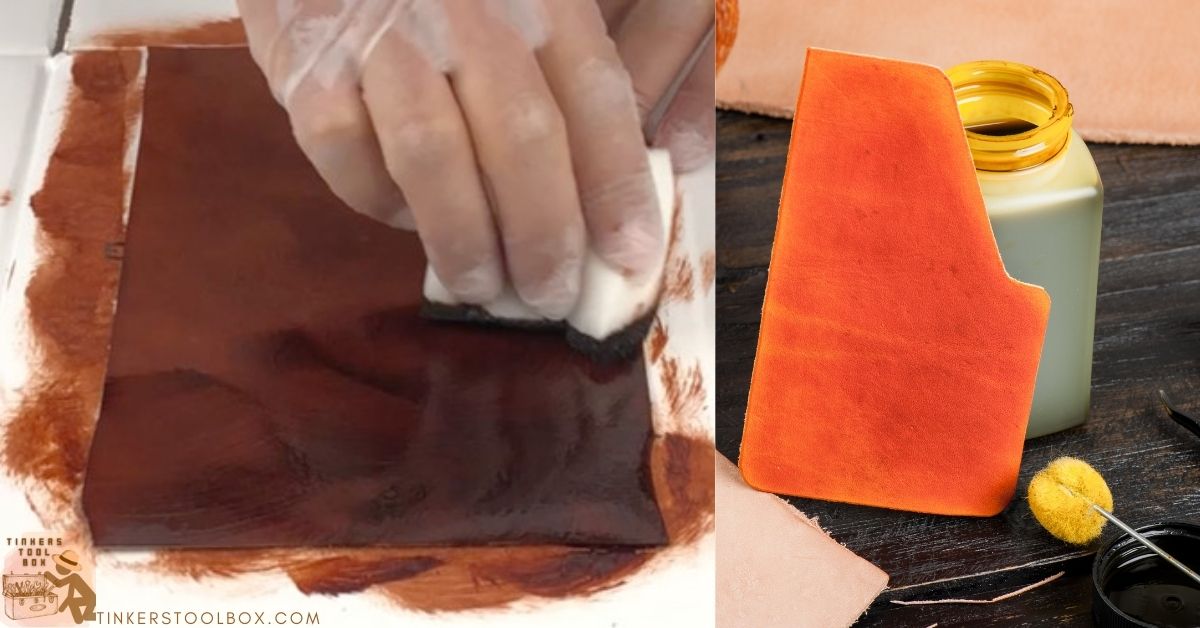
Adding color to leather is not just a fashion statement. It’s also a good way to hide small imperfections on the surface so they’re not too glaring. There are many dyeing products to choose from and application techniques for different effects.
Types of Dye
There are two main types of leather dye: aniline and semi-aniline. Many brands add alcohol for better penetration of pigments to the leather. Once the alcohol evaporates, the color remains in the leather fibers.
Aniline is water-based. Leather dyed with aniline products tends to be stiffer. They offer a more natural feel and smell, and can still show the character of the hide more than their semi-aniline counterparts.
Semi-aniline dye has oil and pigments added to it. It gives a firmer and denser finish to the leather. The finish is less natural than water-based, kind of like there’s a thin layer of paint on the surface of the leather.
Dye Application
One popular method of dyeing leather is by dipping it in dye. This results in a more consistent color throughout the leather. Try to get all the surfaces in just one dipping and let it drip for a bit before laying out to dry.
You can also use a sponge or cloth wrapped on a block of wood. These methods are useful if you want a thinner layer of dye on big surfaces. Try to cover the surfaces in just one pass since multiple coating might give you inconsistent coloring.
Airbrushing can give you a thin but even layer of dye with the minimum amount of product used. It can also create a fading or gradient effect which is difficult to achieve using the methods above. For more precise dyeing, use a paintbrush.
Avoiding Rub Off
It’s never fun to see the color of your leather transferring to your clothes or belongings. Rub off is inevitable when dyeing leather but that doesn’t mean we can’t do something to reduce it.
Oil-based dye generally shows less rub off compared to water-based. Still, they will both have some transfer without any protective coating to reduce it. Use some neatsfoot oil and rub it all over your leather before working with it. Then, use leather balm as a protective coating after the oil. This will not just protect your leather but your clothes as well.
Make sure to get all the edges, even the flesh side of the leather. Rub off is worse on the edges and the flesh side so give those areas multiple rubbing to take off as much excess dye as possible.
Finishing

Finishing coats help protect your leather from water, rub off, and scratch. It’s also a nice touch to get that rich color with a glossy finish for your projects. Give your leather items a professional look with a little finishing product.
Top Coats
Leather balm, Resolene, and Bag Kote are some top coats that you can apply using a rag. They give a nice gloss to your leather and make the color really pop. However, the color enrichment can be far from the original dye color so you might want to take note of that.
Resist and finish coats are really made to resist dye but it’s still a pretty good finishing coat. It provides little gloss and little color change. If you already have this product and don’t want to spend extra on another, you can give this one a go.
Leather Sheen and Saddle Lac are two options for spray-on coats. Be sure to have your windows open when you apply these coatings. They are fairly easy to apply and take little time to dry. Both are great in keeping the original color of the leather but with just some added richness to it. Saddle Lac however performs better in giving gloss than Leather Sheen.
Decorative Skills
In any craft, you are sure to find some kind of beautification, and leather working is no exception. These skills are really more for aesthetics but they give your project character and learning them is no small task.
Carving
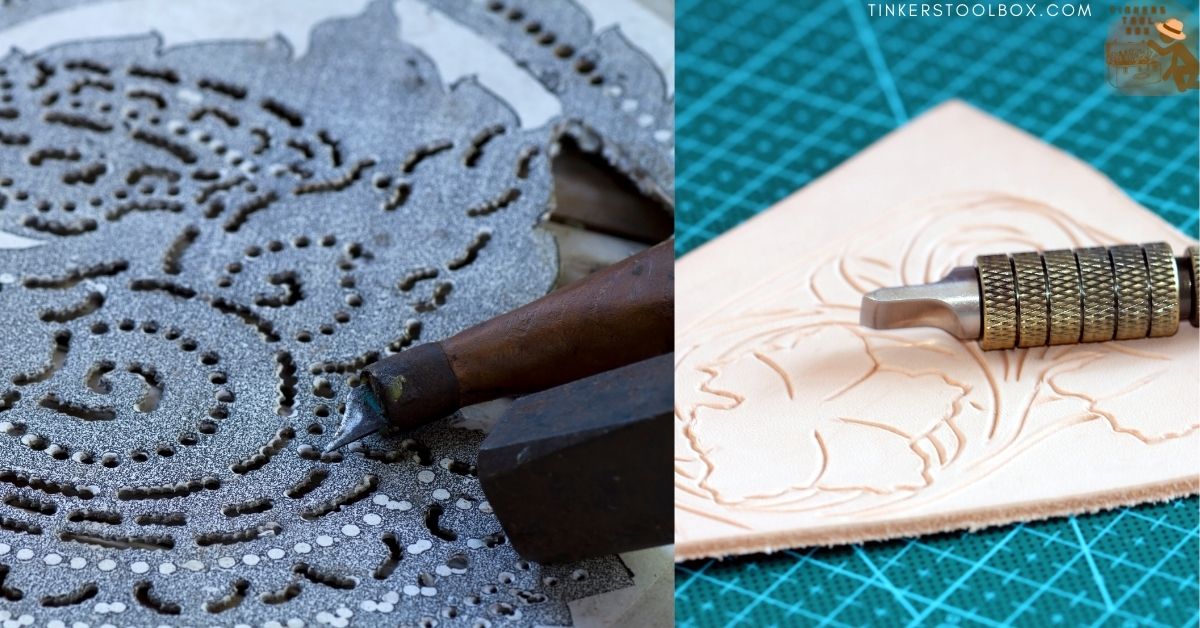
Just like in woodworking, leather carving is taking off some leather on a surface to create a pattern. Just print your design on a tracing film or paper and transfer it to the leather by using pressure while drawing to leave a light mark.
Before even transferring the pattern, wet the whole leather surface until about ¾ of the thickness is wet. Let the water sink in and dry for around five minutes. The goal of wetting or casing is to prepare the leather for tooling. This is where experience will help you. You need to get a good feel of the leather. If it’s too dry, wet it and let it dry again. If it’s too mushy, let it dry some more or the patterns will not be crisp.
Use a swivel knife to carve out the pattern. Instead of aiming to get the depth in just one pass, try multiple, light passes until you’ve achieved the desired depth. Smooth and press down the areas surrounding the pattern using a smooth bevel. This will make your design stand out. Use a backgrounder to press down the “background” of the design. This tool is good for sharp or rounded corners. Use the bevel to smooth the background as well.
Stamping
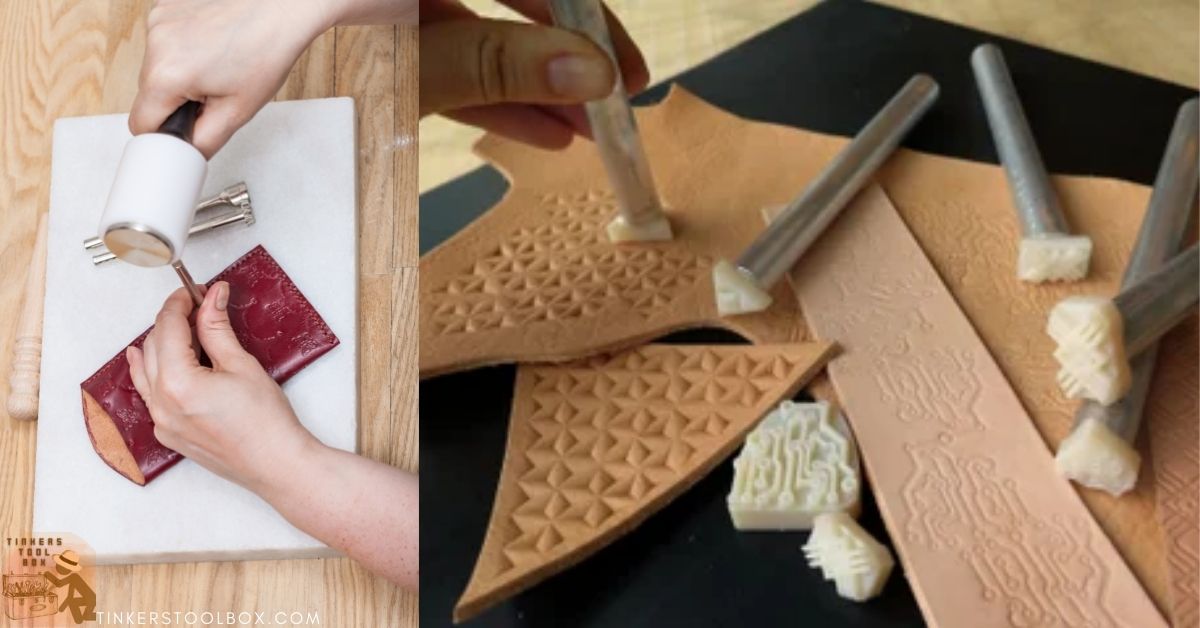
This technique uses stamps with different designs to impress patterns on leather. Just like carving, wet or case the leather before tooling. Instead of a single strike, achieve the desired result with lighter controlled strikes with multiple hits. This will give a more consistent outcome. You can buy many tools for stamping but just having a few can get you far. You just need to think out of the box.
Shaping/Wet Molding
Even stiff leather has a give in its form. Wet molding makes leather stiffer to keep a desired shape. It can be used for both practical purposes or for decoration. Natural veg tan molds better. Thinner leather is less durable after wet molding but you can get tight corners with this. Thicker leather won’t have precise corners but will last longer.
Create a mold using a block of wood or even wet molded leather. Soak the leather in water for about 20 seconds. It should feel pliable after this. Let the water sink in for about five minutes. You can now press it around the mold with the edge of your finger for around 5-10 minutes. Leave it to dry for five hours with regular pressing every 30 minutes.
Conclusion
You don’t need to learn all these techniques at once. Start with simple projects that will require one or two of these and move on to the next one. With enough practice, you’ll find yourself getting better with each project that you complete.