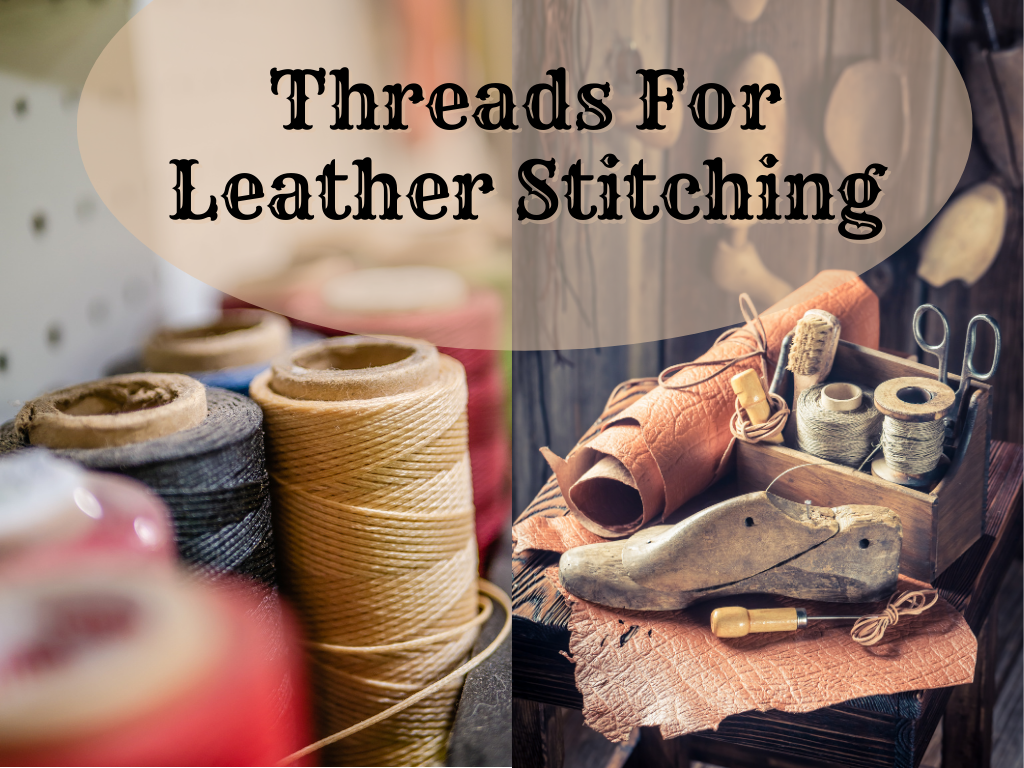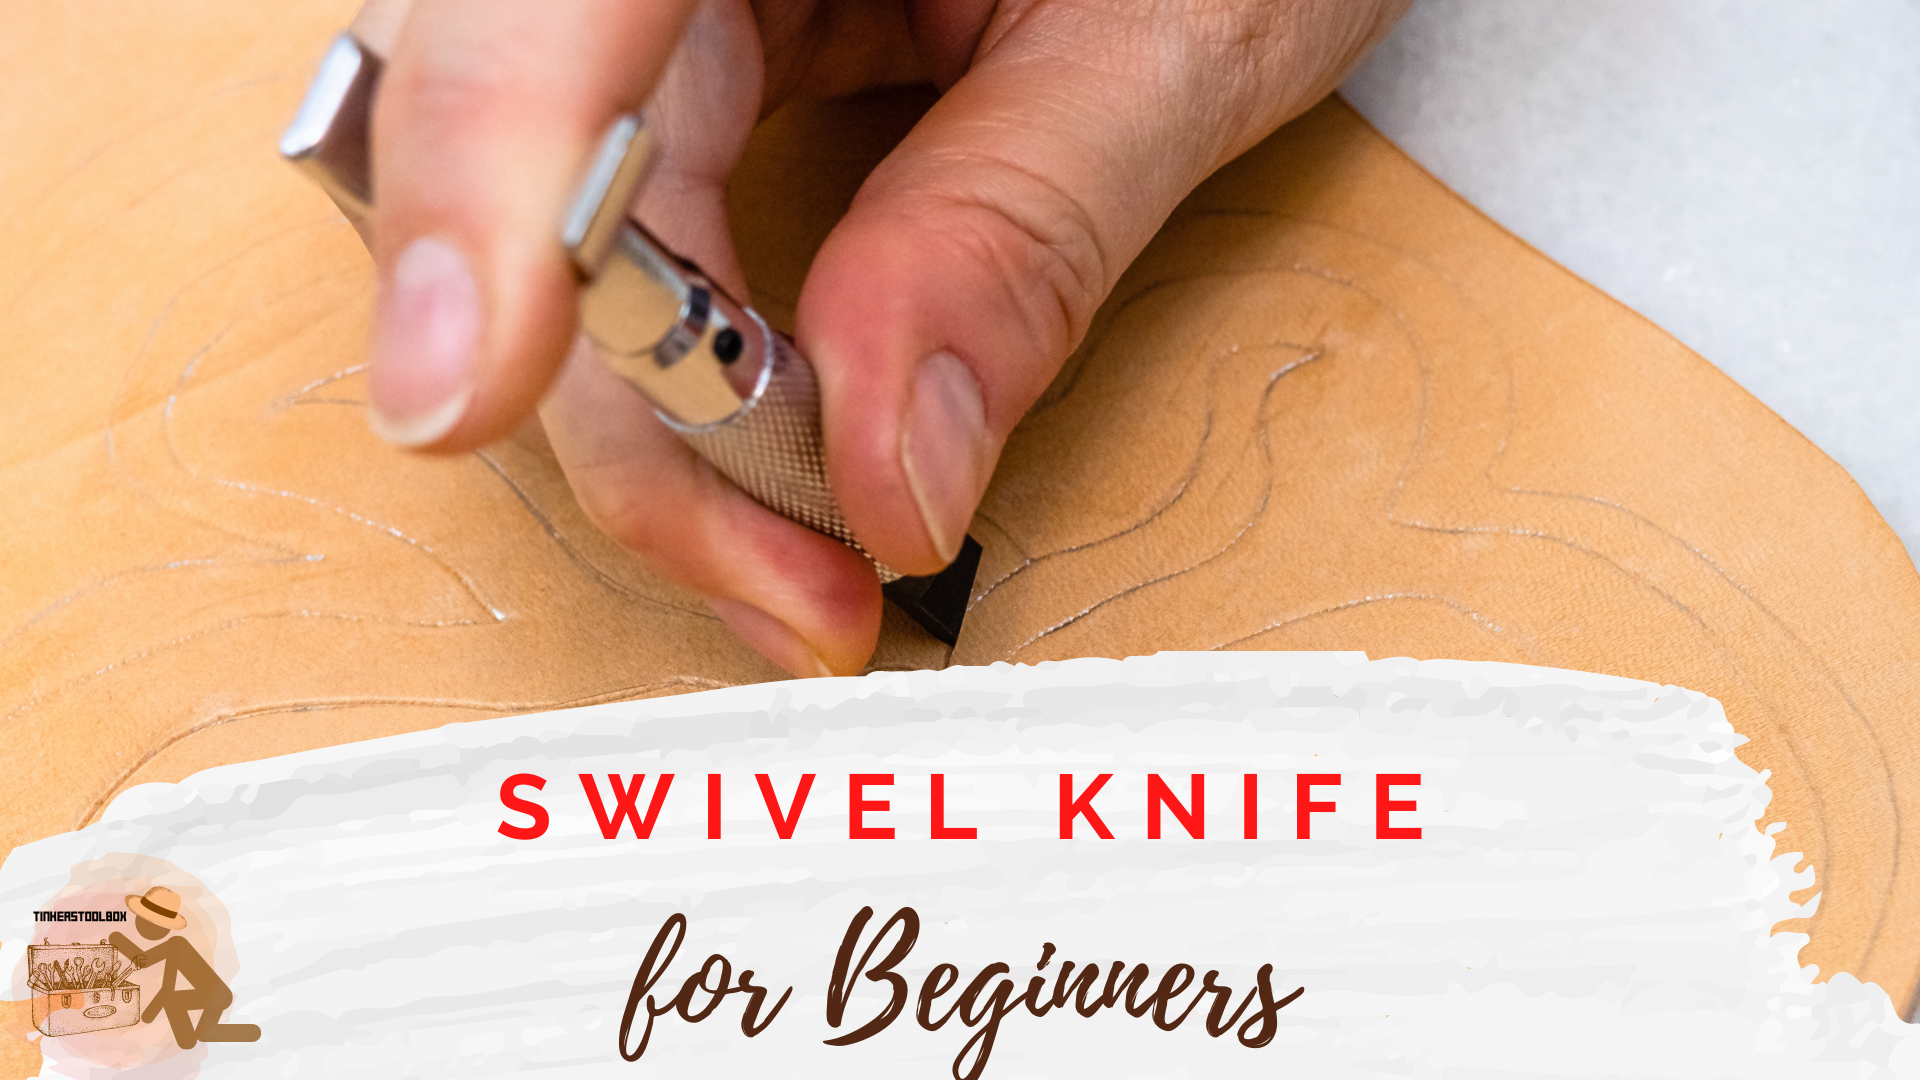
Cutting incision lines in leather is one of the essential steps in carving leather. For this task, a swivel knife is used to produce clean and smooth cuts needed for delicate designs. You may have heard some leatherworkers say that a swivel knife is a hard tool to master. But with constant practice and some easy tips and tricks, you will be an expert in no time. Here are some swivel knife hacks you need to know to create perfect cuts on your leather.
- Keep the Swivel Knife Blade Sharp for Smooth Cuts
- Hold the Swivel Knife in Your Dominant Hand
- Dampen Your Leather Before You Start Tooling
- Work in a Comfortable and Well-Lit Working Area
- Make Deep to Light Cuts While Pulling the Knife Towards You
- Take Note of the Appearance of the Cut Made in the Leather
- Turn Your Leather As Often As Needed When Cutting
- Use the Appropriate Blade Type for Your Desired Cut
- Practice Carving with Swivel Knife in a Scrap Leather
Keep the Swivel Knife Blade Sharp for Smooth Cuts

You can save yourself from all the hassle of leather carving if you just keep your swivel knife blade sharp at all times. A sharp blade cuts smoothly on the leather surface and prevents dragging the swivel knife through the leather,
damaging the leather surface. On the other hand, a dull swivel blade is not good to use in leather because it is hard to control. Furthermore, it creates friction on the leather surface and pushes the grain surface inward rather than opening the grain layer, creating undesired carved lines.
Sharpen your swivel knife blade using a paddle strop. Frequent stropping of the swivel knife blade maintains sharpness and excellent cutting edge for better results. Sharpen the knife before every carving. Also, sharpen the knife if it has not been used for a long time or if you would be using or borrowing an old swivel knife from a fellow leatherworker.
In sharpening your swivel knife using a paddle strop, the first step is to apply a fine grit compound on the strop. Then, pull or rub the blade edges on the strop, rubbing five to ten times each side. Place the blade at a 45-degree angle, then pull the blade on the strop, lifting the blade at every end of rubbing. The lifting prevents rounding off of the blade edge and ensures a sharpened cutting edge.
Hold the Swivel Knife in Your Dominant Hand

A swivel knife is a finger-tip-controlled tool, so properly positioning your fingers is important for handling this tool. The first thing you need to remember (and you probably would automatically do) is to hold the swivel knife in your dominant hand. This means that lefties should hold it in their left hand, and right-handed leatherworkers should use their right hand for this knife.
Holding the knife in the hand you’re most comfortable with provides enough control and ease in carving patterns on the leather. Think of it as a drawing design on leather using a swivel knife in place of a pencil.
Knowing the basic parts of the swivel knife is essential to know how to position your fingers on each part properly. We have four basic parts of the swivel knife: the yoke or saddle, the neck, the barrel, and the blade.
The yoke or saddle is the top part of a swivel knife. It is the rest and pressure point for the index finger and helps control the depth of cuts. The rest of the tool rotates between the thumb and other fingers for easy change of direction when carving.
The neck, a long rod that adjusts to change the knife’s length, is connected below the yoke. The next part is the barrel which holds the blade in place and is located below the neck of the swivel knife. The blade is the last but most important part of the swivel knife. It is a flat-angle blade attached to the barrel and is responsible for cutting designs on leather.
Now that we know the basic parts of a swivel knife, we’ll now try to hold it properly. First, place your forefinger into the yoke, up to about the first knuckle while the thumb rests on one side, at the lower part of the barrel. The rest of the fingers are placed on the other side of the swivel knife, having the little finger against the blade and the second and third finger on the opposite side of the barrel. Your ring finger should also be placed on the side of the blade. Lastly, let your hand rest on the table or the leather while carving to provide enough balance and control while carving delicate designs.
Dampen Your Leather Before You Start Tooling

Quick casing leather contributes to the overall outcome of your work. The quick casing is a process of applying water on leather to let moisture inside the leather fibers. Water softens the leather fibers and helps it accept cuts and impressions well, compared to completely dry leather. Furthermore, water makes leather fibers loosen and swell, allowing for easy carving and shaping. The swivel knife blade will glide smoothly in properly case leather. However, if the blade does not pull easily, the leather may be too dry, or the blade is not polished enough.
Here are the simple steps you can follow to do the quick case on leather. First, prepare a cup of tap water and a sponge. Then, dip the sponge on the water, and apply the water to the leather. Use the sponge to damp the leather, spreading the water on the leather surface in a circular motion. Ensure that all parts of the leather are applied with water evenly. Remember to just damp the leather and not wet it completely. Completely saturated leather will be too soft to accept cuts and impressions.
After applying an even amount of water, leave it to air dry. Then wait for the leather to almost return to its original color right before damping it with water. That is the perfect time to start carving. Repeat the dampening procedure once some parts of leather become too dry to carve.
Work in a Comfortable and Well-Lit Working Area

The place where you will be carving also plays a big role in the success of your leatherwork.
Be comfortably seated, and your working table should not be so high that you’ll strain your wrist. Elbows should also be at ninety degrees when working. This allows for a comfortable position needed for the particular task of carving leather. Carving takes a long time to finish, so you’ll easily get tired if not positioned ergonomically.
Choose a well-lit area. Carving is a delicate and detailed task, and good lighting provides freedom from eye strain. It also minimizes shadows in your working area. Shadows may hinder you from properly seeing the design you are creating. It will be hard to carve with shadows, especially when running your swivel knife to the leather. You may confuse the shadow with the outline that will mess up your design.
Make Deep to Light Cuts While Pulling the Knife Towards You

The proper way to cut leather using a swivel knife is to go from deep to light cuts while pulling the knife. Stick just the corner of the blade into the leather, then draw the knife towards you when making the cuts. Rotate the knife’s body when doing different cuts to create nice, smooth, and curving cuts. Push the yoke with your forefinger and apply more force when making deep cuts and less for lighter cuts.
The knife must be tipped a little forward, and only a corner of the blade cuts into leather. Also, keep in mind to keep your fingers, hand, and wrist straight, aligned with your forearm. This position is how you control the cut depth. Note that the proper cutting depth in leather carving is approximately one-half to one-third the thickness of the leather you are carving.
Use your free hand to hold and turn the leather for easy cutting. Your free hand is also a support to hold the leather in place while carving. Do not press your hand too hard on the leather because it may leave marks on the damp parts of the leather.
Always keep the knife in a vertical position when carving. The position ensures that all cuts have consistent strokes and depth. Lastly, do not set the swivel blade on metal or any abrasive surface. Doing so might damage the blade’s cutting edge as these blades are sensitive compared to other knives.
Take Note of the Appearance of the Cut Made in the Leather

The cut made on leather tells a lot about the quality of the knife you are using. A dull swivel blade will require too much effort to cut leather, and the dragging of the knife may cause the leather to bunch up or wrinkle. A swivel knife that is sharp enough produces an incision line that is smooth around the edges with no wrinkles on the outside of the incision line. If you see wrinkles outside the incision line, the blade should need a good sharpening.
Notice that the incision edges should open towards the outside. When cut with a sharp swivel knife, the leather should look like it is just falling open. On the contrary, a dull-edged knife produces a round edge that folds toward the inside of the cut. In this manner, the blade just punctures the leather and forces it to go inwards.
Look at the leather fibers inside the incision. Leather fibers cut by a sharp knife should lay down smoothly. However, fibers look round and jagged when you use a swivel knife that is not sharp. Other times, the fibers stick out and point in random directions, and you may also see some fibers stick out of the incision line.
Turn Your Leather As Often As Needed When Cutting

Turning the leather in different directions helps keep the cut coming toward the leather worker’s body. Cutting in the direction away from your body will not bring good balance and depth to the cut, resulting in an uncontrolled messy cut.
When you turn the leather, you let your hands stay in the same place when carving. It keeps the cutting hand from a cramped or awkward position. Furthermore, it brings steadiness and ease in cutting, resulting in smooth and identical strokes.
Use the Appropriate Blade Type for Your Desired Cut

There are various types of swivel knife blades you can use which provide different types of cuts. Angled swivel knife blades have slanted, or angled blade edges at various degrees. It is generally suitable for cutting sharp curves and corners and comes in different widths. Angled swivel knives commonly have thick blades. But there are also thinner ones like the filigree blade, perfect for delicate cuts and fine design details. It also cuts deeper into leather than any regular swivel knives.
Another blade type for swivel knives is the non-angled knife blade with a straight edge, which is perfect for cutting long straight lines and long curves. The thicker non-angled blades are also great for cutting leather shapes from thin leather. This is a great swivel knife blade for beginners.
Hollow ground swivel knife blades have straight-edged hollow blades that are curved inward on both sides. It is ideal for creating detailed straight cuts and is a thinner blade compared to other types.
The last type we have is the hair blade, a wide blade with little lines in a row that looks like hair. It is used for making lines in designs of stems of flowers or thin pieces of grass.
Practice Carving with Swivel Knife in a Scrap Leather

Practice carving basic shapes and lines in scrap leather. You can start to practice carving the letter S, straight lines, and many curved lines. Experiment with different amounts of pressure with each cut. This practice helps you control the depth of your cuts so you’ll know how much pressure to apply for lighter and deeper cuts. Practice cutting freely, following a smooth path. Cutting with hesitation results in ragged cuts.
In cutting curves, the flat of the blade parallels the cut. The blade is tipped forward for an appropriate cutting angle. Never lean your knife to the left or to the right to get a good look at the cut you are making. Leaning the knife sideways results in undercutting. The blade may cut under the surface of the leather on one side of the cut and leave a thin and raised edge of the leather cut. Remember that the blade must always be perpendicular to the leather to avoid undercutting.
To cut circles, position the swivel knife parallel to your arm, pointing the cutting edge towards your body. Begin creating the circular cut. Turn the knife barrel using your thumb and fingers as you trace a half circle going in a clockwise direction. Apply pressure to the yoke while doing so. Then create the half-circle cut starting at the top of the half-circle, going counterclockwise.
Also, try cutting figure eights and flowing lines. Make the cuts with one flowing motion turn the leather as much as possible for smooth cutting.
There is nothing you cannot master with constant practice and determination to be better in your craft. So start your carving today, keeping all these tips and tricks in mind to produce your first carved design using a swivel knife.