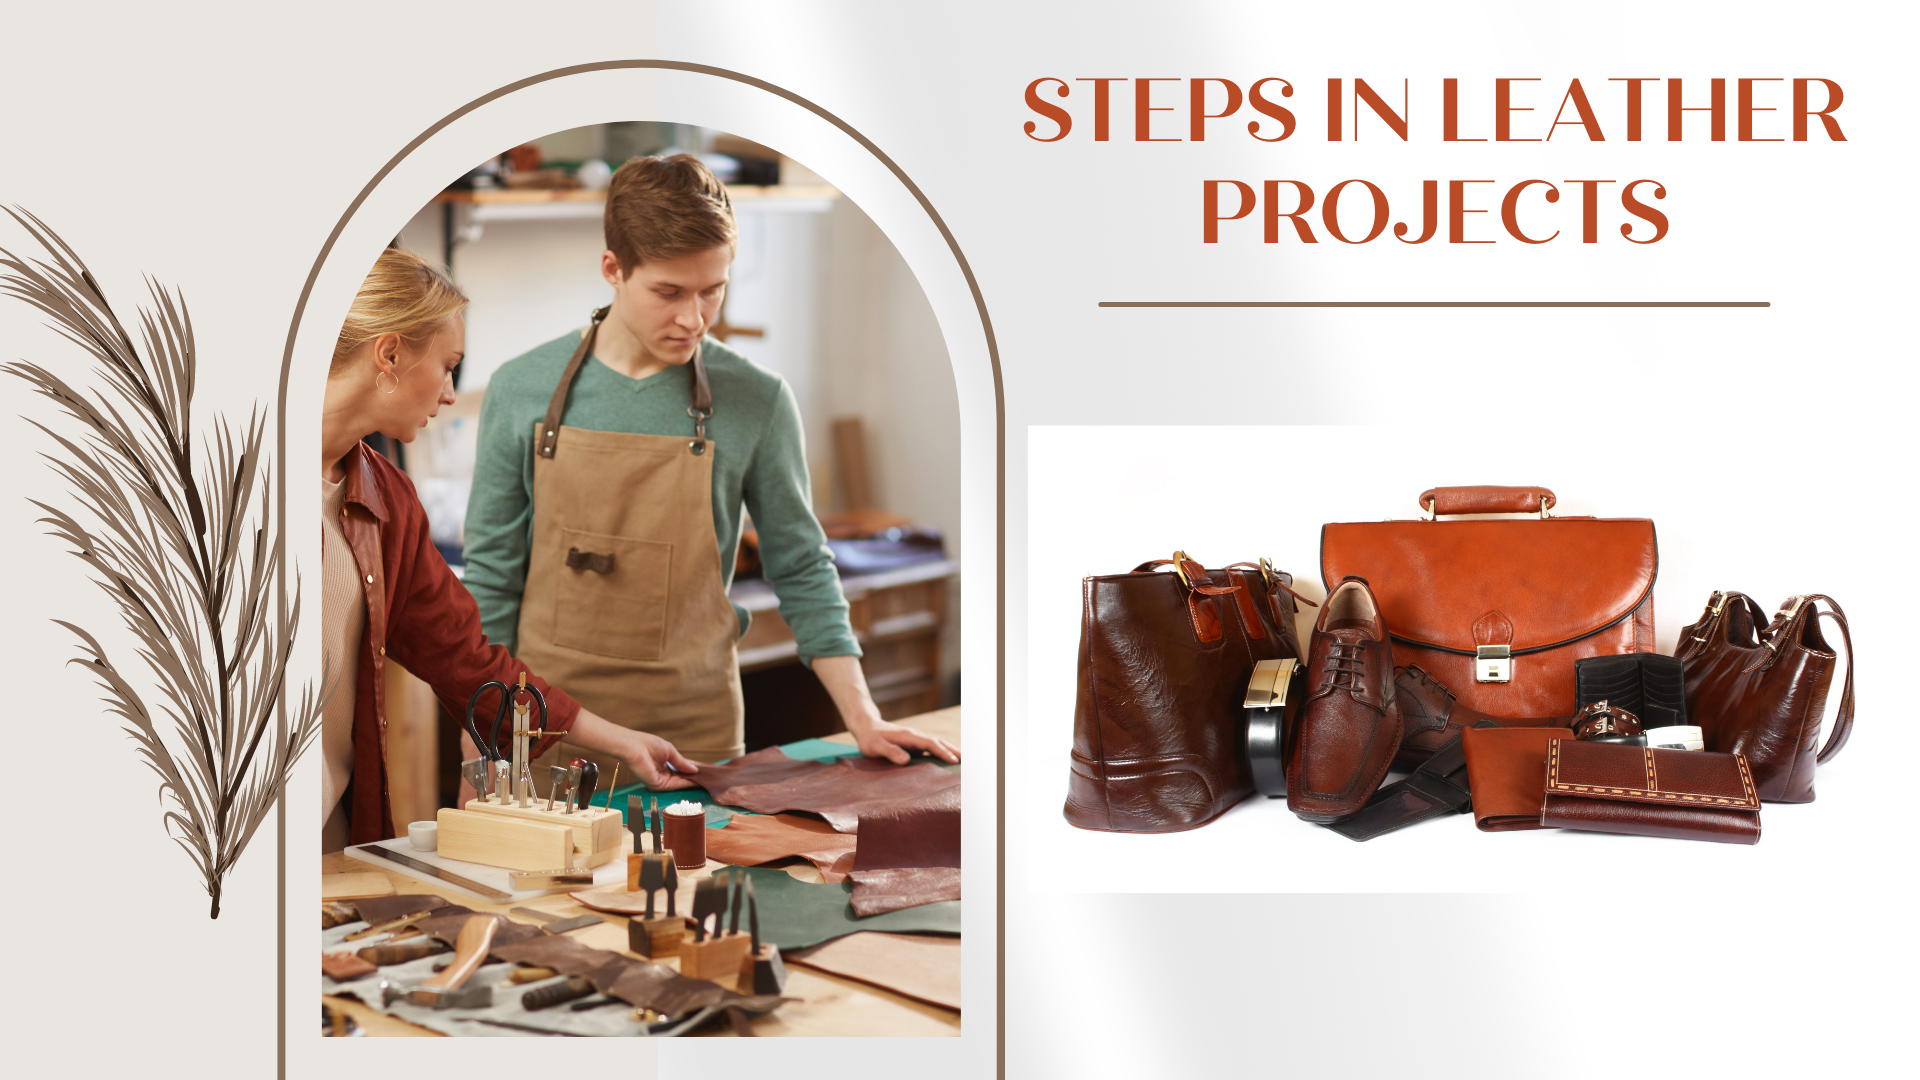
You are a beginner in the leather world and wanted to create your first project. But then, upon looking it up and studying various tutorials, you still can’t figure out which of the numerous processes are essential in creating a leather project. No more confusion as I have listed down here all the steps you need to know and master to produce quality leather projects the beginner’s easy way.
Start with choosing your project and your leather. Then, trace your pattern and cut your leather pieces. The next step is to assemble the leather pieces by gluing, creating groove lines, punching holes, and stitching. Finally, burnish your leather edges using a hand burnisher and a compound.
In this article, I will talk about the order of steps in creating leather projects. I will discuss one by one what are the tools and materials needed and guide you on each step to accomplish your desired leather project. I also included how each tool is used in leatherworking and the importance of each process to accomplish great results in your beginning leather project.
Planning Your First Leather Project
Diving into the leather world and just experimenting on your project is not a good idea. Planning your introductory leather project is a must to ensure that all your materials are used properly, and you won’t be wasting a penny.
Picking Out the Leather Project
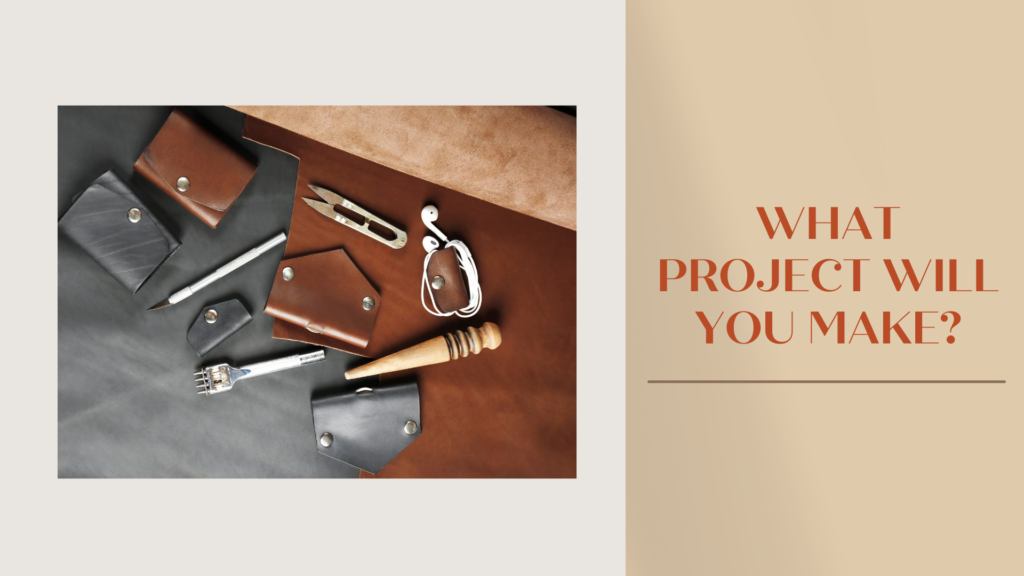
To apply these steps in a leather project, creating one will indeed give us a firsthand experience. In choosing your first leather project, it is recommended to choose a simple, straightforward project with easy steps to follow and does not require the skills of expert-level leatherworkers. Here are five small leather project recommendations for starters.
A common everyday accessory and can be very useful for a beginner project is a leather belt. This project does not require complex designs and procedures and will take an hour or two to finish. You’ll just need to measure and cut the leather in its size, then attach the buckle. As simple as that!
If you are a fan of cutesy little projects, you might want to try making a simple leather coin purse, an easy project for beginners, but with an impressive outcome. This project only requires folding, cutting, and sewing the pieces of leather together. You can pair this up with a leather cord wrangler. Keep your headphones, charger cords, and USB cables enveloped in this taco-style leather project. This yet another cutesy project is very easy to create. You’ll just need a piece of leather, preferably circular in shape and a rivet; no stitching is required.
For more adult-use projects, you can try making a leather passport or ID cover, a useful and fashionable cover that holds your IDs or passport. Leather is a perfect cover to protect your important documents like IDs or business cards if you have one. The project requires a lot of marking, cutting, and a little stitching or gluing leather pieces together.
The last recommendation on our list is leather coasters. This is a perfect beginner project that is useful every day and may require thicker leather. You can create circular and square-shaped coasters. This project can be done in minutes as it does not require any stitching. You can also use any round and square-shaped object as a guide for tracing in the leather.
Choosing the Appropriate Leather for the Project
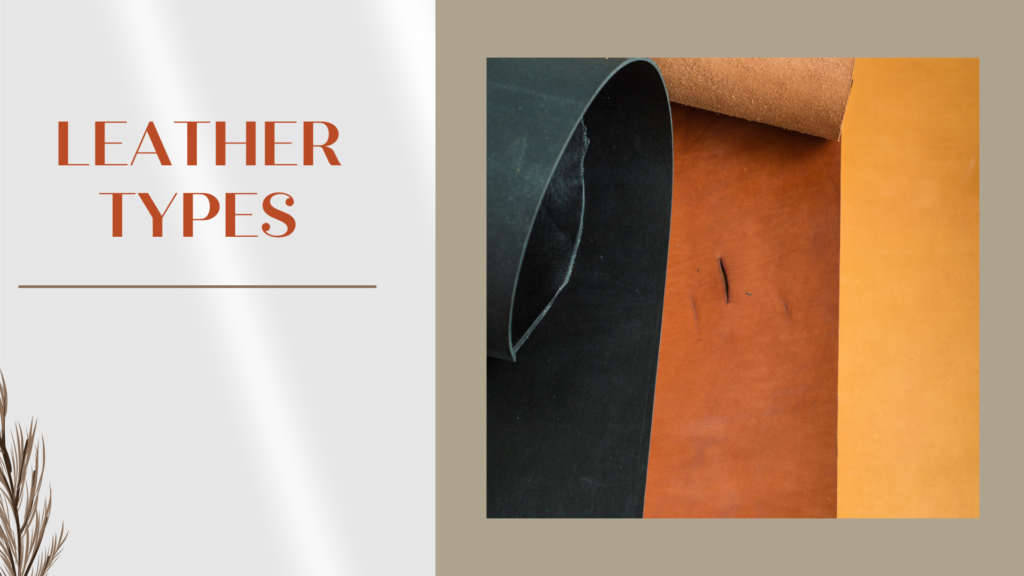
There are tons of leathers available in the market, which come from different animal hides like cows, alligators, horses, sharks, and goats. These leather hides undergo different procedures of the tanning process and are available in different thicknesses and qualities. While this may seem a lot to take, you don’t need to worry as there is no need to know them all. Just focus on the common leathers used by beginners and experts alike. These leather are true of good quality, durable, and may come at a lower price.
The most common leather used by leatherworkers is chrome-tanned, oil-tanned, and vegetable-tanned or veg-tanned leather. Chrome-tanned leathers are easy to produce. These mass-produced leathers cost cheaper than the veg-tanned leather. Chrome-tanned leather is lightweight and has a soft texture, making it ideal for beginner leatherworkers. It is often used to make shoes, gloves, and furniture with guaranteed durability and water resistance.
Oil-tanned leather is chrome-tanned leather infused with oils to make it water-resistant. This leather is pliable, making it ideal for projects which require stretching or molding into a shape like shoes. It is also cheap to produce, thus the low market price.
Vegetable-tanned leather is an environmentally friendly leather known for its durability and classic leather smell. It is a heavier type of leather used in belts and bags and ages better over time. It is more expensive than chrome-tanned leather but is indeed of premium quality.
For starters, you can use chrome-tanned or oil-tanned leather, which costs cheaper than veg-tanned leather. These leathers are practical choices to practice on while you are still building your leatherworking skills.
Tracing and Cutting Leather
The next process is tracing and cutting the exact sizes of leather. In this stage, it is essential to measure with accuracy and work with precaution in using the cutting tools to ensure a well-produced project.
Tracing A Pattern onto the Leather
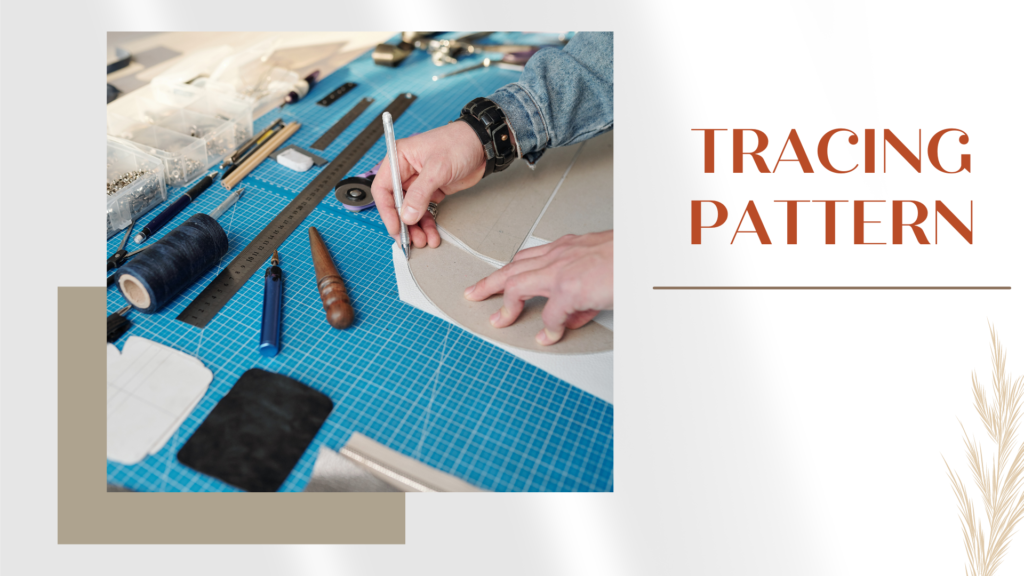
A pattern for your leather project can be anything from a piece of object to trace different shapes or an actual printed pattern. Shaped objects like glasses or mugs are usually used to create circular-shaped projects like coasters and cord holders. You can also use booklets for square and rectangle-shaped projects like a simple ID holder. With these objects as patterns for tracing, you will no longer need to use tracing materials. Just lay your object on the leather and trace the sides using a pencil or a scratch awl.
An actual printed pattern with exact measurements is for a more complex and specific project. If you are eager to create advanced projects, you can download some free available leather project patterns here: https://www.weaverleathersupply.com/free-patterns.
In measuring and marking the leather, you’ll need tools and materials such as scratch awl, a metal ruler, and your chosen pattern. Have the pattern (if you are using one) printed on cardboard or any hard paper so it won’t fold when traced into the leather. Then, use the ruler and scratch awl to trace around the pattern. Mark with the scratch awl lightly on the leather by gliding it through the leather skin, just lightly enough to create visible marks for cutting. You can also use a metal ruler as weight on the pattern to trace straightly around the edges, preventing the pattern from folding. For measurements indicated in the pattern, use the ruler to produce exact measurements. Tracing the pattern and creating exact measurements are the key to a good output.
Cutting the Leather
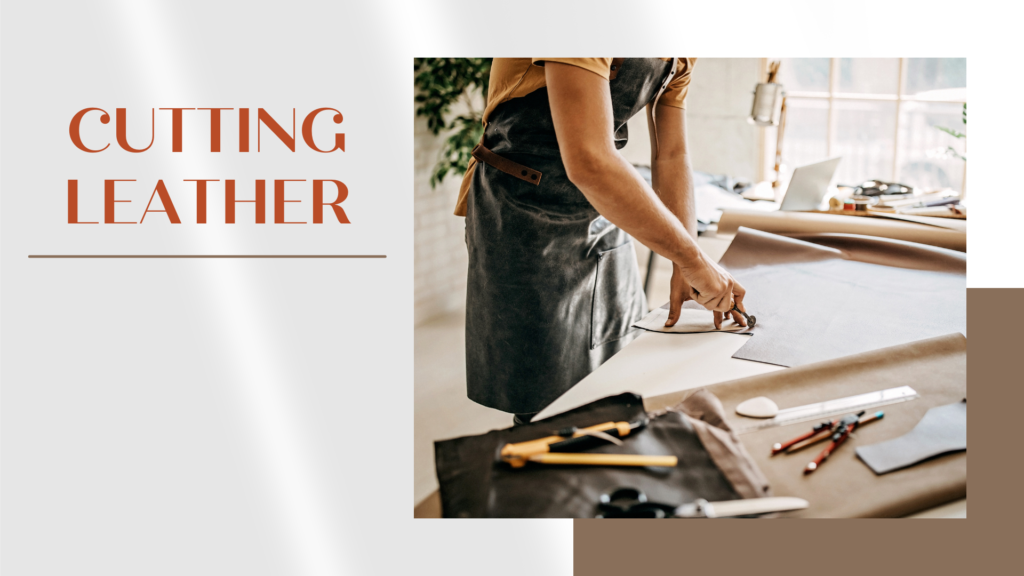
There are numerous cutting tools used for leatherwork. Each one is designated for different types of cuts and heavyweight and lightweight leathers. Using the proper cutting tools on your leather ensures a clean cut desired by the leatherworker. You can choose between cutting tools like an exacto knife, scissors, or box cutter for starters.
Exacto knife is a small handheld tool used for cutting small and intricate cuts in thin leather. It is held like a pen and is good for cutting curved lines through the leather. Just glide the knife lightly through the leather, following the marks from the traced pattern.
If you are not accustomed to these leatherworking tools, you can use scissors, a very basic tool primarily for cutting. Scissors can both be used for heavyweight and lightweight leather and is an excellent tool for cutting both straight and curved outlines on leather. Another basic cutting tool you can use, which you probably already have at home, is a box cutter. It is safe to use as it avoids having an open knife in the working area. This tool is excellent for cutting through small tight spaces on leather.
Aside from cutting tools, you’ll also need a reliable cutting board or mat. A perfect choice is a self-healing cutting mat that has grid lines for measuring and cutting leather. It is placed on top of your working table where you cut your leather. The mat heals itself after being cut by knives or cutting tools and also gives friction to leather. The texture of the mat allows for safe cutting as it helps avoid slipping of leather when cutting.
To cut the leather, follow through with the marks or outlines on the leather using the cutting tool of your choice. For cutting straight edges using a cutter or exacto knife, you can use a metal ruler to help create perfectly straight cuts. The ruler also serves as a guide for the cutting tool preventing it from slipping through your hands. Make sure that the cut goes over the leather and hits the cutting mat. As for thicker leather, more force is required and will need more than one stroke when using cutters and knives.
Assembling the Cut Pieces
Assembling the cut pieces of leather involves gluing, creating groove lines, punching stitch holes, and finally sewing the leather pieces.
Gluing the Pieces Together
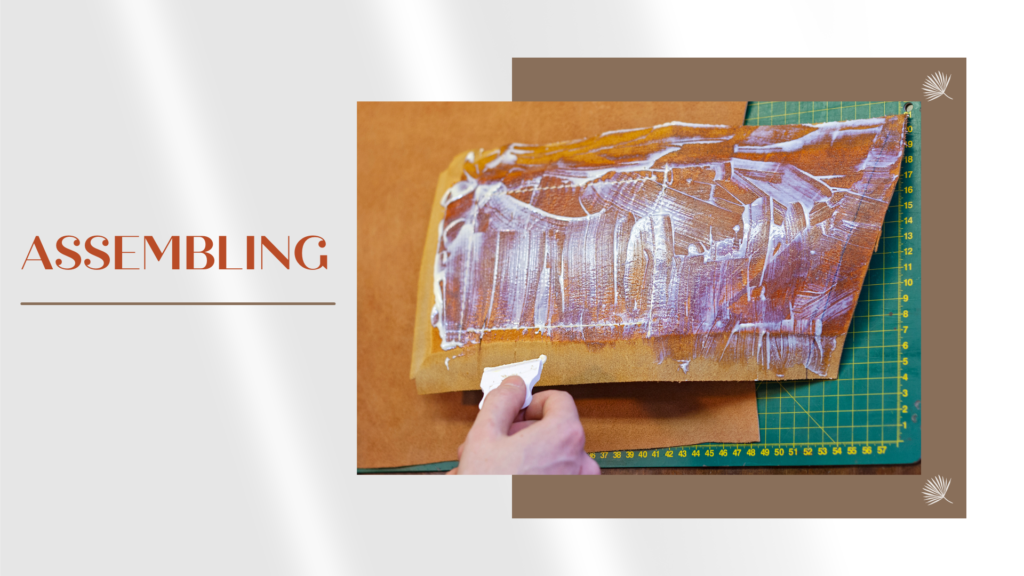
Gluing the cut pieces of leather is one of the preparations for sewing. The use of leather glue, an adhesive used to bond leather pieces together, may be either of the two, temporary or permanent bondage. Temporary-bond glues hold leather pieces before punching holes or sewing the leather, while permanent bonds are part of the finished piece.
Here are some leather glue recommendations for you. A good example is Tandy’s Eco-Flo Leather Weld adhesive and Aleene’s Leather & Suede glue. These glues are white and dry clear. It will not leave any white marks on the leather and is applicable for any leather color.
You can also use craft glue, of which Elmer’s Glue would be a top choice. It holds leather lightly together and is advantageous in sewing or punching leather so the pieces stay together and won’t move while under the sewing process.
Glue the leather pieces together, following the directions on the pattern you use. If you are not using a pattern and stitching is not required on your project, leather glue may or may not be used depending on your chosen project.
Creating Groove Lines
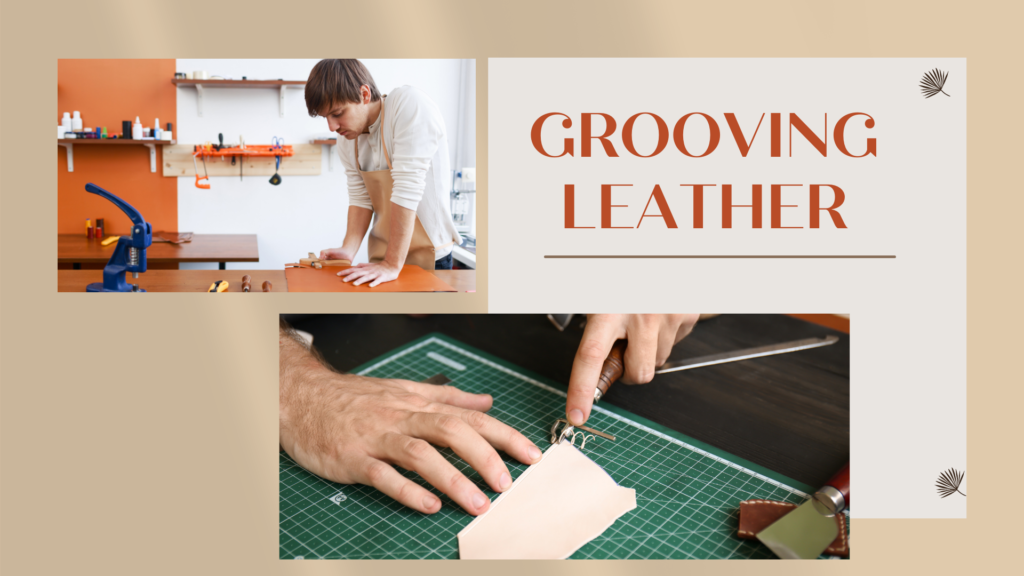
Creating groove lines allows you to make a sewing path when stitching leather and makes the stitches line up and sit nicely on the leather for a smoother finish. Groove lines also make it easy to punch leather holes as there is already an outline for you to follow. Note that you do not need to create groove lines if your project does not require any stitching.
There are two basic tools you can use in creating groove lines. The first one is the leather groover. To use it, place the guide arm of the groover on the leather edge and the cutting arm on the leather. Then, draw a groove line from the top of the leather to the bottom, having your hand at a 45-degree angle for the cutting arm blade to perfectly hit the leather. Remember to groove only the grain side of the leather.
You can use a stitching spacer if you are creating holes on leather using an awl or a leather punch. This tool creates groove lines with the same spaces for each line. The exact measurement for each groove line is great for creating equally spaced holes on leather. To use this, just roll the spacer like rolling a pizza cutter on your leather, pressing down lightly along the edges of the leather you intend to sew.
Punching Stitch Holes on the Leather

After creating your groove lines, punching stitch holes comes next. Punching equally distanced holes in leather is important to create durable and neat sewing. Each hole should not be so big and not so small, just enough size to embrace the thread. This ensures a snug fit to the leather thread, which results in a durable leather project.
Scratch awl and diamond chisels are two primary tools used in this process. In using a scratch awl, you have two options for positioning your leather while creating your holes. The first option is to put the leather in a stitching pony, having the pony as your third hand. Hold in one the awl and the other on the leather. Then punch holes by poking the awl’s sharp end on the leather. Make sure the awl goes over the leather and push it as straight as possible to create equally sized holes. The second option would be laying the leather flat on the working area. This is more recommended for beginners as it gives you an area to support the punching process while also ensuring safety. Place cardboard under the leather so you won’t damage the awl’s tip. Then, push the awl’s tip to the leatherworking your way through the groove lines you created.
You may also opt to use diamond chisels which create clean and consistent holes on leather. Diamond chisels are available in different spacings and sizes. These chisels work well with thicker leather and can puncture two thick layers of vegetable-tanned leather.
To punch holes using a diamond chisel, the first step is to choose the chisel with the hole spacing you want for your project. Then, line up to the chisel to the groove lines. Hammer them to the leather using a mallet to punch your holes. When making the next set of holes, make the last leg of the chisel go into the last hole created, so all the hole sets are distanced equally.
Hand Stitching Leather
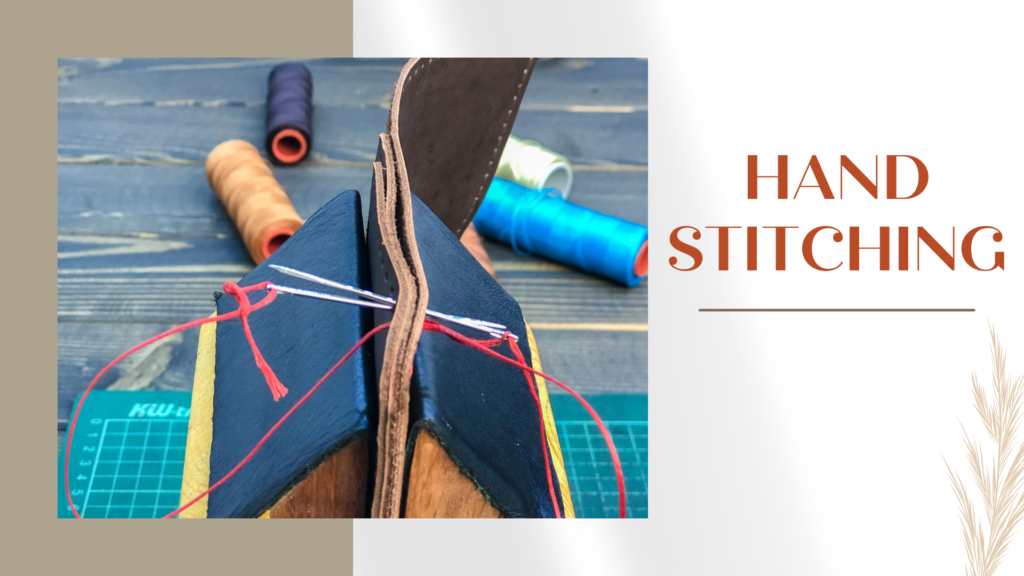
Another basic skill a leatherworker needs to learn is sewing by hand. Stitching is one of the techniques to produce durable and long-lasting leather projects. The materials and tools needed in this process are thick waxed thread, leather needles, sharp scissors, and an awl (optional) for pushing the thread into the holes.
Here are the simple steps. First, cut some thread and place it in the needle. Thick waxed thread is used because thinner threads may tear through the leather when pulled. The wax’s stickiness makes it more sturdy when applied to the thread and ensures a snug fit. Furthermore, wax makes the thread easier to work with and slide in and out of the leather holes.
To measure the length of thread you will consume, measure the size of your seam, then multiply it by 2.5. This measurement gives you enough allowance to work through the whole leather. However, if your thread exceeds three feet, you can cut it at this length then get a second thread for the remaining unsewn leather. Cut the measured thread, then put it through the needle’s eye.
Begin saddle stitching your leather seams. I’ll be teaching you the most basic leather stitching technique, the saddle stitch. This technique uses one or two needles, but I’ll teach you the stitching technique with one needle as it is easier to do than the other one. The saddle stitch fills every hole on both sides of the leather creating one unbroken line similar to a machine-sewn stitch. This makes the stitch stronger compared to a straight stitch, looking neat and more professional.
Insert your needle on the first hole of your seam, then pull the thread through, leaving about two inches long tail. Then pass the needle through the second hole creating a single stitch. Next, go back to the first and then the second holes to create a loop that locks the thread in place.
Proceed sewing through the seam creating a dotted line of stitching. Pull the thread lightly, just enough to create a snug fit. When you reach the end of the seam, start sewing back, going through each hole, filling the opposite spaces between the sewing holes. This stitch is your second pass to complete the sewing. Match the tension from the first and the second pass of thread on the leather holes. Finally, lock the thread in place before cutting it using scissors.
Burnishing Leather
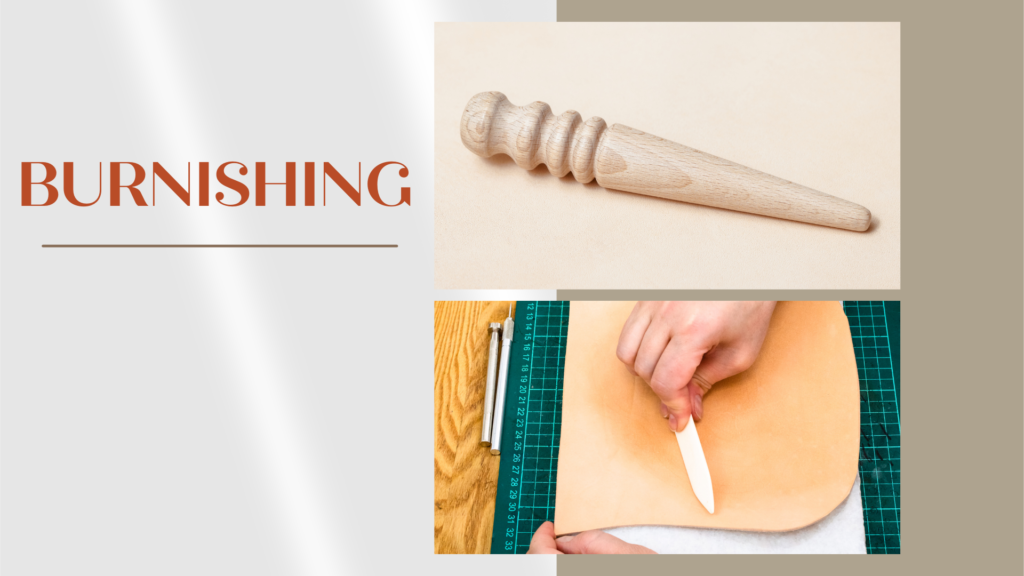
Burnishing the leather edge helps trim the loose fibers or lay them down. These loose parts of leather came from the process of cutting. The tools we will use for burnishing are hand burnisher and paraffin or beeswax, a compound to polish leather edges. But if you don’t have these materials, I will also cite some alternatives for you to use.
To start, brush the leather edges using an abrasive material. Leatherworkers often use a hand burnisher or a Dremel in this task. However, if you don’t have one, you can either use emery cloth or sandpaper. Rub this across the leather edges to trim down some loose fibers and flatten the rough edges.
The next step is to apply a compound on the edges. Compounds such as beeswax or paraffin harden the leather edges and give it a polished look. You can also use water if you don’t have these two, as water does the same effect as the mentioned compounds when it comes to burnishing leather edges. Always remember to apply the right amount of compound on the edges, making the leather damp and not wet. Spread the compound evenly for an excellent finish.
Repeat the rubbing of abrasive material on the edges. Upon rubbing, you’ll notice that the leather will darken and produce a shining effect. This is because of the friction caused by the abrasive material on your leather. Apply short strokes and more pressure when rubbing so the edges will get smoother as the process goes.
The final step is to let the leather dry. The burnishing process might leave your leather damp, most especially if you used water as your compound. Let it air dry to have that perfect shiny and polished leather edge.
Conclusion
Knowing when to start and how each process should be done is a great help for beginners who are still learning and building their skills in leatherworking. You’ll have a lot to learn in the long run, and having the foundation of basic skills will be a big part of your learning. Indeed learning through experience is the best way to build your confidence and competence in leathercraft.