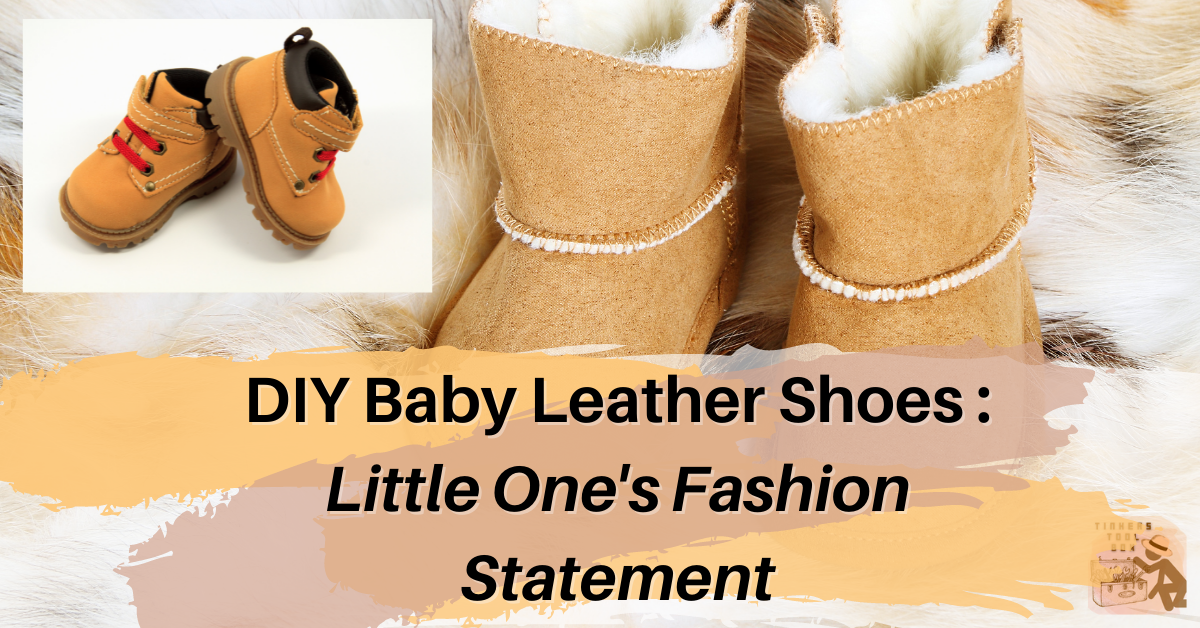
Anyone, especially parents, wants a baby’s first walk to be sheer comfortable and special. However, finding the perfect shoes for them is hard, especially when you want a unique one. Making baby’s shoes is not as hard as you may think. With the right materials and tools and enough skill, you can create not unique but cute and comfy shoes for a baby. If you are ready to make these beautiful leather shoes, then let us get going!
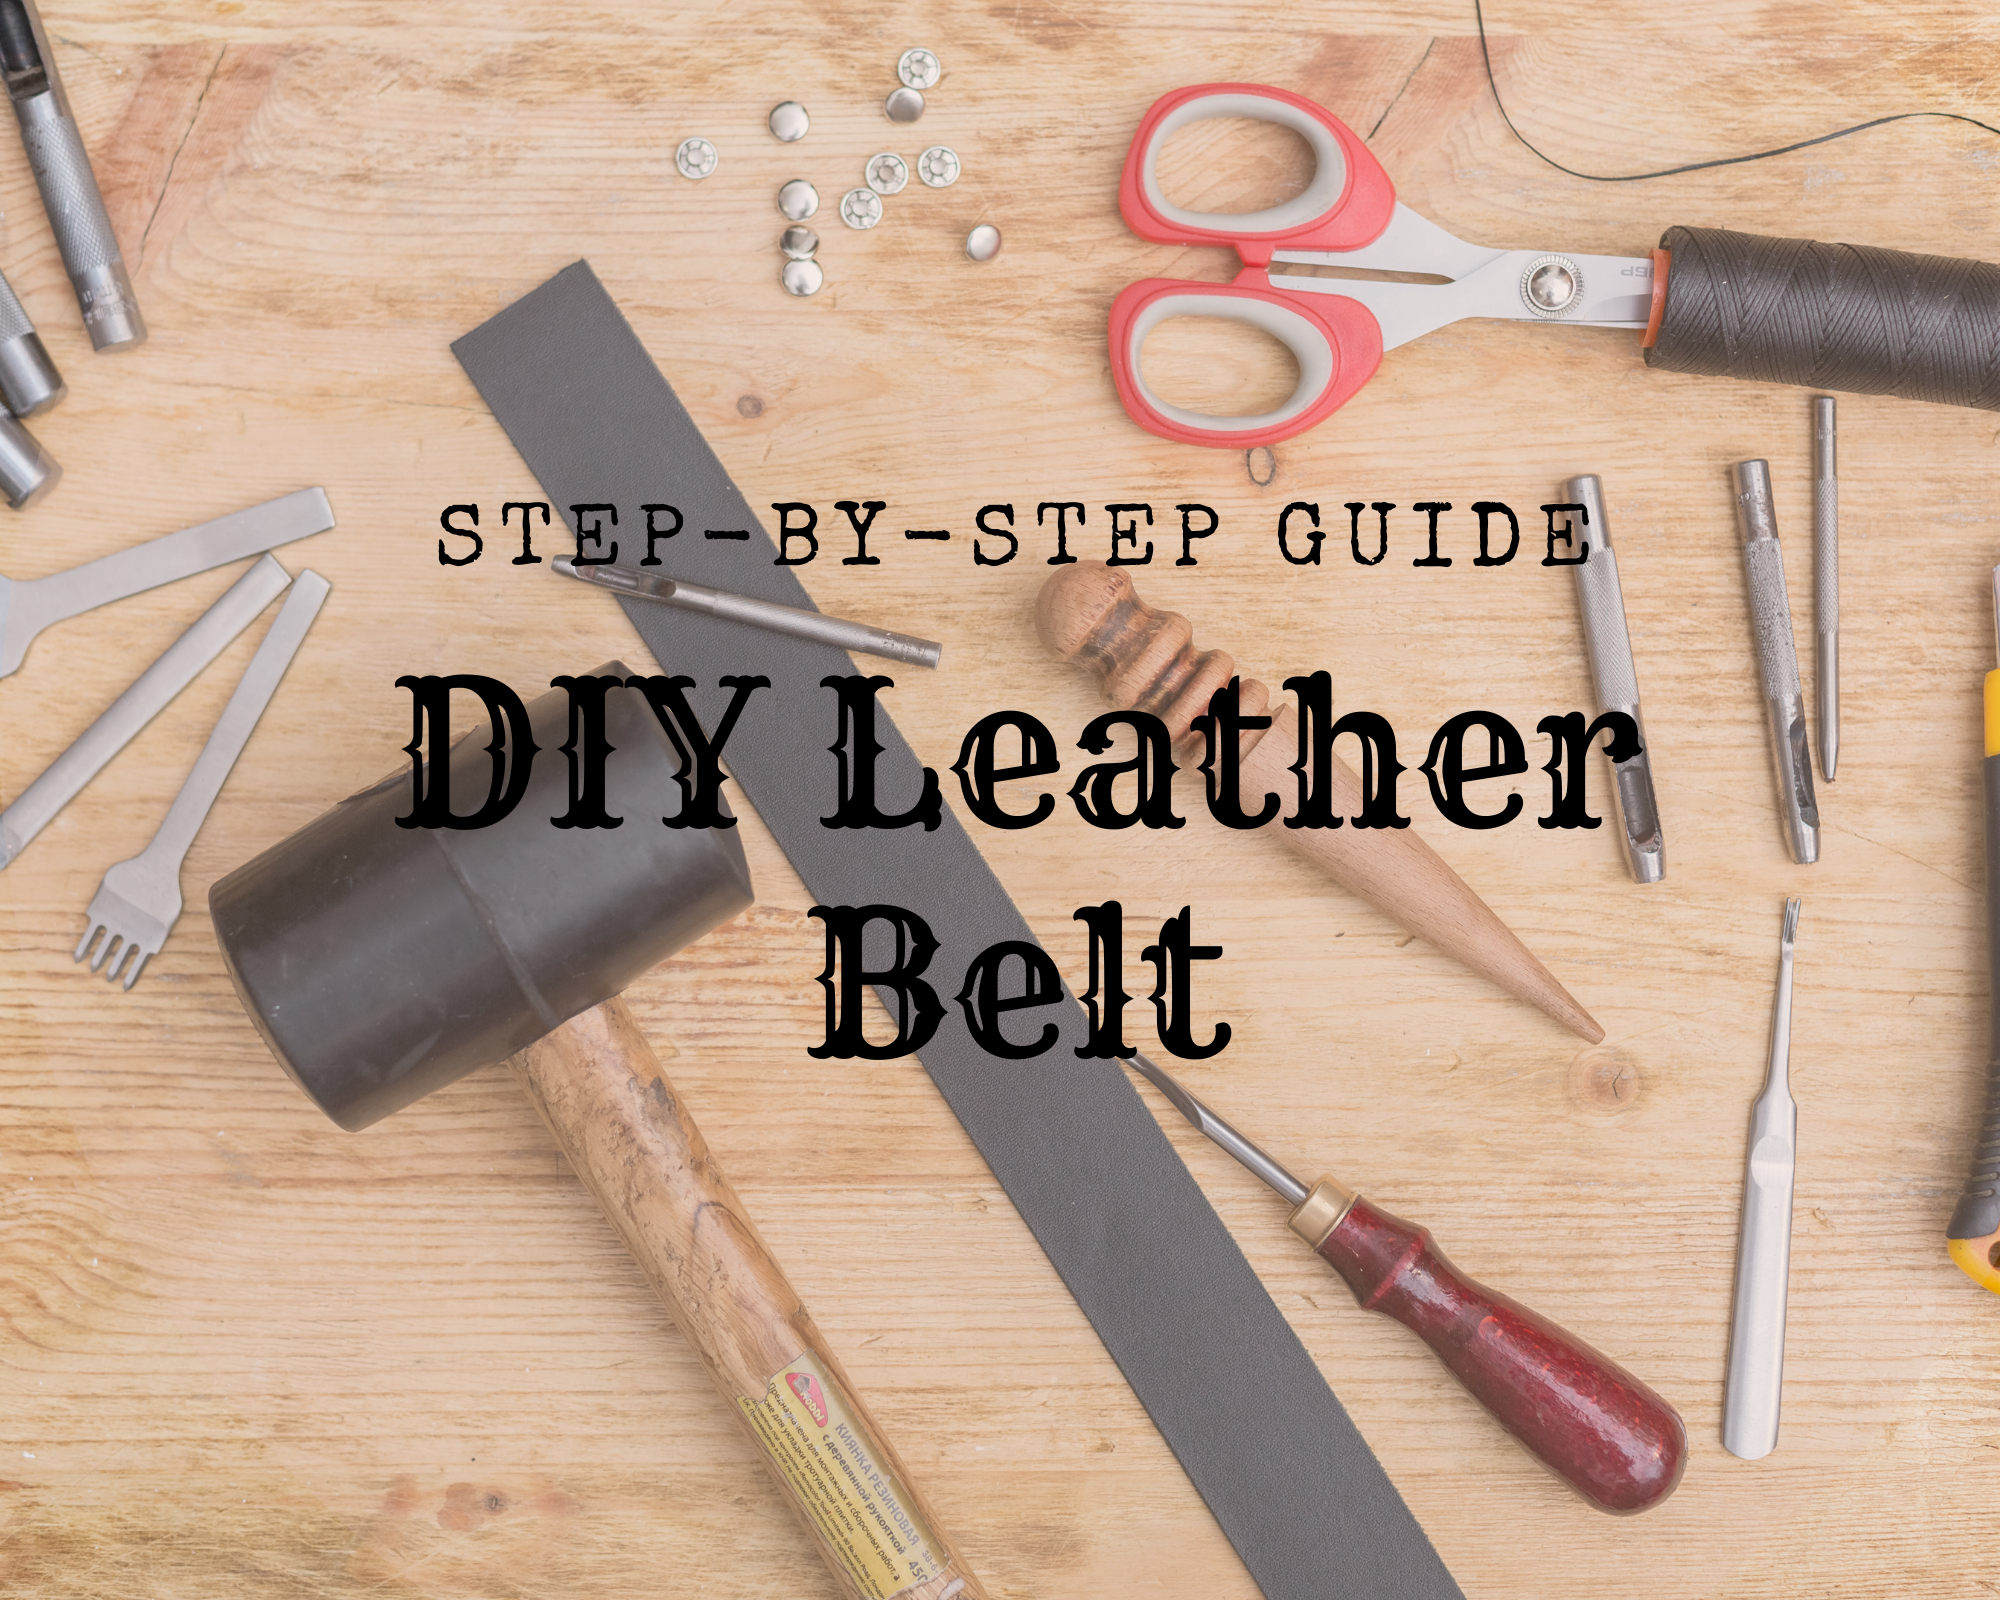
- Tools and Materials You’ll Need
- Get The Measurements of the Little One’s Feet
- Make The Pattern And Cut Your Leather Piece
- Assemble the Shoe Bottom and The Top
- Stitch The Top of The Leather Shoe
- Add the Straps Or Shoe Laces
- Explore Other Designs and Techniques
- The Best Things About A Customized Baby Shoes
- Tips When Making A DIY Leather Baby Shoes
- The Budget You Need For A DIY Leather Baby Boots
- Conclusion
Tools and Materials You’ll Need

These tools and materials are what you will need for your DIY baby shoes project. If you already have this being interested in leather projects, good since you will save even more. You can purchase them at an affordable price for those who do not own one since some leather tools come in sets. Visit the nearest leather store or lookup at online sites.
- Pattern making: Pen, marker, metal ruler, cardboard or a printer (optional)
- Cutting: Scissors, cutting mat, leather sheers and cutters (depends on what you prefer)
- Sewing: Leather needle, soft-type pliable leather, saddle stitch or sewing machine
- Assembling: glue, dap contact cement, double stick tape, snaps and rivets.
- Embelishment: Shoe lace, flowers, rivets and other elements you like.
How To Choose The Perfect Piece Of Leather
Since your baby’s shoes are in leather, there are things that you must take into consideration because not all leather materials are soft and pliable. You must know that the baby’s feet are delicate and can easily be scratched, and you wouldn’t want your baby to get hurt, right? Their safety is what’s important. So below are some types of leather that are appropriate for this DIY craft.
The leather must be pliable; as I’ve already mentioned, it shouldn’t be firm but thin, you should consider not more than 3 oz leather. It should at least be the size of a letter paper to fit the pattern you’re going to be making. You can choose whatever color you like. Just buy what you need at a local craft store near you so you can spend less on your materials.
The leather you must be using should be lambskin leather because it’s airily layered, has a velvet-like texture, is light and exceptionally soft, and ideal for a baby’s sensitive skin. If lambskin leather is not available or too expensive for your budget, you can use nubuck or suede leather, faux or deerskin leather.
Get The Measurements of the Little One’s Feet

You will have to get the measurement of the baby’s feet, which is crucial to get a good estimate of the materials and the fitting of the shoe. Although you can use average feet sizes of babies and use these as your basis, it will be much better to use your own measurement.
Get the feet measurements by using a tape measure. Focus on the sole length and how high you want the boots to be lying on the baby’s feet. Always consider the comfortable fit for the little one.
Make The Pattern And Cut Your Leather Piece

Cut your leather according to the measurements you’ve made and the exact size of your baby’s feet. So do it as precisely as possible! It would help if you remembered that having the right measurement is one of the most important steps of this project because we want our little ones to be comfortable with their leather shoes. Also, prevent them from getting irritable because shoes that are too fit can cause your baby’s feet to swell and cause irritation, and we don’t want that to happen to our infants.
Use your cutter and cut out the pattern pieces, or you can use your scissors if they’re sharp enough, then trace it to your leather piece.
Now cut your leather piece according to the pattern you’ve cut. Make sure you have holes on your pattern so you can add on your snaps and rivets.
You can also use the holes as a guide to attach the straps of the shoes if you don’t want to use snaps or rivets.
The pattern and measurements will depend on the size of your child’s feet and also on the design you’ve chosen for them.
Assemble the Shoe Bottom and The Top

After you are done making your pattern and cutting them out, it’s time to start stitching. However, you can also use contact cement for the ends of the shoe top, but using this is optional because it might stick permanently to your leather piece, so if you decide to use one, be careful. These materials will help you ensure that you stitch the shoes firmly and thoroughly for best results.
Take each top with the bottom and attach the good sides using your temporary double-stick tape (remove it after stitching). Others use contact cement, but I doubt the success of the project on this idea.
After attaching it start stitching; you can also use a sewing machine if you have one at home to make things easier for you and finish faster.
Remember that if you mess you are stitching up, it will leave noticeable, permanent holes, so be very careful and also don’t be too hard on pushing your needles as the leather is just soft so you won’t get hurt.
Make a seam at least ¼’’ on edge, then backstitch both ends, then tie them off. After that, pull the taped ends apart and remove the temporary double stick tape.
Stitch The Top of The Leather Shoe

Next, you’ll be needing to stitch or sew the top to the sole. And again, you’ll have to attach the leather piece since, after stitching, you will be flipping it inside out. In this part, you will need contact cement. Something to keep in mind is that if you’re taking two pieces that are just one-dimensional (flat) and making them three-dimensional, you will need to fudge a little as you continue gluing along the edges.
I would recommend starting with just a little bit of contact cement at the front of the leather shoe, press the two pieces together and do a little at a time, mark the front of the top and sole on the template of the shoe with a line to help you with this. In this way, you can make the adjustments as you go along, and if it gets a little messy as you go along by the end, it’s okay since it’s the back end.
Make sure that when you’re doing this, you don’t use too much contact cement because if you go wider beyond your seam, there will be visible contact cement when you flip the shoe inside-out.
After attaching both sides of the shoes, let them dry, then start stitching again. After you’re done stitching, flip the shoes right side out and admire the progress you’ve made! If your seam is large, then you will have to trim some of the excess leather off.
Add the Straps Or Shoe Laces

You have a few different options here, and you don’t necessarily have to use straps. It depends on what you prefer to use. Be creative and have fun making and adding the straps or laces on, as it will enhance the looks of your baby’s leather shoes and add more security to the shoes. You can add some designs if you think the shoes look quite dull and unattractive.
You can stitch an elastic band or add ribbons if you like. Use plastic snaps and buttons. Whatever it is you like, make sure to attach, or you’ve stitched them well for added security.
You can use double cap rivets and snaps because they would be permanent and install them well to be flat and smooth on the inside.
This is much more heavy-duty than actually what’s needed for a baby shoe that will be worn on a day-to-day basis.
Now you can take a step back and admire your beautiful creation. If they’re a little too messy, don’t worry about it. After all, they’re handmade. And for sure, a very cute adorable human being that will be wearing this won’t probably mind!
Explore Other Designs and Techniques

If you still want to personalize a baby’s leather shoes, you can explore different leather techniques. You can use a stamp or carve the baby’s name on the boots. You can also add other embellishments like flowers and the likes to make it more personal. Be creative to get the design you desire.
Remember, though, some steps like dyeing and painting must be done before sewing or assembling the pieces since, if done later, it will render an incorrect output. You can also polish the leather ends or add another layer of inner lining like suede to make it more comfortable for the feet.
The Best Things About A Customized Baby Shoes

There are many amazing ideas to craft your own DIY baby leather shoes as you are in DIY projects. Surely this will bring some colorful and lovely shoe-wear in the wardrobe of your little princess or prince perhaps. All the ideas here are quick, easy, simple, and cheap, thus saving you a lot of money and time.
The best thing about these baby leather shoes is that they are handmade and can be made by anyone, your sister, your husband, mother or grandmother can make one which makes the shoes more priceless and valuable because it has been made by immense passion and love.
Your baby’s leather shoe can be made in different styles or designs that can be enjoyed by your baby. From leather booties, cute barefoot leather sandals and shoes will help protect your little one’s feet from scratch, insect bites, and any infection caused by allergies.
The materials for your baby’s shoes should be the softest ones. Leather is the best you can use for this DIY project. You don’t have to be an expert to stitch it up; this type of DIY shoe can be for beginners like you.
Tips When Making A DIY Leather Baby Shoes

In this part, I enumerated some other tips you can apply to make the baby leather boots easily. These tips are not just for this but can also be used for your other future leather projects.
Always give allowance when making the shoes; include it in the pattern and leather to get a perfect fit. Consider the usage. If you like it to be used a little longer by the little one, maybe make it a few centimeters larger, making it economical.
Make use of the materials you have, and if you already have the tools and materials, you can utilize them to save a few more bucks, that is, if you want to. If you want to buy fresh materials, that is also better; this way, you can decide and make it as you wish.
For beginners, start by using an inexpensive kit and upgrade as you improve your skills. Do not be discouraged if you do not get immediately the design you like. Just keep practicing, and you’ll get there.
For every leatherworking and aspiring ones, always make sure to work in a well-lit area to avoid mistakes caused by dim lighting and eye strain. This way, you can enjoy leathermaking to its fullest.
Lastly, do not be scared to explore new things and techniques in DIY. This is the best part of making your own because you are the one who will decide on everything on the project you are working on.
The Budget You Need For A DIY Leather Baby Boots

Leather will be one of the major concerns regarding price, but since you are making a smaller project such as this baby’s shoes, you can make costs. Lambskin leather can cost you from $24 up to $57. Price may vary, and it depends on where it is from and the supplier. In comparison, deerskin leather will cost you about 10$ while Faux Leather is only $4 to $9 or even up to $35 that will depend on the brand and supplier.
The Dap Contact Cement ranges from $39.63 to $68. You can save more budget if you already have some at home. Double stick tapes are cheap, so you can only buy this from $1.19 to $2.5.
Snaps and Rivets would cost you about $5 to $7, and leather needles and thread would only cost $5. Overall, this will be around $150 for a personalized item which is not bad.
I think you already have the tools at home, so there is no need to go way over budget and be extravagant. Remember to spend your money wisely yet have those comfortable and fashionable leather boots for the little one.
Conclusion
After having done the needed steps, you will produce baby leather shoes that are comfortable and cute. It will look like it is done by an experienced leatherworker with the clean stitches you can make. Surely, it will be one-of-a-kind customized baby shoes.