Avoiding marks and water rings on your workstation from different drinks or beverages is a must especially if you deal with many documents prone to getting wet. If you don’t have a coaster, your table can get pretty messy, and this can affect your mood, which is why you must consider a coaster as a useful table accessory. The good news is you can make not just a typical coaster but one made out of leather.
Leather Coaster: An Underrated Accessory
A leather coaster is one of the best materials when getting a barrier for your drinks and table. It offers higher quality, especially its durability, class, and elegance. Like the other coaster, leather coasters are handy where you can carry them from home to your desk office.
It functions to protect your table surface and furniture from stains, rings, discoloration, and burns. With the proper care of your leather coasters, your table protector may last a lifetime.
Leather coasters can be created from a repurposed leather material, or you can get a new one. Start by making this article as a guide to craft your drinks mats. This is divided into three parts that will detail the systematic process and additional procedures you need to do.
Part 1: Materials, Patterns, and Prepping the Leather
Making a leather coaster is simple. It is one of the leather projects you can add to your list if you are a beginner in leatherworking. In this part, the basic steps you need to know to make a coaster as easy as pie.
Step 1: Get What You Need For Your Dream Coaster

The first part of leather crafting will always start with the preparation of tools and materials. These two are the prerequisite to finishing your project of leather coasters successfully. So, these are the materials and tools you will need.
Make sure to prepare the basic leatherworking tools like a metal ruler, self-healing cutting mat, and cutting tools such as scissors, fine-utility knife, swivel knife.
For making the design, you need to have a ball and spoon modeling tool, craft sponges, brushes if you want to paint your leather. You may also want a winged divider to achieve a perfect circle for your coaster.
Finally, a wood slicker and beeswax if you want to polish your coaster. If you plan on stitching your leather coaster, you should also prepare threads and needles.
Next is a leather protector/ acrylic furniture. At the same time, you will also need a leather material, and it can be brand new, scrap, or repurposed leather if you can find one. Also, you may want to include a leather adhesive and leather dye for your design.
Step 2: Select a Pattern and Plan a Design
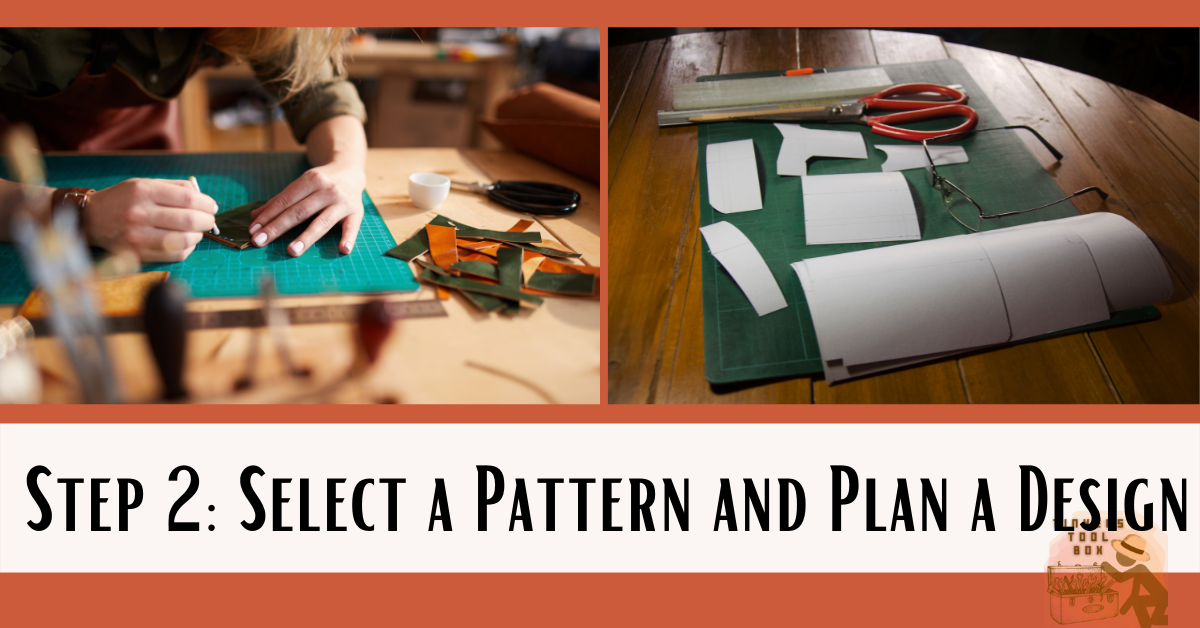
The leather coaster comes in different shapes and designs. It has a shape of a circle, square while others are geometrically inspired. If you choose a geometric pattern such as an Islamic tile design, you can access several free patterns from any trusted website. So, the second part of leather coaster making is determining its shapes and designing them.
Select the design and shape pattern for your leather coaster. If it is a downloaded coaster pattern, print it to your desired scale, e.g., 4 inches across. Inspect the leather material if there are unwanted dents or leather discoloration.
If you choose to create a round leather coaster, use a round object to trace perfect lines on your material. You can use a winged divider in making markings on your leather for the circular shapes of the coaster.
If you choose to create a square-shaped leather coaster, use a ruler and apply equal dimension on its four equal sides.
Step 3: Cut Out the Design and The Leather For the Coaster
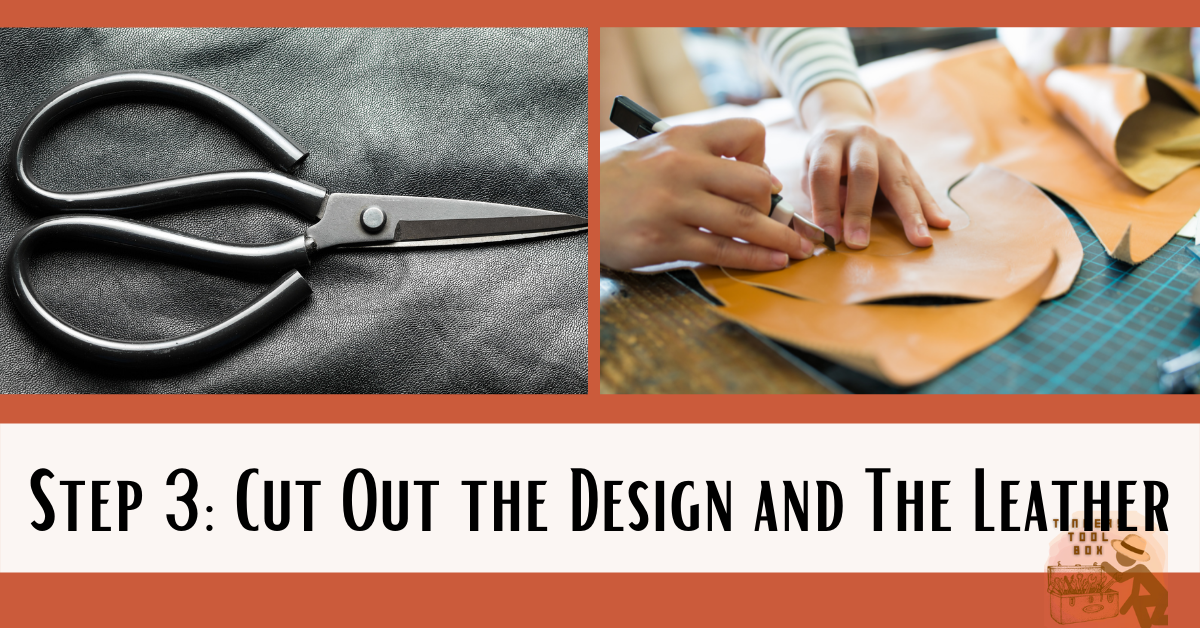
Fix the printed paper pattern to the suede part of the leather material using painter’s tape. Make sure to tack the back part of the paper pattern to the suede surface. Then place your leather material on the self-healing mat before you start cutting.
Of course, the fixed printed paper is placed on top to guide you on the cutting procedure, especially if you have complicated shapes & designs for a leather coaster. Start cutting the coaster shape with the use of a sharp utility knife paired with a ruler.
If it has an Islamic tile shape, be sure to cut every intersection and corner perfectly. If you observe stray bits on the inner corners of your coaster, trim it through the use of small scissors.
If you used a recycled thin leather material, then plan to adhere the two pieces of leather, do it now in this portion of coaster crafting. To adhere to two pieces of leather- use a large craft brush with an adhesive.
Step 4: Dampen The Leather Coaster
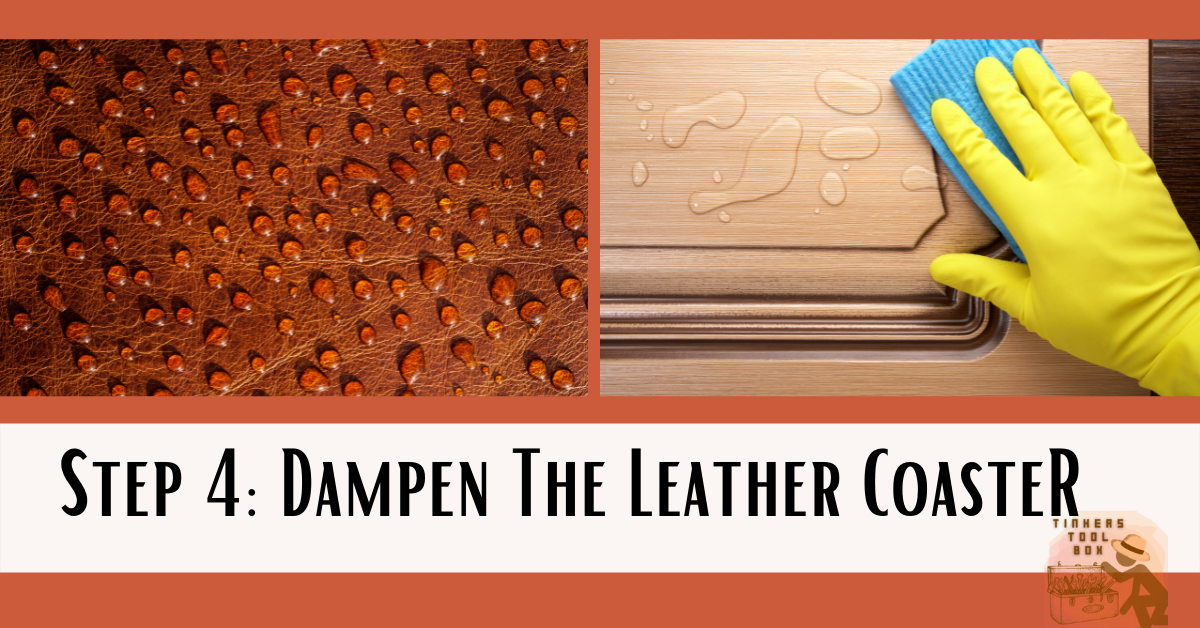
Before you get to apply designs on your coaster, the leather material must be slightly wet, or it must be damp. A slightly wet leather or damp leather helps you mold and carve design easily.
Damping is done because if the leather is too dry, it will have cracks when you carve designs on it, but if it is too wet, leather becomes too soft for you to draw some art. So when you put designs on your coaster, soak it in water first before starting.
Wet the leather material so it will not be soggy when you carve designs and wet the leather according to the moisture needed by the material.
Run over the leather material with the wet craft sponge. Wait for two to three minutes to return to its original color before proceeding with the next process. The damp leather coaster can bend in your hand but not too much.
Step 5: Stitch The Coaster Up For Added Security (Optional Step)
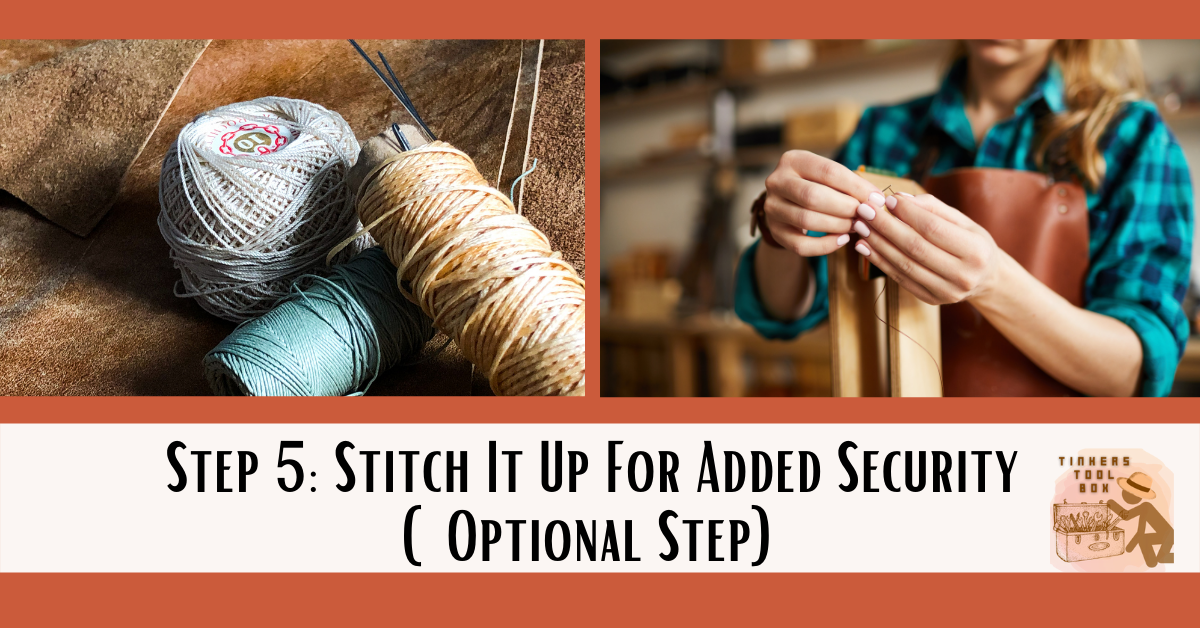
Leather coasters can be sewn or not. The two leather pieces are fixed together with leather adhesive, so stitching its edges is no longer necessary. However, for the addition of durability and longer life span of your leather coaster, stitching its edges is suggested.
With the printed template of your leather coaster, use it as a guide in making holes by simply placing it on top of your coaster then trace holes.
Pre-punch holes using leather stitching awl and a mallet two to three times until the hole is made. Ensure that you are doing this procedure over the surface that has a steel block. If you have a round leather coaster with no template because you created it from round objects like glass, start with marking first before making holes.
You can use a leather chisel hole punch stitching tool and a mallet to pass it through the leather coaster. Repeat the process until reaching the last holes, then start stitching your leather coaster.
Step 6: Polish The Edges
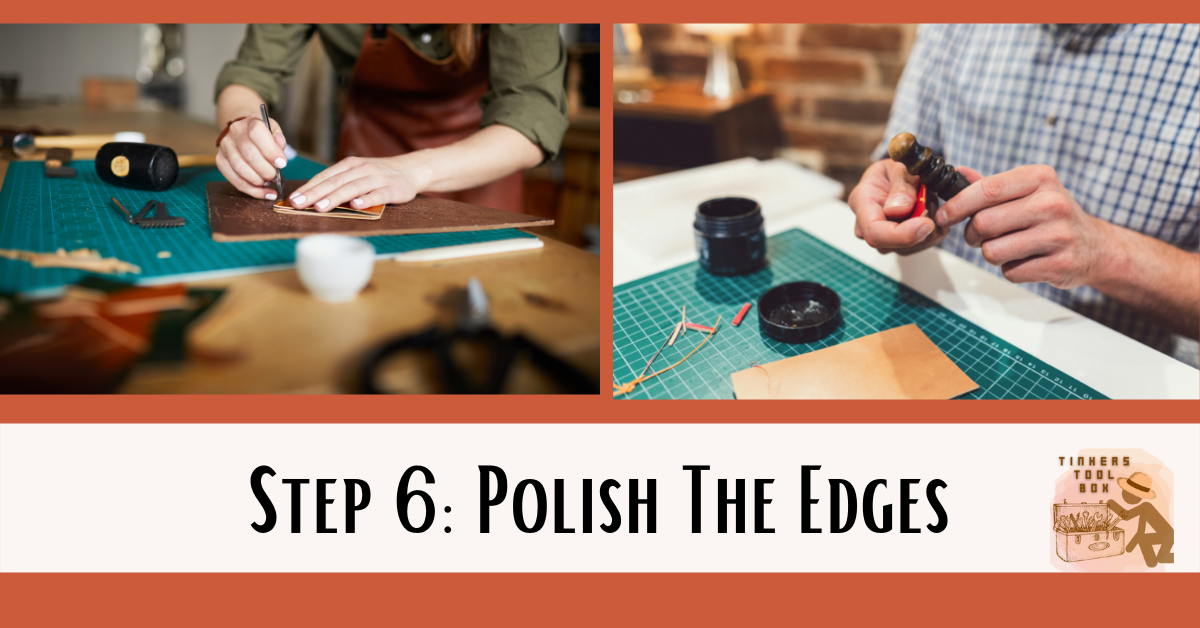
Once you are done gluing or stitching according to what you want, you can now polish the leather edges of the coaster. Do so with the use of a wood slicker and enough amount of beeswax. Apply the beeswax on the edges and rub the wood slicker to create friction between the leather and wood slicker. This procedure will melt the wax, making the edges somehow water and dust resistant, making the coaster durable.
Part II. Design Options You Can Try
If you are already done with the first part, you are now ready to explore other design options to make your coaster extraordinary. These are just some of the many designs you can do, however, do not limit yourself with these samples. Do not be afraid to try.
Option 1: Design With Simple and Vertical Lines

The DIY leather coaster is a simple design, but it is up to your art preference. With the use of straight lines, your leather coaster will look cool and classy. So, this is how you do it.
Use a straight edge steel square or a metric ruler, then draw out straight lines with the aid of a winged divider. Be sure to have an equal distance between two straight lines. Continue making a straight line until reaching the last area of the leather coaster.
You can add another set of lines- a vertical line opposite of the lines your first draw. Randomly draw vertical lines that will connect to your horizontal lines. You may use a square to keep the vertical line straight.
Tip: Be sure to have a steady hand in making marks of lines on your leather coaster.
Option 2: Leather Coaster Edging
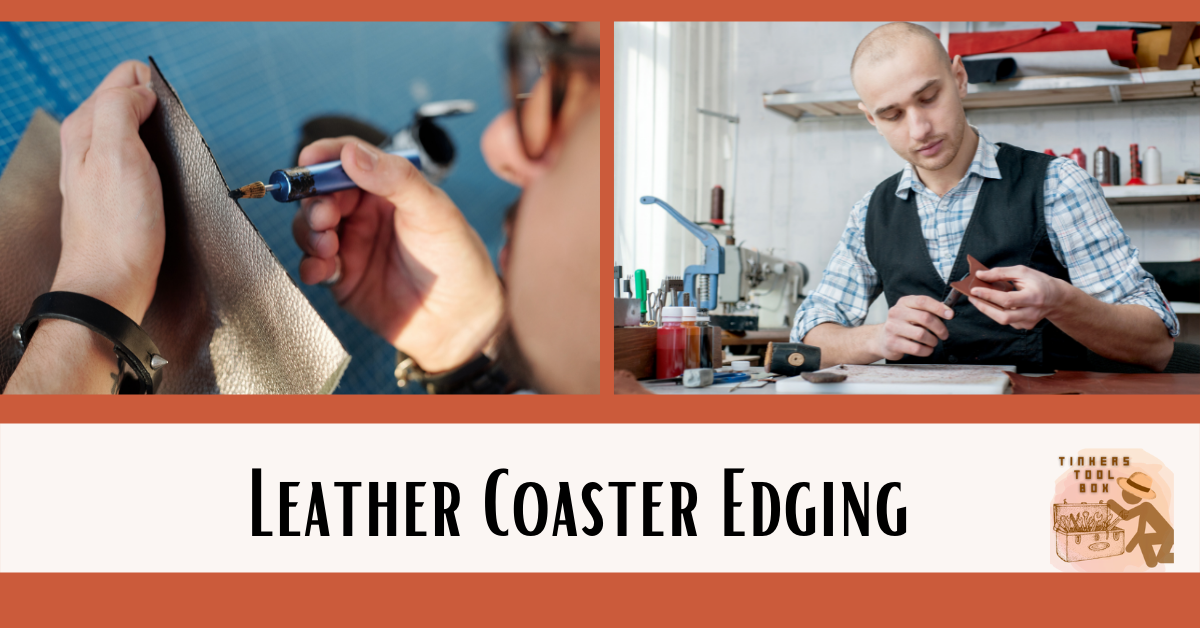
You can use a wood slicker to work with edges on your leather coaster. Then slightly wet the edge of your leather coaster by soaking it in the water for two to three seconds.
Now that you have a damp edge leather coaster rub it with your wood slicker. Rub the edge of your coaster to the perfect groove of the wood slicker. Repeat the process until reaching the desired edge.
Option 3: Adding A Nail Detail
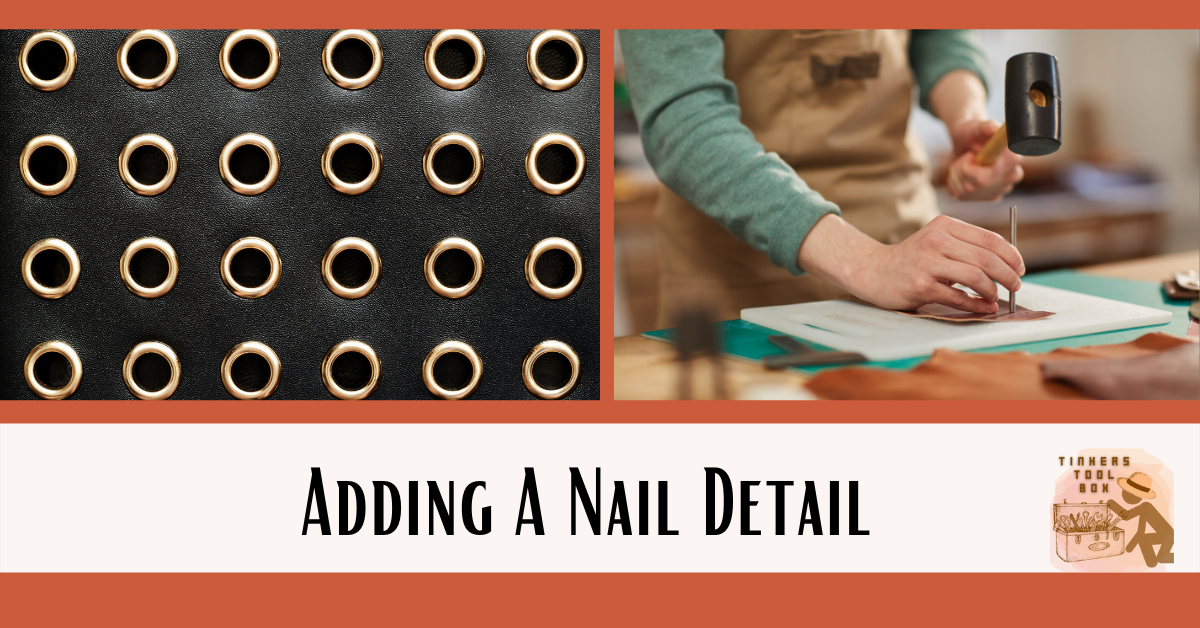
This process adds the perfect look to your leather coaster. Mark first your leather coaster based upon preference. You can add two nail details on each side of the random short lines (vertical lines) or anywhere that looks good.
In making markings, you can use a wing divider to create points on the leather coaster. Add nail detail on the marks you’ve previously made using the ballpoint of your modeling tool. Press the ballpoint on the point-marks you’ve and take extra care not to push it through your leather coaster.
Option 4: Stamping Up The Leather Coaster
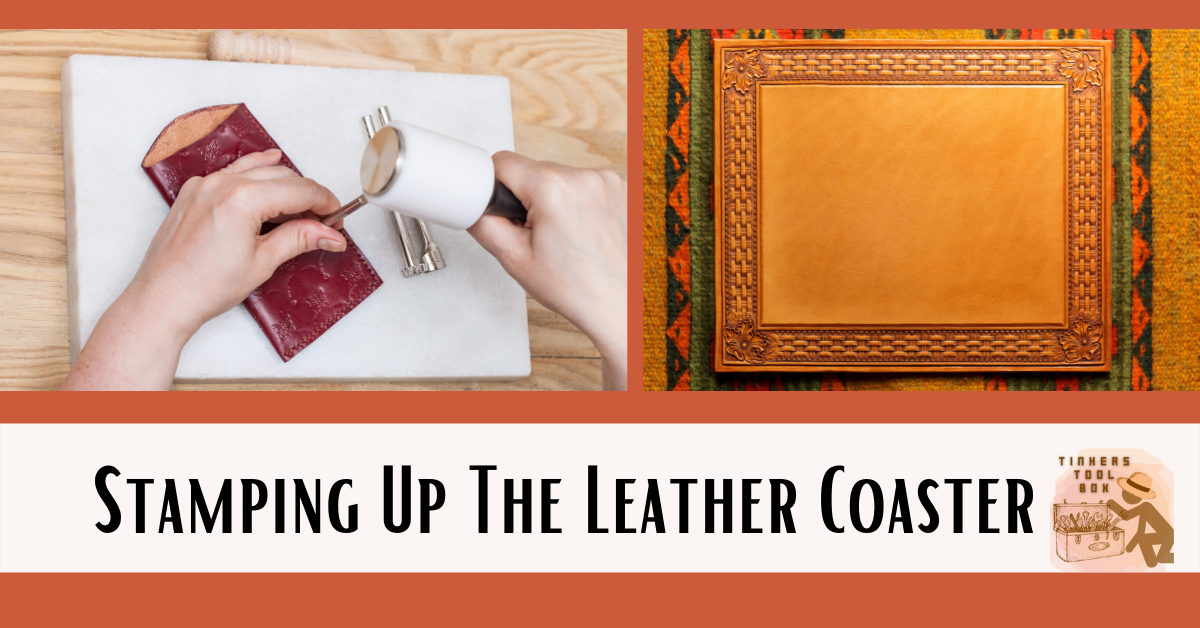
Leather coasters with stamps are great art, especially if you craft them for your loved ones. So, here is the procedure for stitching the edges of your leather coaster and making stamps in it. Determine what stamps you are going to stick on your leather coaster. It could be an image or letters to form word/s. If you don’t have leather stamps with you, purchase them at craft shops online or not.
Damp your leather first so that the stamp can stick on it. You may use a sponge moist with water, then press it to the area of your leather coaster where you want to place stamps. Press the sponge on both sides (front and back) of your leather coaster. Your leather coaster must be damp but not soaking wet. Take note that making stamps on your leather should be done after stitching.
Now place your damp leather coaster on a firm flat surface because you will use force in sticking stamps on its surface. Place your leather stamp on your leather coaster, then use your free hand to hold the hammer. Make sure to position the leather stamp correctly and perfectly before sticking it.
Secure the chosen stamps by hammering them down to the leather stamp of your leather coaster. Strike the hammer with force so that stamps will stick on the leather coaster. Continue striking the hammer until the stamps successfully stick on your leather coaster. Repeat the process with the other letter or images until you complete your stamp designs
Continue to give strikes on your hammer until stamp words or images are transferred. Re-damp the leather during the stamping process if needed, but this usually happens if you stamp on larger projects. Once the stamp images or words are transferred on your leather coaster, allow it to dry completely.
Part III. Additional Procedures You Can Perform For The Leather Coaster Durability
Creating a leather coaster is one the easiest crafts in leatherworking because it only involves cutting different shapes according to preferences then designing it. This last part discusses the processes that are not necessarily done, but it beautifies your leather coaster to make it more vintage and classy. Doing this step also helps protect the leather material from moisture when used.
Coating: Making It Durable from Common Damage
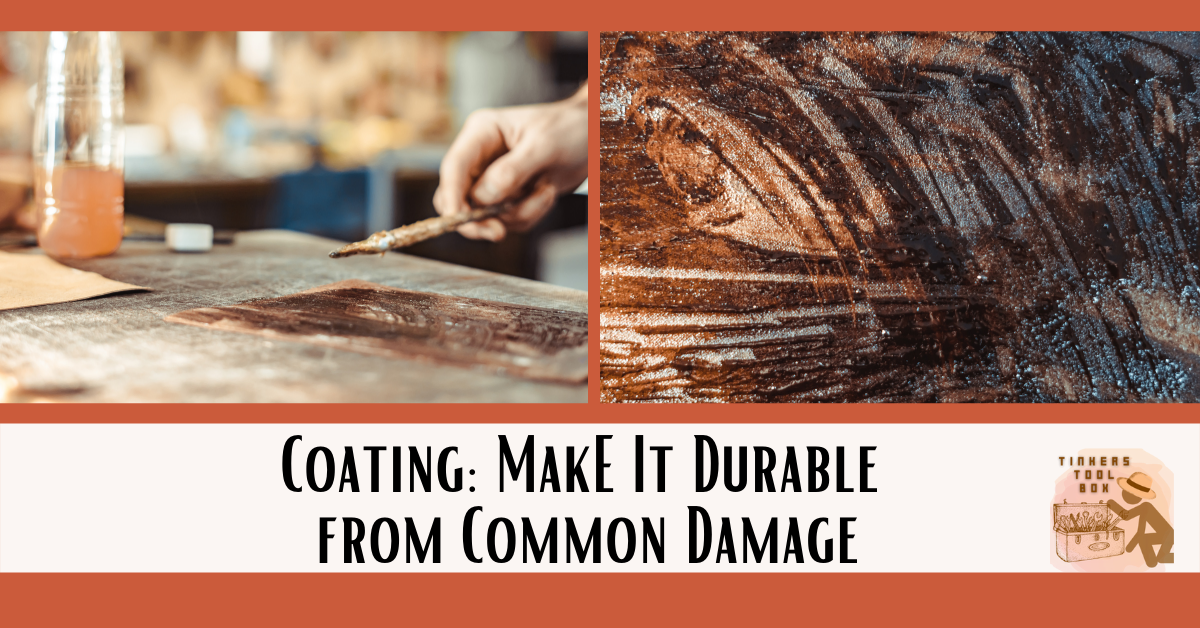
The first option is coating your coaster directly if you do not want to apply a leather dye. You can coat your leather coaster with a super sheen for finishing.
This coating product aims to protect the leather coaster from the moistures of different glasses of drinks. Remember, if the leather always gets wet, it will lose its natural oil, which means it is liable to cracks, torn, and other possible damages.
Dyeing: Making Your Coasters More Vibrant
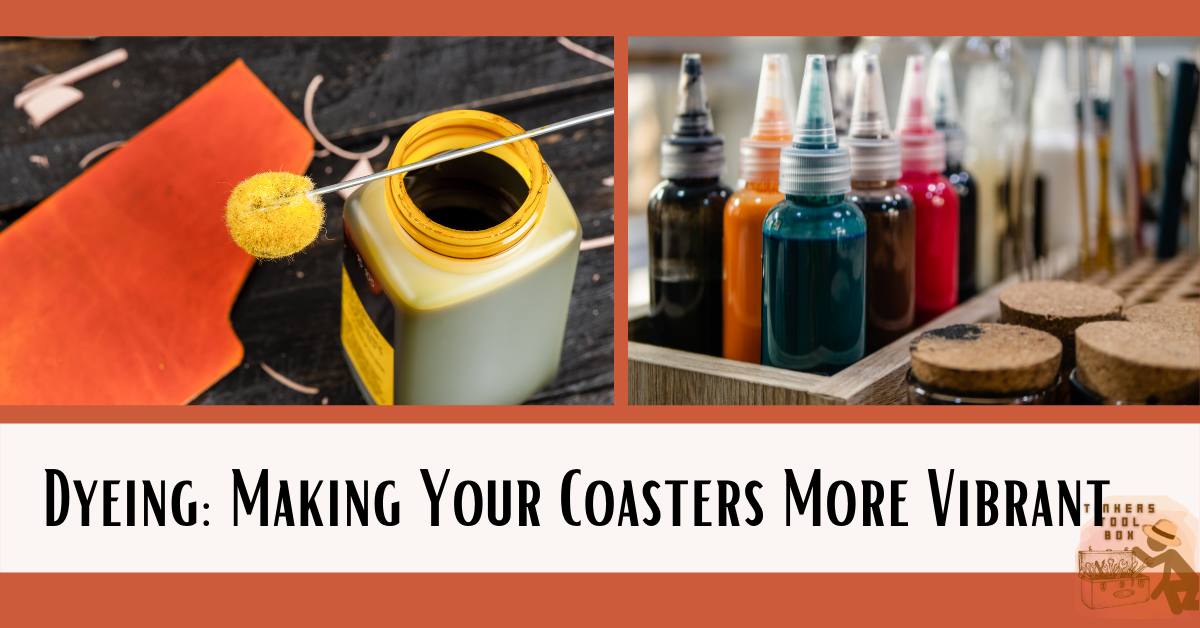
If you are not satisfied with the color of your leather coaster, especially if the materials were recycled, dyeing is the best option. Determine first the color of your leather coaster, then look for leather dye. You can find different leather dyes in the market, but it is nice to look for an eco-wise product.
If you have nail detail designs on your leather coaster, it is nice to use a black dye for different effects, then let it seep into your leather coaster. Make use of a craft sponge, apply the dye in it, and rub the sponge with leather dye on your coaster. If there is too much dye on the surface, wipe it off using paper towels. Finally, seal your works with the use of super sheen coating products.
Frequently Asked Questions
Anyone can easily make their leather coaster, but the time spent may vary. You may encounter questions just like me during the process or even when deciding whether to make one or not. Here are some of those.
How Much Do Leather Coasters Cost?
You can find leather coasters at amazon in different shapes, designs, and types of leather material perfect for your drinks. These leather coasters come in handy storage where you can carry them from your kitchen to your office desk.
A set of four leather coasters can cost $34.95. If you are making one, then the price will be lower. You can also find a cheaper leather coaster in the Amazon online shopping store that ranges from $9.99 to $18 per piece.
How Long Does It Take To Make a Leather Coaster?
If you choose a simple leather coaster- round, no stamps, no design, no dye, and just stitches on its edge, you can have it finished in less than an hour. If you make one with a more sophisticated design, then this will also require more time. Again, this will all depend on your skills and the availability of materials.
How To Take Care of a Leather Coaster Properly?
Your leather coaster is made to protect your table but what protects your leather coaster is cleaning and maintaining it. Wipe and clean your leather coaster every after use so that the leather materials are kept healthy. Use a leather conditioner on your leather coasters to keep them long-lasting.
You can have a small amount of leather conditioner then apply it to your leather coaster. Doing so will keep the leather coaster in a good state.
Show Off That Perfect Leather Coaster
By following these simple steps, you can now make the perfect leather coasters for your drinks. The final product will look polished round or square coaster with beautiful designs on the surface. Once you place your drinks on top, they will be water-resistant since you already conditioned the leather, and no watermarks will ever be seen on your desks.