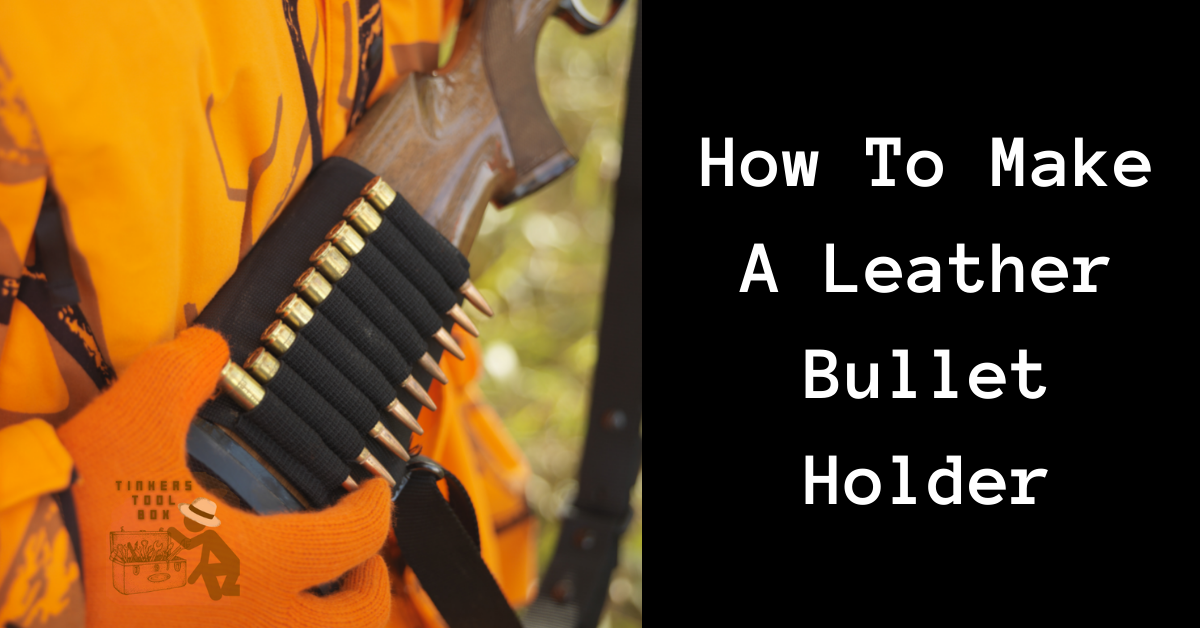
One of the precious yet risky belongings one can have is a bullet. Many acquire these bullets as a souvenir or a part of their interests in security items like guns. If you want this belonging to be safe while in storage, you should have a bullet holder. Of course, not just a typical bullet holder but is stylish and durable at the same time. Making the perfect leather bullet holder would be both fun and fascinating, and you just stumbled with the perfect how-to guide you will ever need.
- Step 1: Create a Pattern For The Leather Bullet Holder
- Step 2: Prepare the Leather Strip As the Base for the Bullet Holders
- Step 3: Measure The Bullets Accurately
- Step 4: Add More Bullet Slots For The Holder
- Step 5: Assemble The Parts and Start Shooting The Needle and Thread
- Step 6: Aim For A Neatly Coated Edges
- Step 7: Make The Bullet Holders Long-Lasting Through Burnishing and Waxing
- Step 8: Investing In A Leather Bullet Holder
- Cost of Making A Leather Bullet Holder
- Time You Have To Spend in Making a Leather Bullet Holder
- Conclusion
Step 1: Create a Pattern For The Leather Bullet Holder
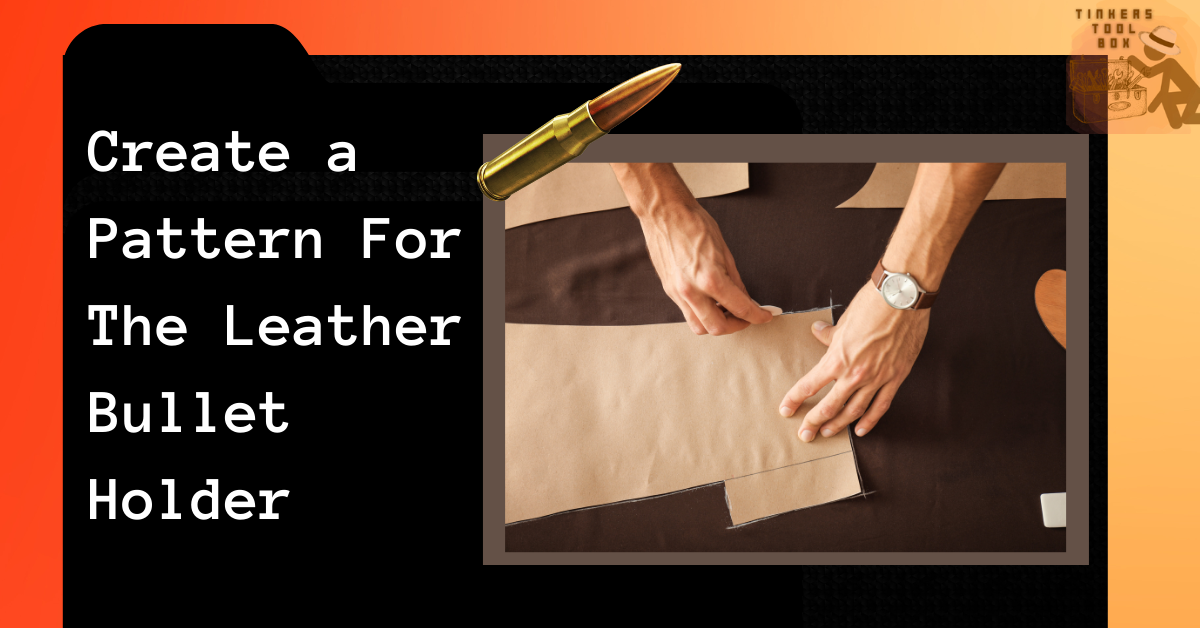
There will be two parts of the bullet holder, the leather strip where your bullet slots will be attached and the actual holders that will secure your bullets. Both should be measured precisely so that they will complement each other.
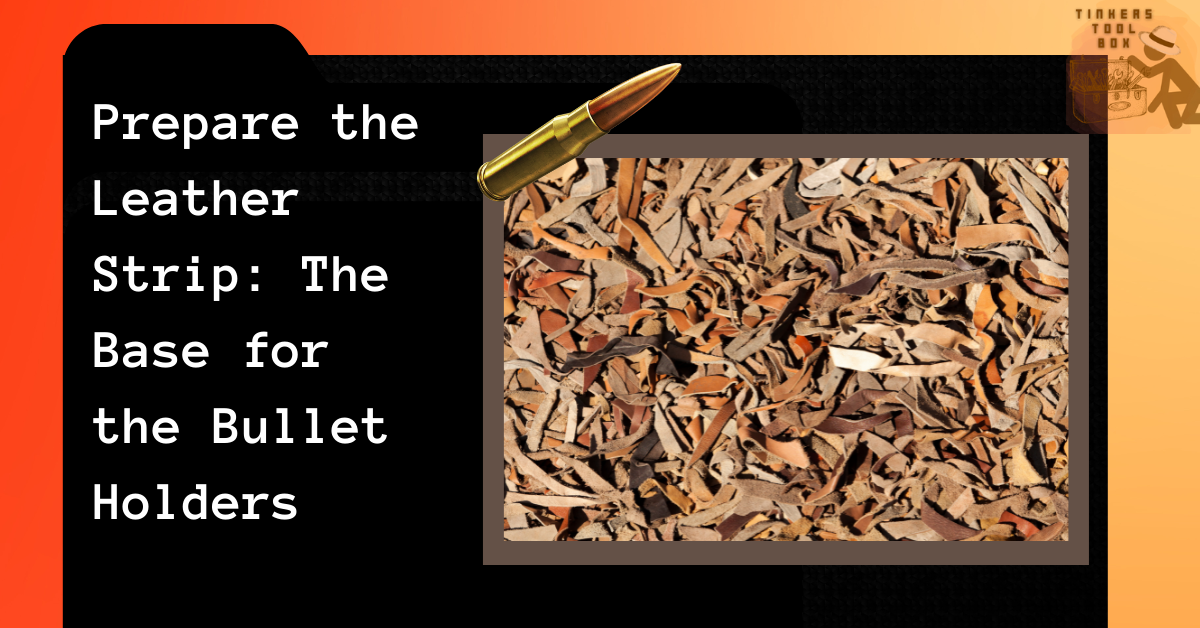
Step 2: Prepare the Leather Strip As the Base for the Bullet Holders
Once you already have the measurements you want, it is time to make a pattern for your DIY leather bullet holder. Some patterns are free and downloadable on the web, but making your own will save you money and hone your pattern-making skills and leatherworking skills.
By making one, you will also have the freedom to design as you wish. When you have the result of the bullet holder, take the metal ruler and place a mark on the pattern paper. Get the poster board and create a line that corresponds to your measurements made.
You can use a poster board in this pattern-making to be sturdier, but you can also use other pattern materials you have. Get your washer or any circular thing you will do to help you round up the corners of your pattern and then cut using your knife or scissors, and this would be for the first pattern.
Lay the poster board on a grid on your cutting mat or workstation, which you can use this grid surface to assist you with the measurements as well. Next, you have to cut another pattern following the same process as the first one.
Make sure you follow the same measurements as you did on the first one and then cut corners again to shape the rounded area. What we’re trying to do right here is making the same pattern. The first pattern will be the front, and the second pattern will be the back part.
Find the center of your pattern using your caliper, make your centers, then draw a line down the center for its reference point. Prepare your leather piece, start shaping it using your pattern, and cut it out exactly like your pattern. Do the same for the other pattern. Do the same process and then set them aside for the next step.
Step 3: Measure The Bullets Accurately
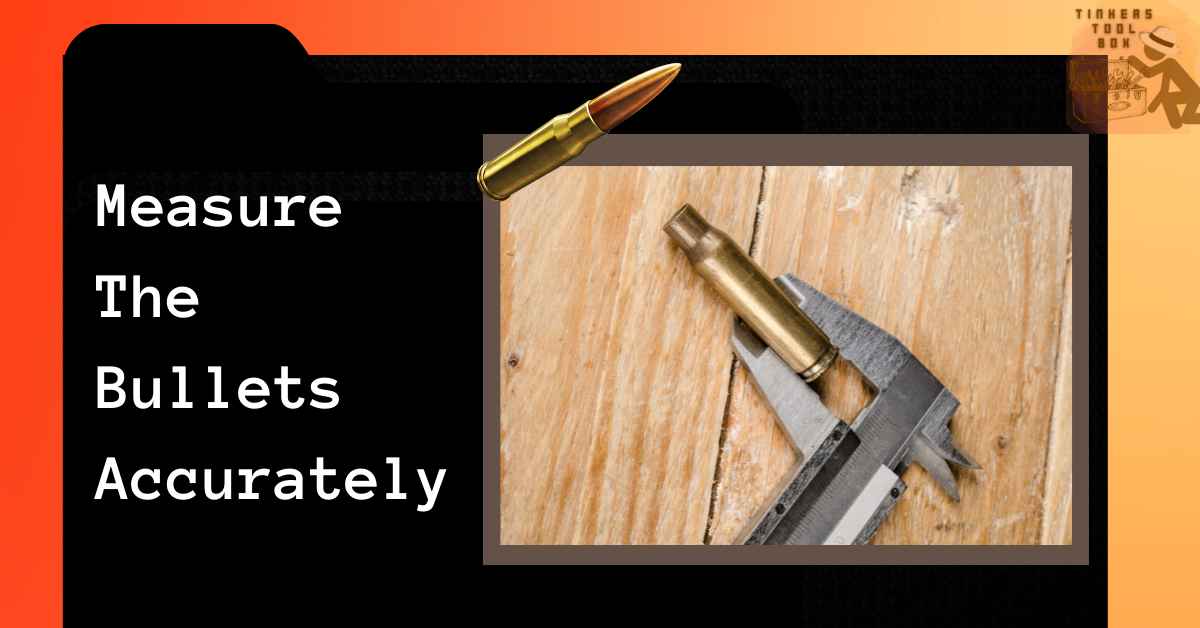
The next thing you’ll be doing is measuring your bullet or cartridge and using your calipers to get the right measurements. It is also ideal that you use the digital calipers if you want them to be more precise.
Get a leather strip of about an inch with a longer length and try putting in your bullet to it. Adjust the distance you want between bullets and take note of this. If you do not know the leather type you can use, you can opt for calf hide.
The calf hide leather would be perfect because it’s nice and pliable, and it would perfectly hold your bullet right in place. Measure the bullet using a metal ruler first, and then draw a straight line on your leather piece.
Don’t get the ruler off yet; just lay it there, where your line has been drawn, and get another metal ruler and do the same on the other side. Now press or squeeze the leather piece with the bullet in the middle to draw a line again. It would be best if you did this to get the best fit possible so that your bullets will not move around carelessly.
In some projects like this, the size per holder that is commonly used is 13.8 millimeters. You can also use this as a basis for a start. The longer measurement on your leather piece is for your bullet, and the shorter length would be for the distance of each holder.
Again, it would solely depend on how many holders you’d like to have along the length of your strap. If you use 13.8 mm as suggested or your measurement, you can easily calculate the length of the bullet holder. You can do this by multiplying the measurement by the number of holders you like to have.
Step 4: Add More Bullet Slots For The Holder
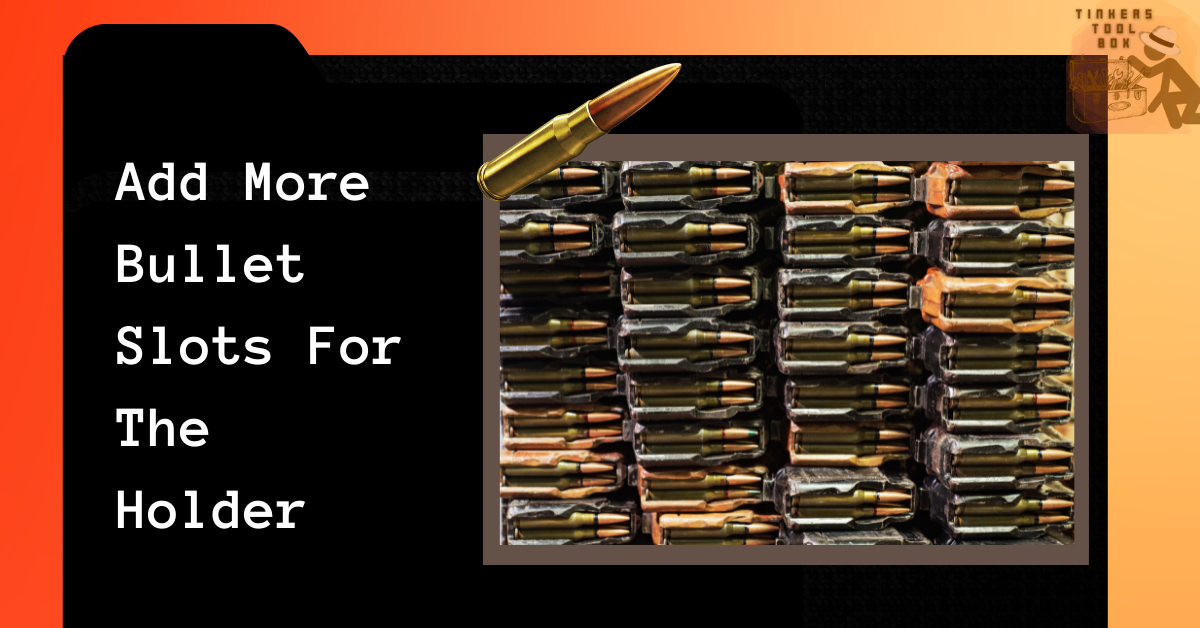
Now, after having measured your bullet, we are down to make the slots for your holder. Get your pattern and start measuring on each of its ends about an inch. On each end of your pattern, measure about an inch going in and draw a line beside it about an inch again.
Draw another line and do this on both sides, then cut it using a slot cutter do the same on your leather material. Cut the drawn lines on both sides using your slot cutter; there should be four holes, not circular ones but thinner, just like your slot cutter.
This will be for your back leather piece. Now lay the leather strip on the other pattern next, get the leather material, including the front design or the front cut out, then use your calipers, start marking the spaces between your holder and mark them well.
Now get your pen or marker to mark the holes, then make each of its slots by punching the marked parts or make holes using your hole puncher. This will be your guide when you start stitching.
Then put the leather piece in place, try on the bullet and check if the measurements are equal, and no excess material shall be seen, and now proceed to the next step.
Step 5: Assemble The Parts and Start Shooting The Needle and Thread
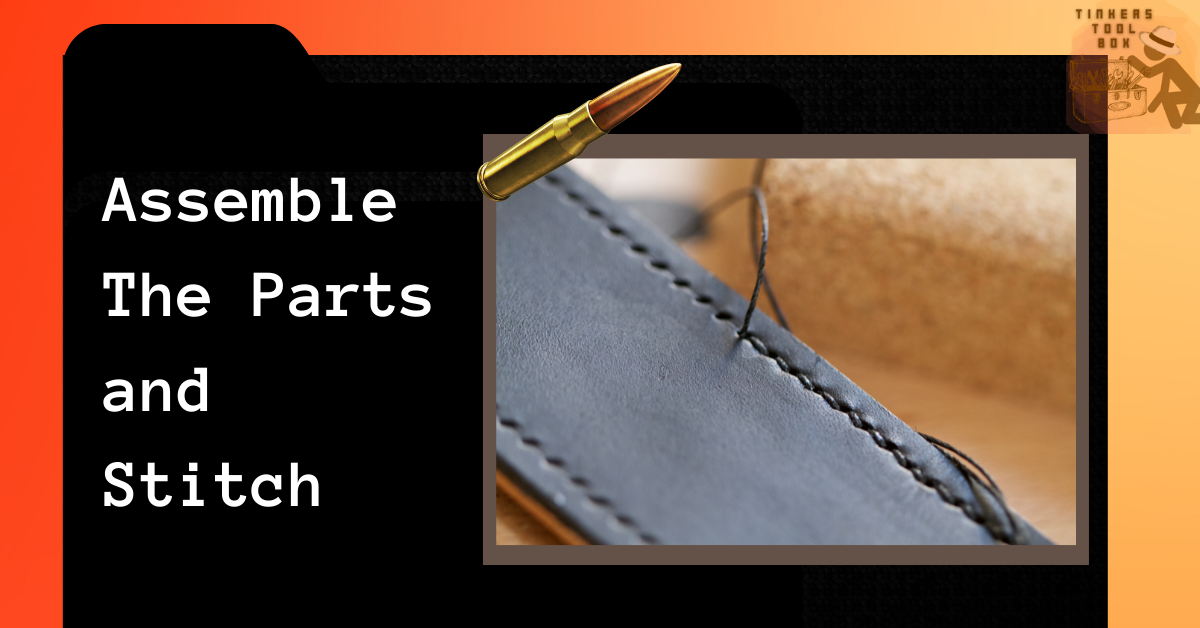
The stitching process of this project may be a harder one because it should be crossways going up and crossways again and the same process till you finish stitching the holder and for both front and back sides of your leather piece.
Start stitching crossways going up, then crossways again to this till you’re done stitching your holder. Make sure you do this carefully, or you’ll have to redo the whole thing. Now when you’re done, get the back part of your leather material and glue both front and back and then let it dry first, set it aside, and then double-check if it’s glued properly.
When you’re done using your cutter, make a stitching line from around the corners, then start stitching them around. When you’re done, start sanding the edges and corners and around the sides of your leather bullet holder.
Step 6: Aim For A Neatly Coated Edges
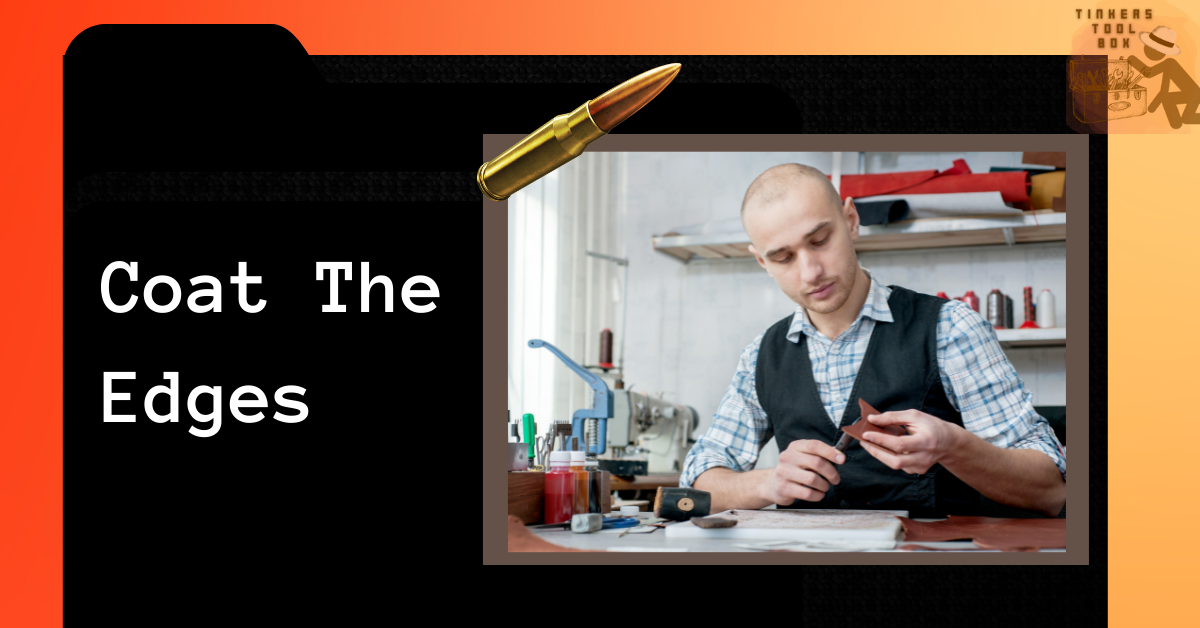
Putting on a coat on the edges or the sides of your leather bullet holder will help the material last longer and add a more classic look to it plus, it guarantees a more durable and safer leather bullet holder finish. So make sure you have the neatsfoot oil with you to do the job.
Before doing this, make sure your leather piece has been sanded thoroughly and check for lumps so that it will not look untidy and messy. Get neatsfoot oil and start putting it on around the sanded part. Make sure you put them evenly, neat, and nicely.
When you’re done, set it aside and let it dry for a while. When it’s dry, start putting on neatsfoot oil again; this time, it’s the second and final coat. Set it aside again and let it dry, make sure it is super dry, then the next step will be waxing and burnishing.
Step 7: Make The Bullet Holders Long-Lasting Through Burnishing and Waxing
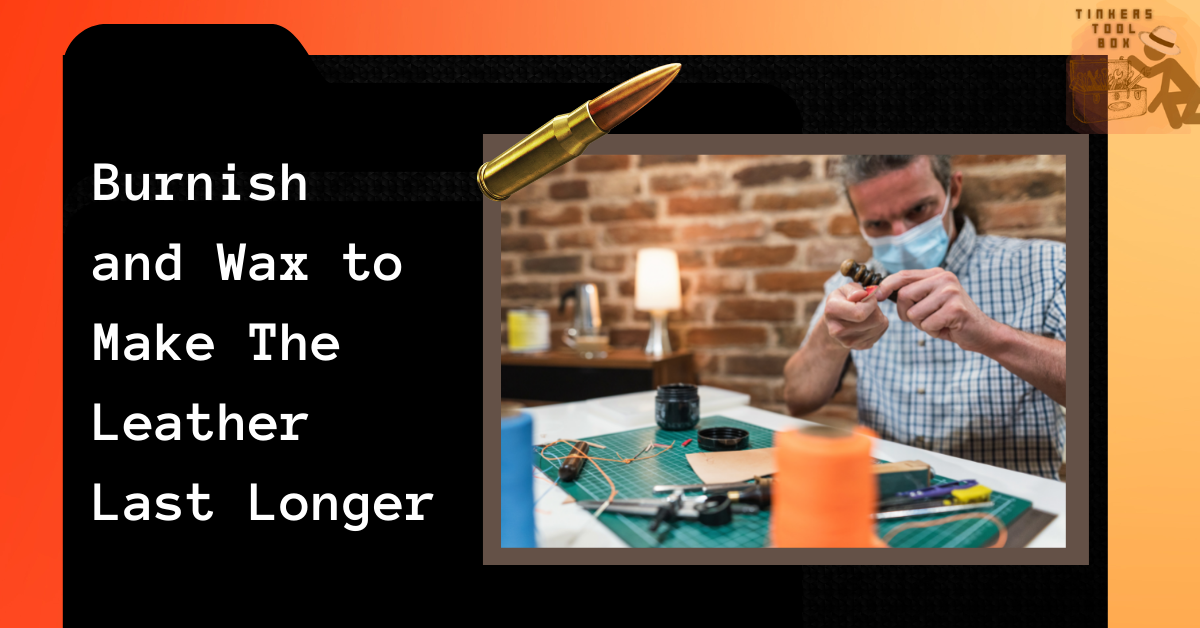
Waxing and burnishing are a must in any leather project, both DIY or not. Get your leather bullet holder, add wax to the area where you painted it with pure neatsfoot oil, still the same, do it around, do the first and second coat, let it dry, and set aside. Here we will still use the neatsfoot oil for the burnishing part and beeswax for the waxing part.
While waiting, get a certain amount of neatsfoot oil. Then, heat the neatsfoot oil to burnish your whole leather bullet holder, and then using your paintbrush, start painting it in the front part of your leather holder and the back, let it dry first, and set it aside again.
Do the same thing for the back part. Set it aside and let it dry. Do a second coating on both the front and back part, let it dry again, and your leather bullet holder is ready for use!
Step 8: Investing In A Leather Bullet Holder
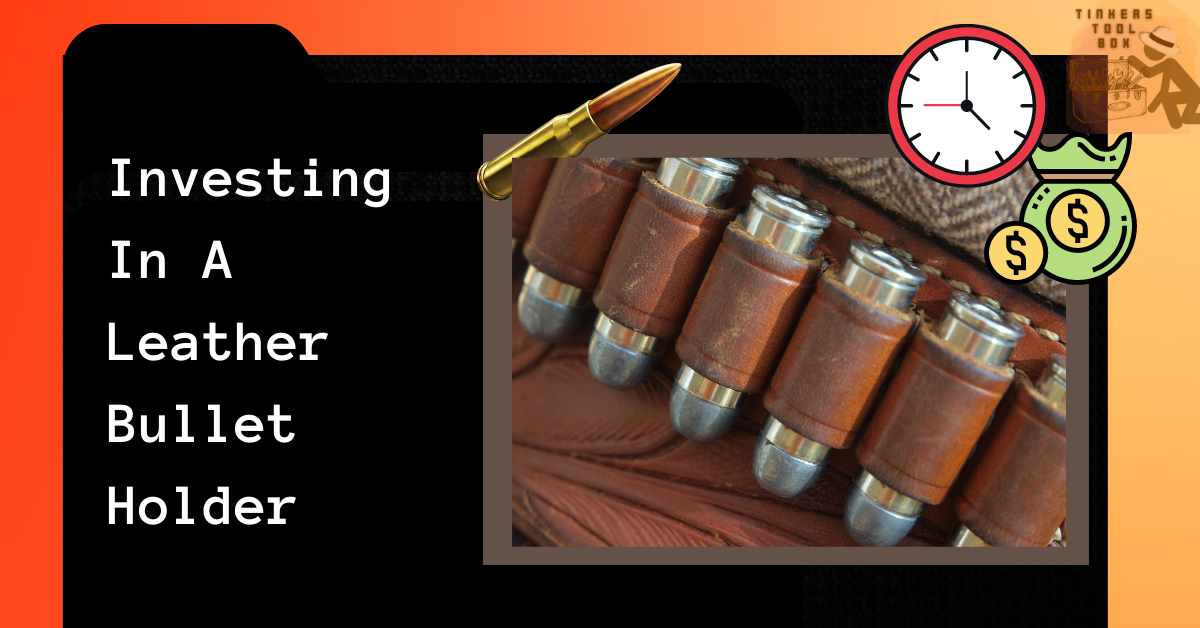
Bullet holders are such a life-saver in organizing cartridges and bullets. Most of all, keeping you safe while you carry it around. Many of those whose hobby or jobs includes guns and bullets have this bullet holder in handy. The most common material for this project is leather. It is undeniable that leather is a perfect match since it is durable and withstand regular use. Hence, it will be wise to invest in one, be it ready-made or a DIY project.
Cost of Making A Leather Bullet Holder
You might be curious about how much you will spend or perhaps how much you can save if you decide to make a leather bullet holder on your own. Here is a quick breakdown of the expenses you will make if you go with making one.
It would be easier first to consider how much budget you are willing to spend on this project. Of course, this will be one of the limitations you may have, but it does not mean that you can settle for lesser quality.
Take note you must not be cheap here, although we are trying to be budget-friendly. If you want this project to have a longer lifespan, you might go for the high-quality materials, which also come at a higher price.
For the materials, the first is leather; as mentioned, calf hide is ideal. If you purchase a meter or two, it would cost you about $35 to $63. The neatsfoot oil is pricey but depends on how much you need, so don’t get the bigger bottle if you only need a certain amount.
About 50 ml is enough in this project or even 100ml that usually would cost $30 to $50. In terms of tools, suppose you already have the basic leatherworking tools, then it is unnecessary to buy a new one. You might just be adding a caliper on your stash. If you choose the digital one, it is priced at around $50, while the normal one costs around $20.
The post-board used in your pattern would be the cheapest one amongst the listed items. It’s only $5 to $7 per piece. Now for your leather glue, leather glues aren’t that pricey; it would only cost you about $10 to $15 at your local store.
For your burnishing wax or beeswax, this would cost you approximately $35 to $40. If you don’t have this item at home, slot cutters would only cost you $15 to $37 on average. You can also get them in online stores or shops and just have them delivered to your doorstep.
However, the perk of buying online is you still have to wait longer than just buying on your local market or store. In total, you will spend a minimum of $150 on this DIY project. This might be higher if you look up products for sale, but this cost includes the freedom to execute your desired design.
Time You Have To Spend in Making a Leather Bullet Holder
The time spent in doing any leather projects will vary on the skills of the leathercrafter. It will usually take around three to four hours in the making. If you are a newbie, the time you need to spend will be longer than expert ones, but do not worry, since, with determination and practice, you will be able to make this the next time around easily.
Conclusion
If you have reached this part, then you are almost on your way to make the perfect bullet holders for you. Be ready to do this DIY project, and you will surely know where your bullets are! This will also be a great avenue to showcase your craftsy side, talents, and skills in leatherworking.