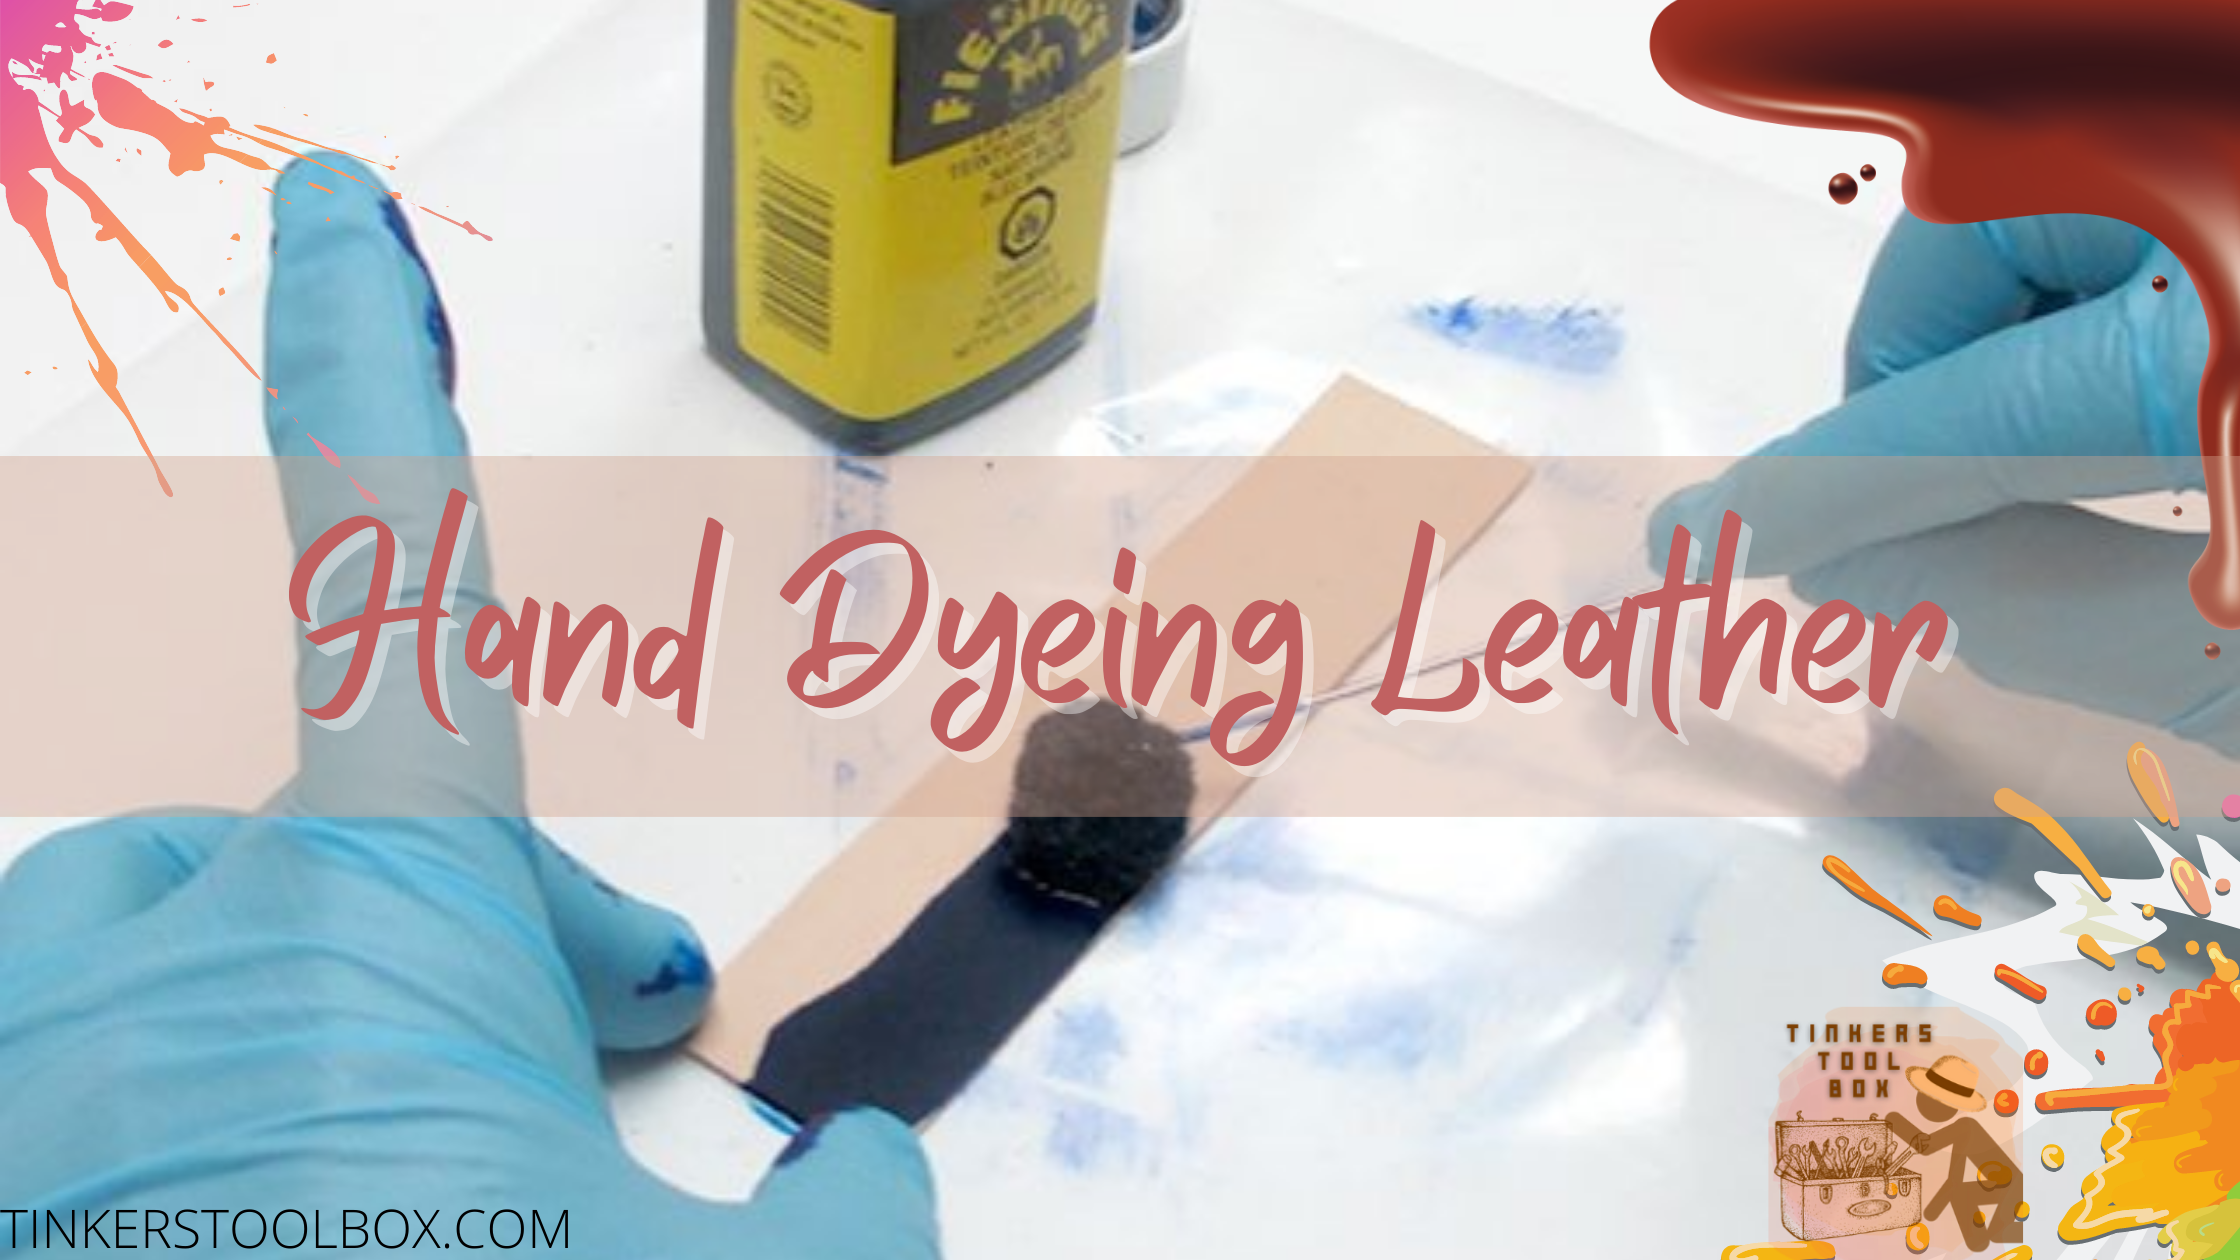
Dyeing leather is the method of adding a colored pigment to leather fibers mixed with a base, usually alcohol, oil, or water, to alter the noticeable color of the leather. This is commonly a part of the re-tanning process in some leather operations. It is usually done by hand and applied to leather products that you want to change or repair to suit your preference. Using paint on leather is a tricky job that you must do with extra care.
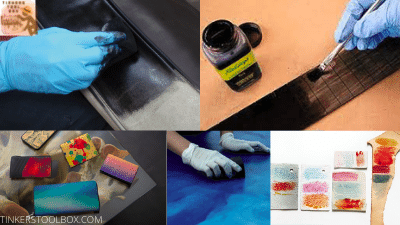
How to hand dye leather? Prepare the necessary materials, which include leather, dye, and applicator. Do a dye test run first if the dye suits your leather. Clean the leather using alcohol. Hydrate the leather using oil and apply the stain. Condition and finish using a finisher.
When I first started leatherworking, I was overwhelmed by the many things you can do to leather, and one of these is dyeing. I find it very helpful, especially if you want to change the typical leather color. You can also use this especially un hand-tooled leather, which are precious parts of your collection. It is a simple process but needs a keen eye to apply efficiently and adequately. In this article, I will share with you how to manually dye leather and what you need to remember. Indeed, this will be helpful to beginner leatherworkers.
Prepare the Essentials: What You Need
If you are ready to start with dyeing leather, you must prepare the essentials. These include not just the tools and materials but also the workspace.
Materials and Tools For Leather Dyeing
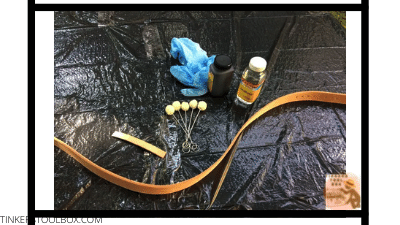
The primary materials you need are dye and leather. The leather you want to dye can be a new leather that you want to change the color. Many leather options are available out there, like vegetable-tanned, natural, or synthetic leather and more. You may also have damaged leather that needs repair, which means you have to dye it to match the original color.
For instance, you choose 100 percent full-grain leather, this is undeniably a good and durable material, but it is not a guarantee that flaws and imperfections will also be removed. The same also applies to other leather. The dye cannot cover these flaws; in some cases, it will still show up despite the amount of paint used. So be sure to sure leather properly.
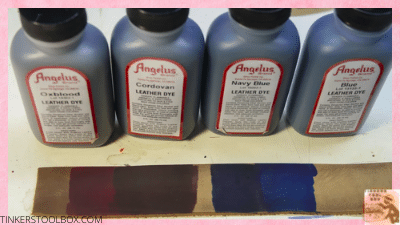
Most importantly, you need a leather dye. Various types of leather dyes are widely available. Each category has its own set of performance characteristics. One to use depends on personal preference and the project at hand.
These dyes can be alcohol-based, oil-based, and water-based. You can also use Sun to change the color of your leather or other synthetic products that can alter the leather color like shoe polish or paint.
The dye applicator is the next item on the list that you should prepare. You can use old simple shirts that you have lying around if you cut them into smaller strips. On the other hand, you can use a cellulose sponge to introduce the dye to the leather. Also, some leather dyes come with their applicators, which is extremely useful.
It is also recommended to prepare a leather conditioner that you will use before dyeing, like jojoba oil. You would also want to include a leather finisher like beeswax, resolene, or Carnauba wax to polish your leather end product. You can also use a glove along the process if you want to.
Ideal Condition of Your Work Area
Chemicals used in the leather dyeing process usually need to be adequately ventilated when in operation. Others are toxic when inhaled in large quantities. In contrast, others are toxic when exposed to them for an extended period.
Breathing in these chemicals might make anyone sick if e used indoors in a closed space or basement. As a result, it is best to do the majority of your leather dyeing outside. Indoors is a choice, but adequate ventilation and airflow are needed to ensure that enough clean air circulates throughout the room.
Having a workspace with an exhaust fume hood-mounted is also an option if you want to work indoors. This is a semi-enclosed workspace with large fans that draw air in from the inside of the room and vent it outside.
In dyeing, aside from the work area, you should also consider the work surface. You can always perform leather dyeing on a flat surface or workstation free from clutter.
It is a good idea to cover the surface to shield it from dye spills. Cutting plastic garbage bags along the sides and unfolding them into a smooth plastic barrier is an inexpensive solution. This covers the table and makes cleanup a breeze later.
Do A Dye Test Run: Economical and Safe For Your Leather
Before applying dye to the final piece, it is always a good idea to try a simple test to check if the stain you are using will suit or let you achieve what you desire. This will help you avoid reapplication of dye and other problems that may arise with a wrong match of leather and dye.
Doing A Dye Test
The same principle applies in doing a dye test with doing a patch test in trying new products on your skin. Bear in mind that leather is animals’ skin; thus, you should do a compatibility test to dye.
In doing a dye test, you will need a small portion of your leather and with the use of a rolled cloth or dauber, apply leather on the leather patch.
After the dye is applied, let it dry and check if it does get the color you want to see. If not, you may try to work your way around by modifying your application process or diluting the leather dye.
Work On The Leather For A Smooth Start
It’s best to prepare your leather before you start. It is an excellent idea to do grooving, folding, punching, and beveling before applying the dye. Of course, it depends on the project, but if you want a consistent finish, this is ideal.
Clean The Leather
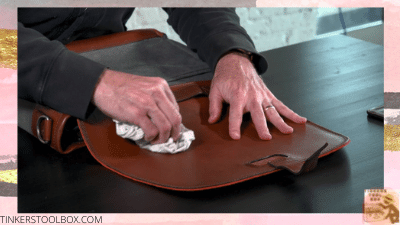
Once you already prep your leather, you should clean it off to get rid of bacteria and dust before applying oil and dye. Also, to avoid highlighting flaws and imperfections. Clean and wipe leather with a damp cloth before beginning the dyeing process. If there are traces of hair or dust on the leather item, they can adhere to the surface and cause uneven patches.
Cleaning is the first step in dyeing the leather after it has been prepared. As a result of the tanning process, leathers may have various oils and substances on and in them. Since we want to stain the leather fibers, we need to get rid of any chemicals or substances on them as soon as possible before applying the dye.
You can use rubbing alcohol for this or a deglazer. Just swipe the leather with a good amount of alcohol or deglazer with a sponge or old cloth, and you are good to go.
Stretch Out The Leather
Straighten the leather out. Make sure there are no creases or spots that need to be covered. Place the leather all stretched out in a clean and tidy working area.
You can also add a piece of fabric or a plastic cover underneath to support the leather and make your working comfortable. This will also protect the working station when dyeing.
Apply Oil To Leather
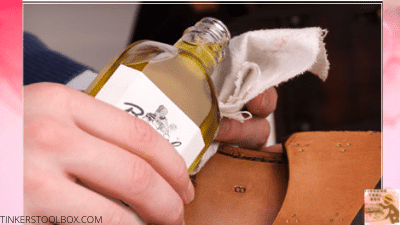
This process might be tricky because applying oil on leather can beat the dye’s purpose since it may block the stain from penetrating the leather. This is why you should use natural straight oil, like jojoba oil, lightly onto the leather.
Do not use commercially available leather conditioners for it has a solid resistance to dye. Just apply the oil gently with a paper towel or a scrap of t-shirt soaked in oil and wait a few minutes for it to absorb. Remember to use a very light coating only. You are now ready to dye the leather
Dye The Leather Properly As Possible

You are now ready to dye the leather, it might be daunting, but it’s possible. Make sure to apply the basics in leather dyeing properly, and you can never go wrong.
A Reminders Before Dyeing: Choosing Application Technique
The first thing to do is to pick the correct application technique; you should choose the application to suit your project that you are comfortable with while doing it. Some applications include using a wool dauber, a sponge, a brush, or a piece of cloth.
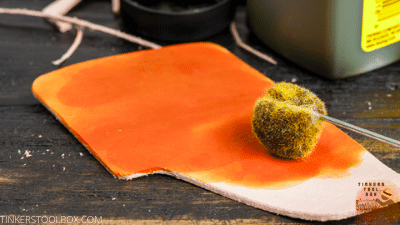
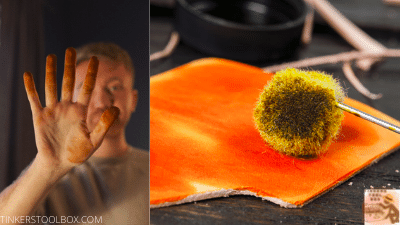
Wool daubers are small balls of wool with a wire handle attached to them. Daubers are ideal for dipping into leather dyes and finishes, then rubbing the stain or finish onto the leather surface.
Depending on how deeply the wool is dipped, it absorbs a certain amount of dye or finish. It then gives you some control over where and how uniformly the dye or finish is applied to the leather piece. It is greatly recommended to use this on small leather projects.
To spread the dye in even strokes, use a brush. It’s essentially the same as painting with a paintbrush but with stains instead of paint. Brushes are available in a wide range of shapes, sizes, and bristle styles.
Preference, the size of the leather item, and the budget will all affect your decision. In most cases, a simple paintbrush would suffice. The proper coverage of the dye onto the leather is more critical than the level of detail in this case.
Lastly, you can use a simple, lint-free scrap rag or cloth to apply the dye. Simply soak the fabric in the dye and brush it over the leather. Repeat as needed to achieve a smooth and consistent dye application on the piece.
How To Do It
If you have already decided what application method works best for you, you can start dyeing the final leather. Pour enough amount of the dye onto a container for easier access to just the right amount for your project (You do not want to waste your dye).
Using your leather of choice and applicator, lightly apply the dye with low pressure. Put more dye on the leather edges. To get better results, you can dilute the stain with alcohol.
Before applying another layer, make sure to let the first layer dye first. In this part, you can use shading if you like as a part of your design. You can also apply different shades of leather dye color as an accent to your design. Just ensure that pieces have the same color dye.
If working on multiple parts, make sure to dye the leather first before assembling. Start with one thin layer before adding another. Before adding another coat, make sure that all areas are completely dry. Continue until the vibrancy and evenness are noticeable. Two to four thin applications are usually enough to achieve acceptable performance.
Finish and Condition The Leather For More Durability
Now that you are done dyeing the leather, it is essential to preserve its state both for the look and aesthetic purposes. Above all, this is also important for more comfortable use in the long run.
Make Leather Soft With Oil
Apply oil using a sponge to take care of your leather. It will protect the leather and make it soft. You can use fish oil or linseed oil.
Let the leather absorb the oil by leaving it for hours to make sure it’s absorbed and let it dry. Putting on oil is not just for leather suppleness but also for protection.
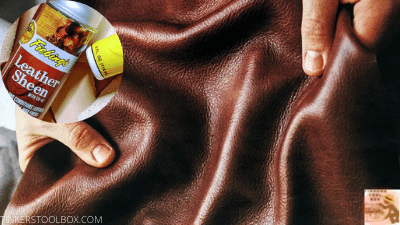
Apply Conditioner For Added Protection

Cleaning and dyeing leather with chemicals can cause natural fibers to dry out. It’s essential to condition the leather after dyeing to ensure that it’s appropriately handled and lasts a long time.
Conditioners are ideally used because it’s a mixture of chemicals that moisturizes and protects the leather. Allow for a few hours, or even overnight, for the conditioning to take effect before applying a finish.
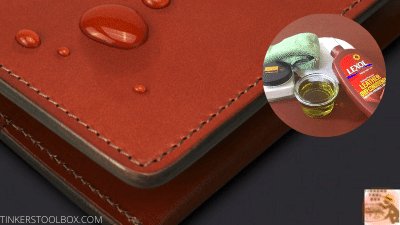
Apply The Finish For Comfortable Use
At this point, you can seal the leather, especially the edges, after it has been conditioned. This is useful for several reasons. First, it acts as a barrier between the leather and the environment. Second, it will prevent any dye from rubbing off onto the user’s skin or clothing using dyed leather. Some standard finishes include carnauba wax and resolene.
You can dilute the finish if you only want a little shine effect. Apply it layer by layer; usually, two coats are enough. You can also burnish the edges further during this team and seal with gum tragacanth. Now, your leather is done!
Prerequisites of Manual Leather Dyeing
Starting with dyeing requires basic skills enough to do the work and materials and tools you will need to kickstart your dyeing experience. Here are some of the basic facts you need to know and skills you should possess.
Understanding Leather Dyeing: Reasons To Do It
Dying leather is a form of art. Conditions, materials, and the artist’s touch will all affect the final product. Dyeing leather can be new to you, whether you’re a hobbyist or a trained leather artisan. While it can be a time-consuming operation, it is nothing that a little practice and persistence can’t fix.
Sometimes leather in black and brown can be unexciting. While black and brown are traditional leather colors, playing with other hues is also a good idea. At the same time, the color palette for classic leather is relatively limited. There are various shades of brown ranging from light to dark brown, with red and orange undertones on occasion; you can try them out with dyes. Also, doing this can give a new life or face to your leather product.
Of course, there are also risks in leather dyeing associated with low-quality dye and leather material that can give you the worst output.
Skills You Need Before Starting Dyeing The Leather
Just like any other process, you need the basic skills in leather dyeing. It may not be as tricky as other leather processes like carving, painting, and burnishing, but you must always do it with care.
Leather dyeing does not necessarily require an expert leatherworker. A beginner can indeed do it as long as you are dedicated to what you are doing. It would be best if you are patient in leather dyeing because it involves many waiting times (drying the leather before dye application). Also, being dissatisfied with the initial results and reapplying color after color may result in the leather material being destroyed.
You should have a keen observation of details, especially if you dye the leather to match the original color.
Additional Notes To Ponder With Leather Dyeing
There are many things that you will discover along the way in doing leatherworks. Here are some of the few that you must bear in mind when doing leather dyeing.
What To Remember
Nothing is more aggravating than unappealing dye outcomes. Make an effort to try out various dye colors before settling on the best one. There are a lot of excellent leather dye sources out there. Just make sure you use one that is professional and trustworthy. Being dissatisfied with the initial results and reapplying color after color may result in the leather material being destroyed.
It is better to stock up on your dye of choice because it is always essential to continue a smooth workflow by not worrying about the amount of leather dye you have. It is better to stock up just if you run out or the stores near you are out. At the same time, Always clean the leather before dyeing since it will make it easier.
What To Avoid
Do not choose cheap dyes. Cheap dyes won’t stick to the cloth, wasting your time, resources, and effort. It’s as simple as consulting experts and testing color charts available from retailers and suppliers to find the right kind of leather dye.
If you use gum tragacanth to burnish before dying, the leather can become resistant to the dye.
After dyeing, leave the leather for some time. Please do not touch or transfer since it may be challenging to make sure that the dye has been absorbed by the leather enough. Remember that the last thing you want is your hand marks and fingerprints all over the leather.
Conclusion
Leather dyeing is fun and maybe daunting at times. You may not achieve the color you want for a start, but you can get your way there through consistent effort and practice. Do this if you want a new feel or look to your leather, enhance your skills, and indeed in no time, you can dye leather as easy as any fabric.