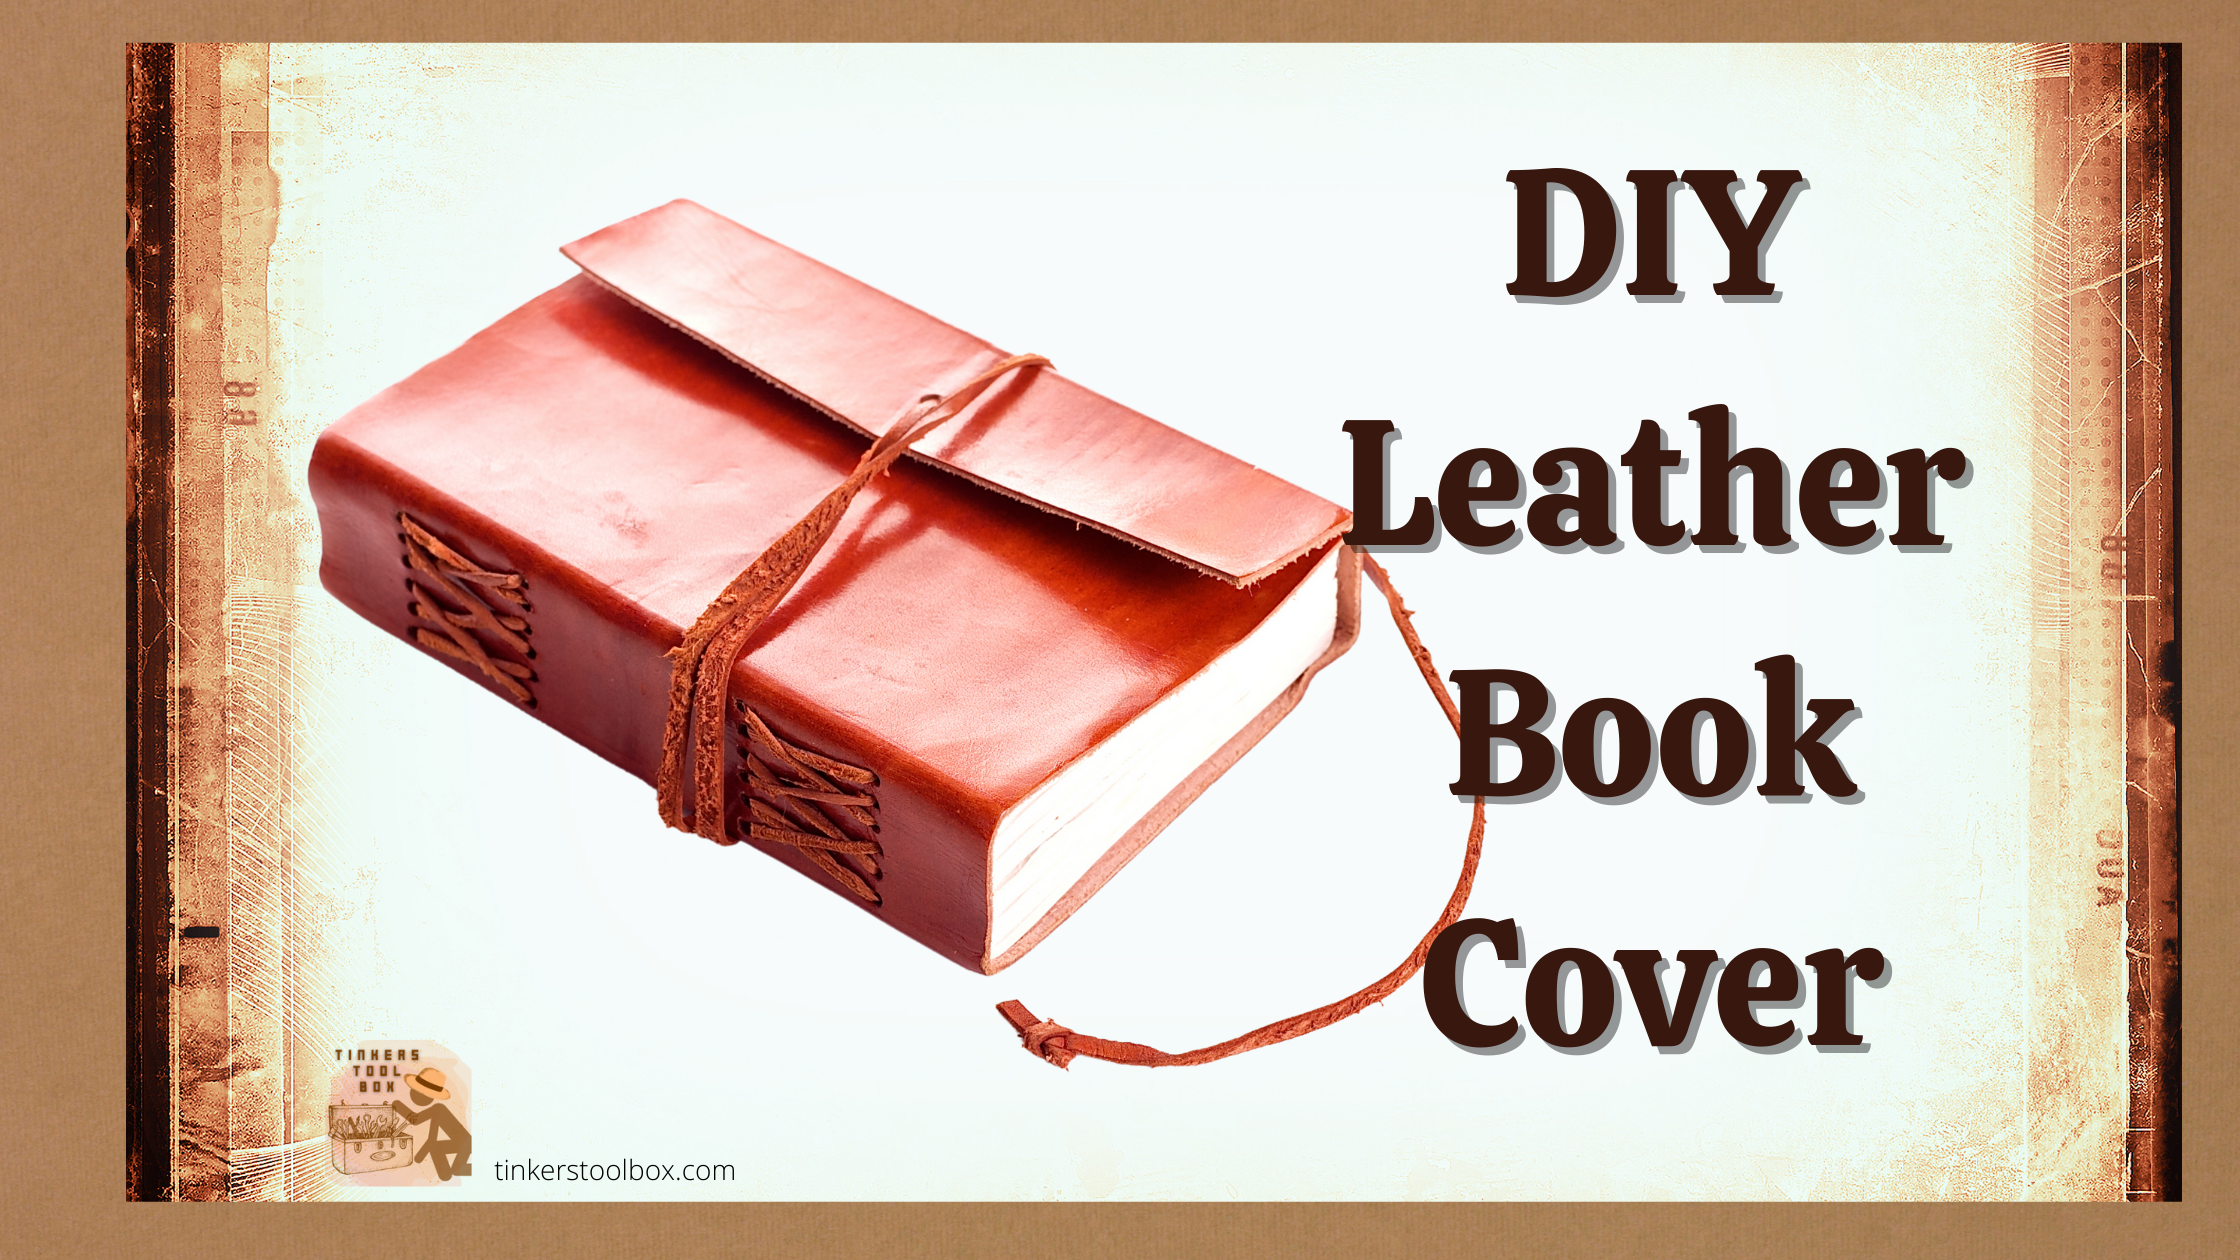
Everyone loves reading a good book. Whether it be your hardbound novels or educational books, books are still a reliable learning buddy even in this digital age. Leather’s durability and classic quality for a book cover will make your book look like it hasn’t aged for years. Protecting your books can be done simply and artistically using leather.
How to make a leather book cover? To make your own leather book cover, you need to: prepare your template, trace and cut your leather according to the template, prepare for stitching by creating groove lines and stitch holes and last stitch together your leather. You can opt to add design by tooling or dip dyeing.
Books come in many sizes. Some are thin, and others are thick. Hardcover or not, having a book cover is more than just a design. It protects our books from any damage. This article will guide you step by step in creating your leather book cover. I also provided alternative tools and materials you can use, which are affordable and easy to find, for starters.
Preparing the Tools and Materials

Materials needed in this project are easily found in any leather store, of good quality, and affordable. This project will only make use of basic leatherworking tools. So if you are a beginner, you can use alternative tools or borrow them from a leatherworker you know.
Some Leather Working Tool Alternatives
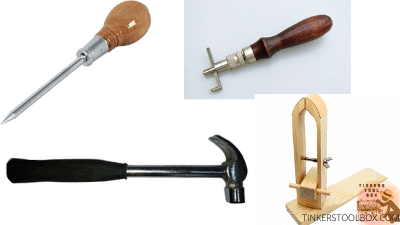
A scratch awl, used to mark lines for cutting leather, is an essential leatherworker tool. Using the sharp tip of a cutter with a metal ruler as a lining guide will produce the same result as when you use a scratch awl. Remember to control the force you’ll apply in the cutter; it should just be light enough to mark, but not cut it.
The adjustable groover is used in making groove lines for stitching. An alternative is to use a cutter and ruler to mark groove lines, light enough to make the stitches sit into the leather.
Making holes and cutting leather is what a mallet does. Consider using your regular hammer or any weighted object heavy enough to hit tools into the leather. These materials need a good amount of control not to damage the leather and tools.
You may clip the leather in between two weighted objects. This holds the leather still while stitching. It serves as your third hand in stitching and is used when you don’t have an available stitching pony.
Cost Estimate: Materials in Making Leather Book Cover

Here are the materials needed for a leather book cover: poster board, leather, tracing film, leathercraft cement, oil-based dye, saddler’s needle, and waxed thread.
A poster board for drawing your template costs $6. Old folders and cartons may do as a replacement. Just make sure that they are firm enough to be traced in leather without crumpling.
You’ll also need vegetable-tanned leather, which is an excellent material for book covers. It is very durable and costs $35.75. A chrome-tanned leather is a cheaper option. It is softer than veg-tanned leather and costs $5.25 only.
For tracing your book cover design, a tracing film would be a good choice, which costs $29. Use a thin bond paper to trace the design in your leather using a pencil. This will not cost much as you would probably have one lying around.
A leathercraft cement costs $4.10, but you may use a double-sided tape for only $1. Other materials needed in this project are oil-based dye ($5.50 to $350), saddler’s needle ($8 to $21), and waxed thread ($21.25). These materials vary in price depending on the amount or size you purchased.
All in all, you would spend $109.5 for a leather book cover project, but with the use of the alternative materials I suggested above, it may only cost you up to $41 in total.
Measure Exact Dimensions: Creating Your Leather Book Cover Template

Consider the size of the book you are making a cover for. Thick books need more leather than a thin one does. So taking time to make the pattern with correct measurements prevents mistakes.
Tools and Materials
- Book
- Poster Board
- Pencil
- Metal ruler
- Cutter
Steps
Draw a line in the middle of the poster board. Then, set the bound side of the book vertically in the middle of the line to measure the thickness of leather needed. Flatten the book by rolling it on the right side of the leather. Trace the edges on the poster board using a pencil to get the exact size of the book.
Provide additional dimensions of ¼ inch for lacing and stitching, ⅛ inch for the cover thickness, and ⅛ inch for the bind folds. These measurements make sure that the leather has enough size to cover the whole book. Considering the measurements above, increase the book’s width by ½ inch and the top and bottom by ⅜ inch, then trace.
Lay the template on the cutting board. Cut the top, bottom, and right side of the template following the guidelines you made. To make the other side of the template, just fold the poster board in the middle, then trace the edges of the template’s right side on the remaining space and cut it.
The next step is making the template of the flaps or pockets for the book’s front and back pages. Measure a width of 3 inches and a length same as the template on the poster board, then cut it. Make two of these for the front and back cover.
Ready your Cutters: Tracing and Cutting the Leather

The next process is tracing the template into the leather and cutting them in exact sizes. The use of a sharp cutter is vital to make a clean cut on the leather material. This way, you won’t be having a hard time burnishing edges.
Tools and Materials
- Chrome Tanned Leather or Vegetable tanned Leather
- Scratch awl
- Metal ruler
- Cutter
Steps
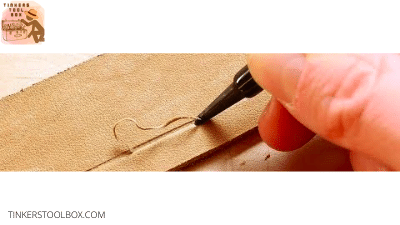
Trace the book cover and the flaps template into the leather using a scratch awl. Then, cut the leather, following the template’s traced lines. Chrome tanned leather is softer, so put more effort in cutting if you use veg-tanned leather.
Preparation for Stitching

You need to prepare the leather by creating groove lines and punching holes before the stitching process so the needles and thread will lie smoothly on the leather.
Tools and Materials
- Adjustable groover
- Leather
- ⅛ “ Flat Chisel
- Mallet
- Leathercraft cement
- Cutting board
Keep It Straight: Creating Groove Lines
A groove line serves as the guide for making holes in the stitching process. This requires the accuracy that groovers provide perfectly.
Steps
Place the groover’s guide arm on the edge of the leather and the cutting arm on the leather. Have your hand at a 45-degree angle for the cutting arm blade to hit the material, then draw groove lines from top to bottom.
Go light on the chrome tanned leather because it may crumple when forcefully grooved. Use a ruler to pin down the material.
Groove all sides of the leather, including the part where the flaps are glued. This groove line will guide you in punching holes and stitching later.
Hammer It with Care: Making Your Stitch Holes

Stitch holes make the stitching process easy by providing a gap for a needle and thread to go in without needing much force from the leatherworker. The chisel has pointed sharp teeth, equally distanced to ensure that the stitch holes are the same size and distance.
Steps
Start by gluing the flaps into the back of the leather cover using leather cement. Measure 3 inches from the left and right edges of the leather cover and mark it lightly using a scratch awl. This is where you will glue the flaps. Use a small amount of glue, then put them on the edges of the leather cover considering the 3 inches mark. Then, stick the flaps to the glued part, groove side in. Remember: Attach the flap on the glued part of the leather only; the inner edges of the flaps will be for the book’s front and back cover, so you should not glue it. Lastly, press down the flaps to make them stick to the leather by putting them under the cutting board for 20 minutes.
In making stitch holes, hammer the chisel on the groove line using a mallet. Make sure the chisel goes over the leather. Next, drop the first leg of the chisel on the last hole you hammered to create equally distanced stitch holes. Work your way around the edges of the leather having the last, and the first hole distanced with each other.
Spot that Hole: Hand Stitching Your Leather Book Cover

Hand stitching is a traditional yet powerful process that adds design and strength to your product. It joins two leather together and ensures the durability of leather.
Tools and Materials
- 2 Saddlers needle
- Thread
- Stitching pony
Steps
Place the leather in the stitching pony. Prepare the thread four times the length of the book cover. Then, put the needles on both ends of the thread, holding them one on each hand.
Start stitching by inserting one needle in the first hole. Then, pull the thread to even out its length. Stitch around the edges of the leather by inserting the needle alternately in the following holes. The needle coming from your left and right hands should go in the same hole to create an individual stitch. Pull both sides of the thread to make sure that every stitch is tight. Do not pull the threads too tight to avoid ripping the leather.
After going through all the holes around your leather, it’s time to finish it off by tying a square knot. Place the needle right over left, draw it around and pull on the two sides of the thread. Cut the thread and flatten the stitches to avoid embossed stitches by tapping lightly on the stitch line using a mallet.
Before stitching, you can opt to tool and dye your leather for added design. Dip dyeing is an effective method to produce an even-toned skin by just dipping the leather into the dye. You can use oil-based dye for veg-tanned leather because this dye has no rub-off effect and dries quickly. If you are using chrome-tanned leather, there is no need to dye it because it already has a color.
On the other hand, tooling is the engraving of design by the use of stamping tools or a bevel. This process is done by tracing your design into the leather then beveling it using a smooth bevel and mallet to make the design print deep into the leather. Wetting the leather helps in making deep prints into it.
Conclusion
Making a book cover is an exciting activity that requires patience and skills in leatherwork. This project may also cost you a lot, but you can always choose the alternatives. Good thing that you found an easy-to-follow guide to help you customize your book cover without spending much but still keeping the high quality that leathers are known for. Now get your favorite book, and let us start your leather book cover project.