Bracelets add an accent to your attire. It might be hard to buy something that will ideally be what design you want in mind, so crafting one is a good idea. Leather bracelets have been a thing even during the earlier times. The process is easy, but it will require effort. Once done, It will be a sophisticated, handmade piece of jewelry you can proudly wear.
How to make a leather bracelet? Gather all the materials needed. Cut and measure multiple strips of leather and glue them together. Make sure the strips are a little bit wider. Put the bracelet together, add some beads if you want, and make a buckle to ensure it does not come off.
Leather bracelets have been around since the neolithic period and have been made famous since then. As a budding leathercraft worker, I am interested in simple projects yet will still show my creativity. I first took an interest in leather bracelets because making one is not costly and relatively easy. In this COVID-19 pandemic time, this is also an outlet that can ease your anxiety. This article will guide you on making your DIY leather bracelets in a unique, stylish way. I will also share some techniques and tips helpful in the making process, which will surely help beginners like me.
A Various Array of Leather Bracelet Style Options
A leather bracelet being a typical project and leather product; there are many styles you can choose from and the perfect leather type for your DIY project.
Styles For All Ages
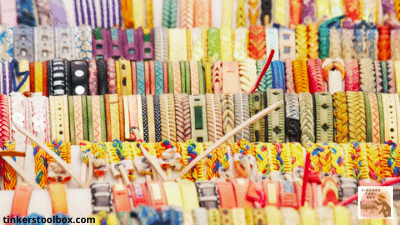
Any gender or age can wear a leather bracelet for more personal adornment than anything fancier. The size, shape, and overall appearance of these bracelets reflect the wearers’ taste, social standing, personality, and even lifestyle choices.
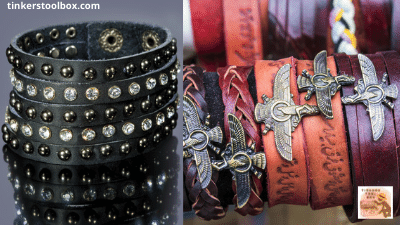
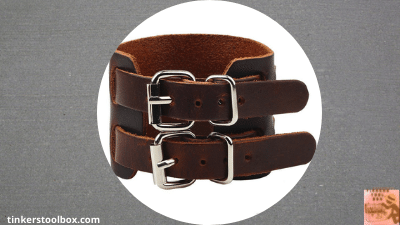
Wide bands are bulky, bug, and very muscular. The masculine type of creativity runs a manly aesthetic touch to it. Those who wear them are primarily musicians and hard-core bikers. Cuffs or wide bands are mostly just plain blacks. The look it gives is very intimidating, elaborate, fancy, yet expensive. The look is achieved by adding various materials like stainless steel chains, charms, studs, and even skulls. Skulls are for the heavy metal musicians for the most part.
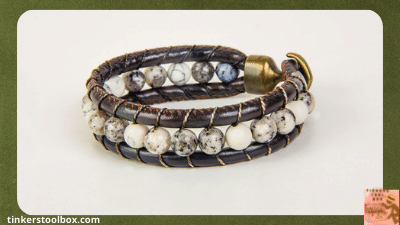
Strap Bead Leather Bracelets are worn to complement wristwatches or perhaps replace wristwatches for those who are not conscious of time. Making this bracelet type is a great way to express a solid touch to an outfit without being two-faced. Its style is very appealing and comfortable.
Rope-style Bracelets are the standard amongst the two mentioned above. These leather bracelets are worn mainly by surfers and skaters and the “YOLO” type of people. Its sartorial style has been improved over time, as many social-media influencers have acknowledged and supported the rope-type woven leather bracelets. Very casual, playful, and fun yet elegant.
Additional Information: Leather Bracelet Color and the Meaning It Depicts
It is not so much in form and design, but more of the colors could also reflect your personality. For those who take the psychology behind the colors of bracelets seriously, the color of a leather bracelet says a lot more about the person wearing it.
Black symbolizes power and strength, particularly if paired with a touch of gold or silver. However, if so adorned, it could also exude an air of dominance, even rage, and mystery. As conventional fashion is, sober black is all about business and responsibility.
Dark Green is not a strictly conventional color, and a dark green leather bracelet is calm and very soothing to look at. It is a color with a distinct serenity that goes well with men in touch with their quiet, gentler side and those who live in close contact with nature. The green color represents how a person loves nature and the outdoors.
Brown-colored leather bracelets are like a good pair of hiking boots. A brown leather bracelet adds an aura of practicality to the wearer. It is rustic and solid but never dull, of course. It also calls to mind a spirit of adventure and exploring the great unknown, the great outdoors.
Best Leather to Use
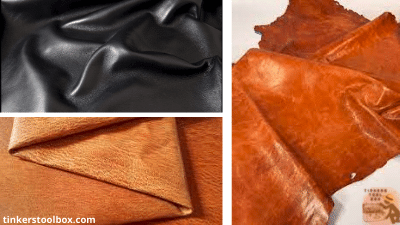
Before going to the real deal, here is the best type of leather material you can use for a leather bracelet. The usual leather used is suede leather. Simply because suede leather is made from the underside of the lambskin, although calf, deer, and goat are also commonly used.
Splits from the thick hides of deer and cow are also sueded. They have a shaggy type of nap. Although suede is not as durable as other leather types because it does not include the exterior skin, it is softer than the standard full-grain leather, making it more comfortable to use. Its thinness, flexibility, and softness make it suitable for leather bracelets and delicate other uses. Women initially used this for jackets and gloves.
Suede leather is also popular in fashion, furniture, and other accessories and contributes to other leather industries. Its textured nature opens up pores; suede quickly absorbs liquids.
Generally, suede has a napped finish. It is thicker, sturdy, yet soft quality. It is lightweight as well. Most importantly, a high-quality leather type is commonly used for jackets, boots, fashion items, and other accessories and ornaments. It has a very textured nature which opens pores and is absorbent to liquid.
Lay-Out The Plan and Craft the Design
All leather outputs require a pattern to ensure accurate execution of details. With this, it should be well planned out.
Plan The Design
Have the design in mind. Make the design by laying it out in software or drawing it on paper. Make sure to have the correct measurements you want reflecting in the pattern. Cut out the way and put an allowance on each side. If you’re going to add embellishments, include them in the design layout as a guide.
Measure, Cut, and Secure the Leather Cord or Strap
In any bracelet design you want, it will always start with cutting the leather cord or strap. Do this accurately to save your leather fabric and materials.
Measuring and Cutting The Right Way
Wrap the measuring tape around your wrist, wrap it around as many times as you like depending on the style you like to achieve. Adjust the tape, loose or tight, according to the size you want them to be. Add extra space if you are going to add beads.
If your wrist measures 11 inches, make it 22 inches when cutting for enough for your added beads to fit in if you plan to make a beaded leather bracelet. Using a side cutter, trim the leather cord. Thread the cord through one hole of your metal button. And then do the same to the other button. Adjust until it is centered on your cord.
Secure Your Cord Nicely and Begin to Thread
In making a strap beaded leather bracelet, use the clipboard to hold your leather cord. Begin by clamping the button end of your line beneath the clip on your clipboard. Use your side cutters to cut a strand of the bead thread, ideally, at least two arm spans.
Remember, longer threads are harder to work on, but it would reduce the number of times you will need to make a new thread. Thread your needle for double-strand beading with your needle. Leave the ends loose, bring your line ends together, and loosely knot them around one strand of the other leather cord close to the clip.
Thread the tails at least seven inches long so you can just easily bead them later on. Note that if you are right-handed, tie your thread to the left cord and if you are left-handed, tie it to the correct line. Use tape to hold down the thread tails.
Making A Strap Bead Leather Bracelet
Suppose you like to make a strap-bead leather bracelet that appears fun and relaxed. Strap bead designs are easy to make and stylish because of its unique design, and it is very comfortable to wear.
The Basic of Making A Strap Bead Leather Bracelet
These bracelets can be made for a fraction of the price of those seen in high-end boutiques. You’ll also need a thin, flexible, and long beading needle. A beading thread and a small button are also required. Decide on the length of the bracelet and whether you’ll loop it once or twice around your wrist. Fold the leather string in half and double the measurement. Wrap one end of the leather in a small knot. You will need a small loop with one large enough to squeeze a button through.
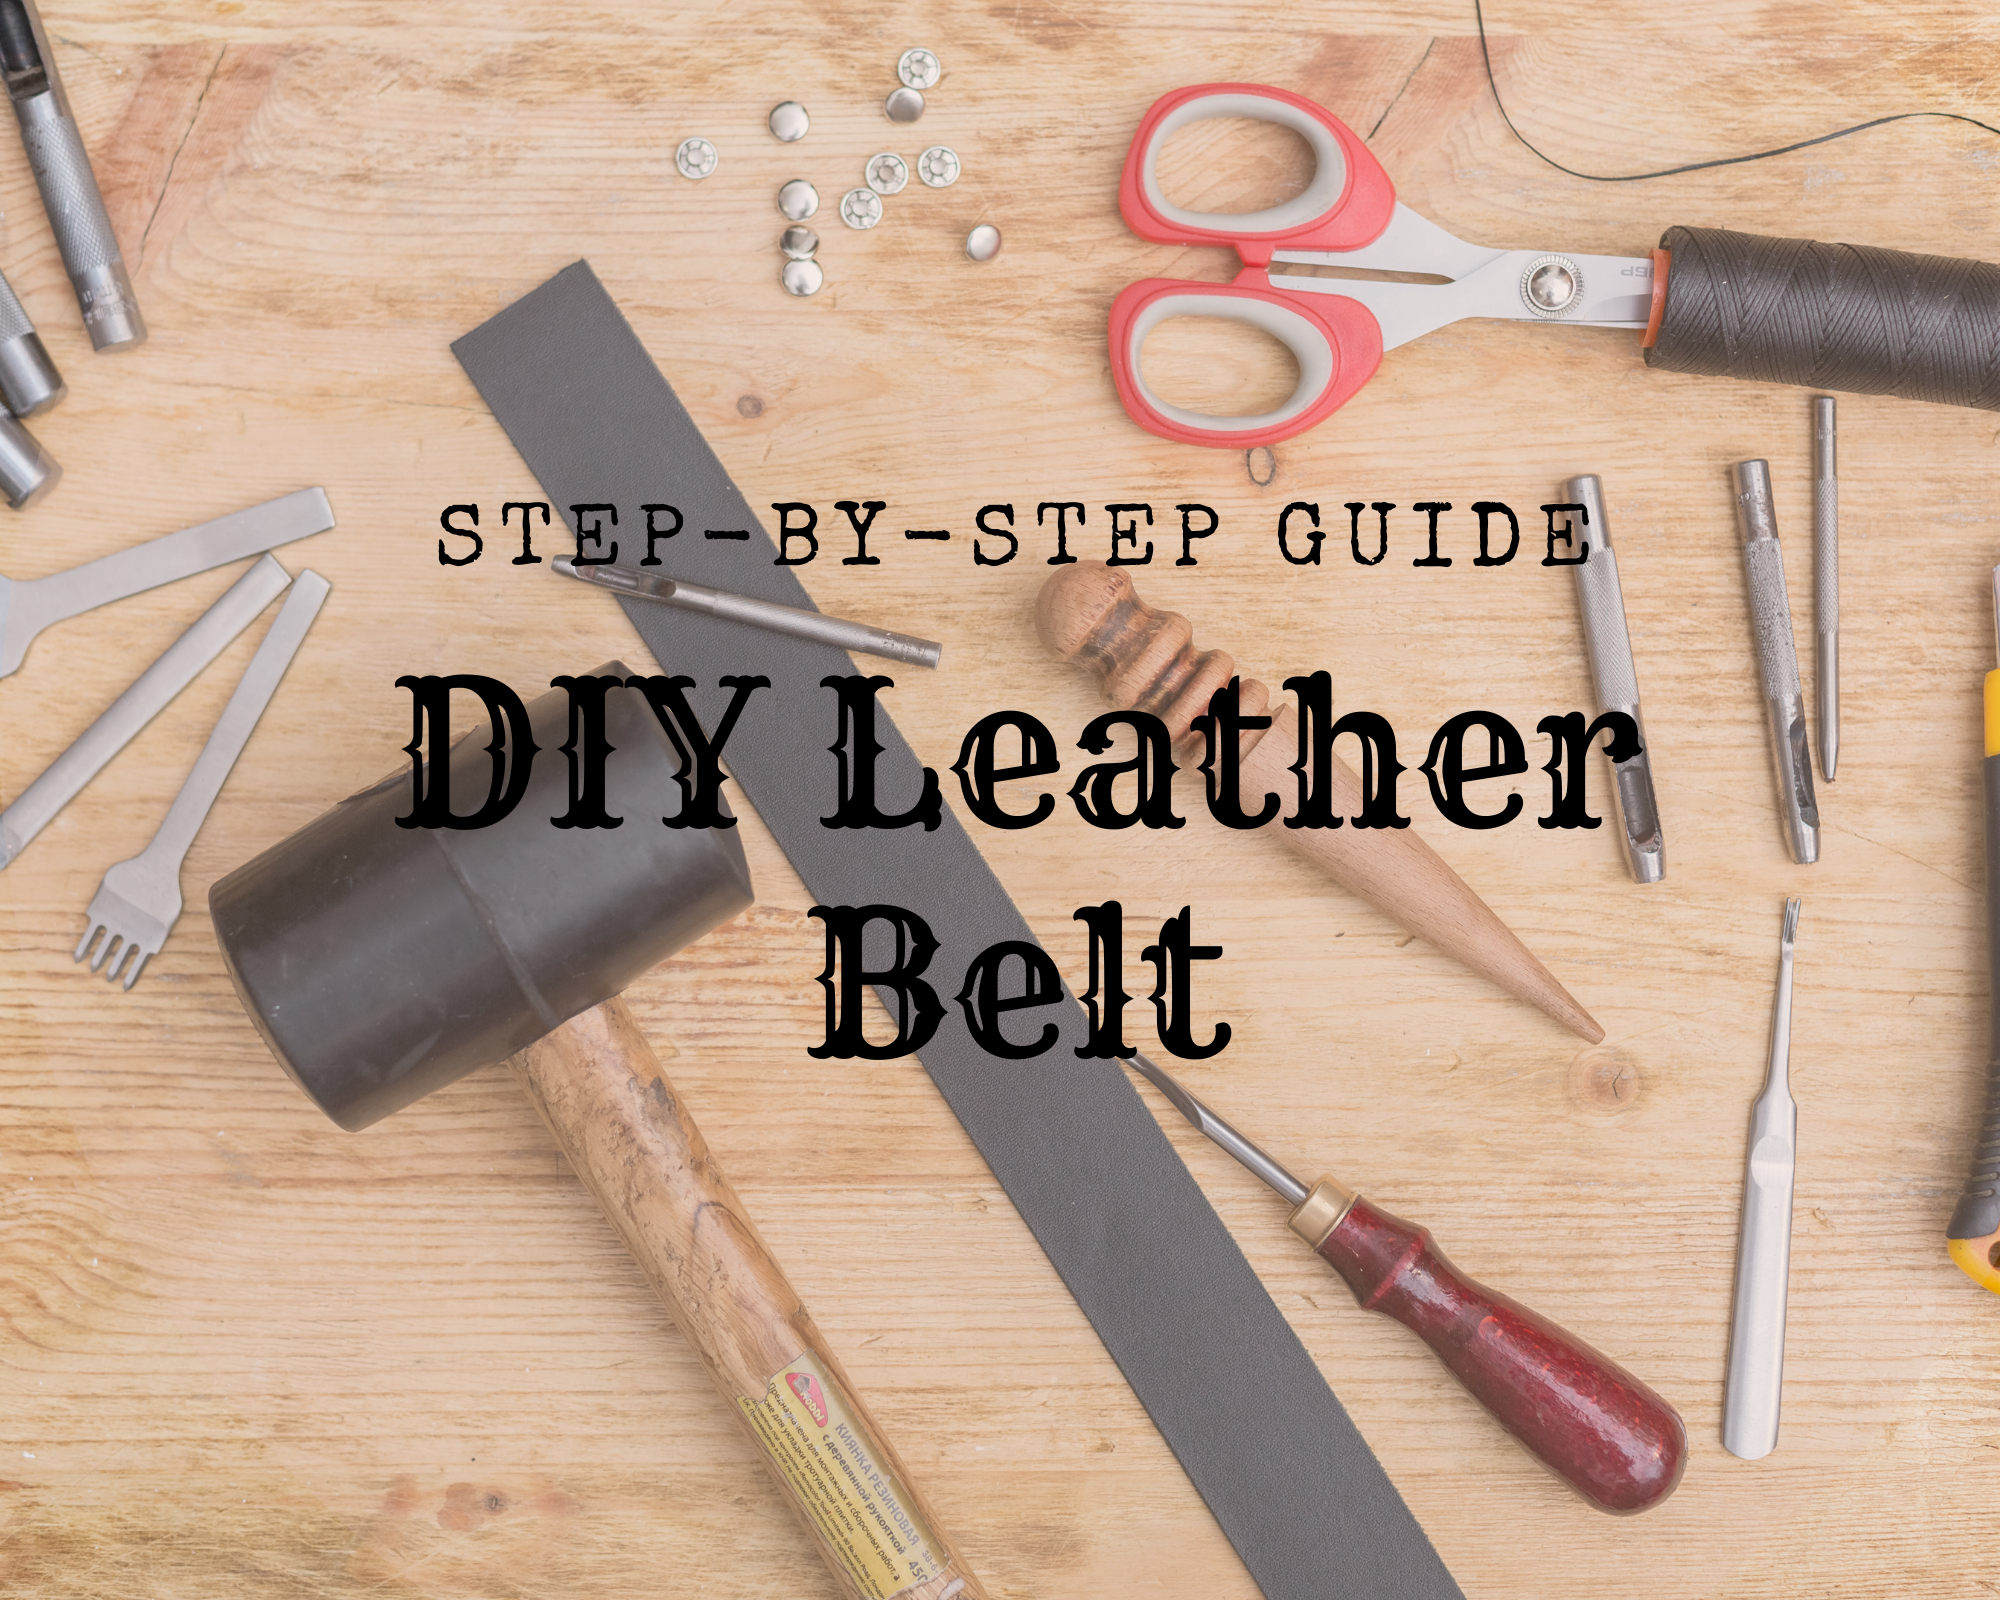
Tools and Materials You Need
Like any other project, you should prepare the tools and materials before you start. Here are the essentials you should have before you DIY a leather bracelet. Side Cutter, which you will need if cutting soft copper or aluminum bar for your bracelet backbone. This will make your cutting easier.
A measuring tape is necessary for getting the dimensions of your leather bracelet strap. A cutting mat for cutting your straps is also ideal to have in handy. Thie mat will protect your blade from being blunt and the work surface from getting sliced up. You will also need a size ten Beading needle, which is optional if you want to adorn beads to your bracelet.
Also, prepare a painter’s Tape for marking and holding your straps in place and scissors to cut but leather straps and thread. You can also buy a thread burner (Optional), a heated instrument with a metal edge. It works well on synthetic cords like Fireline and nylon threads and is used to cut beading threads.
The leather used is ideally suede leather for easier manipulation and comfortable fit. Next is a beading thread that is a stringing material used to thread your beads or other embellishments onto the leather. A round metal button you can use as a decoration. The round leather cord, which is long thin threads of leather, is ideal for braiding if you want a braided bracelet.
Glass beads (Optional) for decoration or design and C-Lon Beading Cord are ideal, is optional if you like vibrant-appealing bracelets with wide hues of color.
You can find the supplies you need at your local crafts stores, though you can also find them in higher quality beads and leather at a specialty store.
Stitching the First Bead For Beaded Bracelets
Choose a color for your bead, and then pick the bead you chose with your needle. Pass the are ideal both the strands you have made of your leather cord. Use your finger to push the bead up between them. Pass the needle back through the bead on top of both leather threads and use your fingers to hold the bead in place while you pull the cord.
Make sure to pull it slowly to avoid tangles. Also, make sure that the strands of your double strand of thread pull down against the leather cord. If ever it does get tangled, stop and straighten it first before it knots.
Slide Your Bead Into Place
Slide your bead a little closer to the clip of your clipboard. Do this to the first few beads you stitch. Begin your beadwork close to the button and continue doing it until you have finished the first one. Now choose another color and do the same process.
String on Your Second Bead
Pick up the second color you chose and then stitch it down again and do the rest for the rest of the beads. Use the same stitching technique as mentioned above and keep stitching your beads until you reach the end.
Keep Stitching and Complete the Beading
Keep stitching the beads. Stitch another color of your first, second and third bead. Stitch two more sets of your chosen beads and alternate those two sequences, and continue stitching.
End the old thread. If you run out of thread, you will have to weave it before starting again.
To do it, turn your beadwork and pass the needle back through the last bead you have stitched.
Turn over the beadwork right side up and pass through the bead on top of your leather cords. Turn it back up once again through the bead one last time.
Use a thread burner to cut or trim both strands of the thread close to the exit of the bead. Now start a new thread and complete your beading.
Tie The Knots and Finish Your Bracelet
Tie an overhand knot. With both strands of your leather cord from the loop, pass both ends through it and then close to the last bead and pull it as tightly as you can. Using the button as your measuring guide, form a second overhand knot.
Make sure to keep the space between the knots slightly longer than the diameter of the button you made. Check the fit with your button before pulling the second knot as tight as possible to create the clasp of your button. You are now done with your DIY stylish beaded leather bracelet.
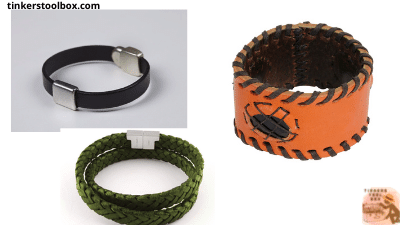
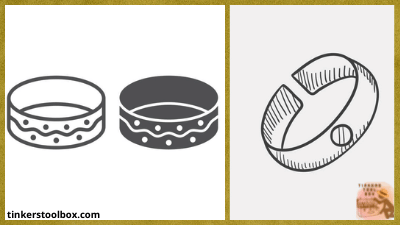
Crafting A Leather Bracelet Cuff For the Budget Saver
Anyone wears leather bracelet cuffs to make them look and feel good. It is something braced in the wrist that will add vibes, styles, personality to your outfit.
The Basics of Crafting A Bracelet Cuff
It is one of the most straightforward leather bracelets to make. You can make it using scrap leather and simple materials. In its pattern making, it does not require sophisticated software or tools in making one. You can decide how wide you like your cuff to be.
Since adding a snap on the strap, just make sure to give an allowance on the ends. The allowance is usually around ¾ of an inch to allow you to punch in that area.
In deciding the length of your cuff, make sure to consider the position of the snap to achieve a good fit.
Tools and Materials You Need
Prepare a 12” x 12’ chrome-tanned leather for the main body of the bracelet. A Square ruler for the position of the snap. A tape measure for getting the wrist measurement and laying out the dimensions of the leather cuff on the leather fabric. It is also better to prepare a hammer for penetrating the leather and punching holes paired with an awl.
You will also need a scratch awl for marking and transferring the pattern on the leather. A strap cutter or leather scissors and knife to cut clean the strap. A rotary puncher to create the hole where the snap is positioned. Make sure to cut on a self-healing mat or cutting board to avoid blade damage and unmanageable movement.
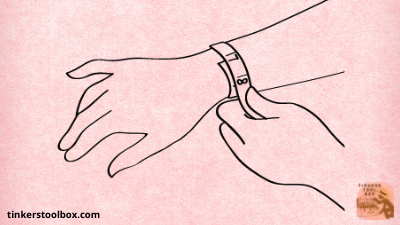
Begin Crafting your DIY Leather Bracelet Cuff
The crafting is the fun part of styling your leather bracelet cuff. Make a measurement first your wrist with the use of a tape measure. After getting your wrist’s size, add an extra amount when measuring the leather to provide room for the snap. For instance, your wrist measured 7 inches, make it 8 ½ inches in measuring the leather material.
Now, cut the measured leather using a knife, scissors, or a strap cutter. You may use a leather concho with a screw backing to add more aesthetics. Attach the leather concho by pressing it hard to the leather strap to create markings
Leather markings are necessary so that you will have the template on where to punch holes. With the use of a rotary puncher, hit all the hole marks on your leather. Now you can attach the concho to your leather strap bracelet. Then finish screwing the backing on the concho.
The next part is mounting the snap but think first where you want to attach it. If you have figured out the snap’s location, including the button or cap on the face, you may start connecting them. Start by placing the round button under the leather strap. Ensure that you put it in a position where the concave shape is facing the leather with a snap cap on it
Once the snap cap on the round piece tool has passed through the leather holes, place it on top of it, then use the snap tool to slide down to the socket. Note, use the appropriate snap tool so that you can fasten the snaps accurately. Then hammer the snap tool to attach the socket to the snap cap. You will know that it is successfully installed when it does not quickly get twisted. Now that you have fastened the snap cap start attaching the snap stud and post.
Since you are crafting a bracelet, ensure that when you cuff it to your wrist, the snap’s cap and the post will meet each other to fasten your bracelet—now installed the snap post & stud to the other side of the leather by using the round piece tool again. This time, use the flat surface, then place the post on its top, making sure that it aligns the leather hole. Next is placing the stud above them and using a snap tool again with a pair of a hammer, bang it hard.
Finally, you are done but test the snap first it works. If it does work, then pat yourself for you did a good job.
The Price For The Perfectly Customized Bracelet
If you are wondering how much will a customized bracelet cost, here is a rough estimate. These include the materials it costs. Make sure to choose wisely and always choose quality over quantity.
Strap-Bead Leather Bracelet
Most of the price would depend on what you choose. Remember, you are what you choose to be. It would be wiser to choose the best quality materials to make your craft last longer. It is an excellent advantage if you have a local store that also happens to be selling quality materials.
Suppose you are making your own leather beaded bracelet usually would just take $15 to $30. However, the price may vary depending on the materials you bought and chosen. It also depends on the local craft store or other stores you decided to purchase the materials. The leather piece would usually cost $5 to $10, depending on what variety you have chosen and the length of the material. The price range of the materials may also vary depending on the brand and its quality. The higher the rate the greater the value.
Leather Bracelet Cuff
Not everyone has time for DIY crafting. Hence they go for buying ready-to-wear bracelets. But, these ready-made bracelet cuffs are not just your taste, style, and fashion. Yet, worry no more because you can order a customized leather bracelet cuff. In the customized leather bracelet cuff, you will be the one to provide the exact style & designs you want to put on your bracelet.
This includes engraving your name on it or his/her name if it is for a gift. One of the bestsellers on the leather bracelet cost around $14 to$20.
In some online stores that offer leather bracelet customization, the personalized leather bracelet cuff for men costs $62 and an additional $5.90 shipping. This customized bracelet is made for engraving the name, date of your birth, or your wedding day.
Other customized leather bracelets, which are available for men and women online, cost $18. The product is handmade from the USA and is made of full-grain leather, which ensures high quality. For the cheap customized leather bracelet cuffs, you can find them at amazon shopping online again worth $11 to $12.
Therefore, you can save a decent amount of penny if you make your leather bracelet and have more for your other leather projects in the future.
Conclusion
Leather bracelets are never out of style. It started a long time ago and is still popular today. For some aesthetic reasons, bracelets give you and your outfit a more sense of fashion. By just simply wearing your leather bracelet, people will identify one of your personalities. Since the bracelet you put on your wrist tells your vibes and fashion, it is essential to craft and design your own. Crafting DIY leather bracelet cuffs are fun and easy to do. You just have to prepare the necessary materials along with the design you have in mind.