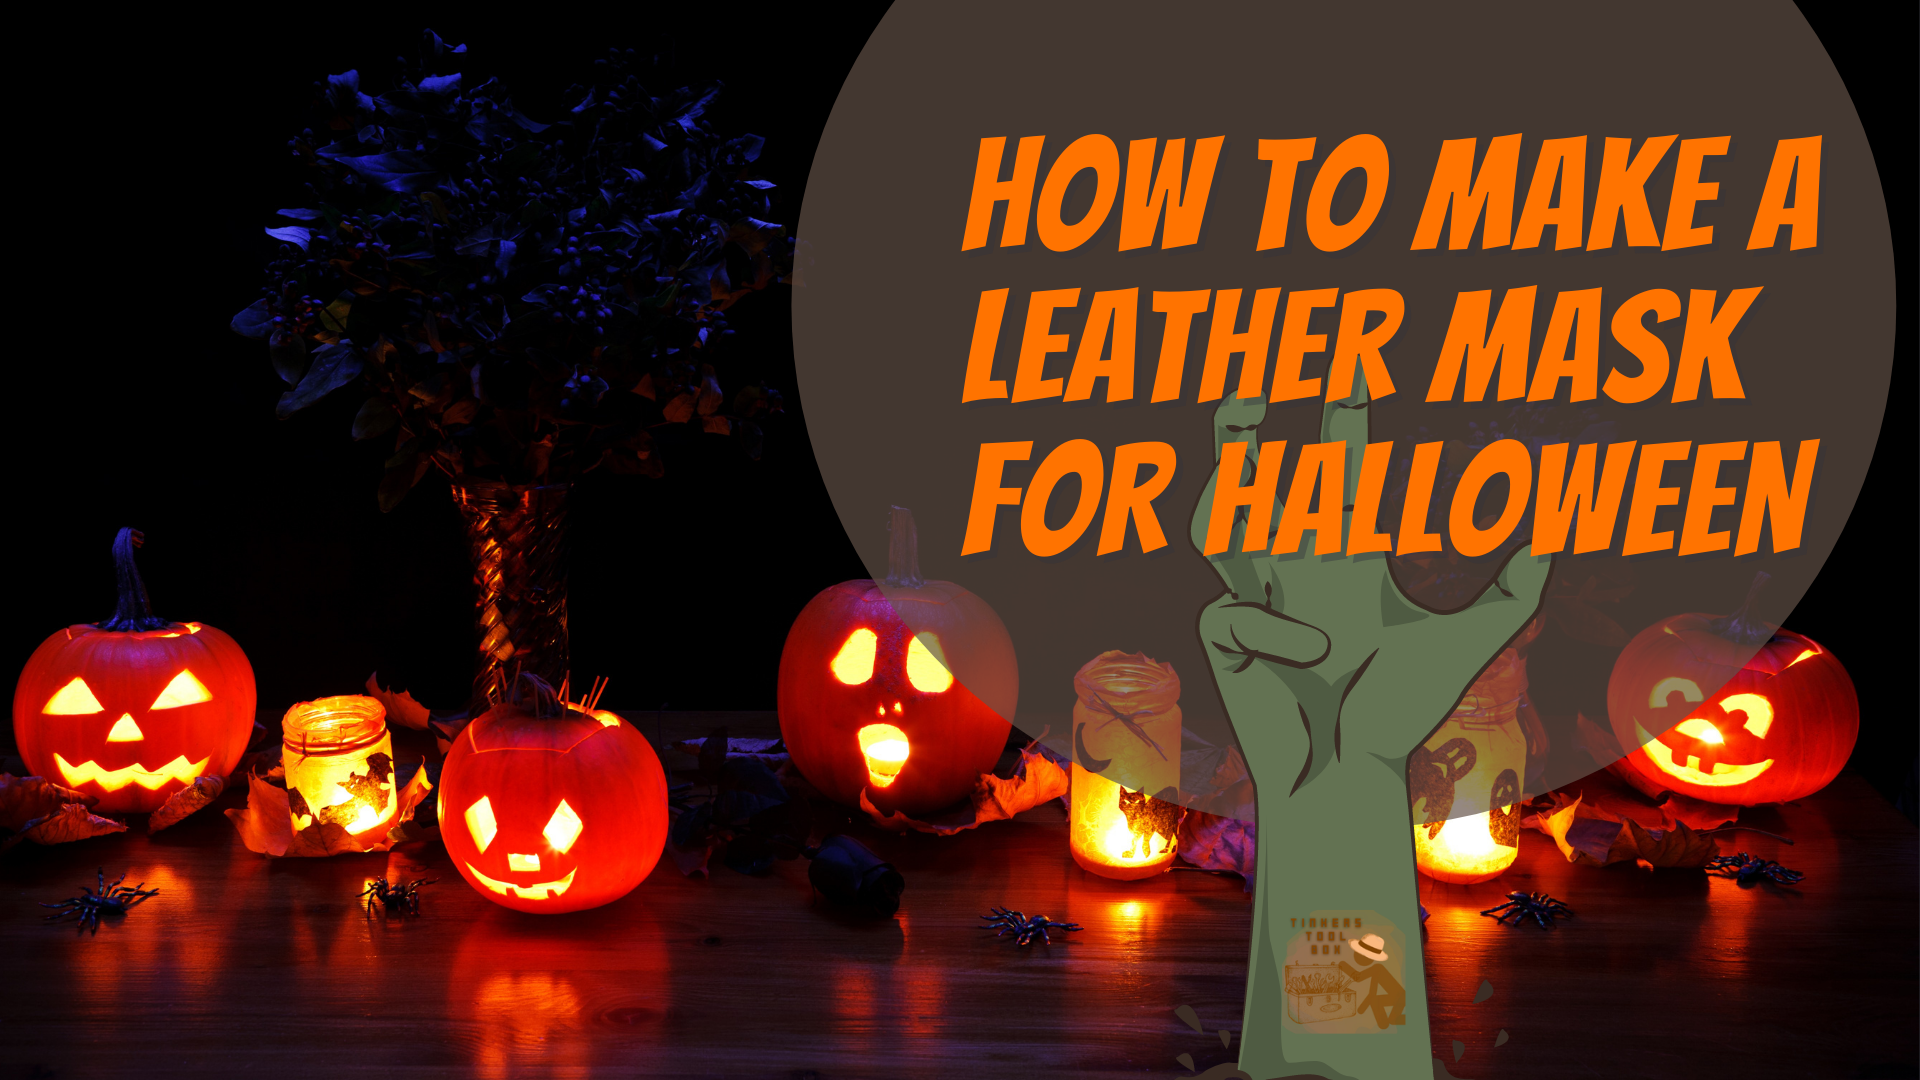
Masks would be great for Halloween costume parties, and leather can offer you many options, different styles, and varieties that will assure you of its durability. On top of that, you will surely have your masks last for years. One can wear a leather mask proudly when it is nicely done. Anyone would indeed want to scare but stay in style.
In making one, make a pattern first, then make a template of the design. Place the template and cut the leather. Polish the leather and add designs you want by tooling and carving, sculpt your mask, and color if you like.
If you are close to running out of ideas on what materials to use for your costumes, then leather is perfect. It is versatile, durable, and, of course, always in fashion, and a leather mask will be the best addition to your scary get-up. Good thing you have this guide.
- Planning The Perfect Costume For Halloween
- Step 1: Get Ready With The Halloween Mask Essentials
- Step 2: Work on The Design and Pattern of the Mask
- Step 3: Cut The Pattern and Draft a Leather Mask Template
- Step 4: Lay The Template and Cut The Leather Mask Accordingly
- Step 5: Reduce The Leather Thickness of the Mask
- Step 6: Smoothen The Halloween Mask Edges For Comfort
- Step 7: Explore Design Techniques Ideal For Halloween
- Step 8: Mold The Leather Mask
- Step 9: Apply A Paint or Dye to Make The Mask Stand-Out
- Step 10: Try The Mask On and Adjust for A More Comfortable Fit
- Step 11: Store It Properly
- Wear It! Leather Mask Is Always a Good Choice
Planning The Perfect Costume For Halloween
Every year, Halloween parties are held, and it is one of the most fun experiences one can have. At this party, you flaunt your scariest costume that will make you stand out from everyone.
Leather is a very uncommon choice for making costumes, especially a mask. Still, since it’s sturdy, durable, and beautiful to look at, it may seem the perfect and excellent material to use. These include leather masks that are more dramatic, edgy, and full of sophistication.
Step 1: Get Ready With The Halloween Mask Essentials

In this leather project, start right by getting ready with the tools and materials needed. Here are the tools and materials you must have.
Secure the materials like pattern paper or cardboard, a tracing film for the pattern, and importantly, leather. You can use any leather type you want to use, depending on your preference.
You will need pencils, marking pens, a metal ruler, and weights for pattern making. Then, the cutting tools such as Xacto knife, a scissor, a cutting mat, a marble slab, a leather knife, and a beveler. Include a wood slicker for polishing, acrylic paint, and paintbrushes if you want to paint the leather.
Step 2: Work on The Design and Pattern of the Mask

The next major step that you should do properly is working on the design and pattern. You should have a design that you want to follow for a smoother work process by this time.
You can start and accomplish this easily by only designing half of your mask. You can draw or print your mask, and it is all up to you. With half of your mask, start on the folded edge and draw your mask shape and, of course, the art you want to add to it. Make sure to bear in mind the eye hole and distance appropriate for your mask.
A tip you can apply is to make the eyes larger than you think they should be. If you have a motif, then cut one out of scrap cardstock or cardboard and trace until you are happy and satisfied with the result.
Also, ensure that it is bigger than the actual mask you will have. This is because when you wet mold and bake your mask, it will more likely be curved upon and go around your face. That’s why when it is flat, it should look a little bigger.
Now you can cut it with your knife, including the eye holes. Open up your pattern if it looks right. Make the necessary adjustments, and you can proceed to the next step.
Step 3: Cut The Pattern and Draft a Leather Mask Template

When you already have the pattern, you are now ready to make a template for your mask. A template is needed so that you can avoid mistakes in tracing the pattern to your leather material.
If you’re using a standard tracing paper, fold the sheet in half just like what you did on the first one. Using a tracing file may be ideal in this step because the results are more desirable; however, if you are just a newbie, that can be acceptable.
Usually, tracing films would come in a roll, so try opening it up and then lay your pattern on it and trace it around using your sharpie marker. Don’t forget to do the eyes. Make the template a bit larger than the pattern, but you can cut right on the lines actually if you prefer it that way.
Remove your paper pattern and carefully trace your pattern on the opposite side. Then open it up, and you will have a view of the whole mask.
Step 4: Lay The Template and Cut The Leather Mask Accordingly

Put your paper pattern on the leather and carefully ink the eye as a guide. Add weights on top of the template and the leather to ensure that the pattern is not moving around.
Mark the eye outline of the mask, cut the section of the leather from the hide to make it easier for you to work on. Use scissors when doing this since you can easily maneuver it. Next is to cut out your outlines and the eyeholes using the craft knife.
Cut from the inner corner to the outer corner of the eyes. It is better to go back with corners using your knife to carefully remove unwanted or excess parts or the leather covering the eyes than to overcut it and ruin your mask.
Now transfer your design to the leather. Slightly dampen the leather’s surface with a dabber or sponge. Align the eyes and edges by properly positioning the tracing paper. In tracing, always start with the eyes and use them to ensure that the transferred film is still aligned or in alignment. Don’t worry if you’re wobbly. You can easily touch this up with markers.
Step 5: Reduce The Leather Thickness of the Mask

This step is optional, but it would be best for you to do this still. After all, it’s still nice to have clean, nice well-edged masks. Burnishing and beveling your edges not only makes your mask more comfortable but also makes it look edgier.
Reduce the leather by making an angle in both the interior and exterior of the eye. Do this to lessen the thickness of the mask, making it more lightweight when in use. If you’re using thinner leather, go for a small beveler or only bevel the top.
Use your craft knife at a very steep angle to finish and bevel the corners. Pick up your mask using a narrow part of your wood burnisher at an angle, rub the corners of the eye part, and flip and repeat at the backside.
Step 6: Smoothen The Halloween Mask Edges For Comfort

Find a groove that is slightly larger than the thickness of the leather and burnish the top and bottom of the eye with short side-to-motion. I finish burnishing the eyes by just setting down the mask and using the wide end and rub just a little more, then flip and repeat the back.
Burnish the edges by damping them a little with water. Do not use wax at this point if you plan on painting the leather mask.
Step 7: Explore Design Techniques Ideal For Halloween

There are many design or tooling techniques you can apply to your mask. Some of these include stamping, carving, burning, embossing, and others.
If you choose one, be sure to prepare the necessary materials. For example, if you want to stamp, you should have your stamps or carving tools ready.
Whatever technique you choose, ensure that you use tools in good condition to have a good output. At the same time, your tooling can be as simple as just opening the lines as you’d like to be. With your best, polish the eye holes.
Step 8: Mold The Leather Mask

Once you’re already satisfied with your mask, it’s time to sculpt it. There are a lot of different approaches here that you can do or use.
Start by wetting your leather, submerge it in a basin filled with warm water until it stops bubbling, which would usually take minutes. Set your mask on a towel and rest for about 15 minutes, as it will be too wet to hold a shape at this point.
You can slow dry the mask or just put it in the over for convenience when drying the leather mask. If you use an oven, this is how you do it. Let the mask sit for a while and pre-heat the oven. Thinner leather would require low heat for about 170 degrees and, of course, will need to be checked on frequently as it bakes.
Thicker leather can handle higher heat; seven to eight ounces of the mask can pre-heat even up to 240 degrees. You can go lower, though, but it will take longer to bake. While baking, expect to at least remove your mask from the oven frequently.
Remember that if you burn your mask, you’ll have to start all over again, so be extra careful. By now, your mask is already ready for sculpting. Start sculpting in the major parts of the mask-like the eyes, nose, and mouth areas. Bake it again if needed, or just let it dry when done.
Step 9: Apply A Paint or Dye to Make The Mask Stand-Out

Before adding colors to your mask, work more on areas like the nose, bridge, and brow. Eventually, it will soften and ease the mold slightly without losing its shape, making the mask more comfortable. You have the choice whether you like to stain it or paint it, it’s all up to you. Antique or any combination. A variety of colors, paint, or stain is available to be purchased.
Paint it nicely and neatly and check immediately for any excess material or paint and remove it right away before it dries. You have to do double coats to achieve that finished look you want and the right color and tone you need. Let dry, finish your mask and add other accessories. You can also add a string in the sides so that you can tie it in your head or around your ears when you wear the mask.
Step 10: Try The Mask On and Adjust for A More Comfortable Fit

When your mask is done, try it on and adjust it. Make sure to adjust it before you wear it at the event. You can paint it in more detail or improve the fit by tightening the straps or string. Pair it with your costume, and you are good to go.
Step 11: Store It Properly

If done making the leather mask, store it properly. Leather-like any material has special needs when it comes to storage. Make sure to place it in an area away from direct sunlight. This will prevent the paint from cracking.
Check it from time to time from fungus and bacteria. Regularly condition your leather mask if you want it to stay longer with you. Keep away moisture as much as possible and let your leather breathe by allowing good ventilation.
Wear It! Leather Mask Is Always a Good Choice

Leather masks are usually worn during masquerades, grand balls, royal balls, or even Halloween parties. It adds a mysterious look to one’s style, thus making it significant for these occasions.
It is a very symbolic and dramatic type of emblem or accessory of some sort that creates more edge and sophistication to your style, which can give you high-end fashion. So here are some types of leather masks you can choose from for your Halloween parties.
Cosplay masks serve as an outlet for creatives to show off their skills and talent, which is no exemption for leather masks. Cosplayers take it to themselves to create their masks from different types of materials, including leather.
Wardrobe masks are unique and fun; they mimic those masks that can be seen in movies. Children can play and enjoy their characters with this one, and this can also ignite that inner child in you.
Masquerade party masks are masks that elevate tradition with a hint of luxe and edge with its leather material carried or laid out with its classic design. Usually, these masks cover up the upper half of your face, like the eye area and bridge of your nose, to add a mysterious look.
From these mask types, you can now decide what will be perfect for your Halloween get-up. They might also be up for some fun and, of course, some trick or treat! You can sure make your spookiest mask and even share this with family and friends during Halloween.